Sharing helps others too!
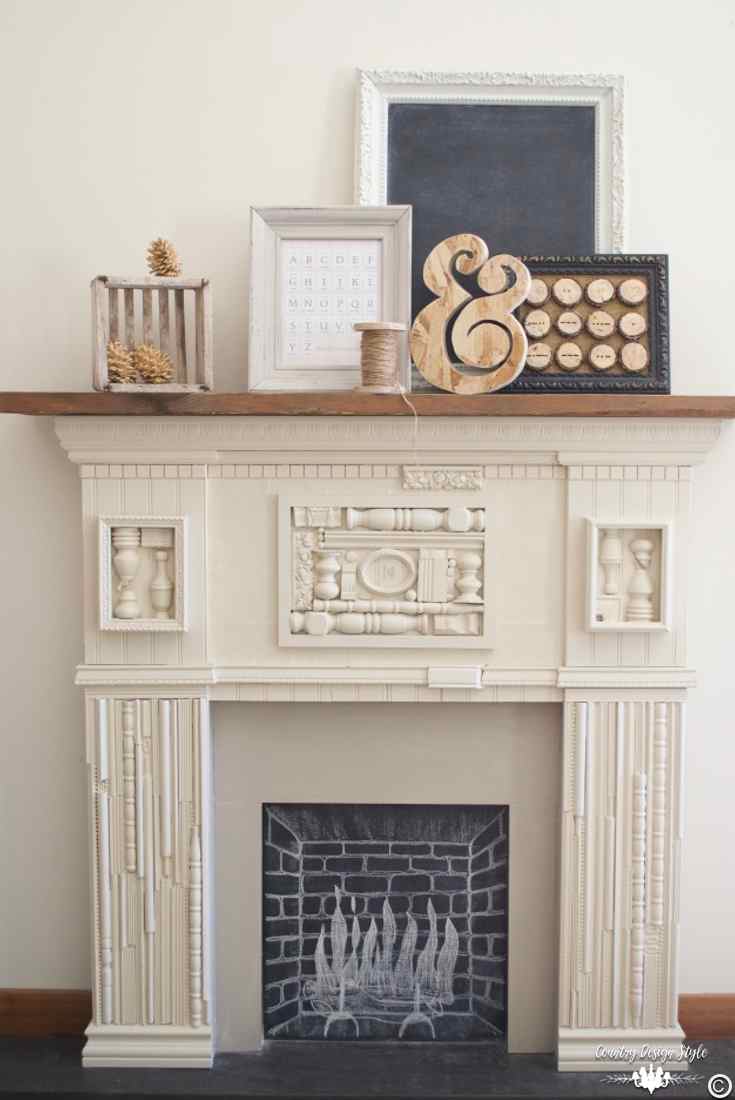
Waiting impatiently for spring and the weather is still nippy. I dreaming up spring decorating ideas to share. Come build spring on the mantel with me.
The garden hose is under a pile of leaves. The porch has an inch of dust, spider webs and whatever that sticky stuff is that collects over winter. The slightest peek of spring is all I need.
A spot that shows a promise of spring. I want that now!
Until spring arrives, I’ll fake it with spring decorating ideas for our mantel.
Spring Decorating Ideas
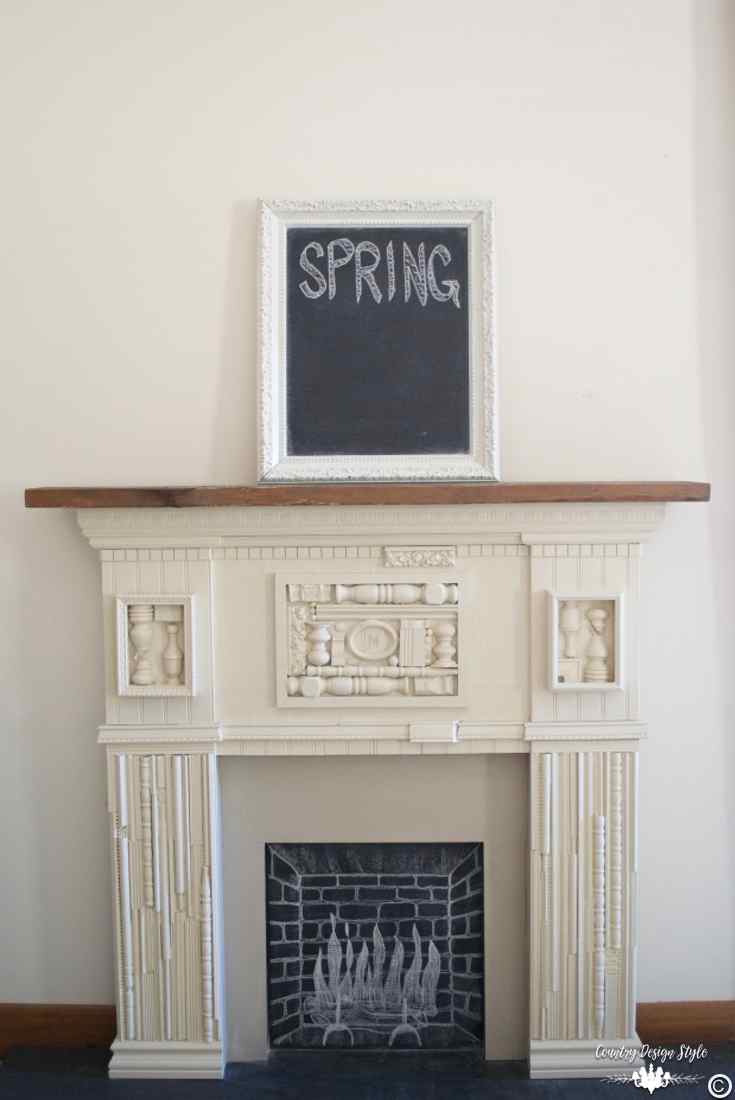
Between projects, our mantel goes from a tangled group of DIY projects to bare bones with an empty feeling.
Anytime I’m redecorating the first thing I do is remove what’s there. I cleared the mantel AND even dusted. Almost wiped away too much of the chalkboard fire!
My go-to decorating tip for mantels and shelves
This post contains affiliate links. I will make a commission for your purchase at no extra cost to you. This helps me maintain the website. Thank you for your support. Think of it as a friend letting you know where I found a product I use, love or want. Click here to read my full disclosure policy.
Decorate the center of the mantel
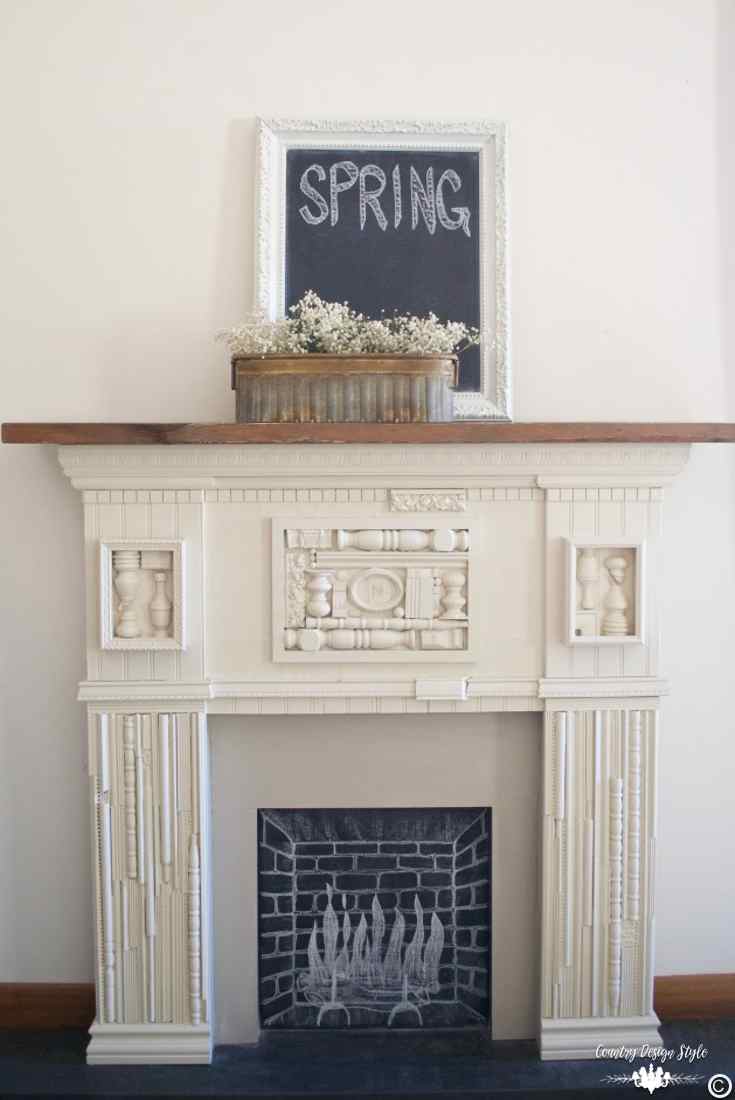
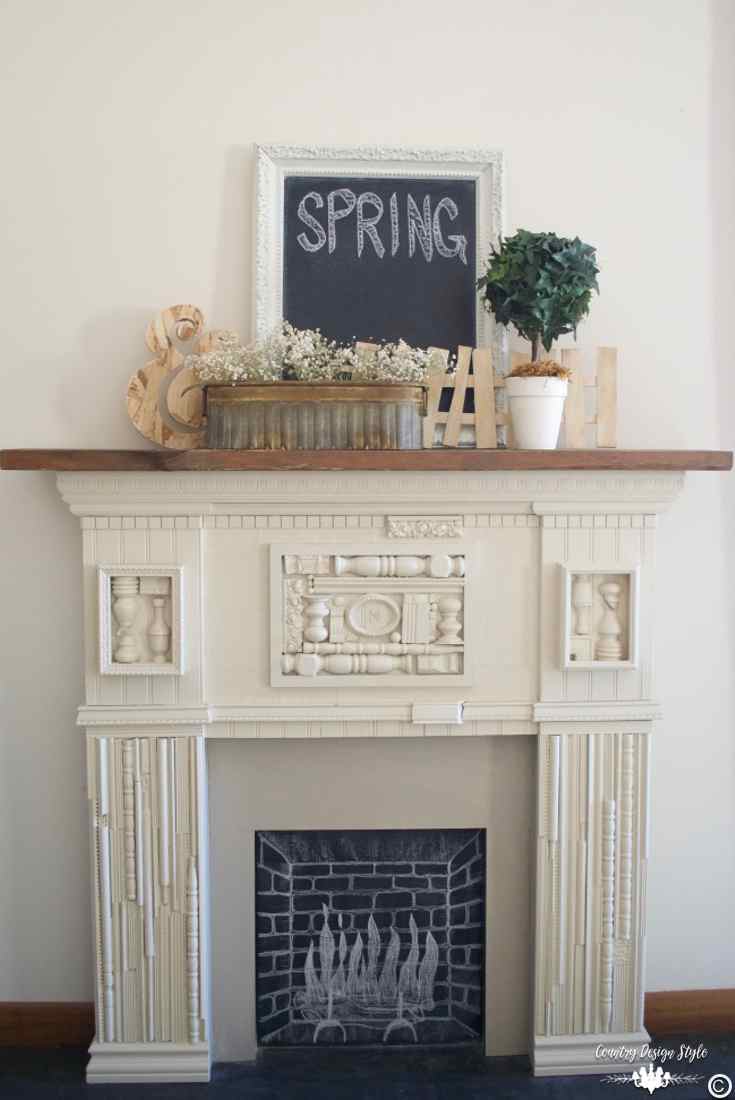
First tip: Add a large piece in the center. We’re going to make a rough triangle shape over the mantel.
Back goes the chalkboard. But I added the word “SPRING!” An additional tip for fast lettering, Break a piece of chalk the thickness you would like your font to be. Lay the chalk on the board. Start writing keeping the piece of chalk at the same angle. You’ve created a calligraphy font! To add a bit more to the font I like to outline the edges. Notice I didn’t care that the lettering is taller at the end. My other fast lettering tip…grab a ruler! Oh, well.
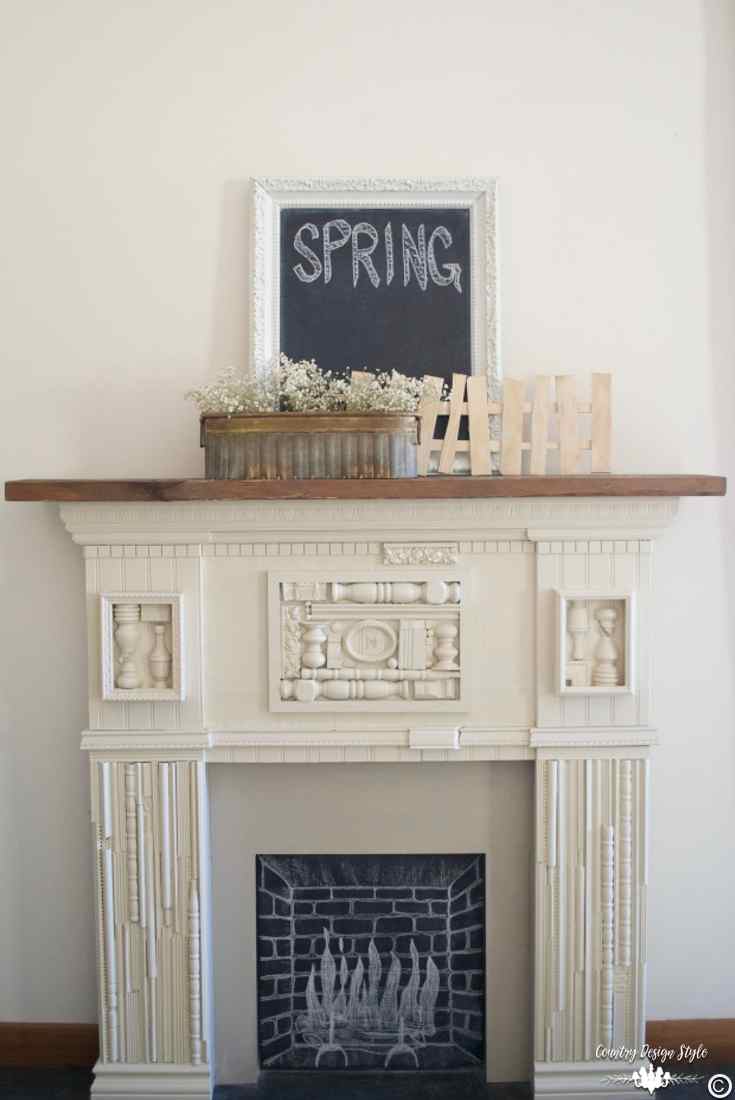
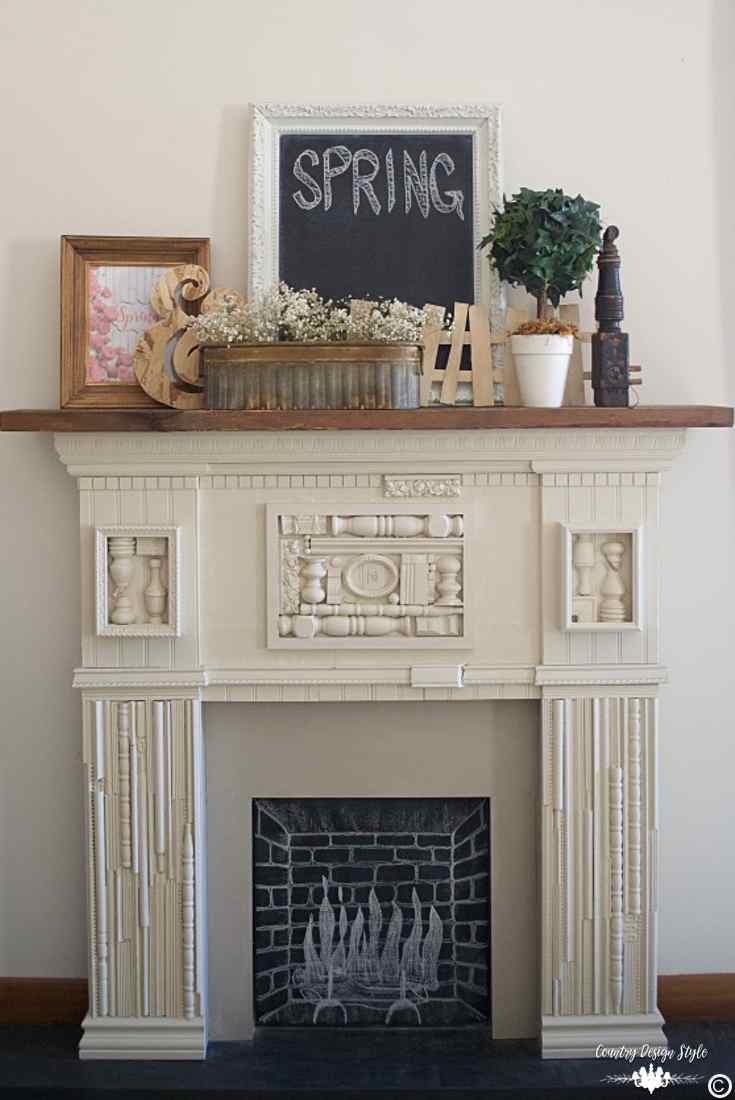
Second tip: Add something long and short underneath.
Decorating the sides of the mantel
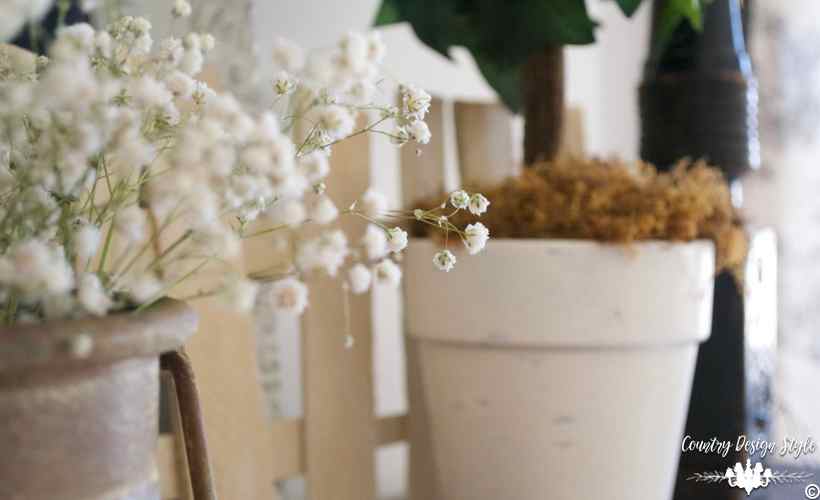
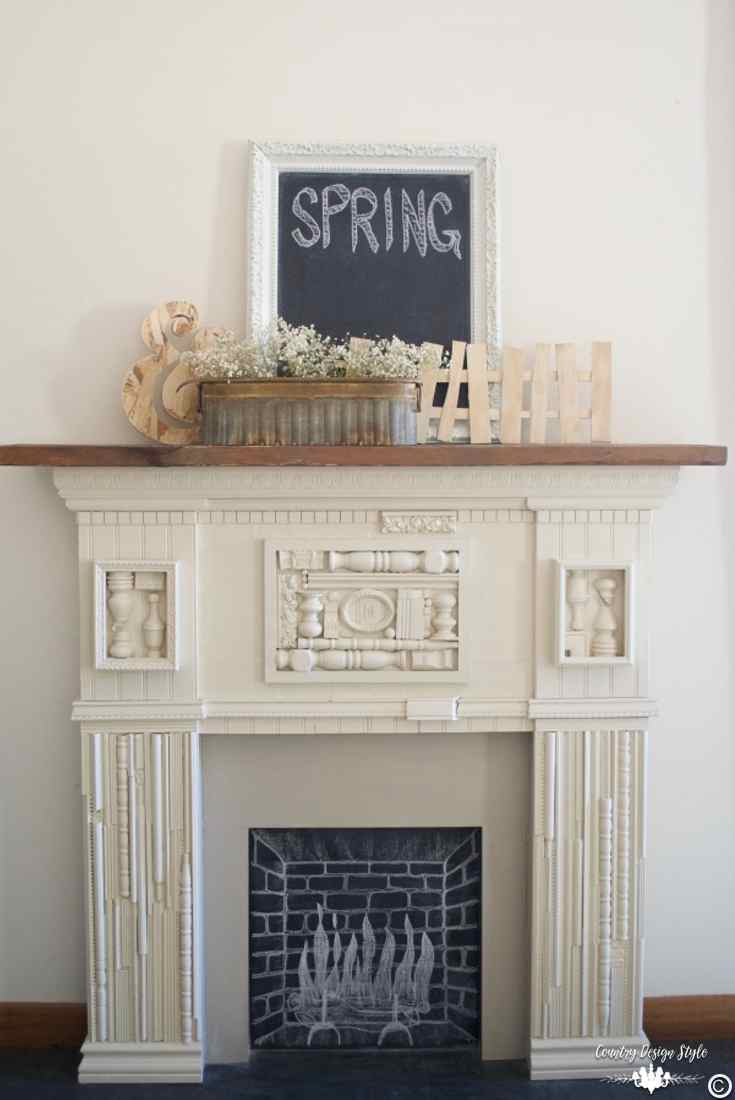
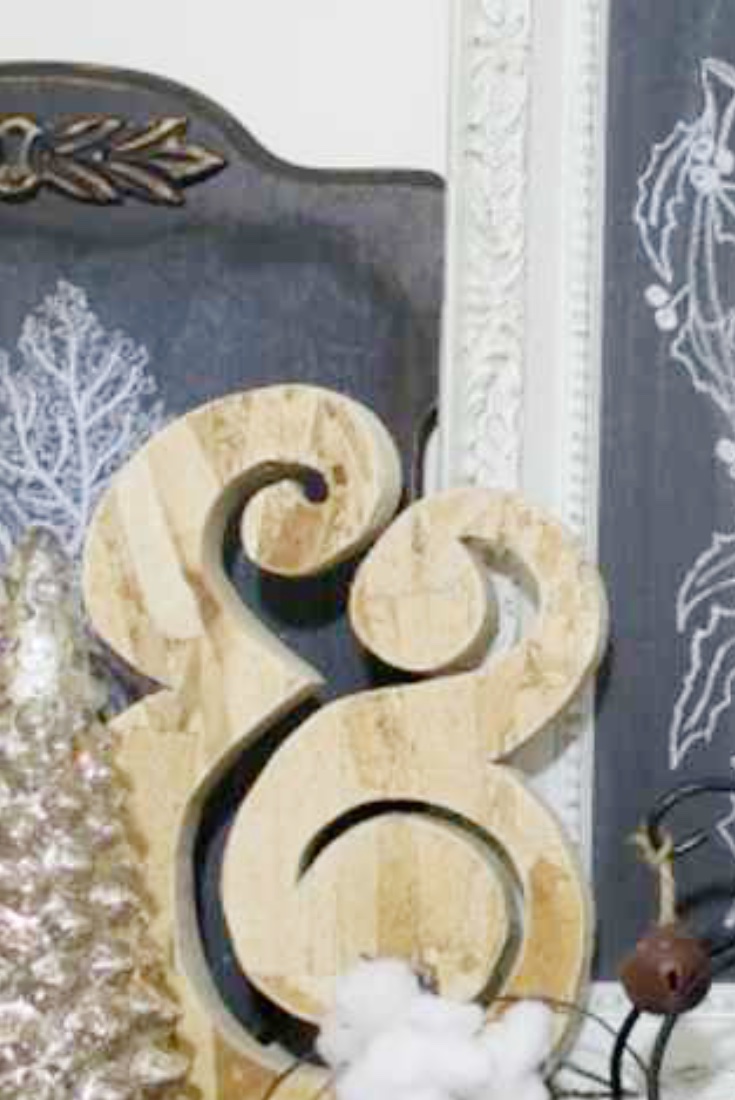
Third tip: Add something of medium height to the sides The picket fence is light in color. I scanned the room for anything about the same color. The “E!” I made this before Emily came to live with us. I love it more now.
For the other side…I paced the house. Then paced again. I wanted something green. Then I spotted it with my little eye, something green…
My fastest tip for cleaning faux greens and flowers…
Fill the sink with lukewarm water and a few drops of dish soap. Swish in the water and let dry.
Fourth tip: Add something personal or special. I did both! I’m a fanatic for spindles. The black spindle on the right is one of my favorites. On the left, the addition of spring printable in a rustic frame finishes the display.
A brief recap and my funky drawing
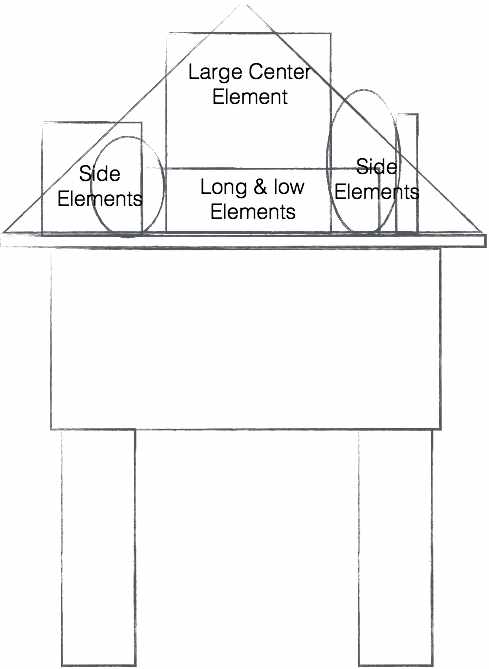
Start with a large center element. Next, add filler along the bottom. Then place side elements with various heights. Adding something personal can make you smile every time you walk past. 🙂
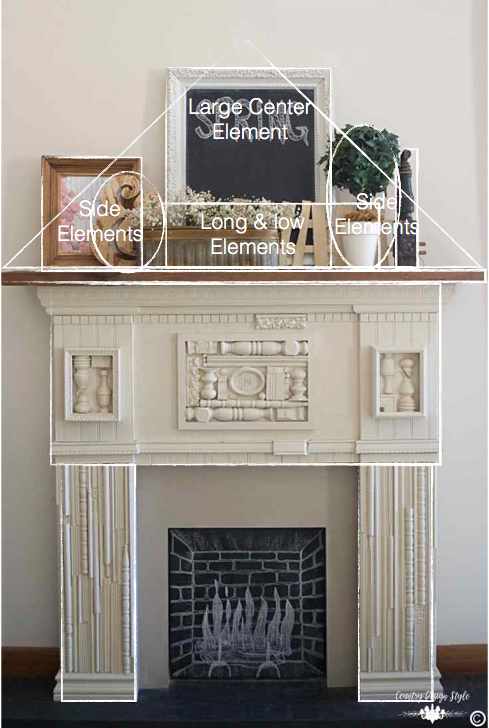
Here’s my rough triangle. One more important thing. Any and all decorating rules are made to be broken. If you like it…it works!

My final spring decorating ideas are to grab your own free printable and frame it.
I’m heading out to peek under the leaves for the hose.
10 Things to do with a Broken Spindle



![Dizzy Lazy Susan [DIY] Marbles](https://countrydesignstyle.com/wp-content/uploads/2017/02/Revolving-tier-closeup.jpg?x17166)

Hi, Laurel! Thanks for the compliment on the writing. I have done videos on safety precautions, but haven’t written a post about safety….but I will! You can watch my youtube video on first power tools. You can forward to about the 6:00-minute mark. There is some rambling in the beginning. https://www.youtube.com/watch?v=HGMFiwSAQMY
This is another link to a video from our Design Workshop group on basic power tools, especially for women.
https://www.facebook.com/jeanette.chaney.1/videos/g.419804628171049/1233135016719801/?type=2&theater
Love this! I really like your way of writing. All your projects are really doable and easy to follow. Hope you’d continue to share such inspiring concepts. Anyway, just want to ask and perhaps you already have this but could you share some safety precautions tips on doing DIY projects