How to make a wooden box, Part 1
On the windiest day,
in bright sunlight,
while wearing a pink baseball cap…
I did a Periscope video about how to make a basic box.
The wind blew sawdust into…well everything. I couldn’t see anything on the phone while recording or read comments due to the bright sunlight…
except the pink baseball cap.
The best viewers ever {I have the greatest Periscope followers} said all was well and the video turned out okay….
except my phone didn’t “automatically” save the video. There the video sat on Periscope..with no way to share it here. 🙁
So, I decided to make a series of posts and videos about making a simple rustic box. Because there’s nothing better than a basic rustic box!!
How to make a wooden box, Part 1
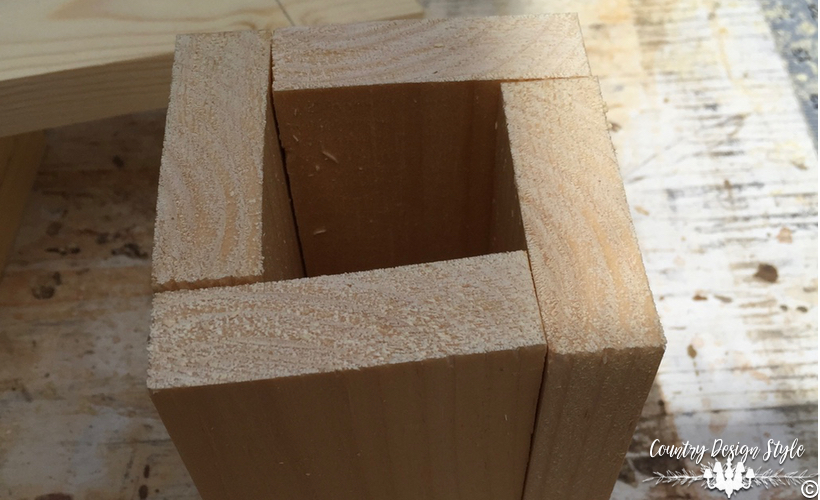
This box is the smaller wood box I started in the last part of that lost video. I made 4 boxes in 10 minutes. This box is so simple…it doesn’t have a bottom. You will see why below. I will show how to add a bottom.
I used a 1 by 3 board and cut 4 pieces that were 5 inches long. I added glue to the one of the 5-inch sides on each piece. Then formed a square box {see above} and added clamps to hold things tight. All four boxes were dry and ready to paint.
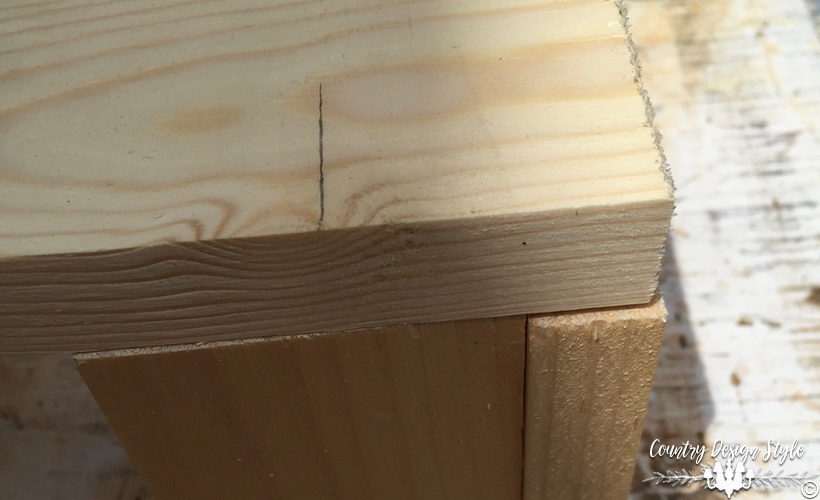
If I wanted a bottom to my boxes, I would cut a piece of 1 by 4 by 3 1/4 inches. Then glue it to the bottom as shown above.
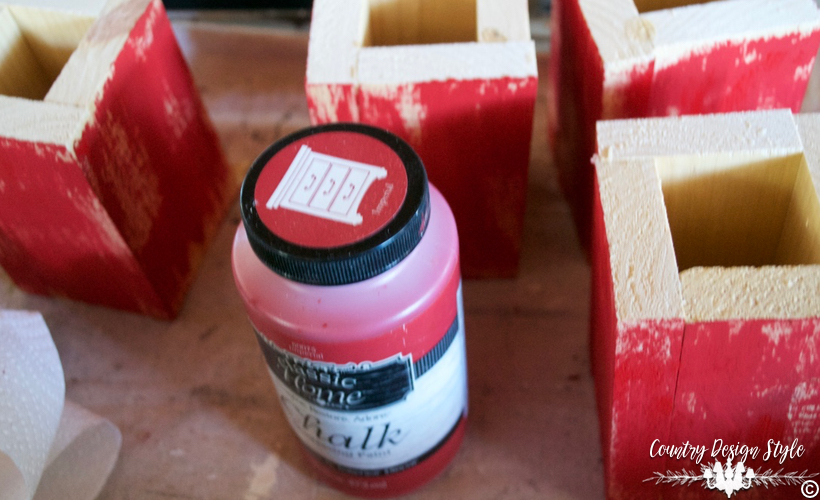
Now back to the rustic little boxes. I painted them red. Then aged the paint and exposed wood using my favorite technique.
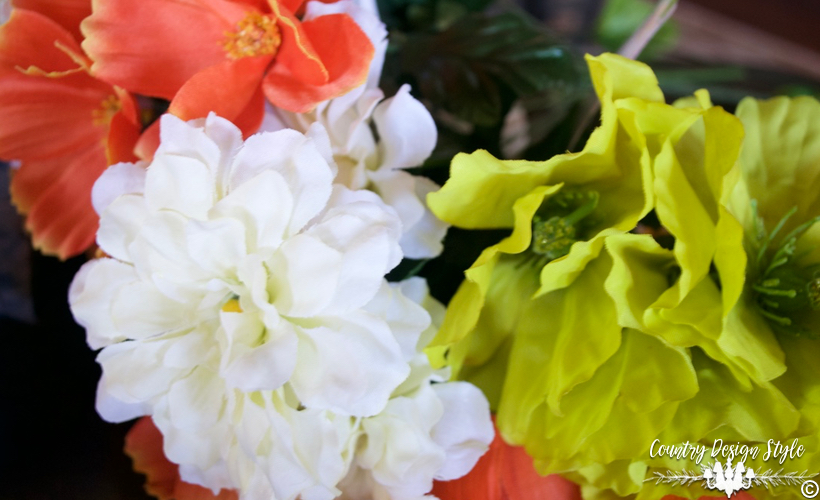
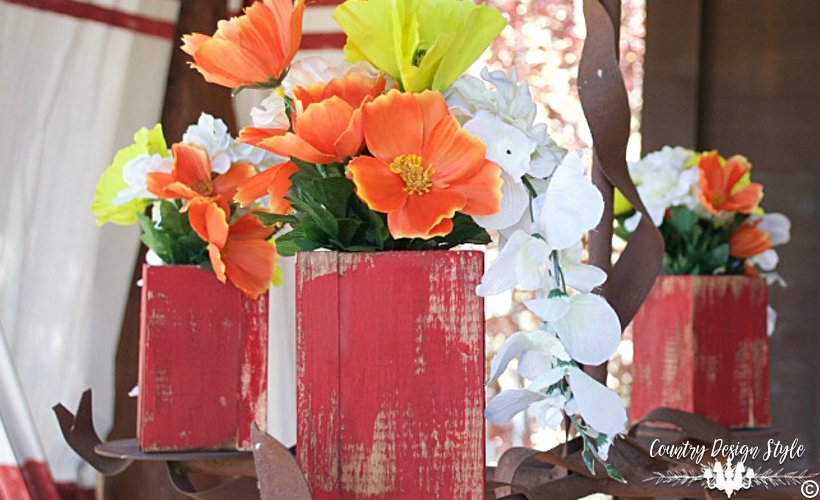
This is a pile of $11 worth of dollar store silk flowers.
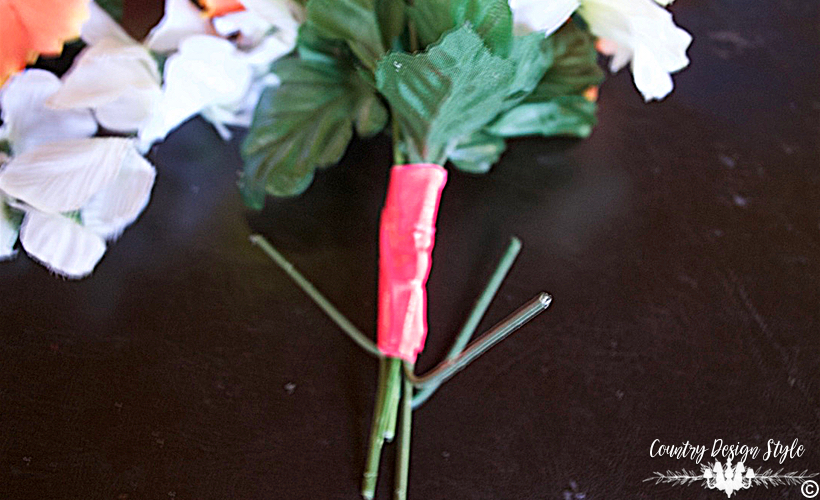
After removing the “handle” I grouped 6 stems together and wrapped duck tape around them. Yep pink duck tape…to match that pink baseball cap!! After there were 4 bunches of flowers, I bent 3 stems up slightly. Then stuffed the stems into each box.
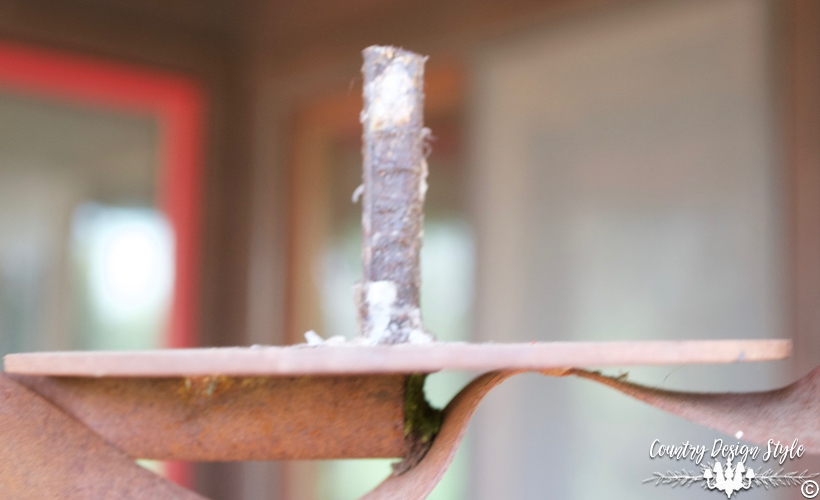
Here’s why the four boxes don’t have a bottom. This is a rusty chandelier on our front porch that’s made for candles.
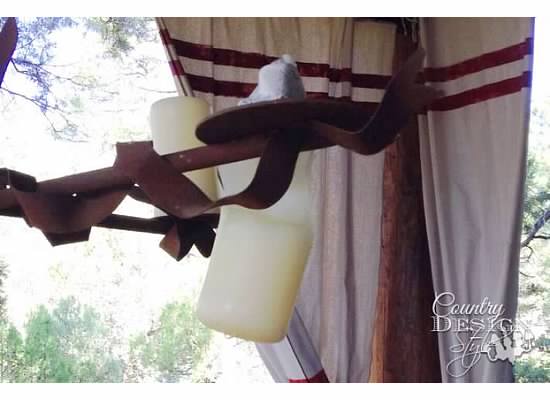
Candles melt in Arizona!! This picture was taken last July!

This is the chandelier for this spring and summer! Notice the aging effect on the boxes?
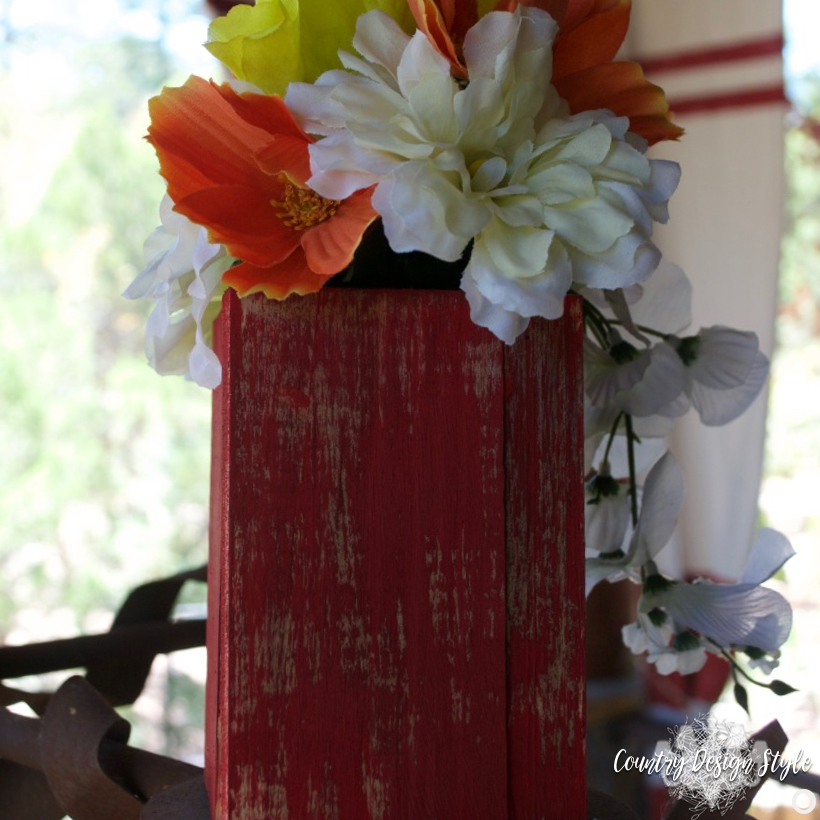
Here’s a close-up.
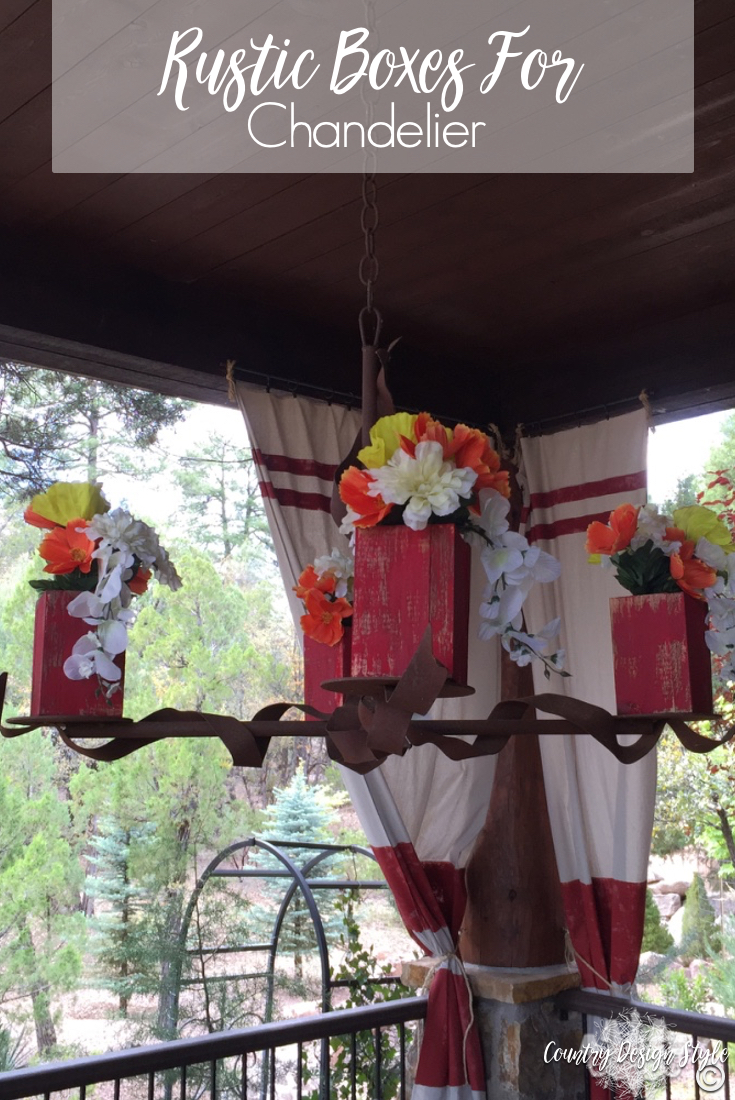
Arizona sun…try and melt these.
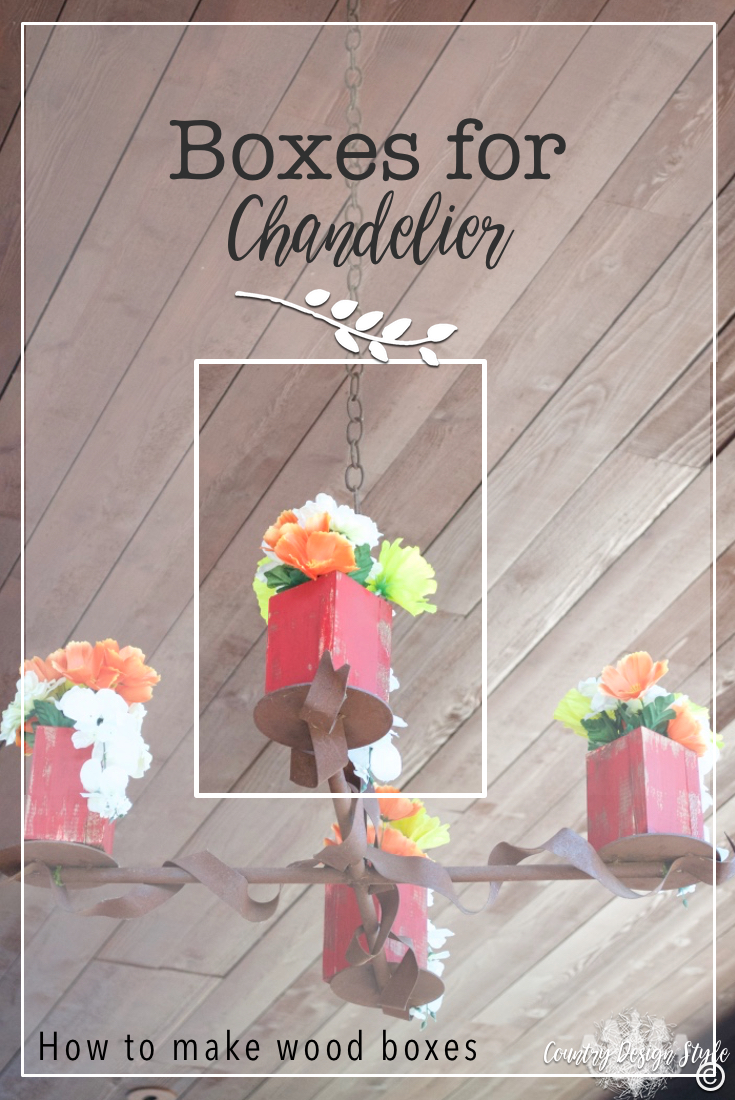
These just might have to stay for fall too. Click here to see two other wooden boxes made for a luncheon. I’m really loving using the unpainted one around the house. 😕
So, is it hot enough to melt candles at your home yet?
Join the newsletter

Subscribe to get our DIY HelpLetter each Thursday. Plus grab your Interior Decorating Ideas e-book.

![Dizzy Lazy Susan [DIY] Marbles](https://countrydesignstyle.com/wp-content/uploads/2017/02/Revolving-tier-closeup.jpg?x17166)
These are fun little wooden boxes to be able to put around the house. You can use them as little containers and flower pots. I love how you painted yours to look a little weathered too!
Thank you so much, Sarah. Everything around here is getting weathered…including me. Lol. Thank you for visiting.