Candy Dish gets DIY’ed
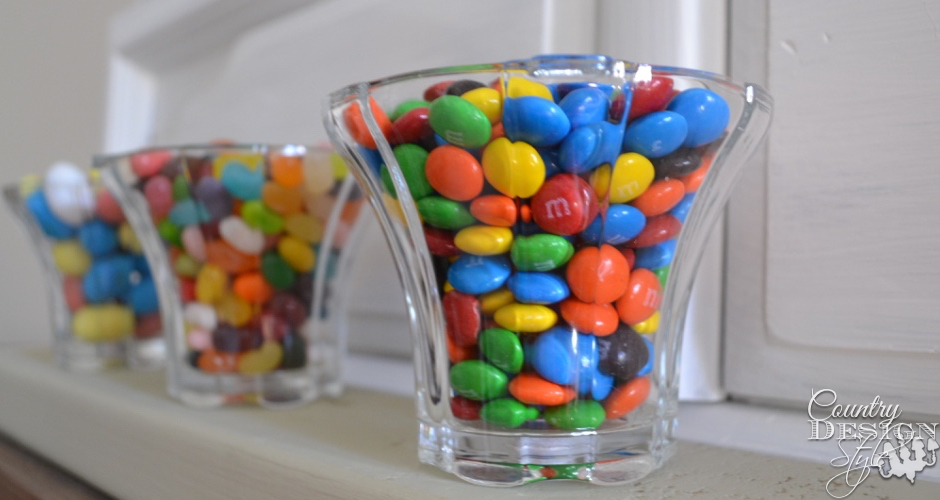
The candy dish gets DIY’ed!
I’m in need of simple lately.
This is simple.
Perfect for Easter candy.
Candy Dish Gets DIYed
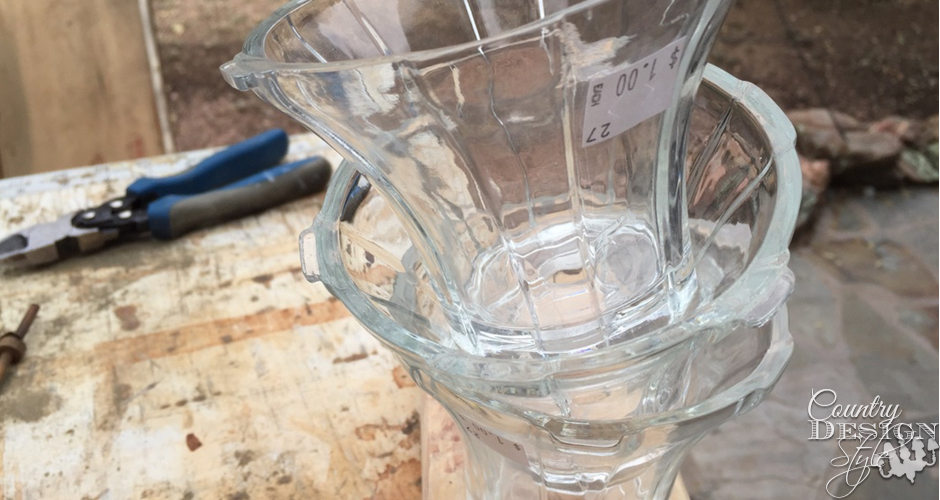
I found the coolest light globes at the ReStore. I’ve been checking out the goodies at the ReStore about once a week lately.
Ever since I found these beauties!
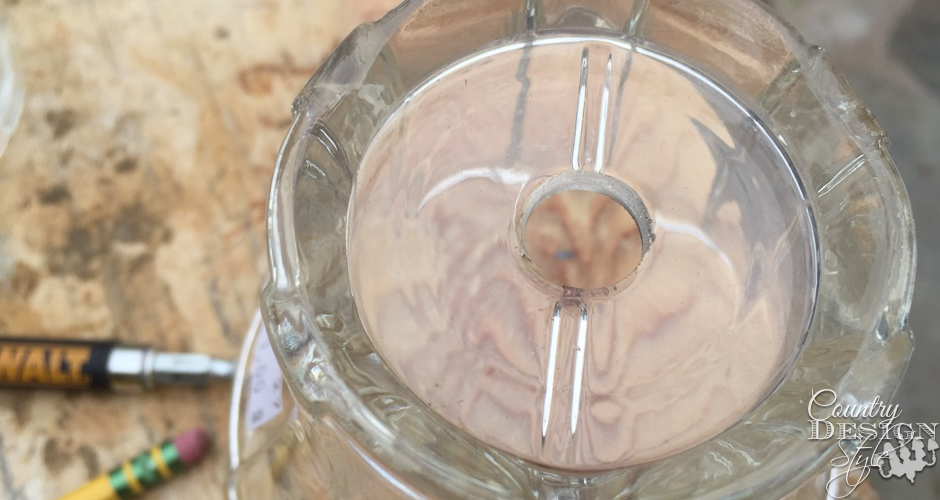
These light globes are different on the top…or bottom…not sure which way they originally sat. Usually, light globes have a larger opening with a lip and those little screws that hold the globe…unless you don’t tighten all the screws enough and it comes crashing down.
For my candy dish…this is the bottom.
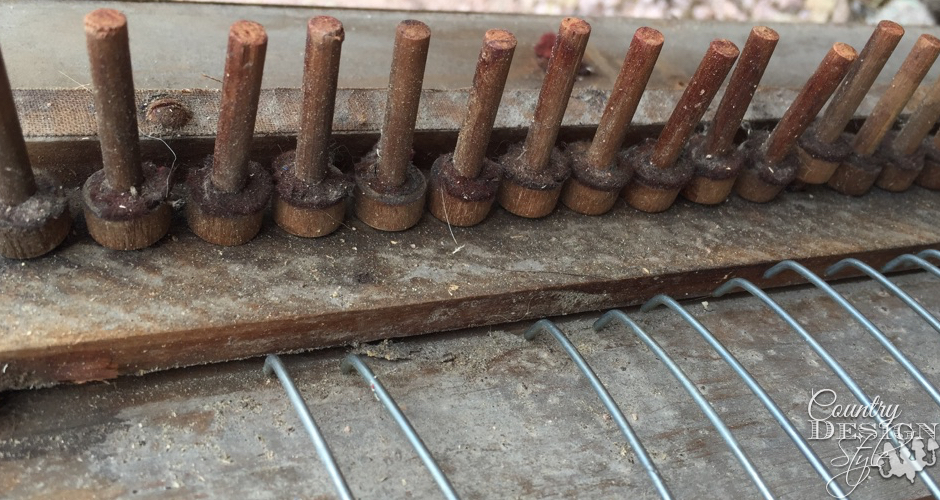
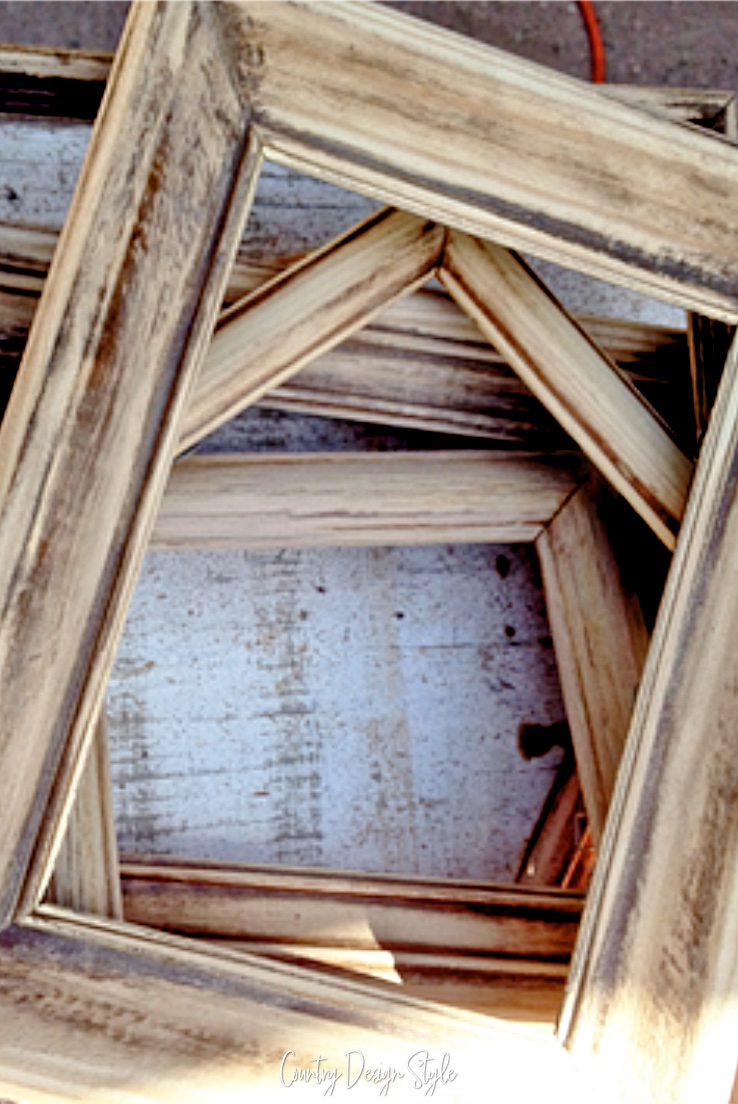
I know this is an ugly picture. It’s the inside of one of those organs. The one that I used to make…
the garden bench
a faux mantel
Mike’s vintage lamp
pieces decorated this garden bench
a piece of wood for this heart
These little wooden dowels with a wood ring had something to do with each key of the organ.
I pulled out 3 of them and sanded and cleaned them “WELL!”
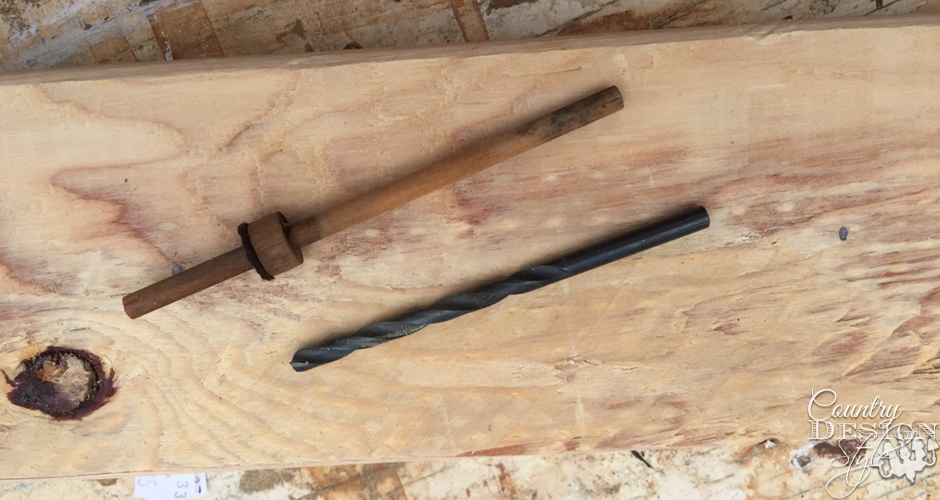
Then I grabbed a leftover 2 by 4 about 20 inches long and a drill bit the same size as the organ dowel.
Setting each globe on the 2 by4 I marked a drill hole. Then drill a hole for the dowels. It was perfect because the wood ring fits right inside the hole of the globe.
I painted the 2 by 4 lightly with oatmeal-colored chalk paint.
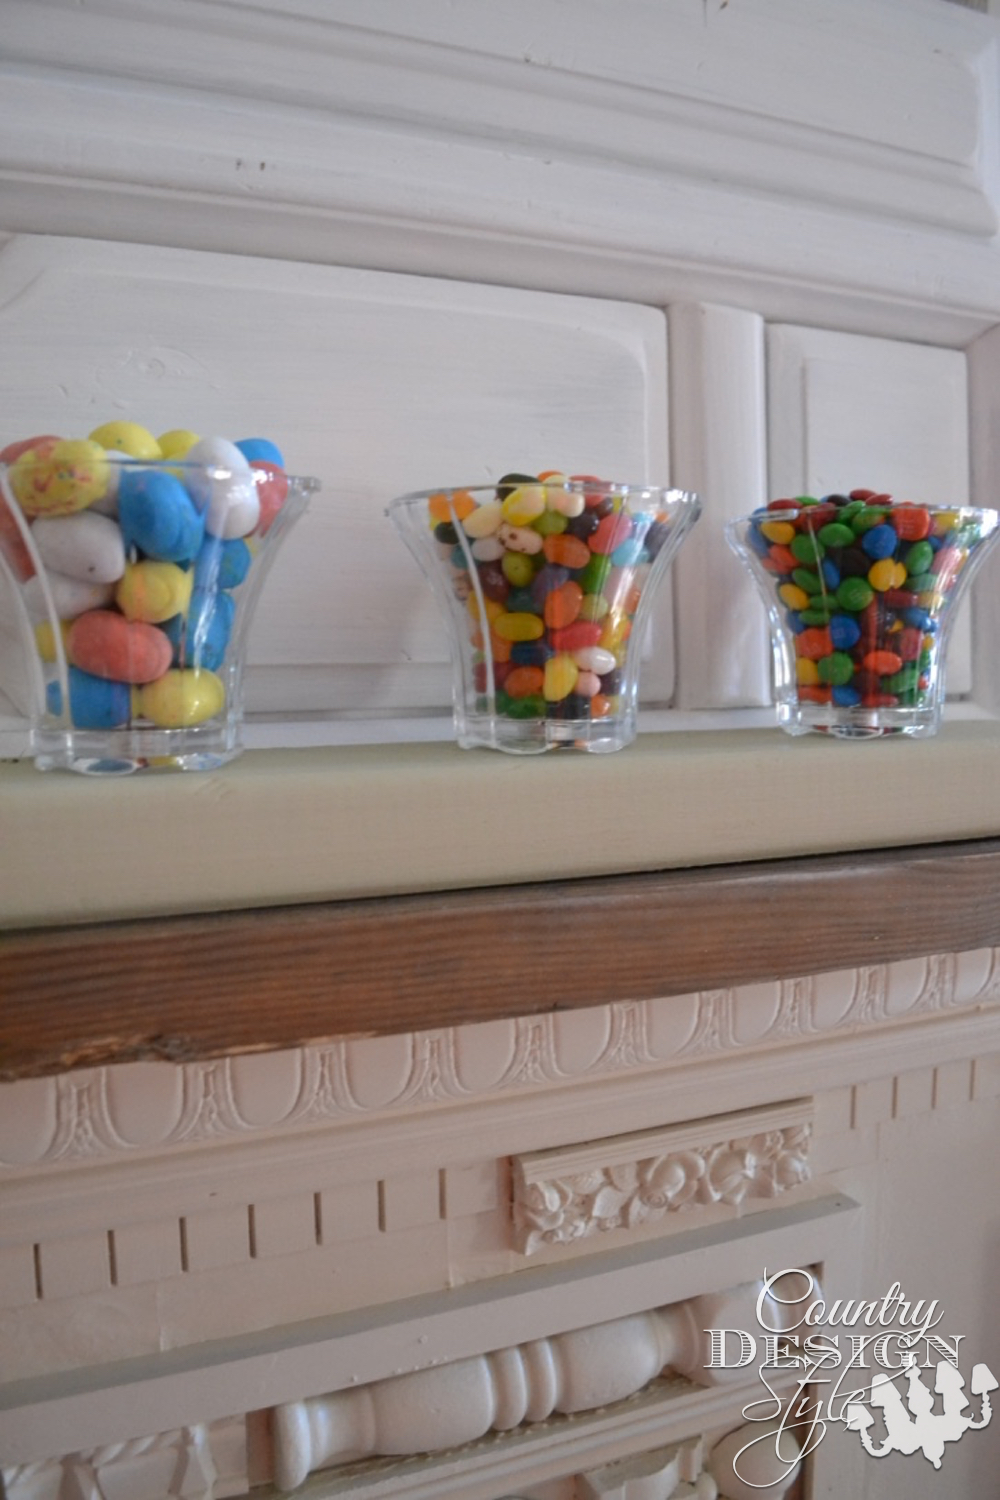
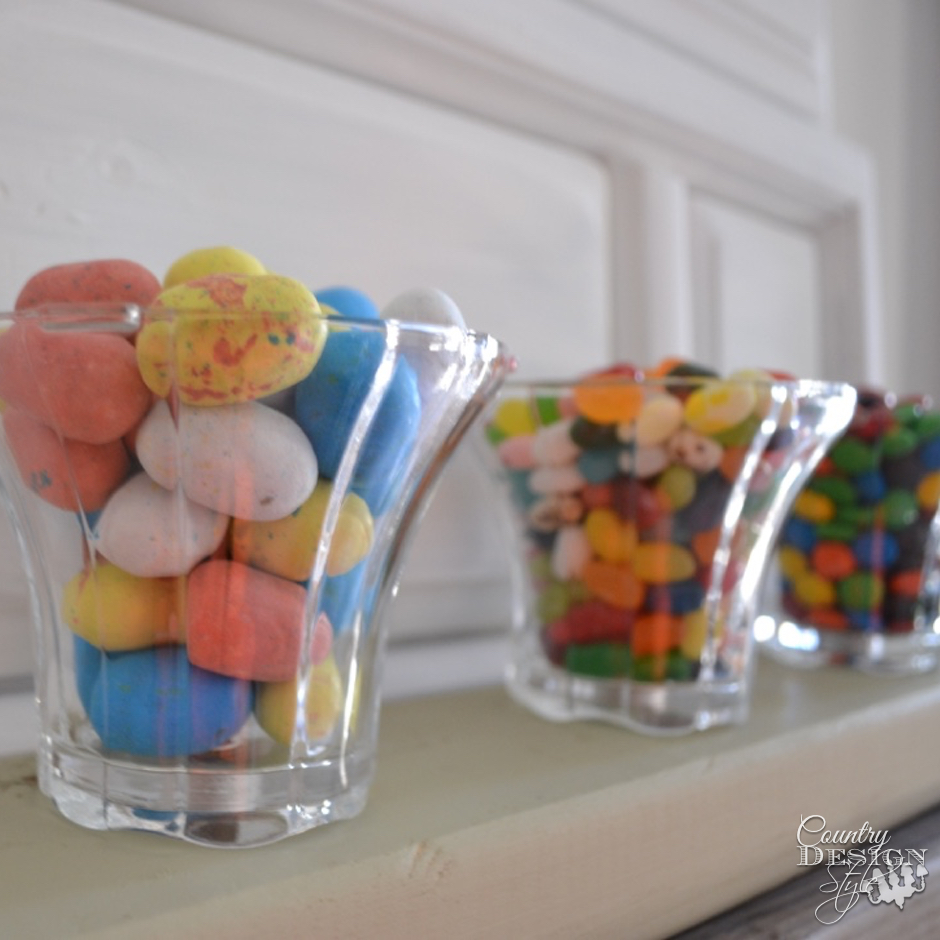
Then set the globes over the dowels and added candy. Yum!
I used this for dried or rubberized hydrangeas too.
If you would like to try this and only find regular globes below are ideas to have them sit on a leftover 2 by 4.
- Drill larger holes to set the globe down into.
- Glue wood disks on the 2 by 4 to set the globes over.
- If you have those cups with the screws, add wood dowels to the 2 by 4 and screw the cups in place. Then screw the globes into the cups as you would on the light fixture. Just screw the screws down tight! 🙂
Join the newsletter

Subscribe to get our DIY HelpLetter each Thursday. Plus grab your Interior Decorating Ideas e-book.

