
To Be Special A Plaque Helps
Look around the room you’re in. Is there something that needs beef up? A forgotten candle sconce was lost in the powder room.
This is how I fix that problem.
Do you remember when houses were defined as a 4 room house, or 6 room house?
Now when we discuss the size of a house by the number of bedrooms and bathrooms. I wonder if it changed with indoor plumbing?
It’s hard to feel special and stand out with so many rooms. Especially if you’re a lonely candle sconce.
But add a rustic plaque and anything feels special.
This post contains affiliate links. I may make a commission for your purchase at no extra cost to you. Think of it as a friend letting you know where I found a product I use, love or want. Click here to read my full disclosure policy.
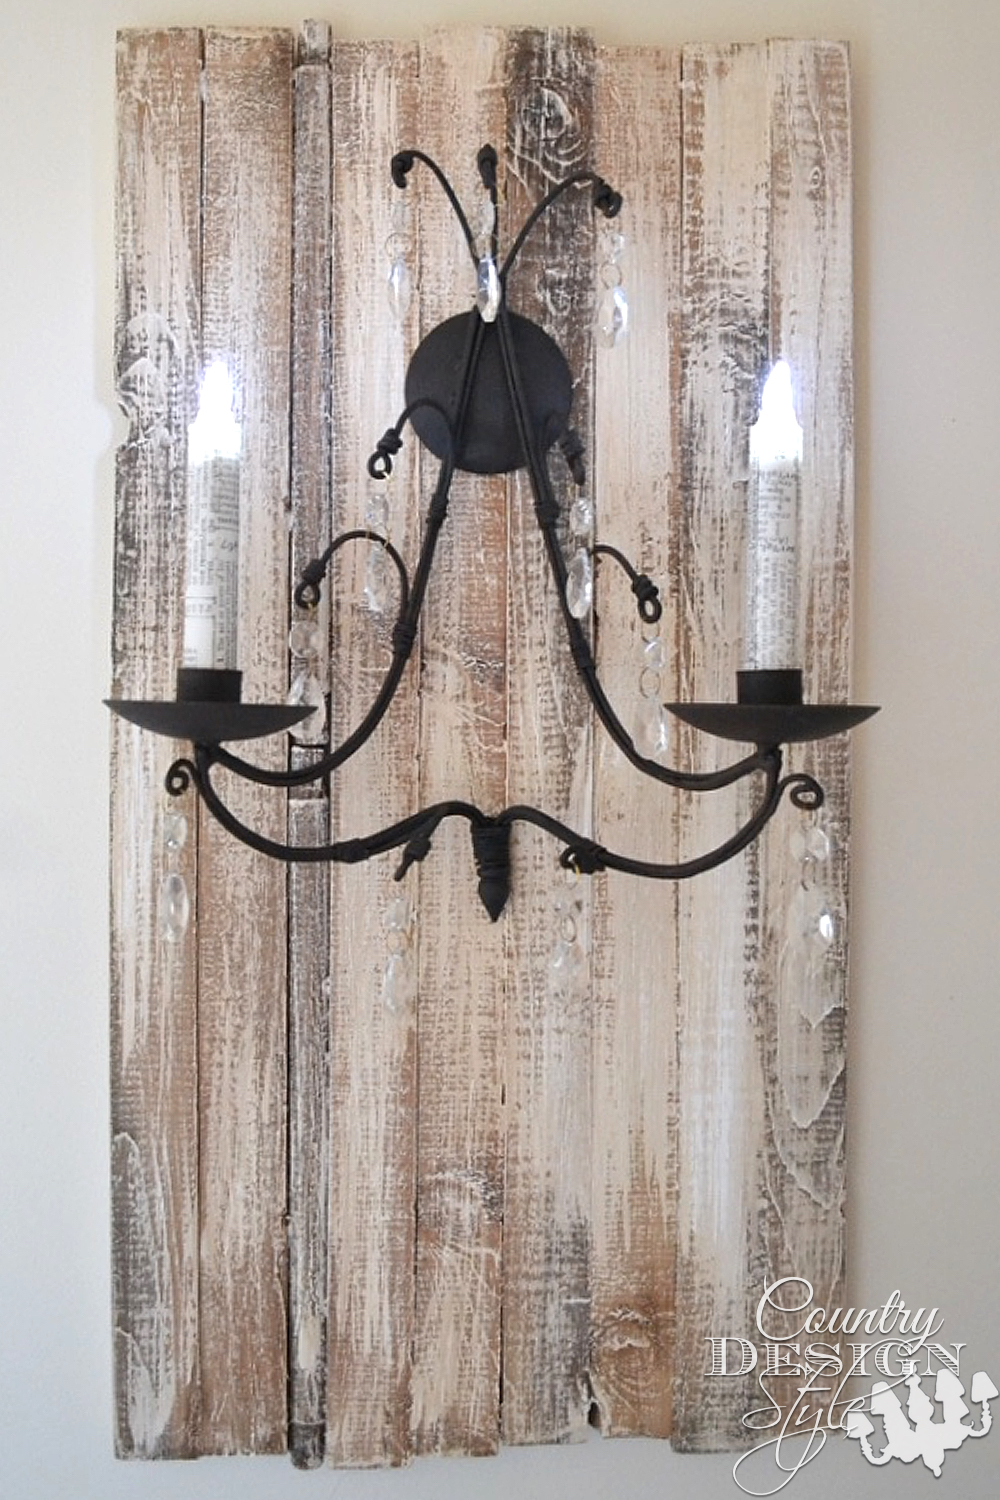
The lonely candle sconce
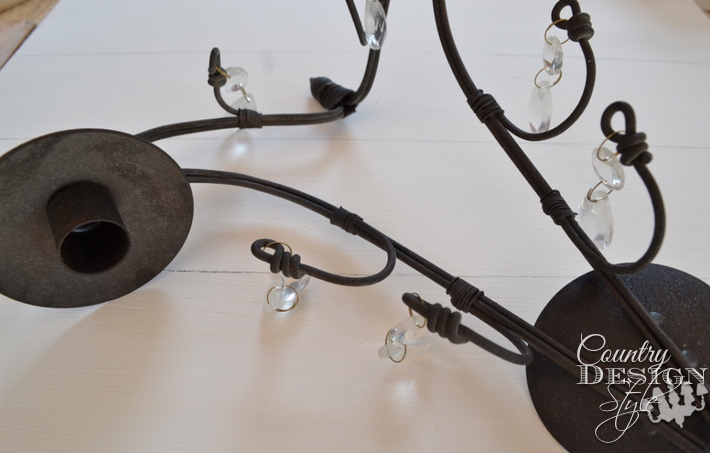
Here’s the sad lonely wire candle sconce. It’s nothing very special. The “crystals” are in fact glass. It’s dusty. It was left hanging in a bathroom. Forgotten and dusty.
It didn’t even have candles!
Need a tissue yet? Sniff, sniff.
Making a rustic plaque
To give it life, excitement and something to “hang” with, I made a rustic plank wood plaque.
The steps I used to make the wood plaque
- Cut 1 by 2 boards into 8 pieces about 24 inches long. Notice about, I wanted a jagged top and bottom.
- Then cut a broken spindle to about 24 inches.
- Next, I cut to pieces of scrap wood to 12 inches. These will hold the plaque together.
- I laid these pieces down and then line the 24-inch pieces across them.
- Insert the spindle between a couple of boards.
- Glue the boards in place using a quality wood glue. Clamp in place until dry.
- Add a picture hanger to the back.
This wood glue is enough to hold the plaque together without nails.
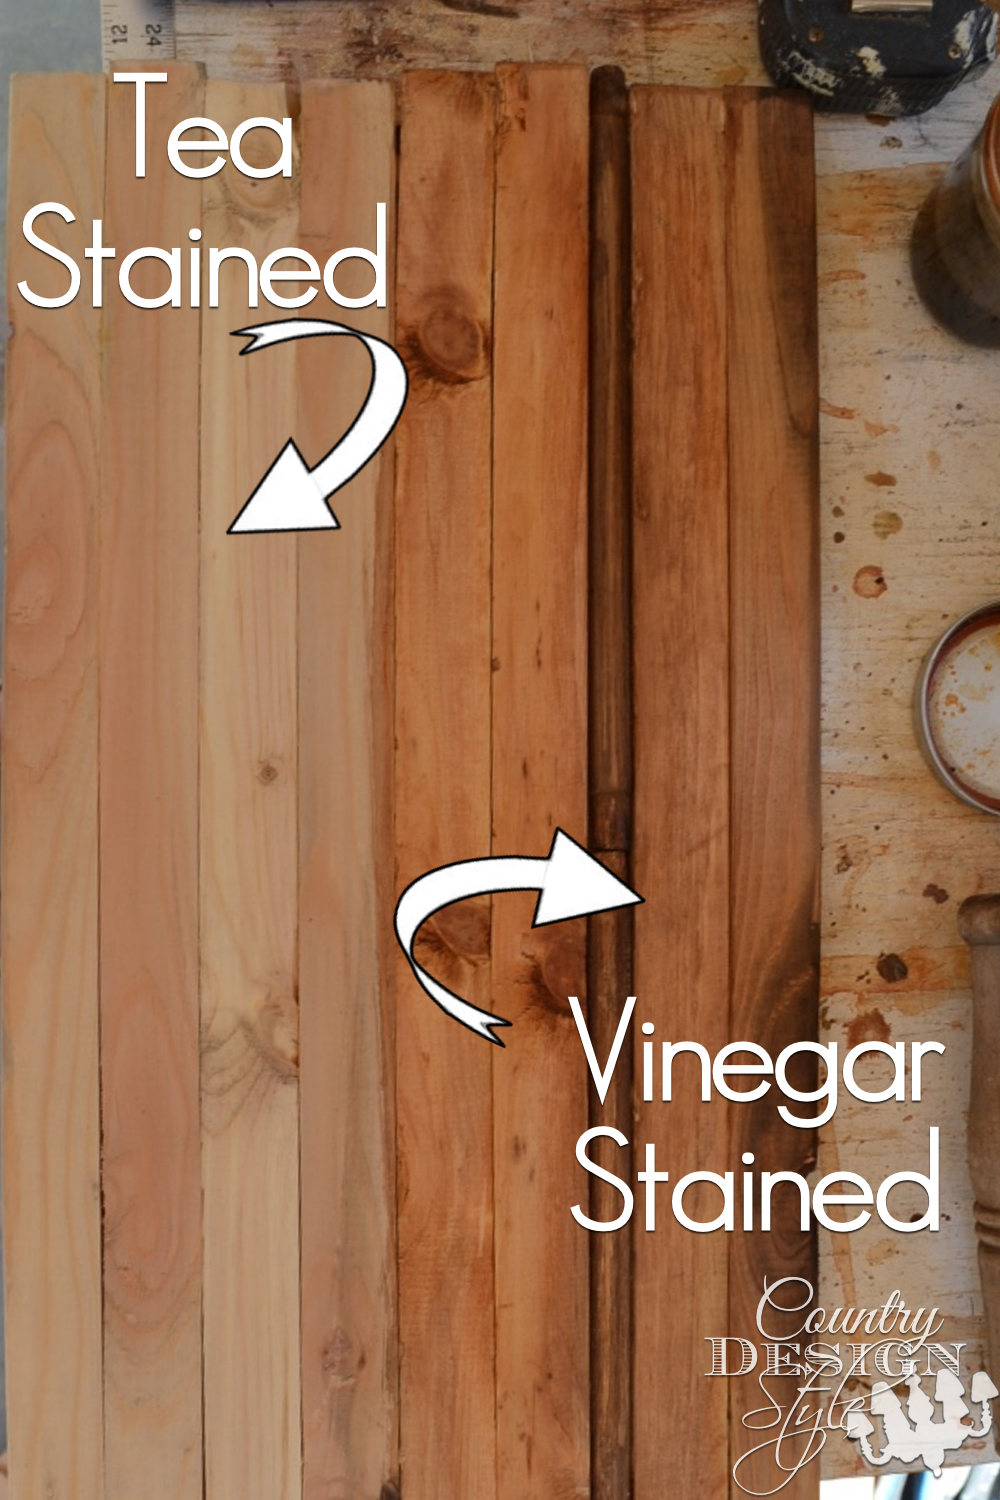
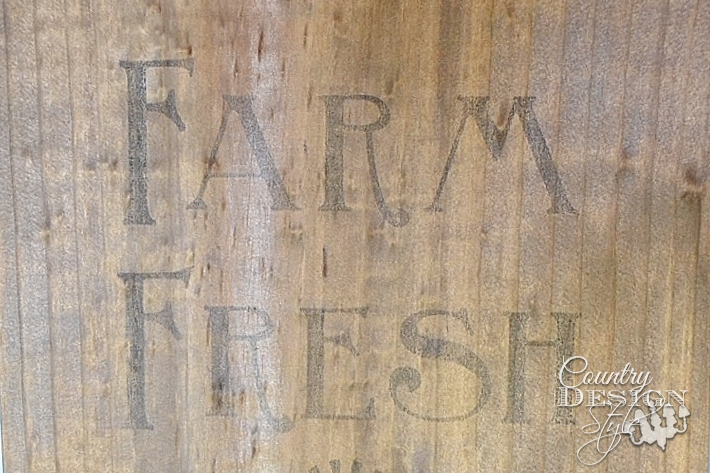
I then aged the wood using my favorite technique to age wood. I added steel wool to a cup of vinegar and let it sit for 24 hours. Then I made a cup of black tea. I painted the wood with the tea. Let dry. Then painted with the “ironed” vinegar.
You can read more about the aging wood technique here.

This area of the wood needed a photo op! I liked the grain effect so much I changed my plans for the rustic wood plank plaque!
One area of wood changed the painting plans
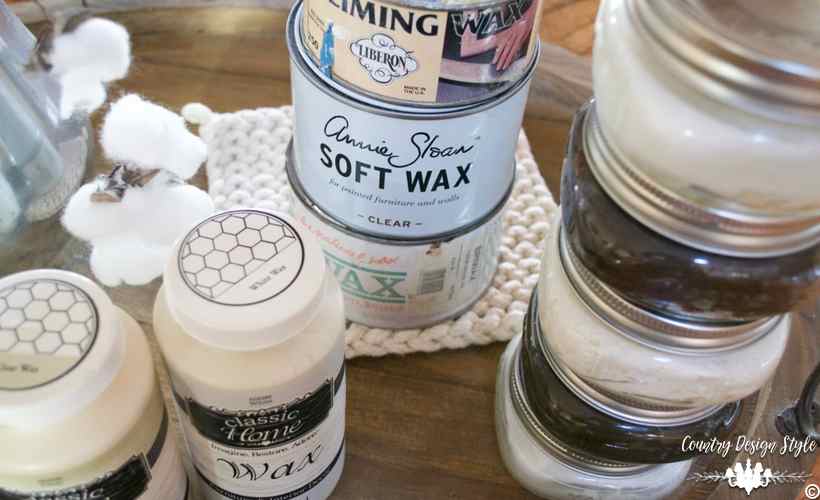
I was planning on painting over the “old” wood with white chalk-based type paint.
Then sand the paint back to reveal the aged wood.

Instead, I dry brushed over the now aged wood with cream chalk-based paint. Then added a highlight layer with white.


I hung it back up in the bathroom… :/
Actually, it got a downgrade! It’s in the powder room. But, more visual to guests. 😀
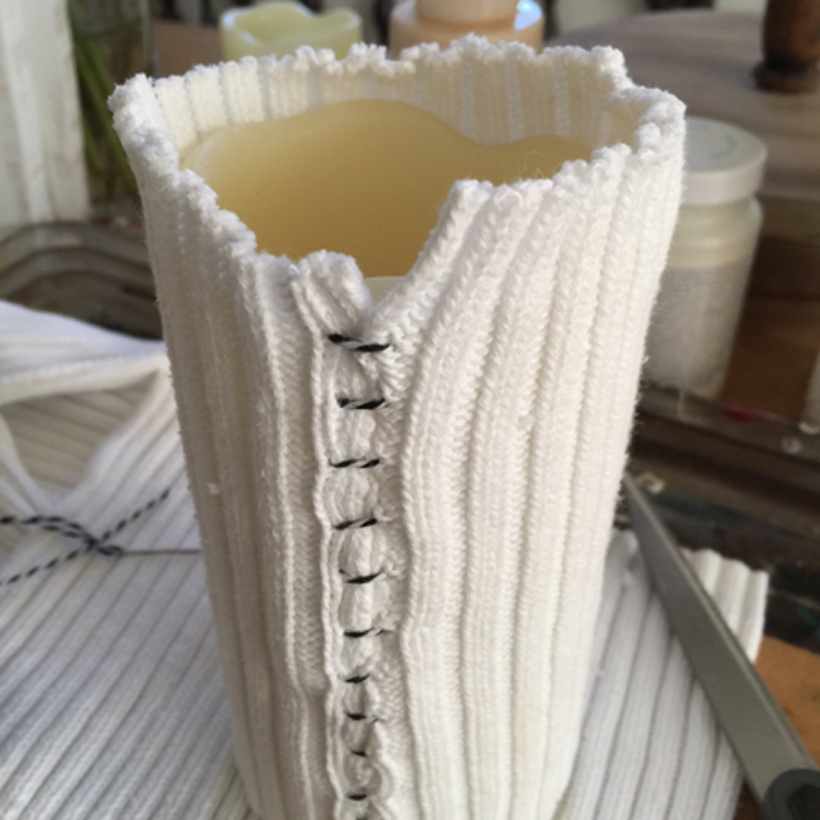
A couple of chunky tea light candles were plopped on top. I bought battery stick candles but I haven’t covered them yet with wax.
So…
I covered them with washi tape. Not realizing the battery candle were LED…I added washi tape to the flames!
Tones the candles down a bit.
Even with the downgrade to the powder room, the candle sconce is feeling pretty special.
It told me so! 😀
It’s ridiculous but I just realized our house has four toilets. There are only two of us.


Hi, I do think this is a great website. I stumbledupon it 😉 I may come back once again since i have saved as a favorite it. Money and freedom is the greatest way to change, may you be rich and continue to guide others.|
This is solo gorgeous!! I’ve never understood what it means to dry brush paint. Could you explain that to me? I’ve crafted for YEARS and have never understood that! Lol
Hi Amy, I’ve crafted for years too and I’m just now enjoying the look of dry brushing. It’s basically painting with a very dry brush. Dip your brush quickly into the paint only about 1/4 to 1/2 an inch on the bristles. Then using a paper towel to remove most of the paint until the brush is almost dry. To keep from wasting paint, I brush the bristles across the lip of the can to remove paint and let it fall back into the can. When painting, I lean the brush down close to the surface and let the paint lightly hit the high areas of the wood. It’s a good way to highlight the wood grain and areas that was sanded. I like to drag my brush across the edges too. Dry brushing is easy and quick. I’ve been doing several tutorial videos lately…maybe I should do a dry brushing one! Thank you so much for visiting and commenting. Jeanette
How do you affix the sconce to the wood? What did you use?
Pat, I should have shown that but the sconce hangs with a keyhole opening. So I just added a screw in the middle and hooked it on the plaque. Thanks for asking. Jeanette
That plaque is painted perfectly! And the newsprint washi tape is pretty special too, it completes the rustic look in a very unique way. Great idea!
Andi, my best ideas are spur of the moment! Jeanette 🙂
Wow, I love the look you created, great job!!
Thank you Cheryl. I’m developing more plans for the powder room too. Thanks for stopping by. Jeanette
love love this and what do you mean by you didn’t cover them with wax yet? did i miss this xx
Lol! Every battery candle in our home is covered with wax…except the two above. It’s too hot to melt wax! Jeanette