Summer Tin Can Banner
Another summer series post.
This one has several options and a one-page download on the bottom of the post. Fun for the kiddos getting bored with a little adult supervision.
There is the use of a hammer and a nail!!!
This reminds me of tin can phones. 🙂
Summer Banner
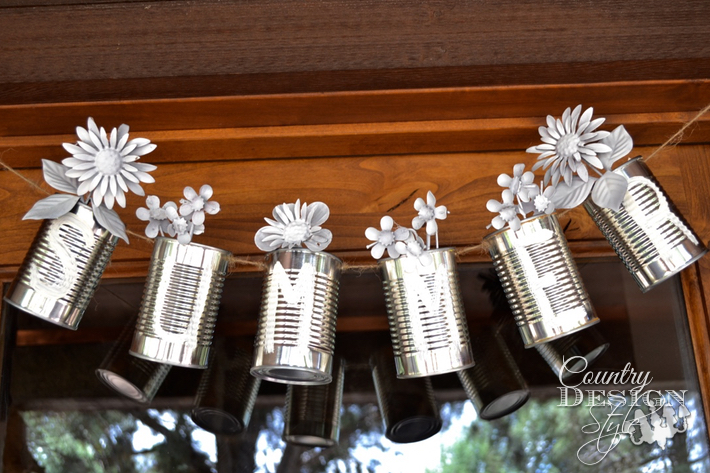
This summer banner was a tough one to photograph! I think I needed a large black curtain to block out the reflections. We have a glass front door.
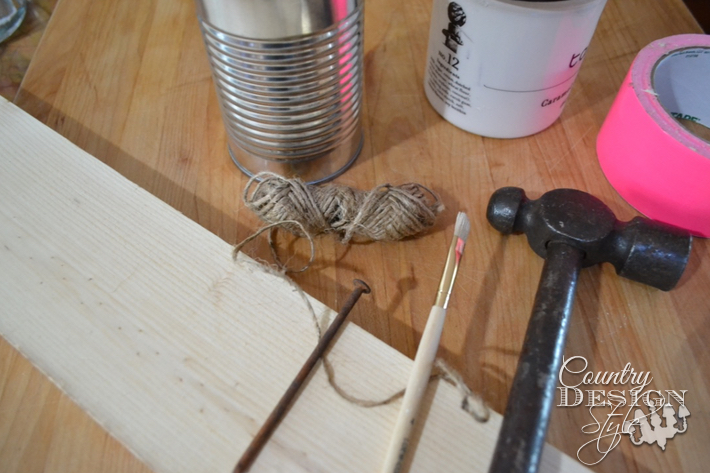
Here’s what I started with.
6 tin cans {cleaned and labels removed}
Hammer and large nail
Board to hammer into
White paint
Duck Tape {any color}
Small artist paintbrush
Twine
Scissors
I did include a download project plan below. {if you wish}
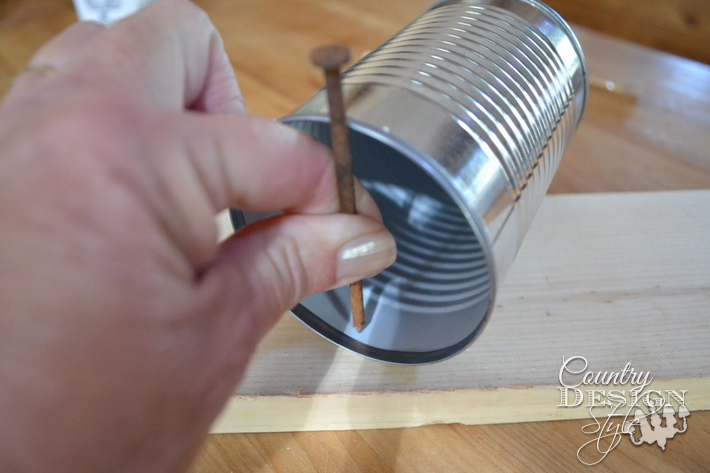
The scrap piece of wood is to tap a hole in the tin cans without putting a hole in your countertop.
Then spring the tin can on the twine. Do make a knot so the cans can’t slip down the twine and clang together…it’s not a great sound!
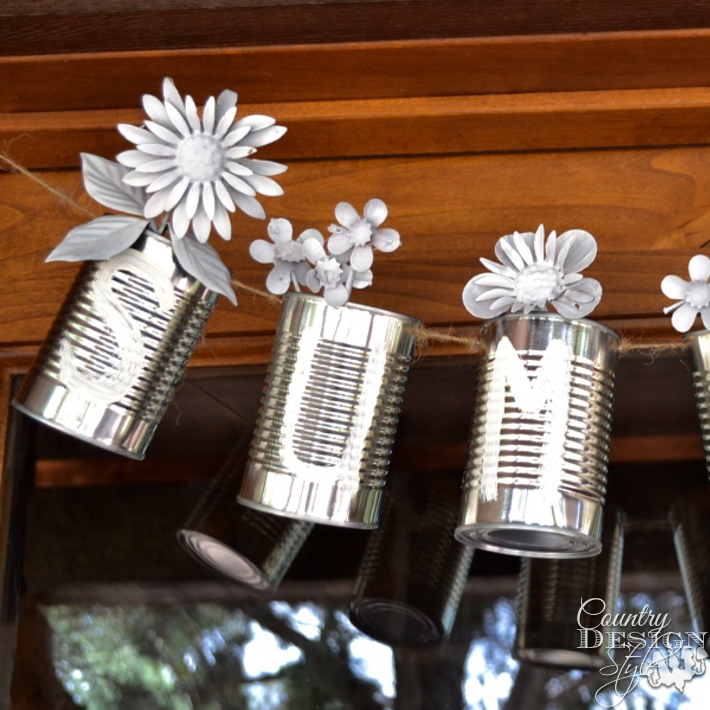
I have a collection of metal flowers I clipped off a fireplace screen about 15 years ago. I sprayed painted them flat white. These flowers have been every color at some point. I can’t grow real flowers.
This would be just as awesome with silk flowers or greens.
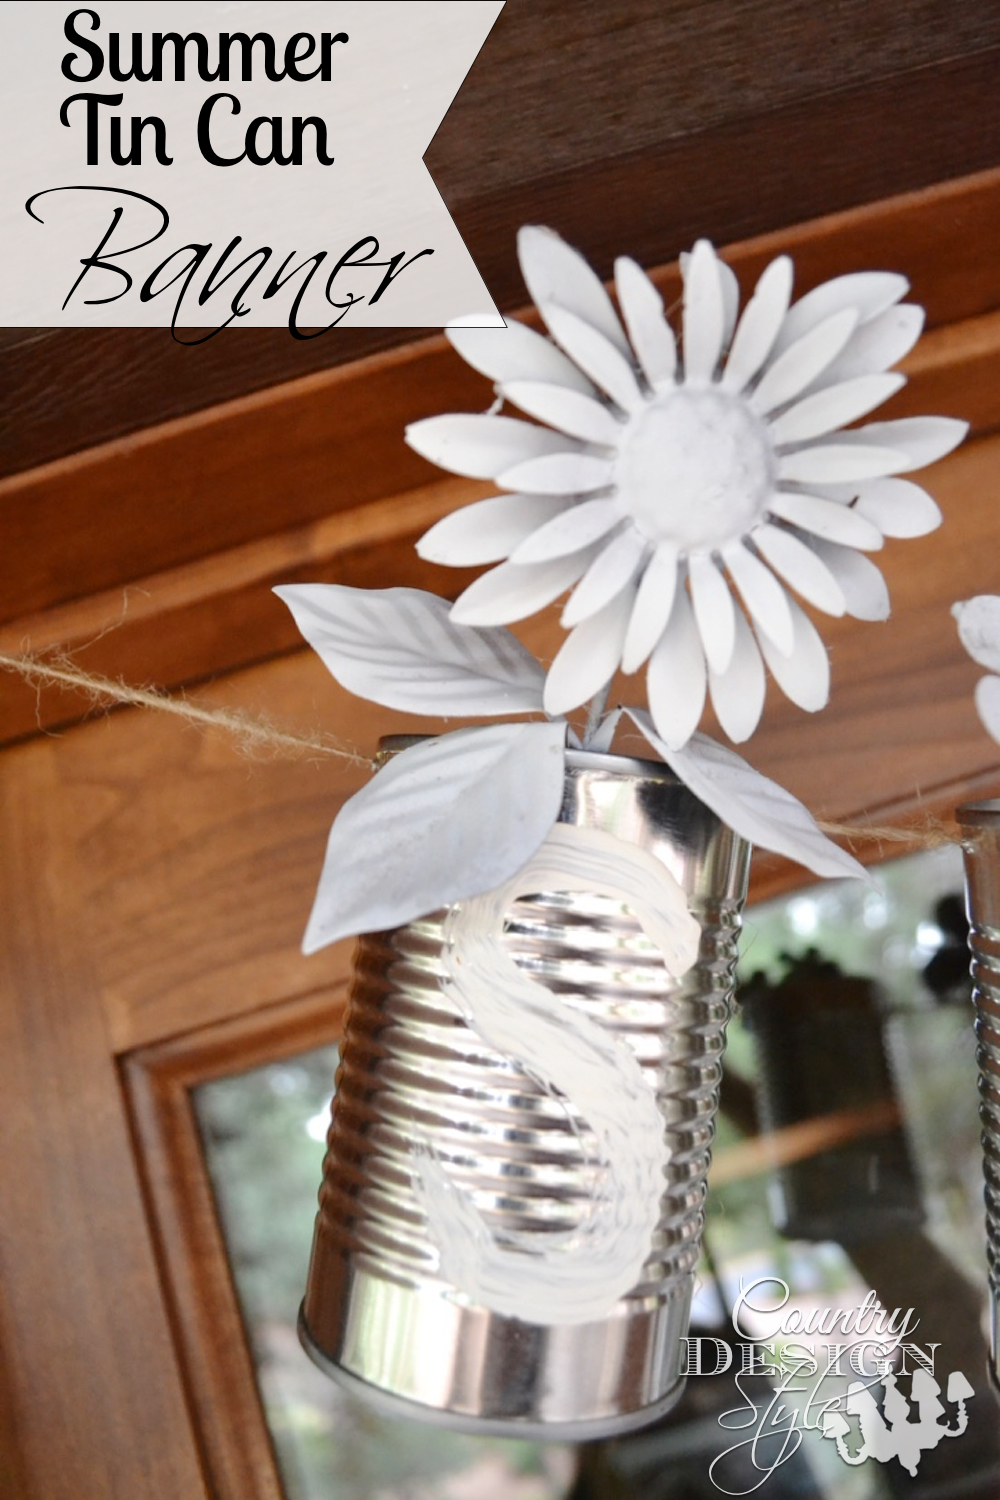
Duct tape is holding the flowers in place.
Yep, good o’ duct tape…in hot pink!
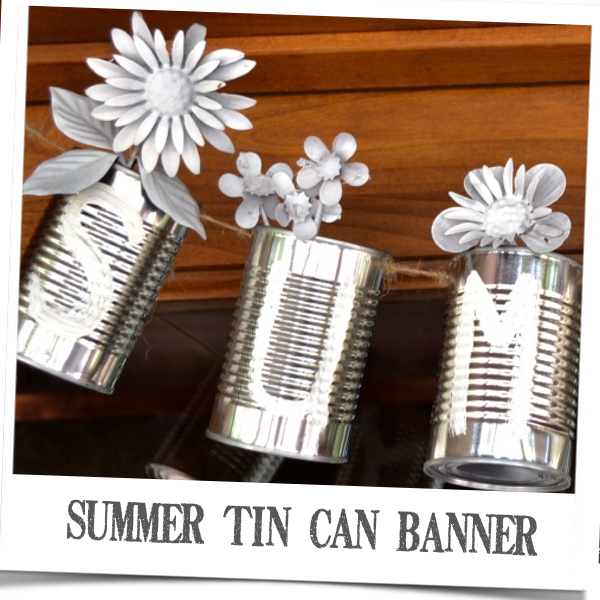
Now here’s your one-page download with all the steps on this summer banner project idea. There is another idea if a banner is not your thing.
Here’s another project with metal flowers too! Larger flowers…
Here are links to previous summer project idea posts.
Join the newsletter

Subscribe to get our DIY HelpLetter each Thursday. Plus grab your Interior Decorating Ideas e-book.





how adorbs ist that…love it
Thanks Christine. The best part…I hung them just far enough from each other they don’t cling together when the wind blows. Whew! ~Jeanette