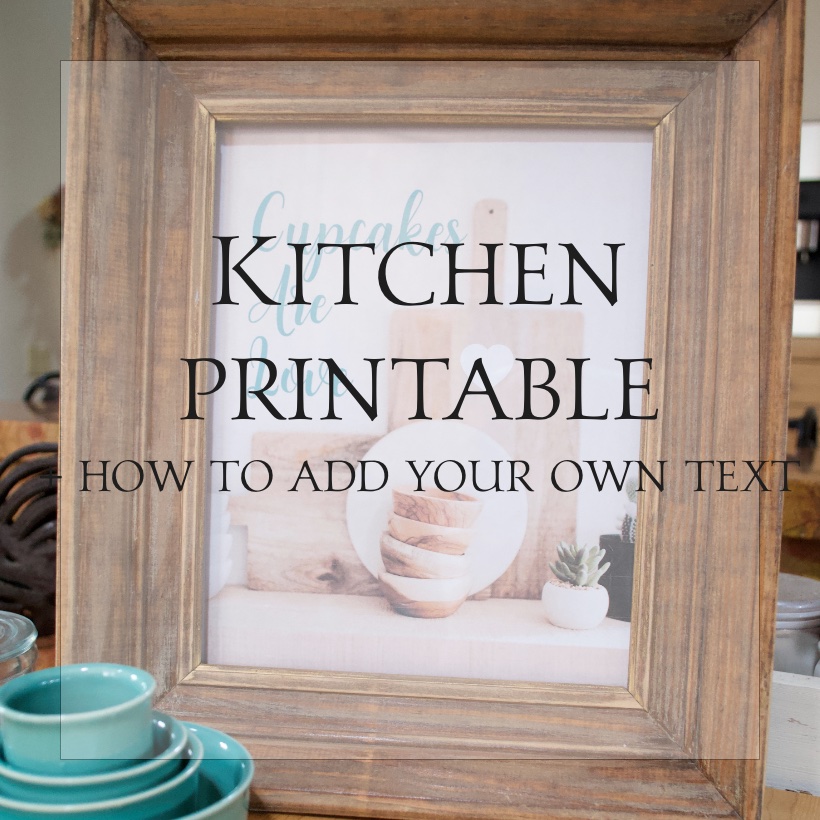
Plaster and Lace Wood Sign
If you like a messy project, making a plaster and lace wood sign is for you. If you don’t like messy, gloves help. Let’s do this…
The supplies
Plaster of Paris {For my sign I used 3/4 cup.}
1/2 cup of Water {add more as needed}
1/4 cup of Mod Podge
Bowl to mix the plaster
A couple of drops of craft paint {only if you want color on the plaster. I used 3 drops of pink for mom’s sign}
Craft stick to stir and spread the plaster
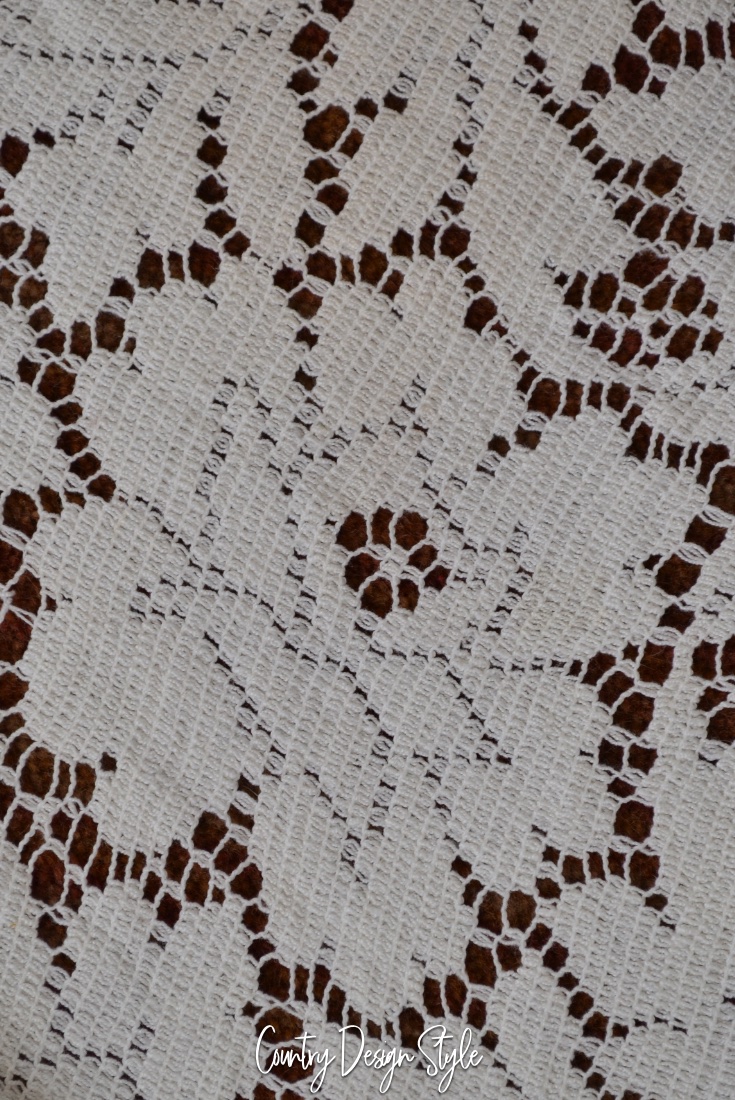
Thrift store lace tablecloth or any pieces of lace. {Be aware the lace will never look the same!}
Scissors
Board for the sign {Mine was 11 by 14}
Paint and paintbrush or aged your board {learn how by clicking here}
Paint and artist brush for lettering or use the easy image transfer technique {read more about the transfer technique here}
The steps

Cut away a flower or any area from the lace. I wanted one large flower. So I cut about 1/4 inch from the lace flower. This gives holes to push the plaster through that gives the outline of the flower.
Take a moment and plan your sign layout
Move the lace pieces around the board until you’re happy with the look. Plaster hardens fast! As soon as the plaster is mixed, start working. Keep extra water nearby if the plaster mix starts to thicken. Thick plaster will stick lace to wood.
Mixing the plaster
Mix Mod Podge and water in the bowl. Mix. Sprinkle Plaster of Paris of the mix. Stir well until all lumps are gone. Add enough water so the mix resembles pudding. Then, add a dollop of craft paint to tint if you wish. Since I created this for mom, I used a bit of pink. Otherwise, I would pass on the paint keeping the mixture white.

Work quickly spreading the plaster mix over the lace. Make sure to spread and “push” the mix down through the fibers of the material. Think about buttering toast and pushing down so the butter fills the holes in the toast. Rats, now I’m hungry.
Note, you can use tape to hold the lace in place. I didn’t but it turned out fine.
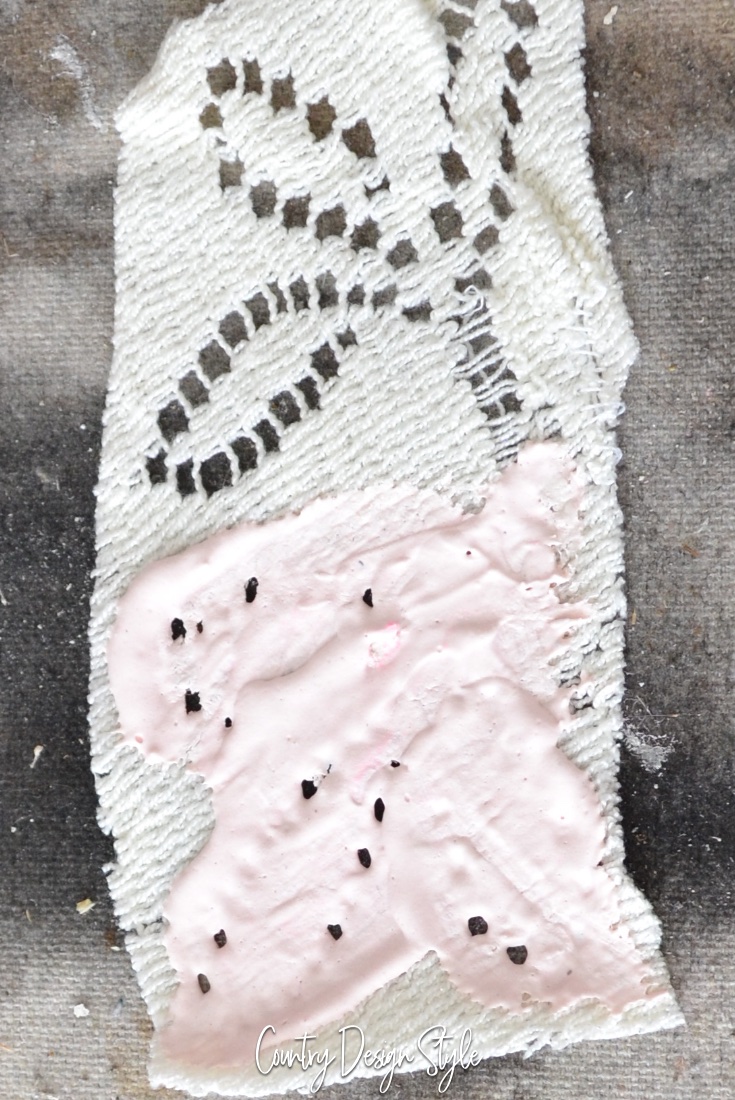
Lift the lace straight up.

Letting the plaster and lace wood sign dry. I have to admit, I wanted to touch it. LOL!


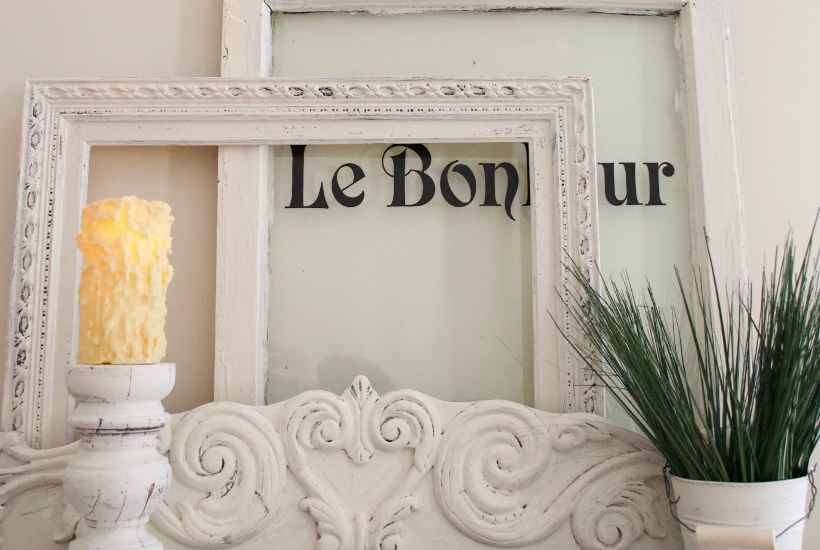
I asked mom what’s her favorite saying and added it using the image transfer method.
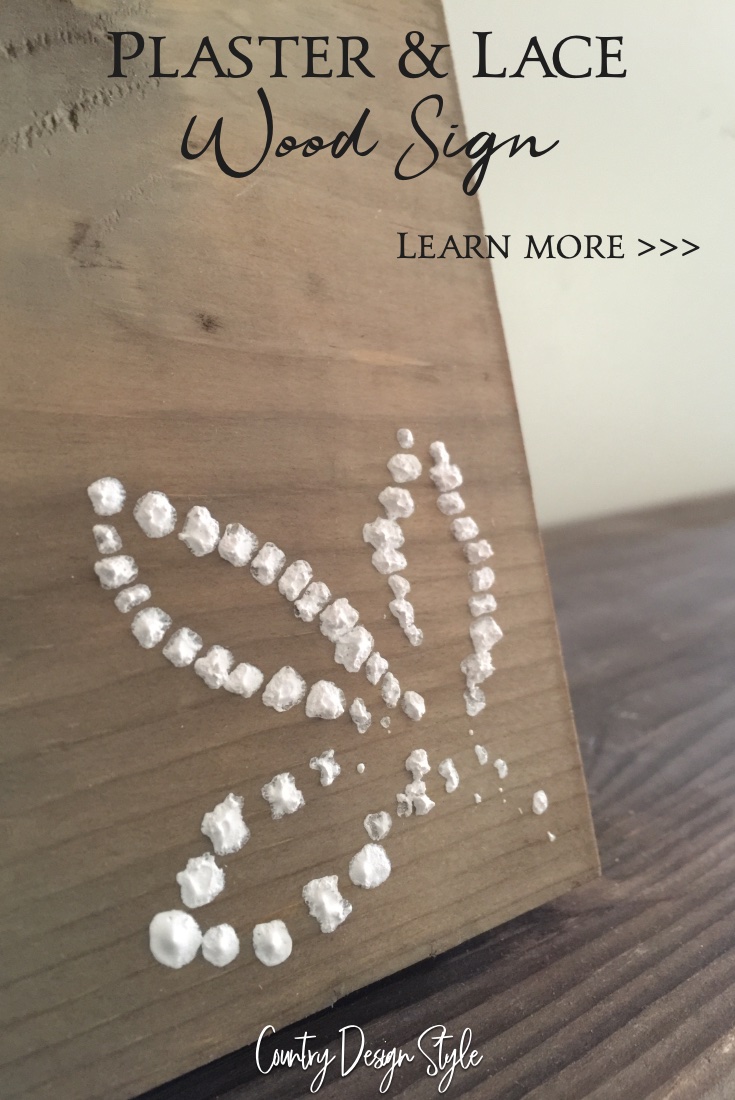
I love the texture the plaster adds to wood signs. I’ll be making one for us too! My barn painting tips remind me of this project.
But first, I need to clean my messy craft room. We’re taking mom on an RV trip!