How to do Image Transfers…Easy!
Have you ever pick up something that you wrote and can’t read it? Your handwriting might not work for a sign but image transfer from your computer makes it easy.

I have lousy handwriting. It never looks the same. There are handwritten recipes in my box and I don’t recognize the writing. Even though the writing is mine.
Happens to me all the time.
What does that mean?? I heard…on a movie {reliable source}…that when a person’s handwriting is different they’re schizophrenic.
Bwah-hah-hah
Actually, I’m sane…except for DIY projects. 🙂
Since my handwriting isn’t lovely I use the computer. I can draw…sorta…and have started drawing on the computer.
Today I’m sharing my tips for image transfers.
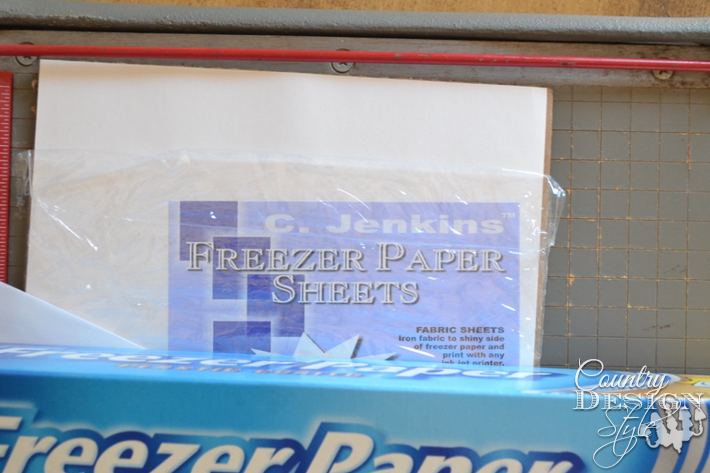
Here’re the supplies.
- Freezer Paper in 8 1/2″ by 11″ sheets. C. Jenkins Freezer Paper Sheets, 8-1/2 by 11-Inch, 50 Per Package
- Note: you can use freezer paper on a roll bought at your local grocery store too.
- Computer and printer
- Craft stick {Popsicle stick}
- Something to transfer onto
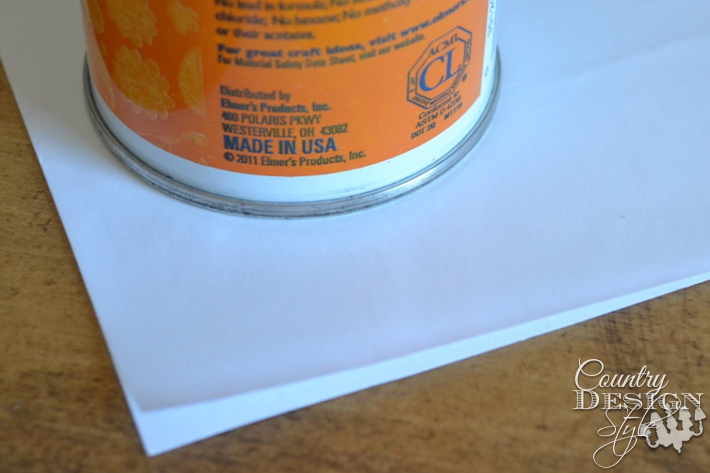
If you use the roll freezer paper, you will also need…
- A piece of 8 1/2″ by 11″ cardstock
- Spray mount glue
- Scissors
Steps on the computer
To make the transfer open the word or pages program on your computer. I’ve been using Apple products for years and can’t remember where things are on word…but I’ll do my best.
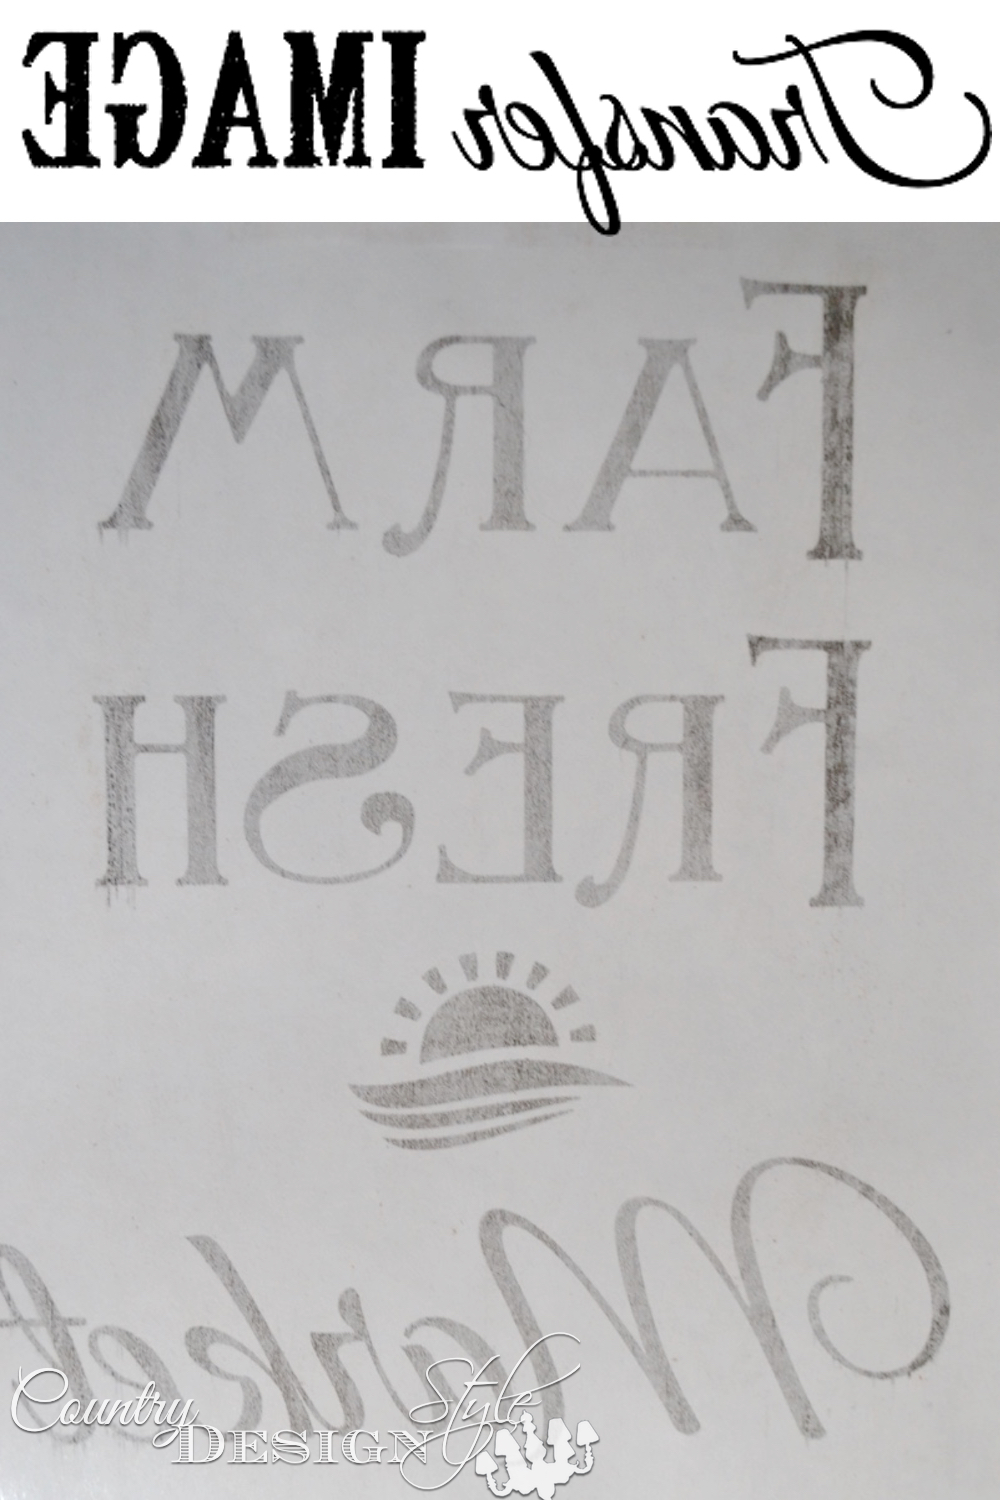
Add your image to the document. If the image has lettering you will need to flip the image horizontally.
Mac
Click on the image and under format click arrange then click the flip →
PC
Click on the image and under the rotate click the flip horizontally.
To flip text horizontally. Add your text to a text box then follow the steps above.
Now Printing
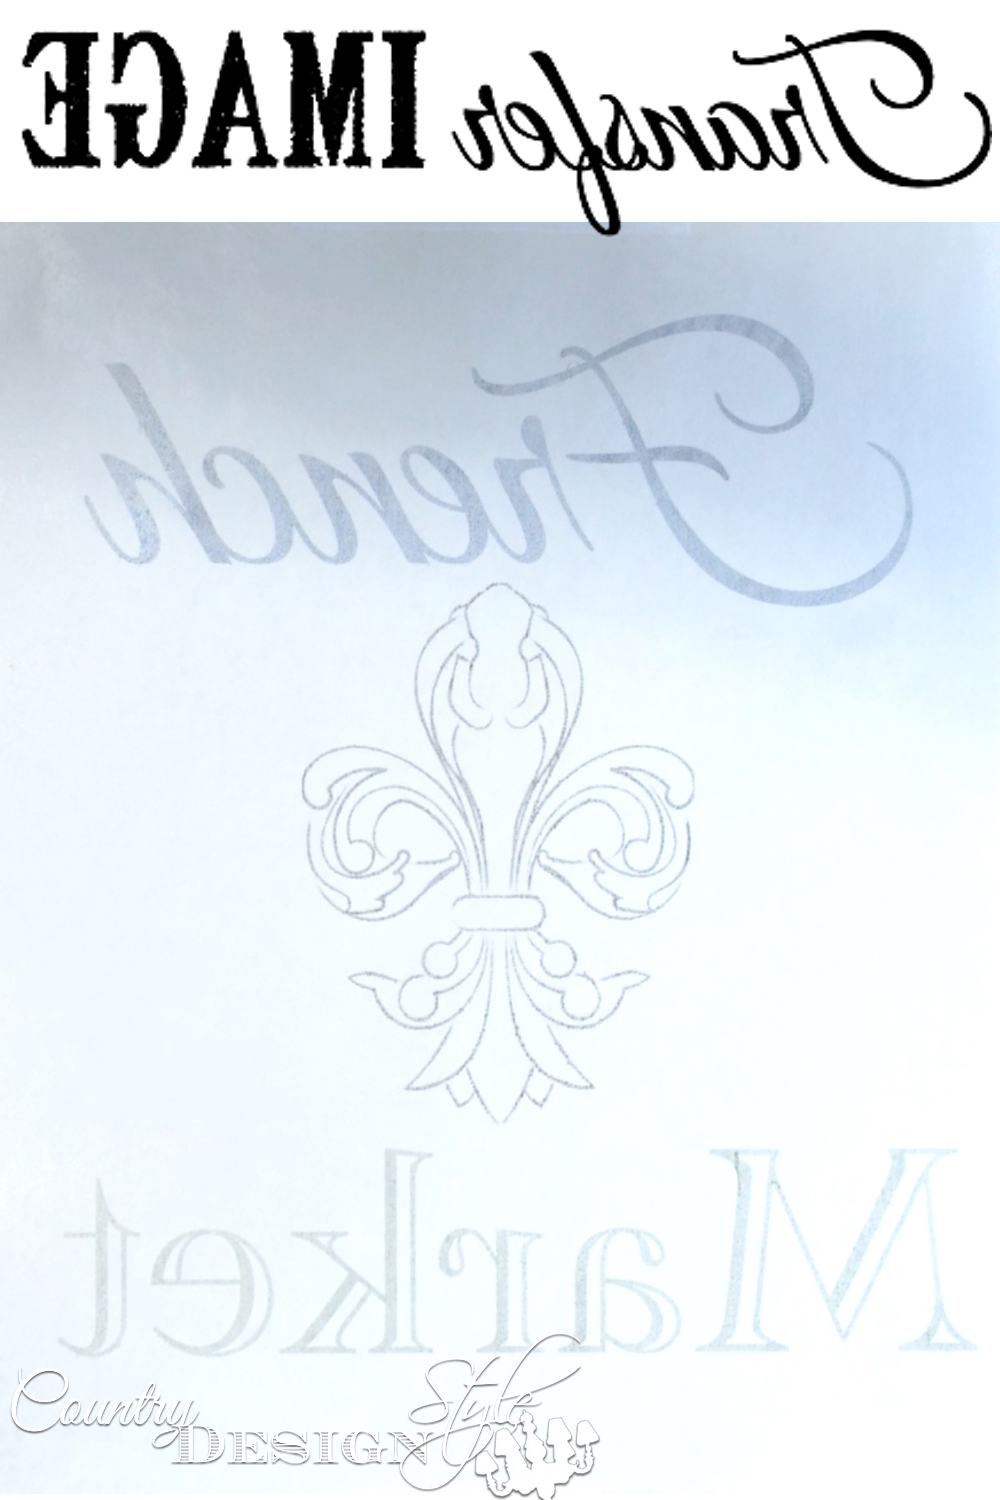
Now that you have your image and text you need to print it onto freezer paper. Freezer paper has a slick shiny side. You print on the shiny side. For the 8 1/2 by 11 sheets just add to your printer.
Prepare rolled freezer paper
Cut a piece of freezer paper larger than 8 1/2 by 11. Spray the cardstock with the mounting glue. Glue the freezer paper to the card stock. Trim to 8 1/2 by 11. Make sure the glue is dried before inserting into your printer. After your transfer is done, you can reuse your freezer paper a couple of times. Just wipe the ink off with a paper towel.
Hit print!
The ink will sorta sit on top. Sometimes the ink smears and sometimes the next thing I print with have extra ink in places. That’s the risk when doing DIY projects! 🙂
Transfer
Place your image transfer ink side down where you want the transfer. Rub the back with a craft stick and the ink transfers.
Here’s a video showing how easy the ink transfers.
Here’re a couple of other ways do image transfers or lettering transfers.
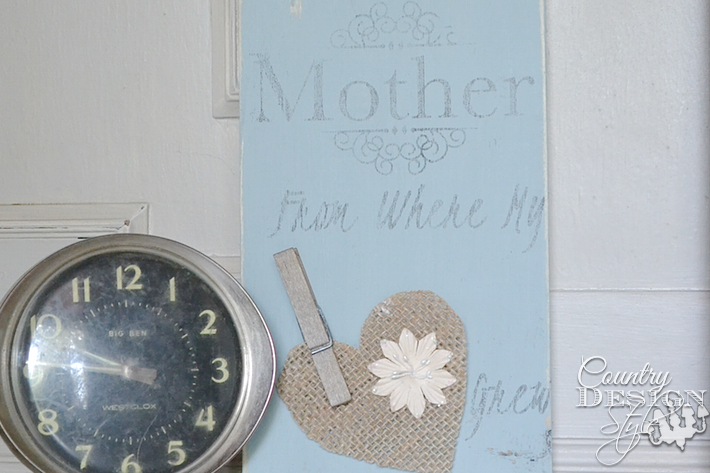
Print your image or lettering without flipping. Then use a sheet of copy paper. You can find it in office supply stores. Remember the typewriter days when you needed a copy?? Then use a pencil to transfer your image. Then trace using an artist brush and paint.
If your furniture or sign is dark you can transfer chalk dust to the surface. Print without flipping. Cover the back with chalk and transfer using a pencil. Again trace using an artist brush and paint.
My handwriting is bad…but I can trace! 😀
The image transfer works with colors too. Above is a sign made with blue and green lettering. I drew the fleur de lis on the computer.
I hope you try one or all these techniques. Let me know your results. If you like this click to tweet!
How’s your handwriting?
Join the newsletter

Subscribe to get our DIY HelpLetter each Thursday. Plus grab your Interior Decorating Ideas e-book.





Easy too follow directions and my handwriting is never the same which I why I’ve used stencils forever 😀 but I’ve always wanted to try a transfer method but usually after step 10 I’m lost, lol
Thank you very much for sharing your method!
Hey, Cornelia, Just now got to your sweet comment. What is it about handwriting that’s so different!!! Hugs, Jeanette
Jeanette, I just painted my dinning room table white with a Country-Style saying I transferred in the middle of the table. I want to put on right and left of the table to balance it out. I’m not really understanding the concept of transferring with image transfers. Do you know where I can find Country transfers?
Thank you
Darlene
HI, Darlene. The best place to learn about image transfers that I know of is The Graphics Fairy. Here’s a link to her website. There are amazing and easy to follow tutorials too. I hope you send me a photo of your table. 🙂
https://thegraphicsfairy.com/