
How to make a farmhouse sign with cracked plaster
How to make a farmhouse sign with cracked plaster. The first one I made was wall size.

Please note…stenciling is not my thing! If you have any tips…I’m listening.
This post contains affiliate links. Click here to read my full disclosure policy.
Almost twenty years ago I had an antique vintage space in an antique mall. The owners were sweet but the mall was dated. My space had mauve walls. Ugh! I needed the cheapest way to cover the walls. I couldn’t paint. So, I bought a flat sheet for $5 and a bucket for plaster and made a crackled “wall” to hang over the mauve.
Today, I’m sharing the basic idea only smaller. A vintage inspired French farmhouse sign using cracked plaster.
The supplies to make a mess

Plaster of Paris
Mod Podge {This was a new idea below I explain why}
Water
Cup and plastic spoon for mixing
Thrift store frame {Mine is 5 by 7}
A piece of cloth slightly larger than the frame {today I used canvas but drop cloth or a piece of old sheet works too}
Waterbased stain {I used raw umber}
Small paint brush for stain
Paint for the stencil {Use a lighter color than your stain, more about that below}
Stencil {This is the one I used}
Stencil brush
Paper towels

I gave the frame a farmhouse look by sanding the wood frame. I left the darker stain in the crevices.
Mixing the plaster for cracking
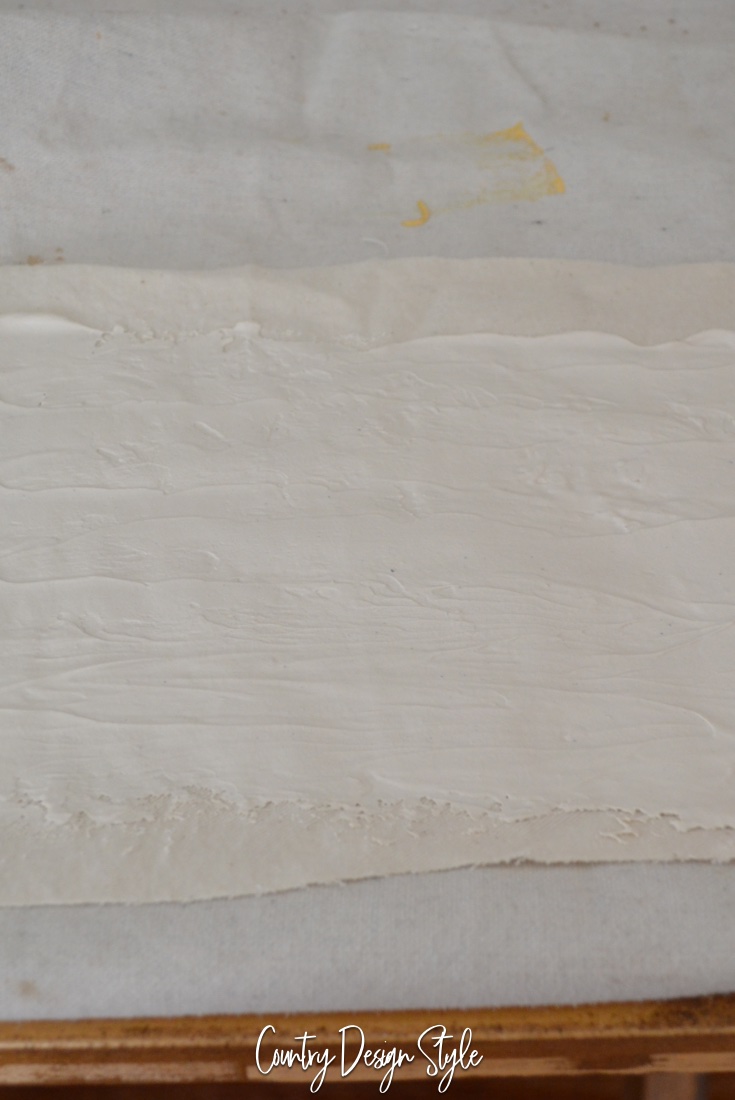
I mixed 1/3 cup of water and 2 tablespoons of Mod Podge in my plastic cup. Then sprinkled about 1/3 cup of plaster. Mix well until all lumps are gone. Add water or plaster if needed to make a mix the thickness of grout for tile. If you’ve never grouted tile, the mixture should drop from the spoon and not pour. If that helps.
Spread the mixture over the fabric using the back of your spoon. Cover the area completely that will show through the frame. Don’t worry about an even surface. That will be more areas to let stain collect.
Let dry. Make sure the back of the fabric dries well too.
Now my mistake!!
I stenciled using paint almost the same color as my stain. If I used white or black the color would show through the stain.
So apply your stencil and remember to let me any stencil tips below. 🙁
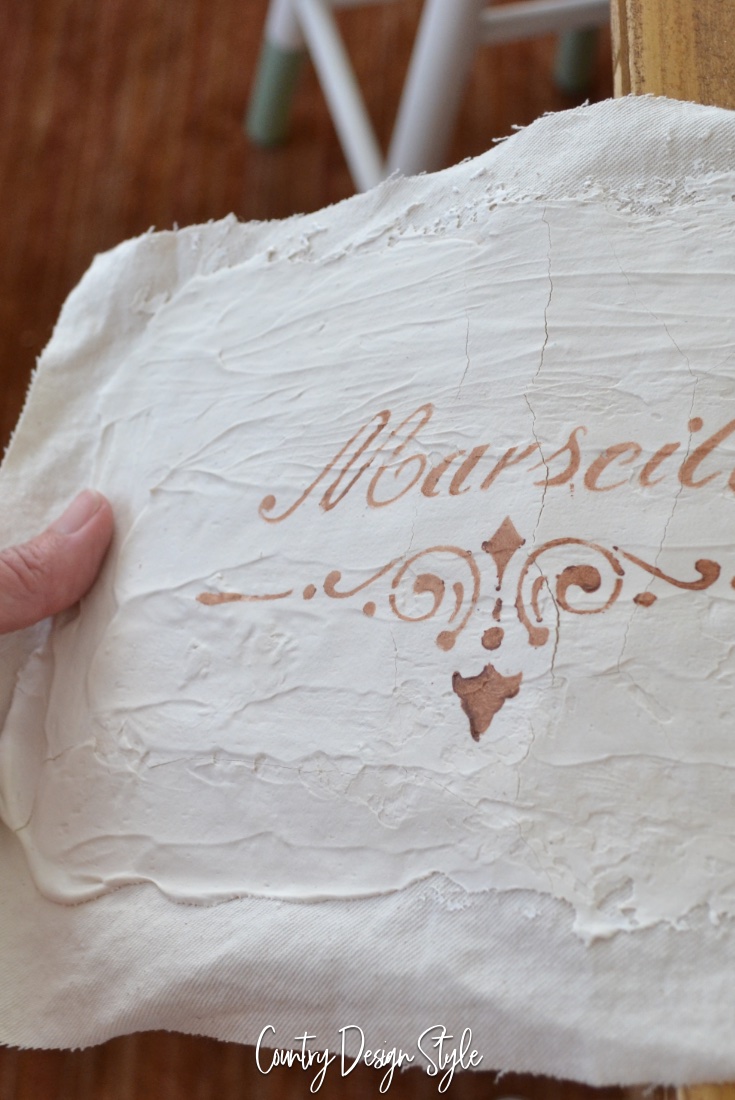
Now crack your plaster. I used the edge of the table and run the fabric over the side. You can break areas too by lightly bending.
Plaster and Mod Podge
When I created the cracked wall, it was a blast to pull the sheet down the edge of the table and watch the cracks form. The problem back then was the plaster would fall completely off in some areas. That’s why I added Mod Podge this time. The glue helps the plaster adhere. I add it to most all plaster projects.

Next, apply a light coat of the waterbased stain. Then quickly remove using and paper towels. When I removed the stain, I could barely see the lettering.
So, I grabbed white paint and re-stenciled!

Then I used scissors to trim the edges to fit the frame. Yes, you can cut plaster…just use old scissors. You’ll notice the fabric and plaster fills a bit like leather.

Now that my french country farmhouse sign is done…I Googled Marseille.
It’s a town in French.
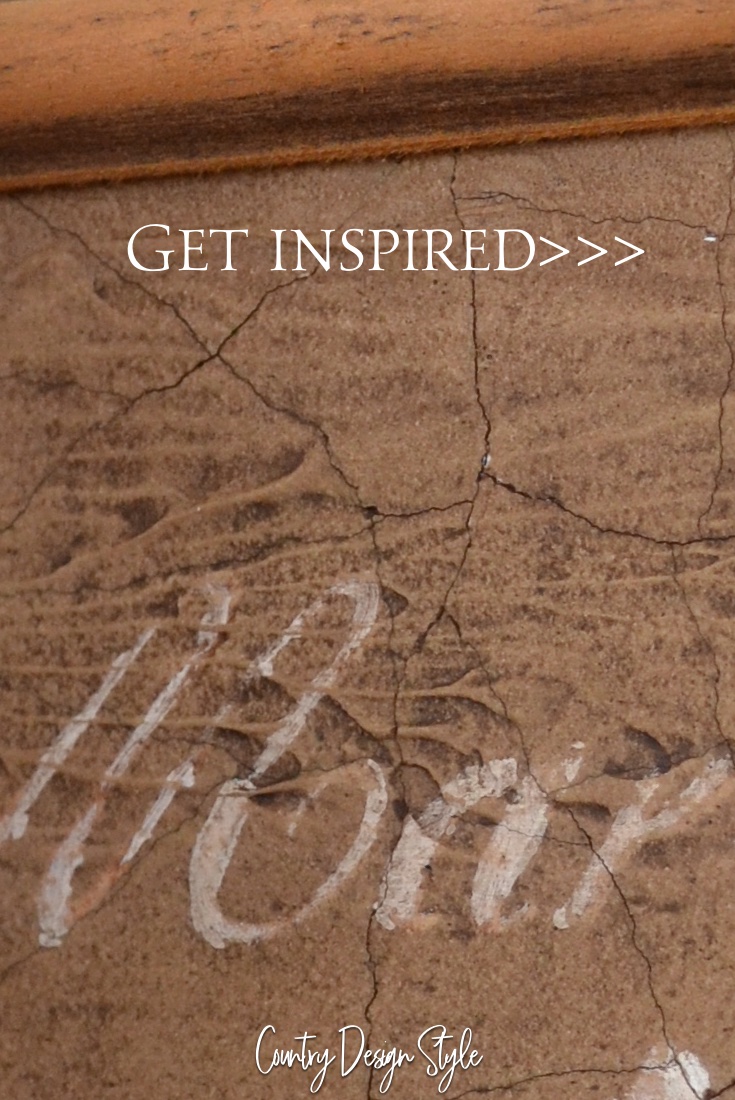
Here are a few other cracked projects.


I TOTALLY LOVED THIS …AND ADDED IT TO MY FAVORITES…CANT WAIT TO TRY THIS..
YOU ARE SOOOOOO CLEVER!!!
THANK YOU FOR SHARING THIS WITH US AND TEACHING US !
Hey, Susannah, Thank you so much!! You made my day. I enjoy trying new ideas and some actually work! Hugs!
Tip when stenciling, do the first coat with your mod podge, let dry then do the paint. it will seal the edges of the stencil.
Thank you so much for the tip! I need to practice stenciling. It’s something I haven’t done much. Hugs ~Jeanette