
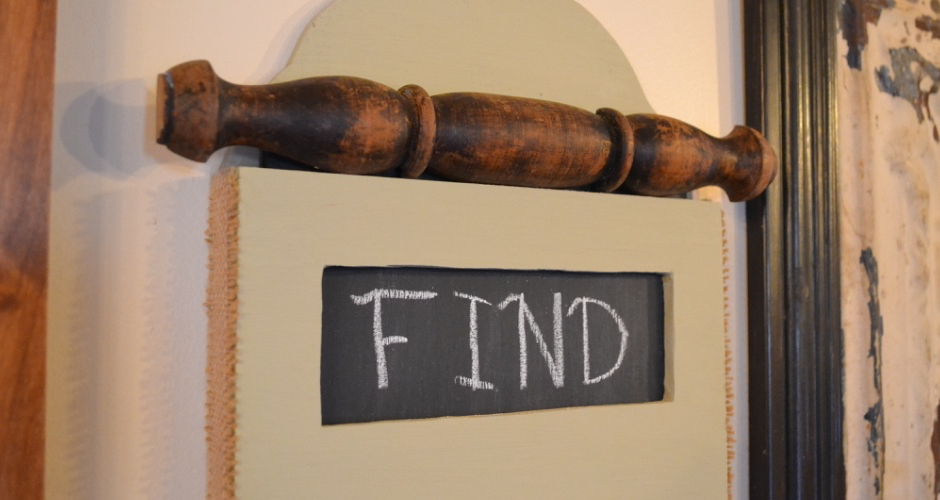
Hidden Message Sliding Chalkboard
I cannot begin to tell you how over the moon I am today.
First I have the opportunity to join a creative group of DIY project challenges. Each month we pick an item to recreate, repurpose or make something quirky. This is my first month! For my first month the item is….drum roll…
Spindles!!!!
This is right up my alley!
Hidden Message Sliding Chalkboard

Please check out all the spindle and molding projects from the project challenge group at the bottom of this post.
My little Affiliate Disclosure: This post contains affiliate links, which means that if you click on one of the product links, I’ll receive a small portion of any sales at no additional cost to you. The links are added for your ease if interested in purchasing. I only include affiliate links to products I use and love or items I wish I had. It’s a win, win & win!
Items to make sliding chalkboard

This is the mix of stuff I gathered to make my hidden message sliding chalkboard. Pieces of MDF board, an old spindle, square trim and a ribbon of burlap.
The spindle was bought at Junk in the Trunk Vintage Market. I bought all that was displayed in a cute little bucket. They were marked $3 each!! So, I bought them all I got them for $2 each.

The steps
First, I started with a piece of 1/4 inch thick MDF {medium density fiberboard} MEDIUM DENSITY FIBERBOARD 1/4 X 24 X 48. It’s easy to work with and cut…but very dusty. I used a Dremel Saw-Max Dremel SM20-02 120-Volt Saw-Max Tool Kit
to cut out 3 boards. A jigsaw BLACK+DECKER BDEJS600C 5.0-Amp Jig Saw
would also do all the cuts needed in the MDF.
Cut Sizes
1 – 9″ x 12″ Top layer
1 – 9″ x 15″ Bottom layer
For the chalkboard
1 – 8″ x 12″ Chalkboard layer

The top layer has a cutout area or “window” that’s 7″ by 2″ along the top edge. I used the Dremel saw but again a jigsaw would work too.

The bottom layer was drawn on way too many times! UGH! I used a small oval dish to draw a shape…or two…or three…or four. Anyway, I picked a line and cut out a top shape this time using the jigsaw.
Next, I painted the top and bottom layers with chalk paint in oatmeal FOLKART Plaid 34151 Home Decor Chalk, 8-Ounce, Sheepskin. It’s really a greenish gray color. If my oatmeal turned out this color it would be dumped down the sink!

I had 1/2 inch square trim. I cut two pieces 12″ long and one 8. My favorite wood glue ever Elmer’s Wood Glue Max. This glue is strong enough to hold this project together without nails!!! Then I glued the bottom layer making a pocket.

Next, to hide the layers and the wood trim, I used a strip of burlap. It was simply glued using the wood glue. I left the frayed edges. It gives a farmhouse look. The glue will keep the threads in place.

Painting
The chalkboard layer was painted with chalkboard paint FolkArt 2517 8-Ounce Chalkboard Paint, Black. Then I use small screws to add the chalkboard to a split spindle. The spindle will act as a handle to pull the message up to view in the cutout window. Click here to see a video on splitting spindles.

I made two small holes in the bottom layer to nail the hidden message sliding chalkboard on the wall.
Here’s the hidden message sliding chalkboard in action! Mike offered to be my hand model. This will cost me!
Sliding

So, we are going to have a blast around here checking out what the rest of our messages say.

If you like this project, pin it for later.

Burlap is fun to use in wood or MDF projects. Instant farmhouse!

One of my 2 most popular posts is “10 things to do with a broken spindle” and “10 more things to do with a broken spindle.” I’m ready to write 10 more again! 🙂


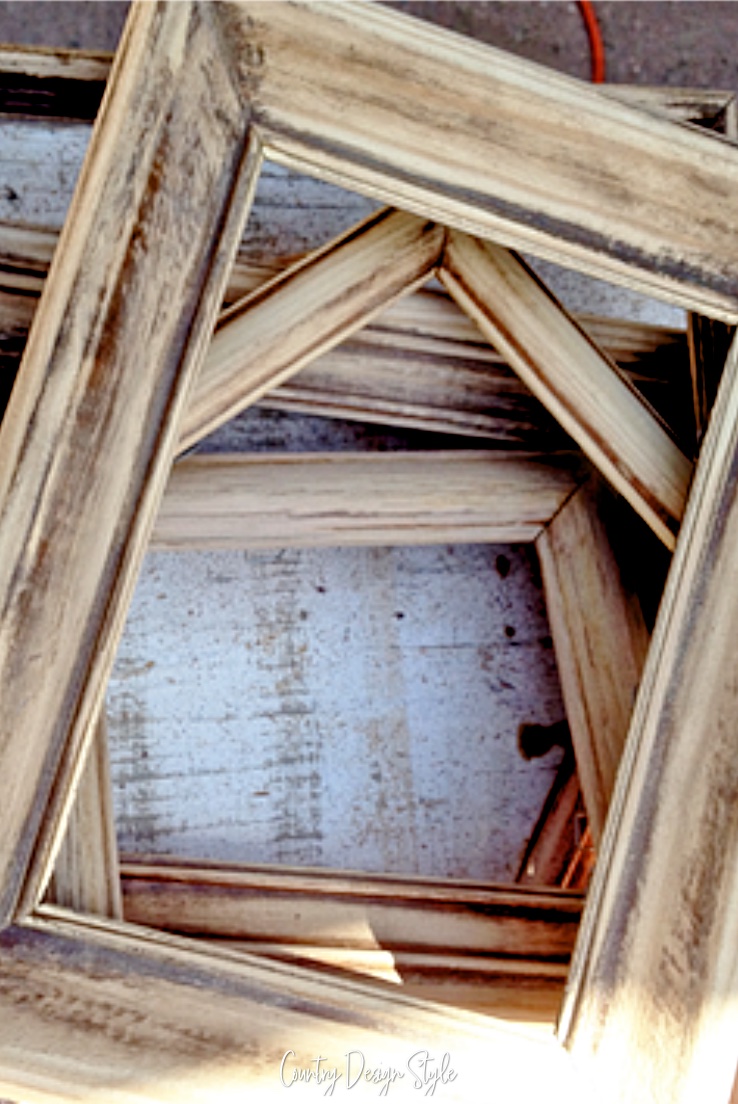
Here are images of similar projects. Click the image to see more.
Join me below and check out more spindle and molding projects from this creative team of DIY bloggers.


sorry. looks cute, but I got tired of closing pop ups to see it.
be blessed
Barb
Oh Barb, I’m so sorry the pop ups was giving you trouble. I try very hard to make sure they are not a nuisance. I’m not a fan of them either, but they do help me grow my website. There should only be two. One that slides up along the right side from the bottom so the post can still be read and seen. The other does pop up as you move to leave the site. I’ve been making changes around the website and might have caused an issue. I will double check my settings. I hope you give the website another chance. I try to help readers as best I can. Blessing to you. Jeanette
Jeanette this is AMAZING!!! i really love how creative you are with spindles. So inspiring!!
I do love using spindles Michele. I think my passion came from my grandma old spindle bed. Thank you for reading.
I could see writing sweet messages on your chalkboard. Or having one for each person in the home. What a clever project and I also envy your skill with tools! ;o)
Thank you Lucy. It’s been getting a lot of use. Mike and I are guess between us with the next word is and trying to stump each other. Life in a small town! 😕
Hi Jeanette, first off welcome to our little group. I am pretty new myself, this is my 4th month participating. I think it’s awesome so see what everyone comes up with!!!!! You did a wonderful job building this little chalkboard box, such a clever idea. I myself don’t know how to use tools, so I envy you girls who can actually put something like this together!
Thank you so much Christine! I really like the challenge of taking an item and turning it into something. I always tell my readers that using a woodworking tool isn’t much different than kitchen tools or other crafting tools. Just read the manual first and turn on the tool. Mike and I have been wanting a sign to hang over our porch, so people can find our front door. I’m now thinking latitude and longitude would be perfect.
What fun! Love this 🙂
Thank you Jill! I’m thrilled to be part of this group.
What a clever chalkboard!!! I love how you used the spindle… it’s adorable!
Thank you Robin. We’re having fun with it.