Rustic wedding centerpiece of old boards
rustic wedding centerpiece
You are at a wedding, and you ruin the moment. My sister was getting married. As a bridesmaid all seemed well until the “I do’s.” Tears started streaming, pouring, flooding down my face. It wouldn’t stop. I was bawling.
No purse, no pockets, no tissues, not even a glove. I was wiping the “ugly cry” on my arms.
To this day I have no idea why. Weddings I’ve attended since bring normal happy watery eyes.
Although, worries about the ugly flood of tears concern me every time I attend a wedding. My niece is getting married later this month. I’m bringing a whole tissue box along with aged wood boards.
Cause that’s what I do!
We live in a wooded area and I hoped to get wood slices for the rustic wedding centerpieces. That didn’t work out. So I checked with my niece for another idea. Old “looking” barn wood boards. In some areas, barn wood would be easy to find. In our area of stucco homes, not so much.
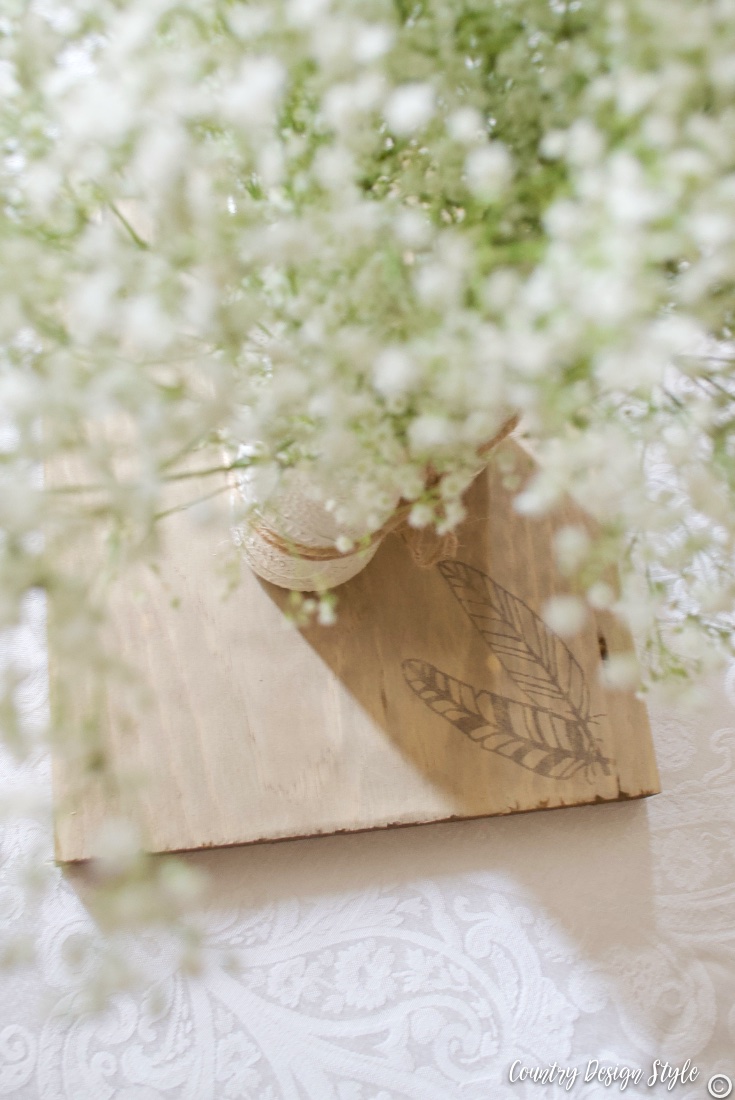
Rustic wedding centerpiece
So we came up with the idea of using old boards instead of the expected wood slices.
Since farmhouse style is my thing, I love creating rustic style. About 75% of my DIY wood projects include using tea and iron vinegar to aged the new wood to look like old barn boards. Even the painted projects.
For your convenience, this post contains affiliate links so you can easily find the products or similar items at no extra cost to you. Click here to read my full disclosure policy.
Read more about aging wood instantly here.
After cutting up 9-inch boards into 12-inch lengths, I aged the wood. While working on the boards I tried something new for the aging process to get a more gray board instead of brown. It works and I’ll be sharing the additional gray wood step in an upcoming post.
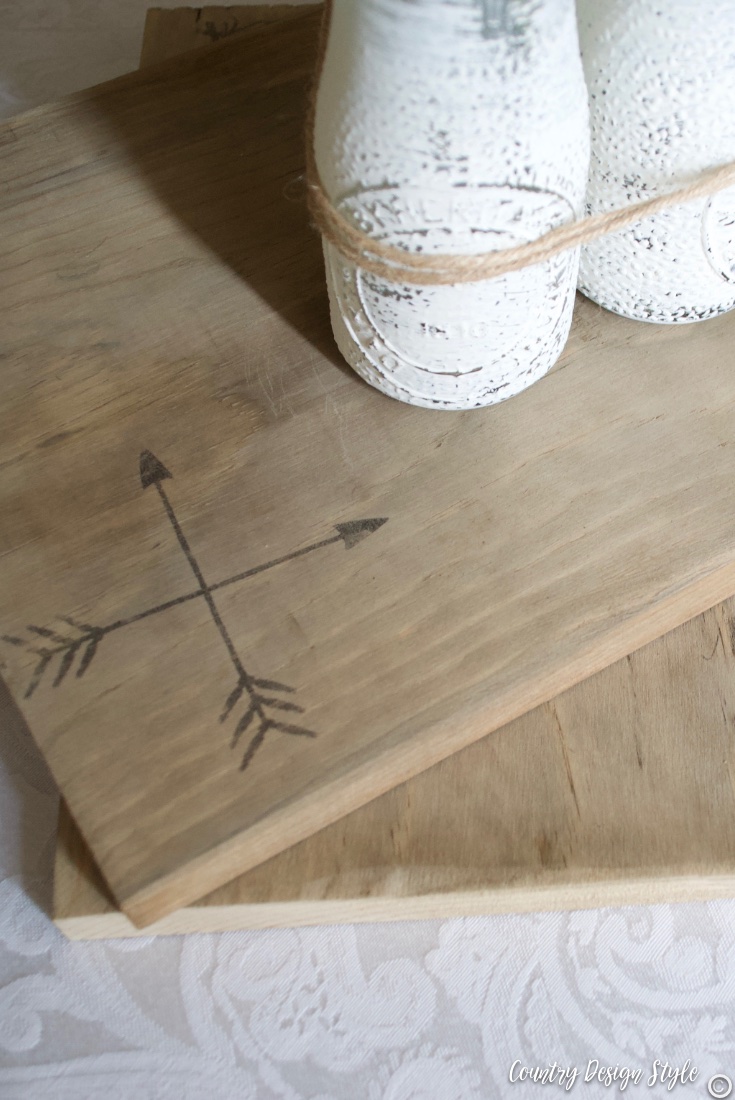
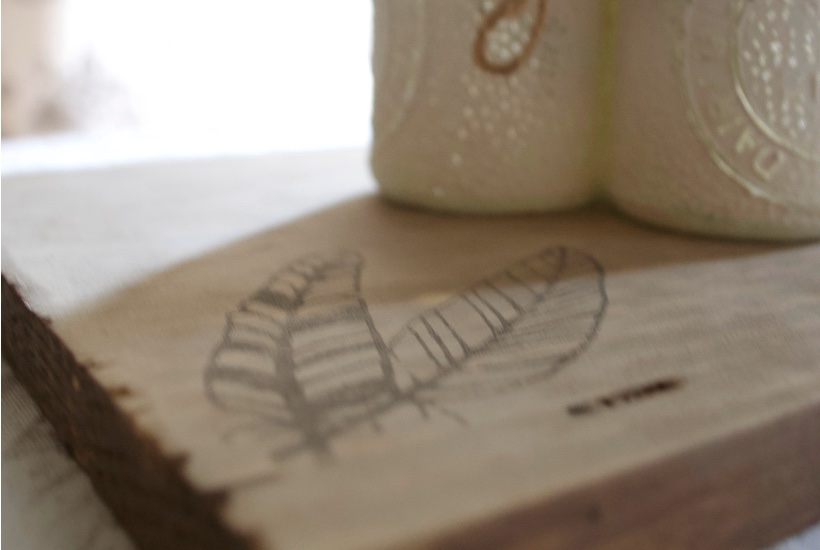
To make the boards personal I added transfers to the boards. You can read the how to create transfers here. This is my favorite transfer paper to use. It transfers on aged wood, painted items, and fabric.
My sweet niece is creating the centerpieces of three mason jars. I wanted to share the photos of the boards with transfers and every mason jar in our house had paint or ironed vinegar in it!!!
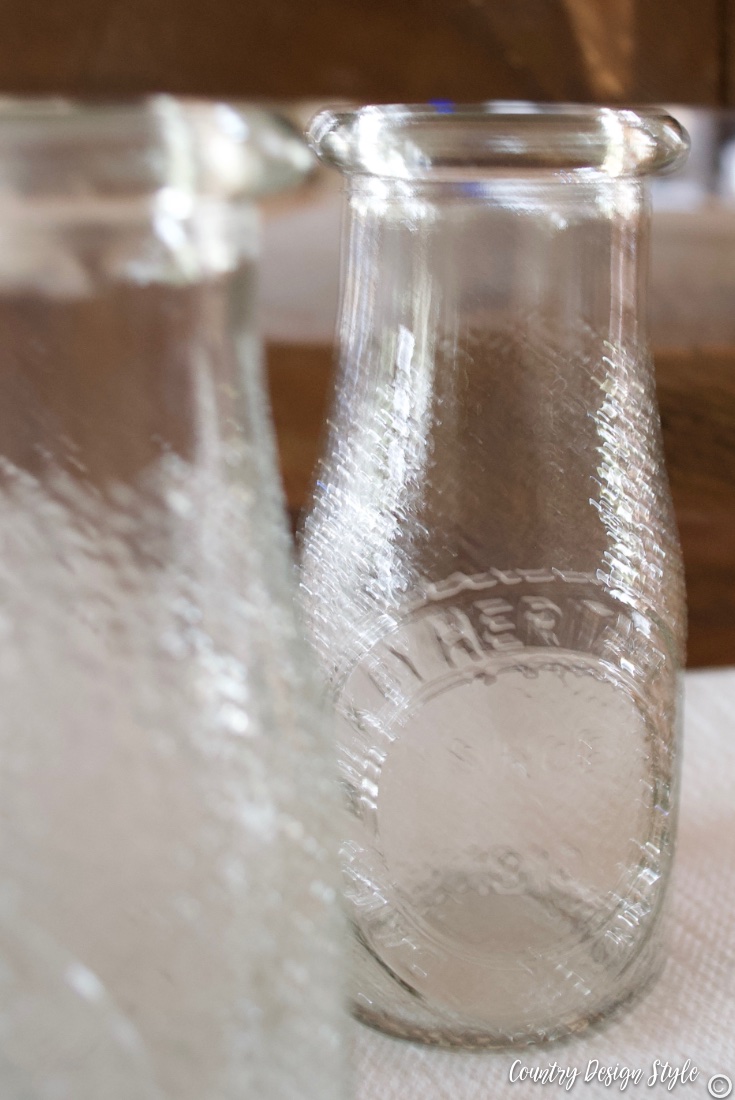
I did, however, find some fun milk bottle at our dollar store, so I put them to work.
The milk bottles have raised lettering and bumps.
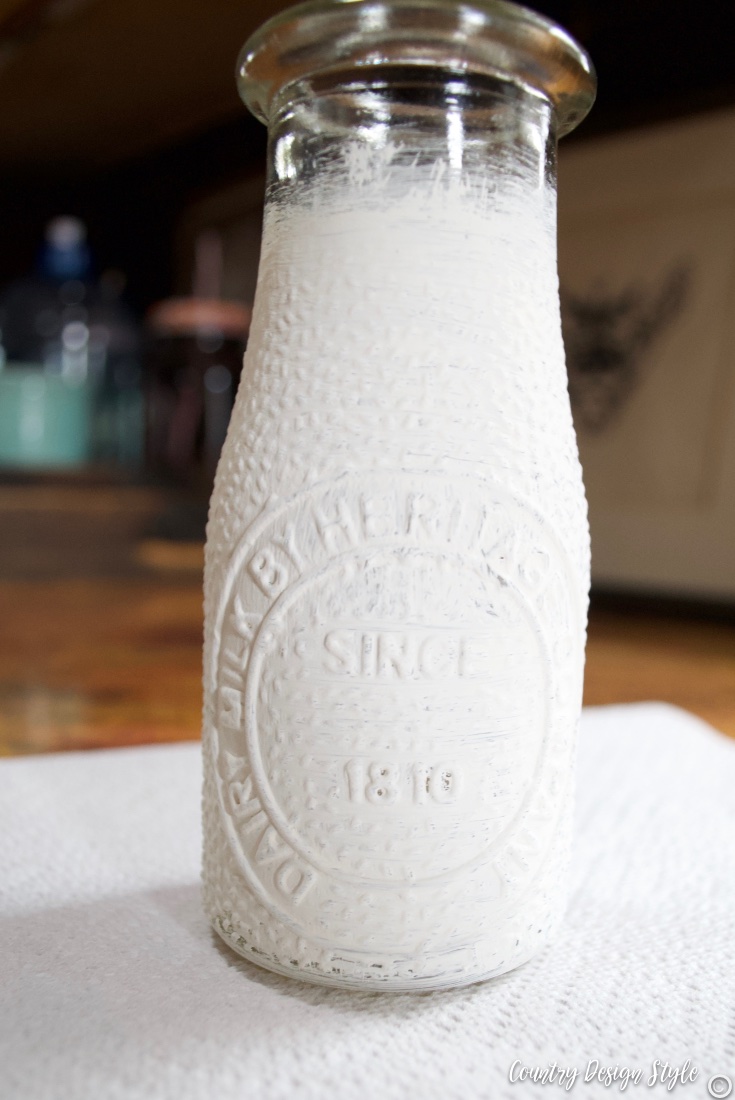
I painted them very quickly and messy with this white chalk-based paint
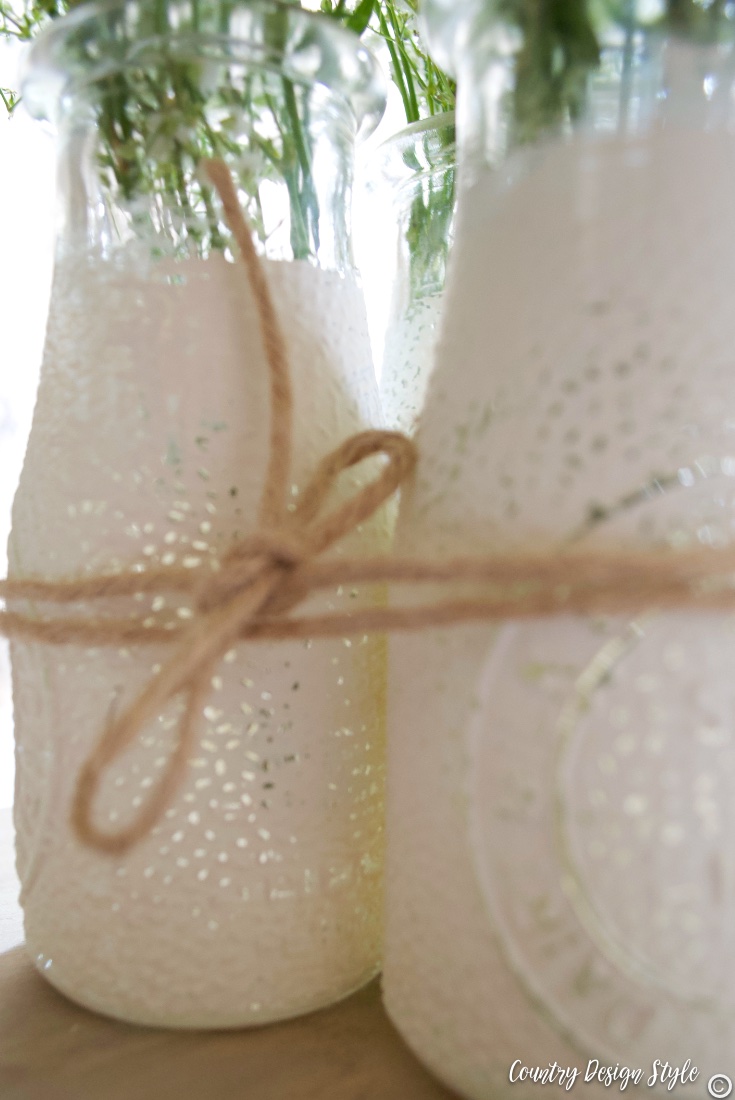
When they dried I used a damp paper towel to remove the paint from the raised areas. Rubbing the paper towel across the bumps was like taking it across a cheese grater.
Then I tied the bottles together with a piece of twine.
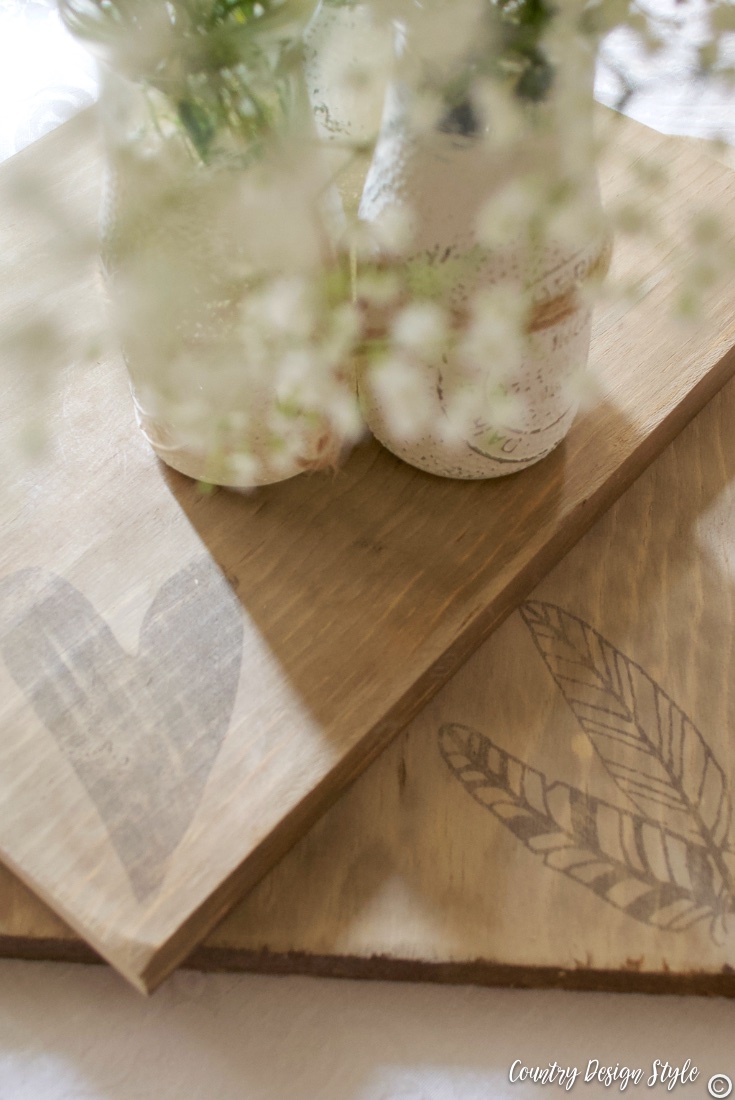
A bunch of babies breath finished the centerpiece…at least for this post.
I can’t wait to see the real centerpieces!!!
Hope I don’t cry…or bawl! 😭😭😭
Join the newsletter

Subscribe to get our DIY HelpLetter each Thursday. Plus grab your Interior Decorating Ideas e-book.

