How to make DIY ornaments using broken spindle pieces
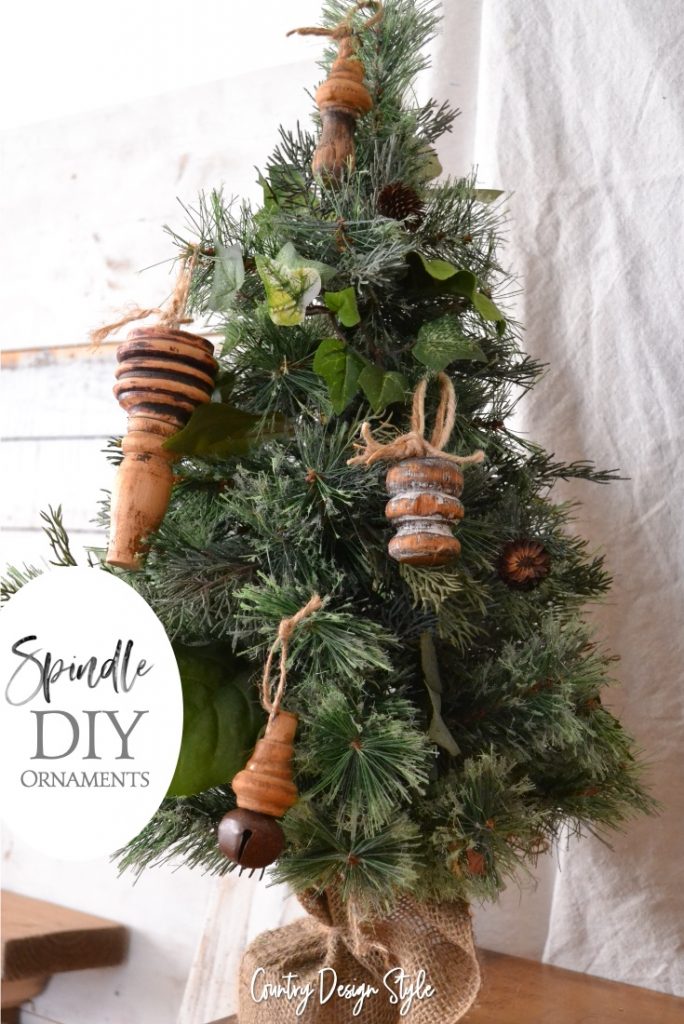
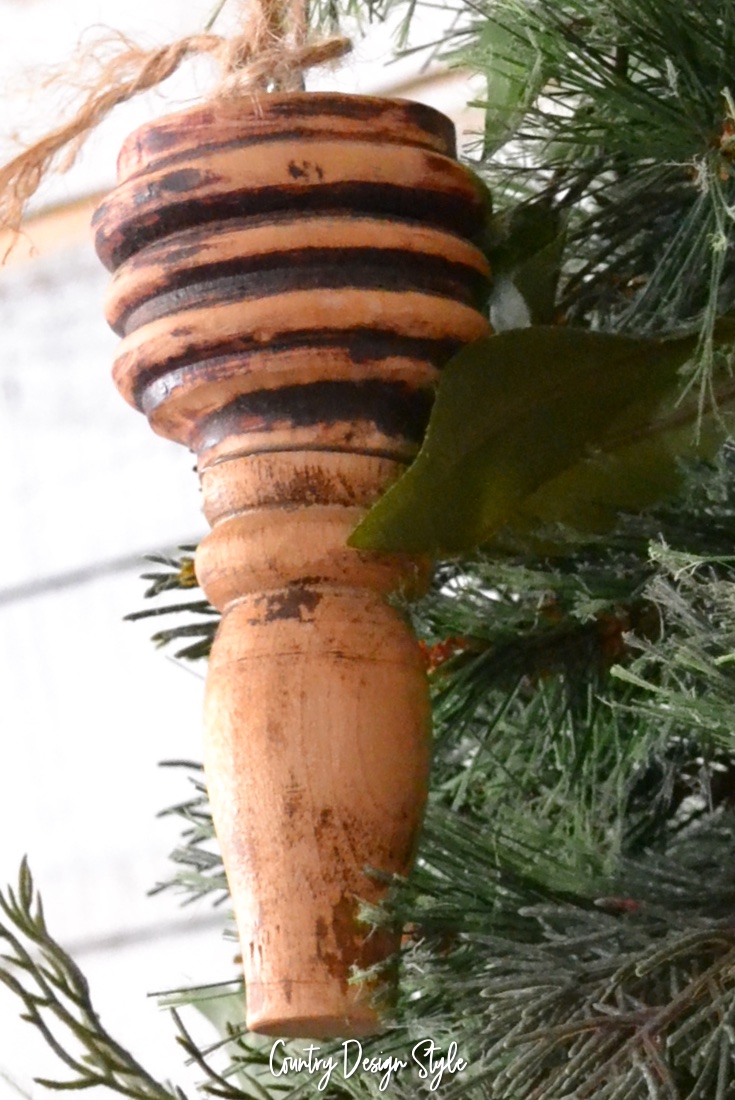
Remember not having extra money for ornaments? Or maybe every dollar now is set aside for presents. I made DIY ornaments from pieces of spindles. Then tried to hang them from a 3-foot tree.
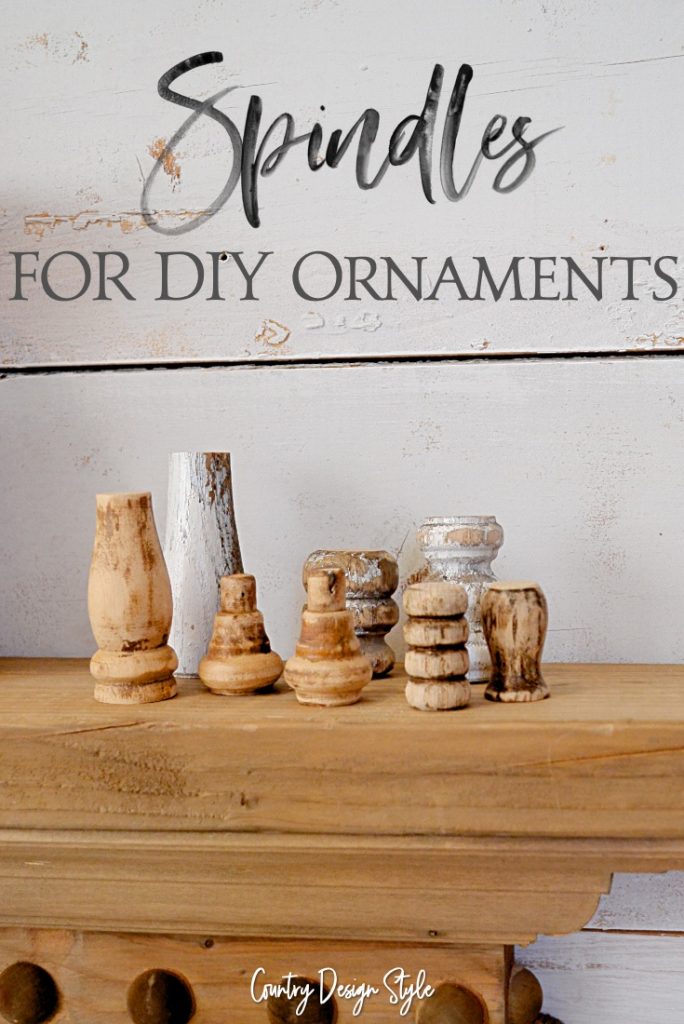
I’ve included more ornaments made from other broken pieces at the bottom of the post, as well.
Don’t you love the tree with handmade DIY ornaments? They have character instead of looking like a store tree. Of course, children make our favorite ornaments. Yes, I plan on hanging the felt Santa with missing eyes and nose on our tiny tree this year.
This post contains affiliate links. I may make a commission for your purchase at no extra cost to you. This also helps you find and see what I used in the post too. Think of it as a friend letting you know where I found a product I use, love or want. Click here to read my full disclosure policy.
Shop for Supplies
The supplies
Jigsaw or miter saw {Only use a miter saw if you’re comfortable cutting spindles. Spindles do not lay flat and making using a miter saw…scary!}
Clamps
Eye Protection
Sandpaper and/or sanding sponge {Sanding sponges are perfect for spindles}
Hot glue gun and hot WOOD glue {If you’ve tried using regular hot glue on wood…you know it doesn’t work}
Paint
Spindles
If you wonder how I have so many spindles check out how to find wood spindles. Yes, I’m obsessed.
Instructions
An easy way to create spindle DIY ornaments
If you’re not into cutting spindles or don’t have a bucket full of spindles, I suggest buying them. I’ve included links in the post to check out spindles online.
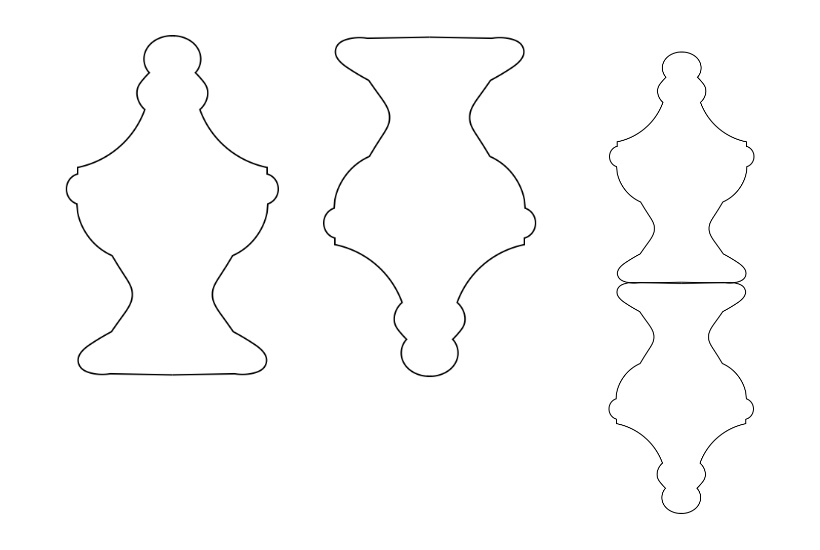
Then use the wood glue to stick them end to end or add bells, tassels, or small ornaments to the end. Many “spindles” are call finials. Finials are decorative end pieces.
How I made the DIY ornaments using my broken spindles
Cutting
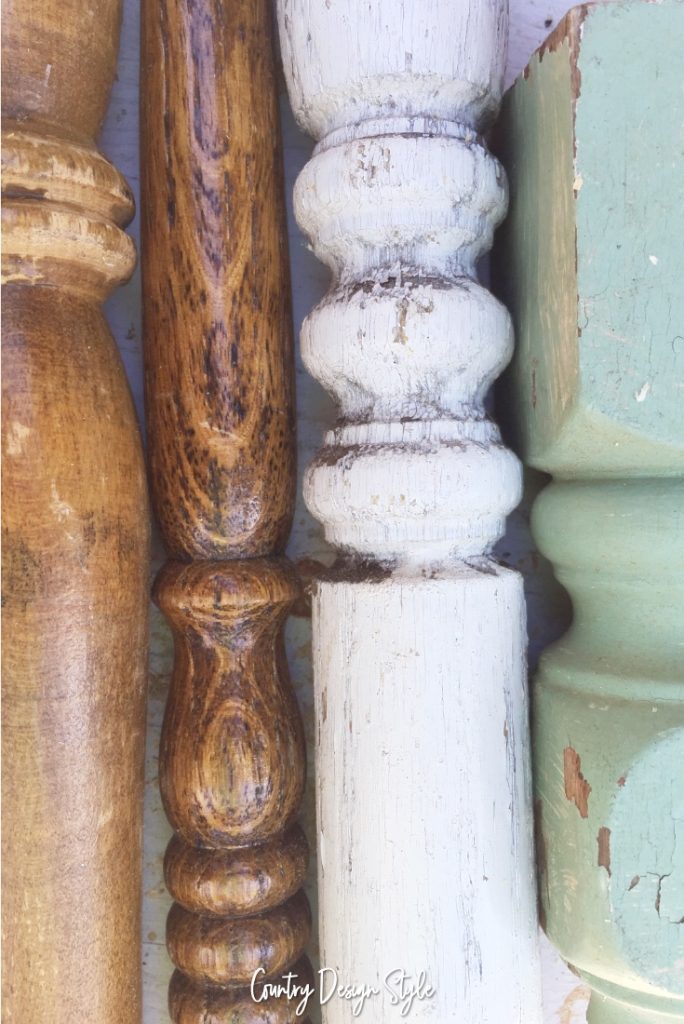
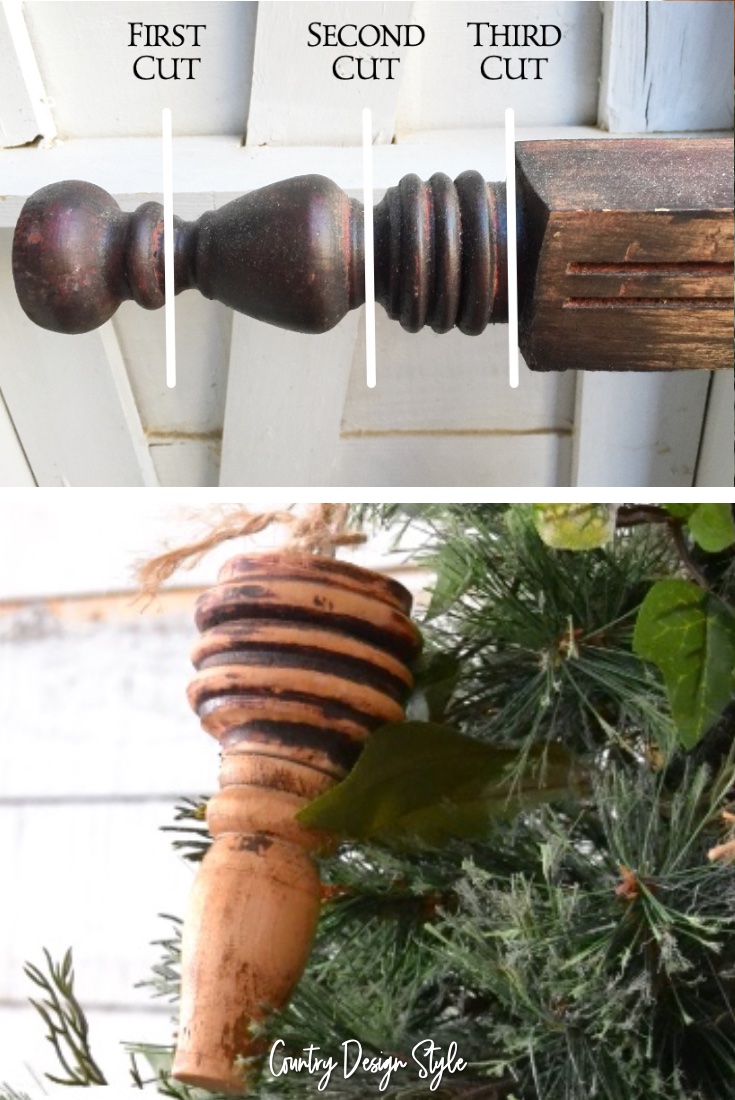
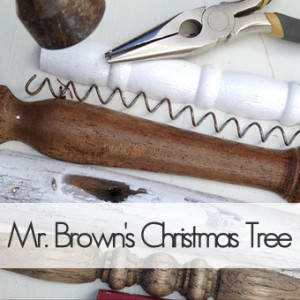
I grabbed several spindles from my bucket. Next, I pick out areas of the spindle I like. Then cut the areas out. Spindles cut well using a jigsaw, but a miter saw is faster. Even when I need to use a jig to hold the spindle in place. A jig is pieces of wood to hold the spindle flat to cut safely.
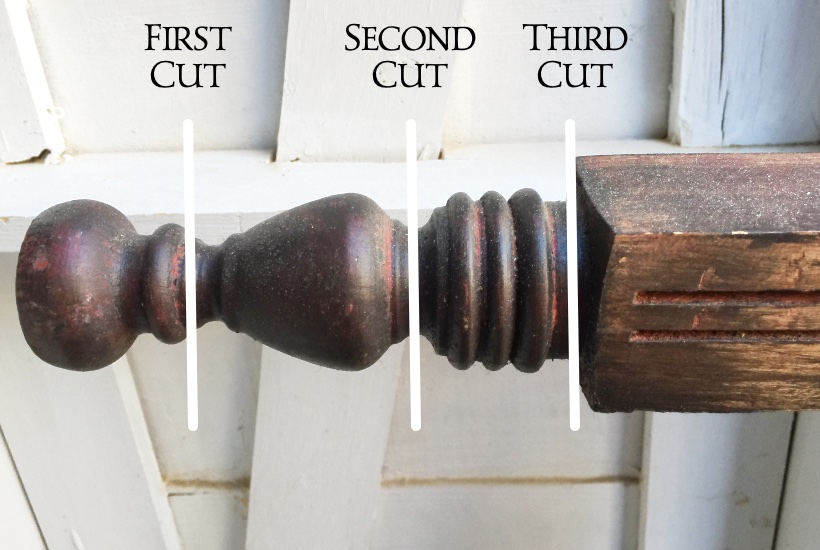
After finding the piece you want to cut, plan your cuts. Above I picked three areas to cut from an old bed leg. Cutting this way, I used the square part of the leg to clamp. Then cut each piece using the jigsaw.
Sanded
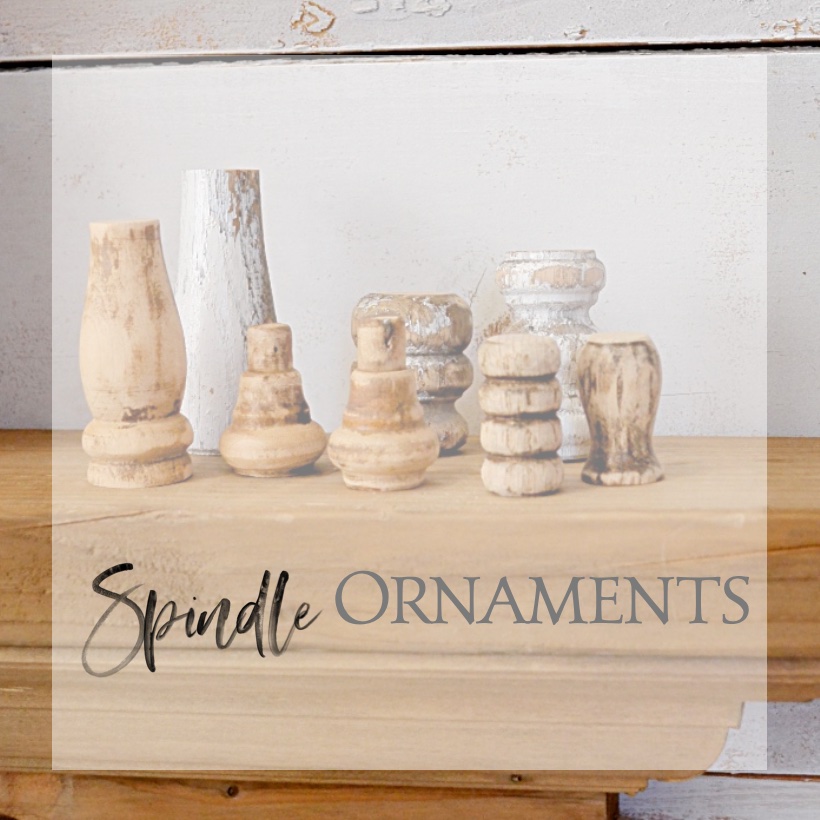
The “broken” pieces are waiting for paint or a coat of homemade wax.
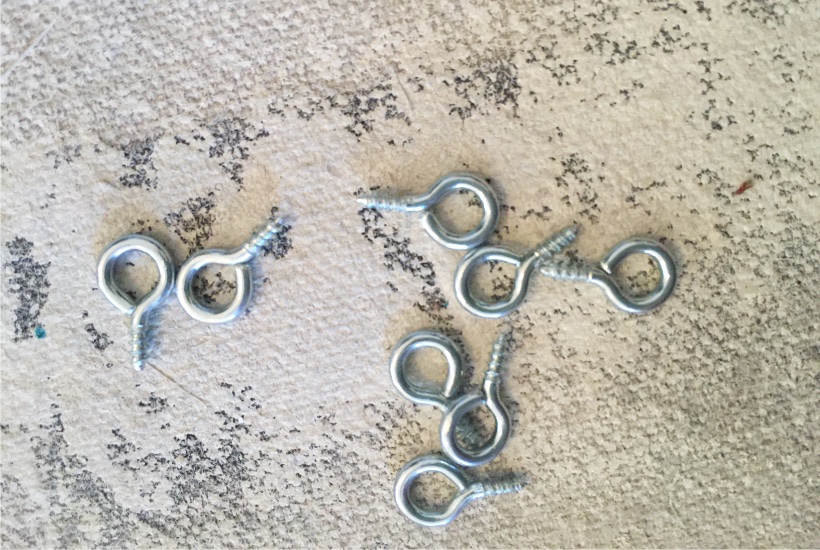
I grabbed my mason jar of eye hooks.
Rebuilding
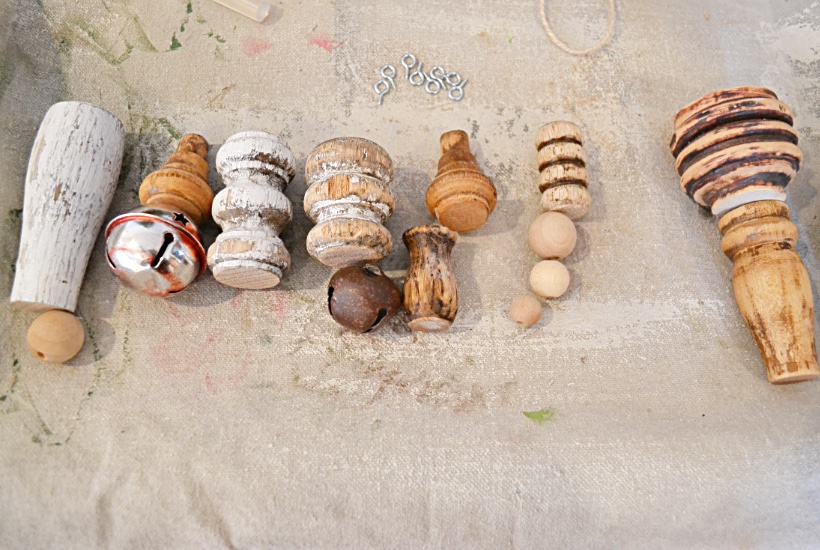
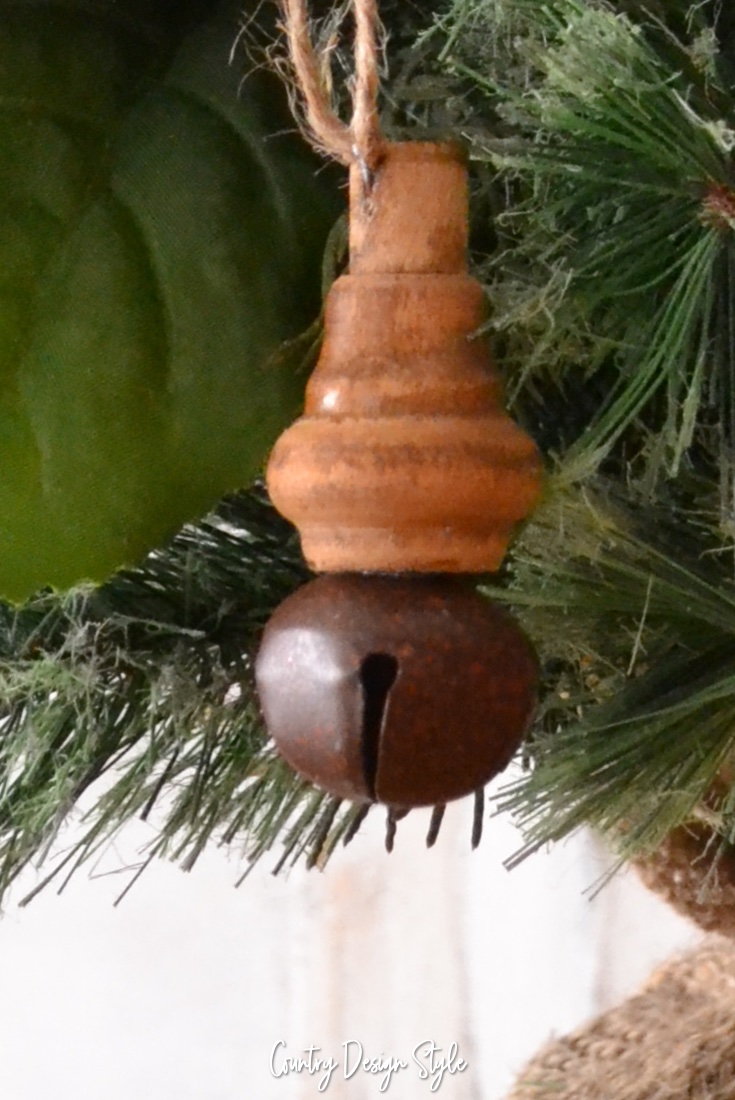
Next, I planned to double up on some of the spindles. Or add a bell or two. I used hot wood glue in my glue gun. Did you know there’s hot glue made for wood?
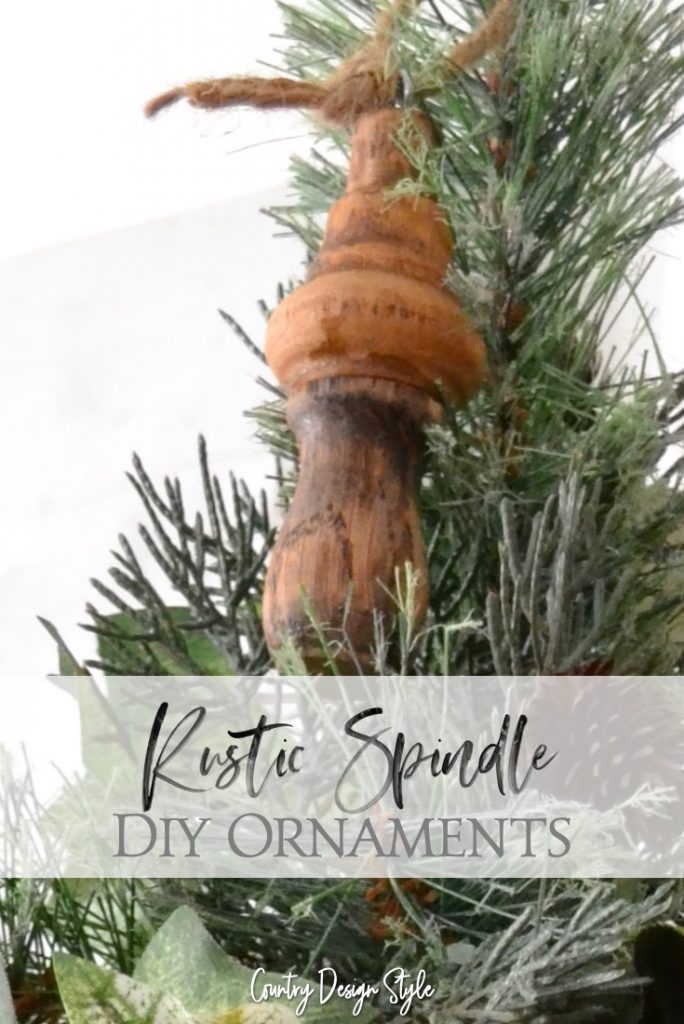
This is my personal favorite DIY ornament.
Rustic ornaments
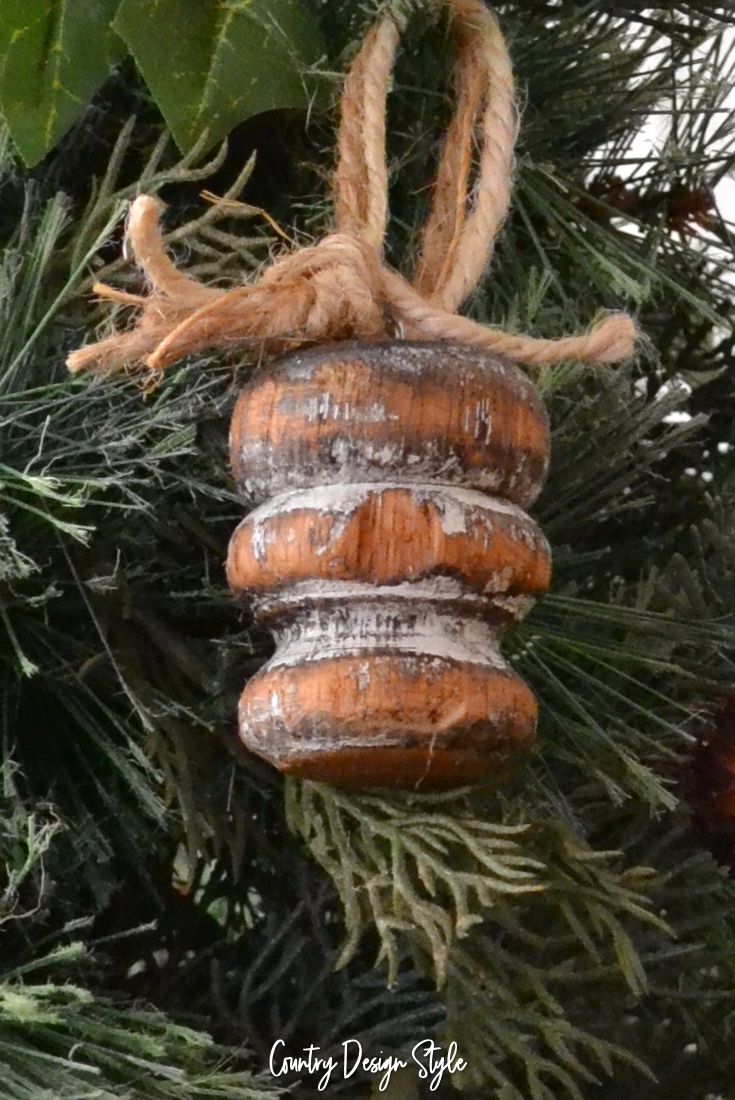
The DIY ornaments that I sanded and waxed.
All the spindle DIY ornaments
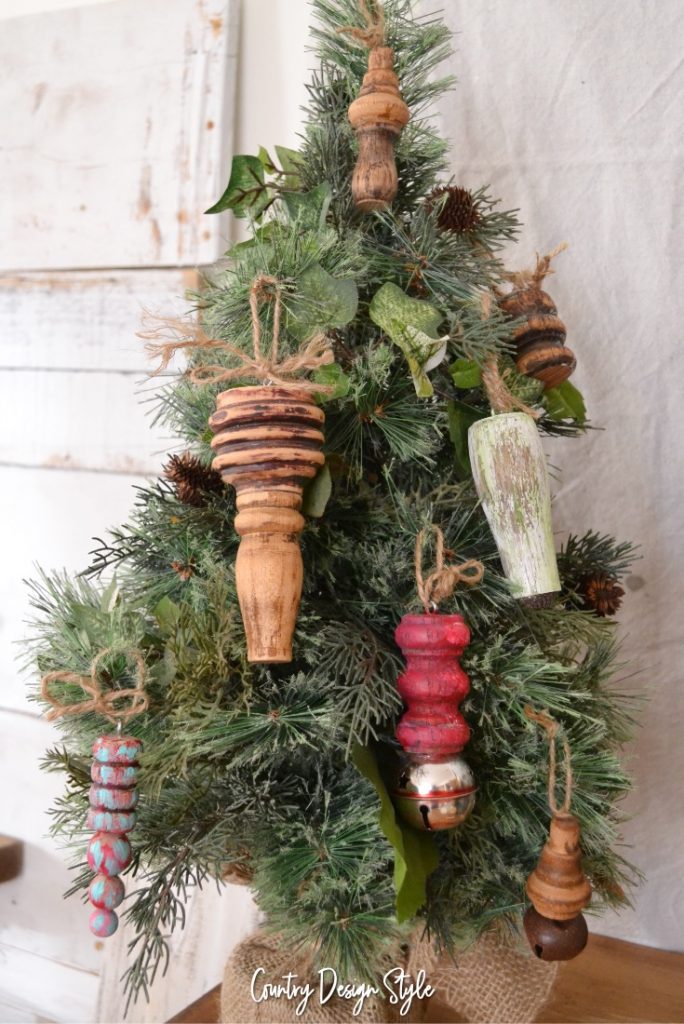
Here’s the tree covered on one side with all the spindle DIY ornaments. I kept the painted ornaments in a rustic farmhouse paint style. But if you love more color, these would pop beautifully on the tree. This is a great project for kids to help paint too. Here’s my collection of DIY crafts for toddlers in diapers!
Small Tree?
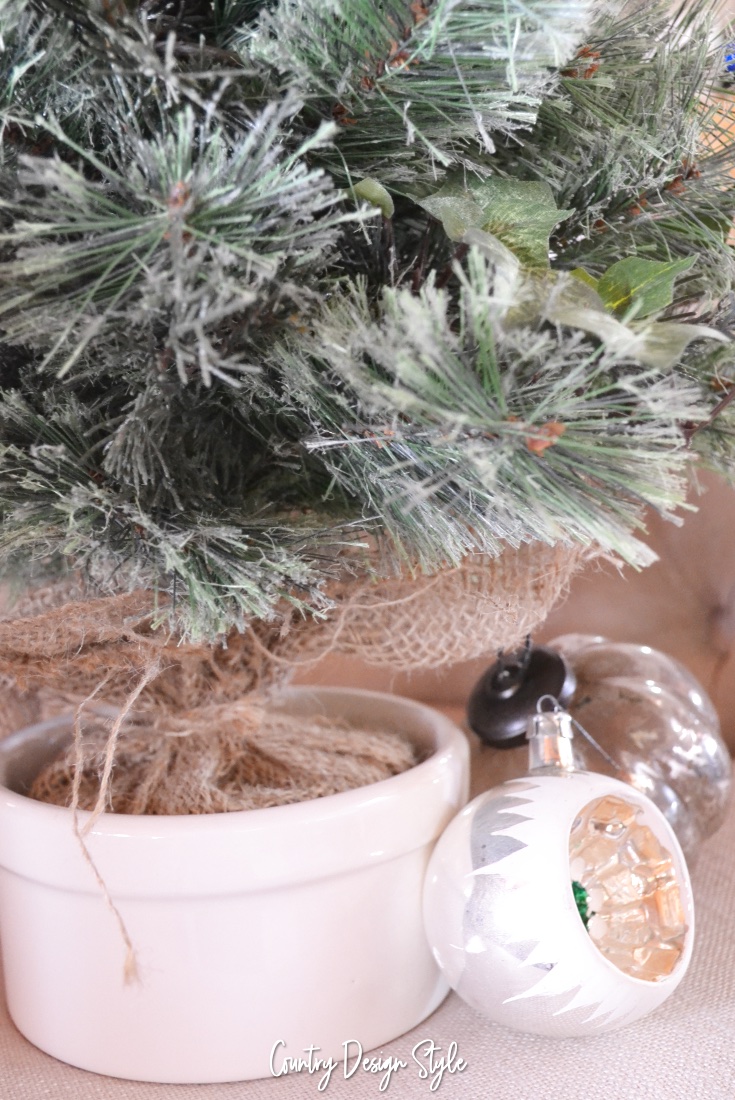
You may be wondering why I’m using such a small tree. This year we are spending Christmas in our RV. When the slides are out, we have 321 square feet. Not all the spindle ornaments will hang from our little tree this year. Make sure you sign up for our DIY HelpLetter to see more of our tiny Christmas this year. Plus follow on Instagram.
Click the images to shop the post

Join the newsletter

Subscribe to get our DIY HelpLetter each Thursday. Plus grab your Interior Decorating Ideas e-book.



What a cute idea, they turned out great! They have that perfect farmhouse feel!
Thank you so much. I can’t wait to hang them again on our tree this year!
I love the birdseed idea and nail polish. Thank you for being so real and authentic, this is why I love following along with you. I had seen an article where a tree was done in salt dough ornaments. I see so many bloggers with these beautiful trees and no sentimental ornaments. I love the birdseed idea and nail polish. Thank you for being so real and authentic, this is why I love following along with you.