
Homemade wax for chalk-based paints
Tired of spending a fortune on wax for chalk-based paints? Me too! So I make homemade wax for chalked-based paint that’s cheap, easy, and fun to make.

This homemade wax for chalk-based paint recipe is easy as pudding but doesn’t taste as good.
Homemade Wax

My first wax I made years ago
I’ve actually “made” my wax for well over 20 years. I love soft dark wax, but years ago, it was hard to find. So I made some by mixing Feed and Wax with a paint tint. I still have a jar of the mix, but it doesn’t smell as good as the ones I make now. I used the wax to create a painting technique called blurred grain. The method is in my digital book, Crazy Ulitmate How to Aged Book.
Disclosure: This post contains affiliate links, which means that if you click on one of the product links, I’ll receive a small portion of any sales at no additional cost to you. I only share products I like, used, and have ordered, OR the products I want.
My next disclosure: This post has been updated to a safer and more comfortable way to melt the wax and add mineral oil. Thank you to my fabulous reader!
Supplies to make wax


Oh, if you want a brush like the one pictured, this is the one I bought.
The homemade wax recipes
I made three different types of wax for sharing with you today. One is a hard clear wax to rub on, one is a soft clear wax, and one is soft dark wax.
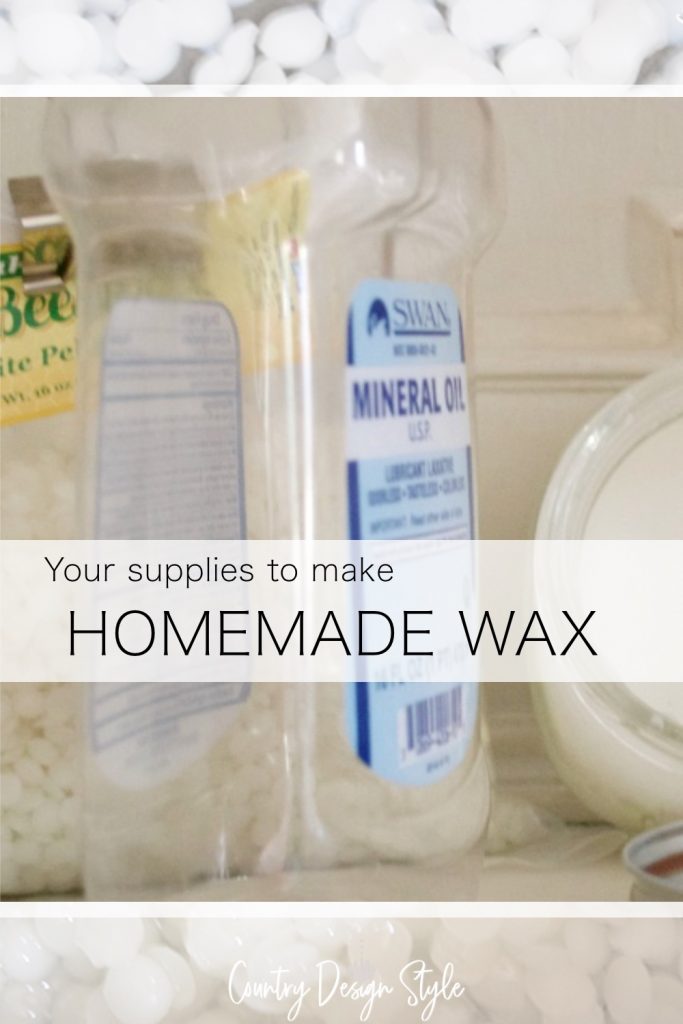
I like this beeswax because there’s little smell and it melts quickly. You can use mineral oil to clean and refresh wood cutting boards. The colorant tint works to add color to water-based and oil paints. I like the darker shade of raw umber. It’s not too black, too brown, or too rusty orange.
Melting the wax
Saucepan method {old method}
I found an old saucepan, whisk, and measuring cups in our thrift store that I use for homemade wax and melting wax for these candles! In the photos below, I used the pan to melt the wax on the lowest flame possible.
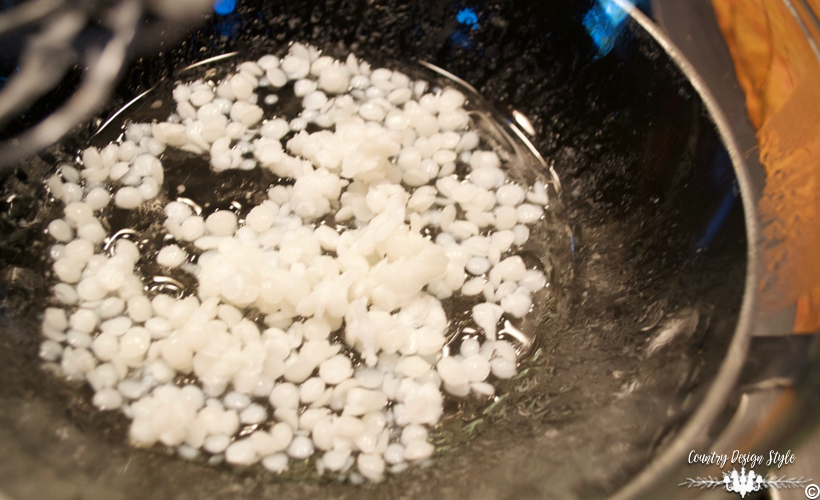
Double boiler method {new method}
Now I use the double boiler method. I add water in a saucepan and place an oven-safe bowl on top to make a double boiler.
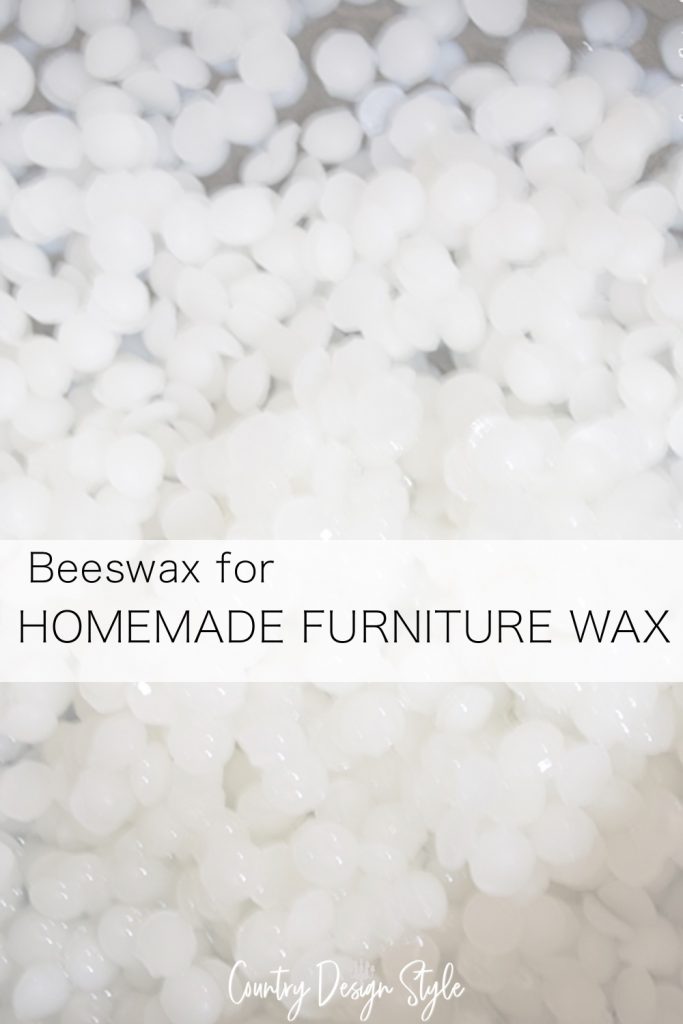
This beeswax is white, so it doesn’t add any color to the final wax.
Steps to make soft clear homemade wax

- Measure 1/4 cup of beeswax in an oven-safe bowl or on top of the double boiler. Add water to the saucepan or bottom of the double boiler. Turn on the heat to low-medium heat and let the water come to a boil. Then place the bowl or on top of the double boiler to melt the wax. Melting is quick. In the past, I used beeswax in small squares. I like the beads better.
- When the wax melts, quickly remove it from the heat and add 1/2 cup of the mineral oil. Stir with a whisk.
- Pour carefully into a mason jar. Mineral oil is not flammable. To be extra safe, add the oil to the hot melted wax away from flames. Wax and oil need to be warm to mix well. The oil does start cooling the wax, but keep stirring until incorporated well. Let sit open until cool. When completely cool, stir. Then seal.
This soft wax I apply with a wax brush or use a soft lint-free cloth.
Steps to make harder clear homemade wax
- Measure 1/2 cup beeswax into an oven-safe bowl or on top of the double boiler. Add water to the saucepan or bottom of the double boiler. Turn on the heat to low-medium heat and let the water come to a boil. Add the oven-safe bowl or on top of the double boiler and melt the wax over low-medium heat. Remove from heat.
- Quickly add 1/3 cup mineral oil.
- Pour carefully into a mason jar. Quickly start stirring. Stir, stir, stir. Let sit open until cool. The extra wax and less oil make a harder wax.
This wax I apply with a wax brush. Then buff to a clear shine with a soft lint-free cloth.
Steps to make dark homemade wax
1. After adding the wax into the mason jar, add 1 1/2 to 2 tablespoons of raw umber tint colorant.
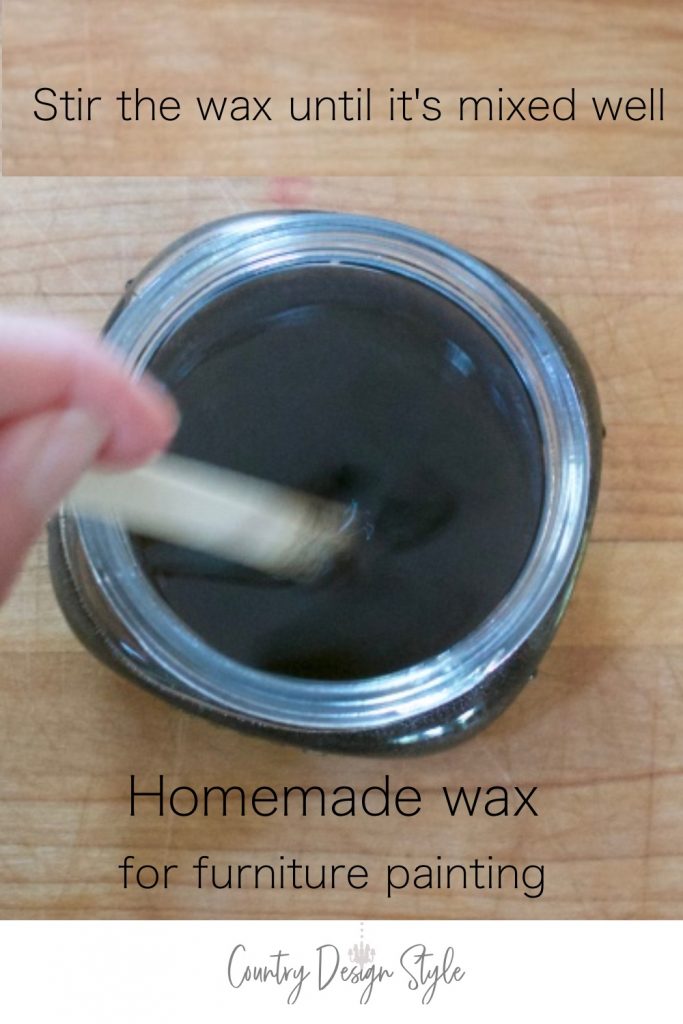
2. Using a craft stick, stir, stir, and stir again. Stir until the wax starts forming. If you walk away…
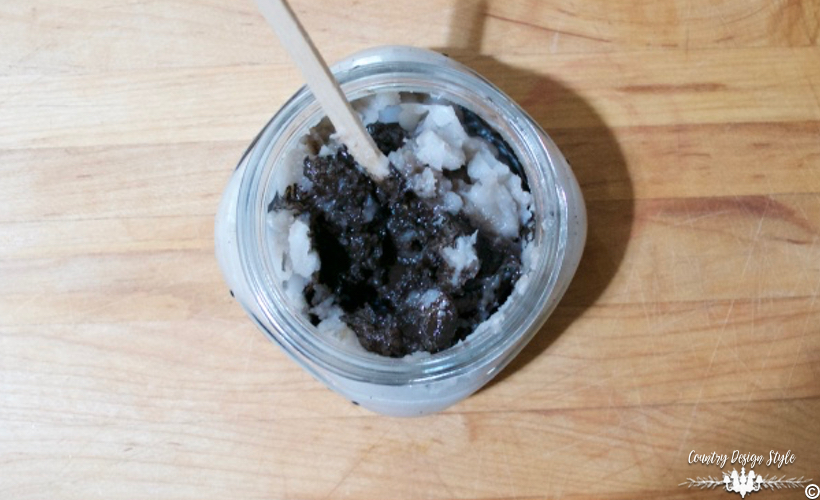
this happens!! Yep, I walked away.
But, stir, stir, stir and the wax will be fine. So much easier than that chocolate pudding.
Wax samples
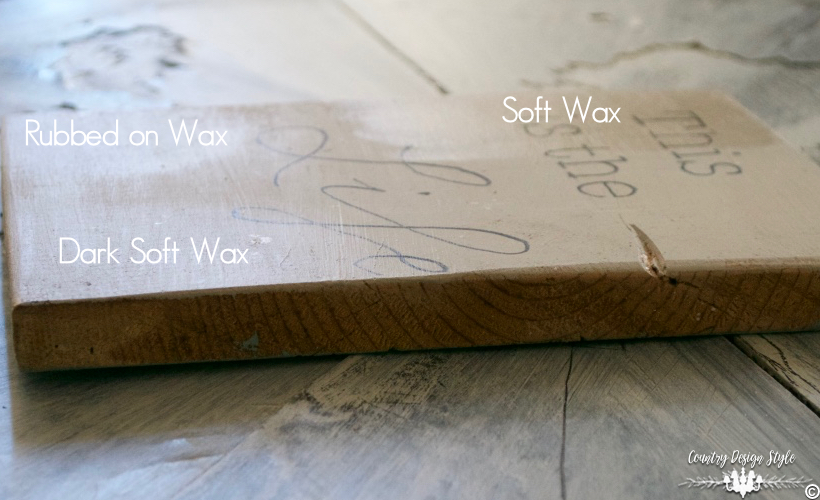
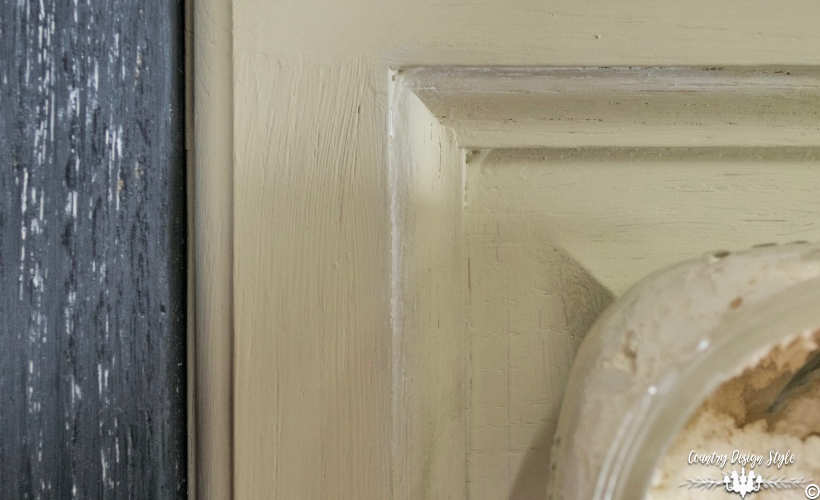
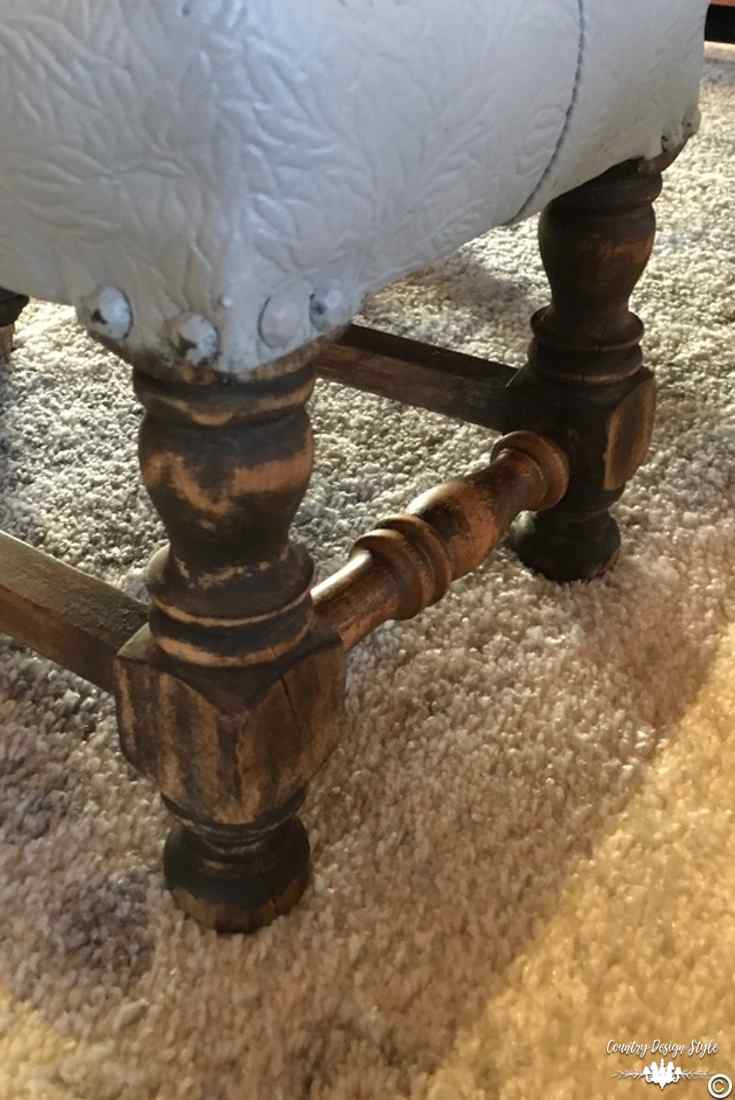
I’m working on my photography skills and will be f~o~r~e~v~e~r! The photo was the best I can show the different waxes. The clear remains light on the furniture. The harder wax holds up more. The waxes, very clear may darken wood or paint slightly. Buffing brings out a soft shine. I like applying the softer wax more. You can see on the wood sign the areas with no wax.
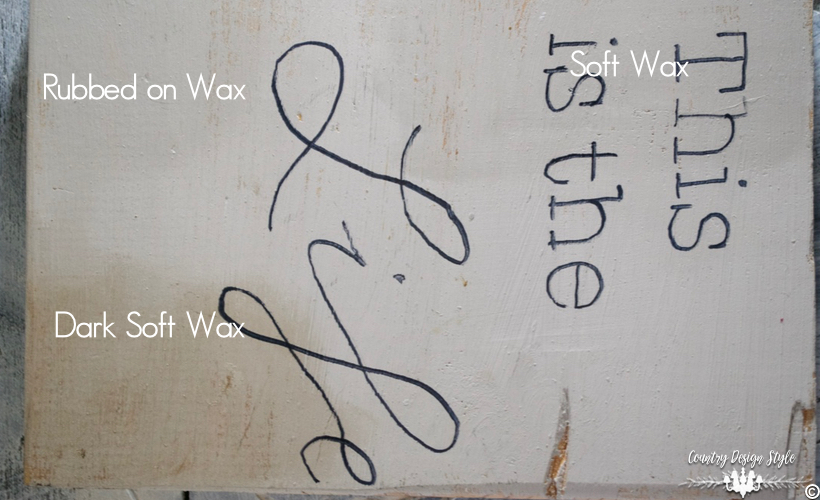
This photo shows the darker wax in a better light. I’ve also made a whitewash wax for a lighter look or antiquing.
Other ideas to melt the wax

There are a couple of other options to melt the beeswax. You can use one of the scented wax items like the one I have above. It uses a tealight to melt the scented wax and melts these little beads of beeswax just fine. There are also small electric pots that melt scented wax like this one on Amazon that would work. I need to get one!!
If you need to learn how to protect your painted furniture click here.
Pin this!

Make sure to pin this to your favorite Pinterest board!
Pinning helps me remember to actually do the project!!
Here’s a lovely pin to remember where you saw this homemade wax recipe!
I have a can of $48 dollar wax in my craft room. I like my homemade wax better than that $48 wax collecting dust in my craft room. And I could make gallons of this wax for the cost of one tin.
Now I’m craving a big bowl of cool chocolate pudding!!! 😀
Learn to make homemade barn wood to go with your homemade wax!

Let me know if you make the homemade wax or if you have any questions. I’m here to help. Remember to “Create at your own risk.”
DIY projects using homemade wax


Thank you so much to my awesome readers. You guys are the best. 😀
Here’s a link to the post on Whitewash wax I made. I made turquoise and red wax too! 😀 But, I admit, I didn’t like them and don’t use them.
Check the cornerstone post on how to distress wood.


Thank you so much for the recipes! I have a couple of questions: Since I may have put way too much wax on my project, will this eventually dry? How do I clean my brushes?
Hi Carol, I am so glad you ask this question. Wax needs to be applied lightly. Let the first application work into the surface of the wood. Let the wax dry completely, at least 24 hours, then apply another light coat. Always buff the wax well between coats.
I have just made a batch (and used half of it already). Smells delightful and went on very easily. Thank you for this recipe, I think I will be using this from now on, it’s much nicer than the wax I buy!
I do have a question though! Can I use this on unpainted wood furniture?
Yes, Helena, you can use the homemade wax on unpainted wood! It makes the wood amazing looking! So sorry, for the delay in replying. We moved halfway across the country and it’s been hectic. But things are calming down a bit now.
Hi, I am just wanting more info about you adding coconut oil to floor wax. You said something about it affecting a prep board. How? Did it discolor? I just need the floor wax to be more easily spreadable. Thank you!
Hi! Awesome wax, doesn’t smell. I just made it but I am wondering after I apply it and take out the extra wax; how long should I wait before buffing? The previous wax I bought had a waiting time on 10 minutes but I want to make sure I have the right time on this one. Thanks for the recipe!!!
Hi Paola, I’m thrilled you made the wax. I tend to wait about 15 to 30 minutes before buffing. The wax needs to dry a bit. Great question! Thank you for following Country Design Style.
Jeanette
Thankyou for the recipe! I was just wondering in which situations do you use the soft wax versus the hard wax?
Hi Dana. Great question. I need to leave the answer in the post too! Hard wax with more wax or harder condensed wax makes a hard wax that adds more protection to your furniture. Great idea if you have “littles” that like to play on the tabletops. Along with more protection of outdoor use. The softer the wax the less protection. For me, I use softer wax 90% more than hard wax. We don’t need the protection, even if the piece is used outside, I still use soft wax. I love the way the softer wax brings out the colors of paint or wood. Hope that information helps you decide. ~Jeanette
Can you use a more natural based oil like coconut? Will yellow wax work?
I have not tried coconut oil. I don’t see why it wouldn’t work. Like mineral oil, coconut oil works great on wood cutting boards! Although, coconut oil does absorb as well on some cutting boards. I have one it doesn’t work as well. I have no idea why. Yellow wax should work, it might make a yellow wax, but when applied it may not show yellow, except on white paints.
I can’t wait to make my own finishing wax for my restoration projects! Have you seen the new fusion mineral pearl finishing wax? I want to make my own with a white pearl paint or colorant. What would you suggest I try? A pearl acrylic paint maybe?
TIA, Jenna
Jenna, I suggest using a colorant in white pearl to tint your homemade wax. The colorants work much better than paint. Now I want to make a pearl wax!!! 😀
Hi Jeanette, thanks so much for sharing your recipes…I can’t wait to make them. Jeanette is the soft wax pliable enough to put into a squeeze bottle? If not is there a way to alter the recipe so that it would be. To be honest I would like to replicate the consistency of the product “Mind Your Own Beeswax”.
Hope you have some suggestions. Thanks again Jeanette
Kind regards,
Debbie
I haven’t tried “Mind Your Own Beeswax” yet. But I will soon. I increase the amount on mineral oil when I want to make a softer wax. Although, I don’t think my softest wax would squeeze from a bottle. But, I’m sure adding a teaspoon at a time it might work. The softer wax isn’t a durable as the harder wax. A couple of chunks of carnuble wax would add durability. Hope my thoughts helped.
Will this work on painted fabric to soften? And if you use candle wax do you use beeswax as well?
Great article!
Best,
Michelle
Hi, Michelle, I have never used wax on painted fabric, so I’m not sure. Is the paint made for fabric? I do use beeswax with the carnauba wax.
I love your detailed directions and tutorials. It’s always a joy to explore a DIY project and you are an inspiration! Thank you!
What do you recommend adding to the wax to give it a whitewash finish?
Thank you, Jane, for your kind words. I’ve added just white paint to the wax, but the results are uneven. Now I use tintall in white. I find it a larger paint stores. I suggest calling around first. Not all stores with have it.
I am a bit late to this party 🙂 But gosh… I have been going thru a LOT of wax. I also am VERY interested in making colored waxes to go on top of white or black or WHATEVER colored paints. I can’t find anyone making this type of wax to sell. I have used black wax from chalkworthy that I LOVE on my bedroom set. I am currently using a white wax from folkart over a Summer Wish Yellow that I wish was more ‘white’.
Will this wax come out soft or hard? Is there anything to put into it to make it a harder finish? More caranauba wax maybe? I am going to try my hand at making this but am worried to put it on my own furniture for the house. Will throw it on a craigslist special that I know I will just turn around and sell.
Jill, Yes, if you add more carnauba wax the results is a harder wax. Also, adding less mineral oil results in a harder wax. I use colorants to tint the wax. Always, test on cheap thrift store wood before using on special pieces. ~Jeanette
Hi Jeanette! First of all, thank you for sharing your recipes! I made both a clear and dark walk for my first project with diy chalk paint. Currently, I’m facing a problem though…I was scared to damage the paint by rubbing too hard and, in the process, may have used too much wax (i felt it was a bit hard to spread aswell with tiny lumps. Where did i go wrong?). Anyway, i tried removing the exess …4 large rags were covered in wax when I decided to stop bcs the paint was starting to rub off). Now I am left with a shiny, greasy piece of furniture (not tacky, just greasy) which , stupidly, I finished with dark wax accents anyway. Could this dry in a few days? Will it behave like AS wax and become tacky? Should I wait and then maybe go over it with mineral spirits?
I’d appreciate any help with this – thank you so much!
Alma from Germany
You could try warming the wax with a hairdryer and use rags to mop it back up.
Alma, I send you an email but wanted to help on the post as well. Just in case anyone else faced this issue. It sounds like the wax didn’t melt completely. Plus, it might be too hard. I suggest making a new batch with a bit more mineral oil. Do stir well to remove any lumps. Then apply the wax in thin layers. Also applying was with a soft brush can help. The wax should dry as you buff. And dry harder over a couple of days. It shouldn’t be tacky at all. Let me know if this helps.
Just finished making two batches of soft wax one clear and one tinted dark antiquing glaze. Both came out great. Thanks so much for the great clear directions. Love your blog.
I’m glad you made the wax. You will enjoy using it too!
Have you ever tried buffing the dried wax with a shoe shine brush? The old fashioned 2″ x 4″ brish? I tried it on some old wood after I had applied wax with an old wax brush. Worked great at getting in the cracks and crevices without damaging the wood s finish.
I was just headed to town to figure out what kin d of wax to buy for some boxes I’m making. Can’t afford AS yet so was looking for other suggestions. You just made my day with this post, thank you!
Teresa in Texas
Hey, Teresa! What a great idea to use a shoe shine brush. I bought Mike a fancy new one last Christmas that I’m sure I can’t snag from him but maybe I can use his old one! Can’t wait to give it a try. Thank you for the tip and for following me.
Hi … what type of bristles should the brush be of? Natural or synthetic? Gonna try out this clear wax recipe after scouring thru tons of pinterest posts 🙂 Fingers crossed now!!!
Hi, Ruchi, Great question. Natural bristle brushes are best for wax. I’ve used expensive brushes and I’ve used $5 Wooster brushes with the short handle from home depot. I sorta like the Wooster brush best. I hold at the base of the bristles to gather together to rub on, but use the angle to get into corners.
Great post! Thanks!! I have a question, can i use paraffin?
Hey Damariz! Thanks for the comment on the furniture wax post. I haven’t tried paraffin for furniture wax, only in candy. 🙂 But it should do fine. It will take longer to melt than beeswax. I always tell readers to test on an inexpensive thrift store piece first before applying waxes or paint to expensive or precious items.
I used a small crock pot, 1 that is used for heating up Chile cheese dip. I took a pack of tea lights (25) and added them to the crock pot. I remove the tealights from the aluminum casing, broke them in half and removed the wicks ahead of time. Once they were melted I added two thirds of a cup of mineral oil. I let the mixture heat up together in the Crock-Pot on high for 30 minutes, I did very little stirring. I then poured them into two 8 oz Wide Mouth Mason jars. I allowed the mixture to cool overnight, and in the morning I had a very smooth hard wax, and it works great!
I was wondering if regular candle wax would work as well. Thanks for sharing!
I would try a beeswax candle, but the wax in most candles isn’t good quality. The bees wax isn’t expensive and it’s a cleaner wax. I have used old candles to melt and cover battery candles to make them prettier. You can see the post here >> https://countrydesignstyle.com/chunky-flameless-candles/
hi JEANETTE I MADE THE WAX YESTERDAY THE CLEAR WAS HEAVENLY. I THEN MADE A YELLOW WAX TO ADD THE STAIN. I MADE IT THE VERY SAME WAY BUT THE TEXTURE IS VERY DIFFERENT,ITS MORE LIKE A GLOB. DO YOU THINK IT MIGHT BE THE WAS OR IS IT THE WAY ITS SUPPOSED TO BE? thanks
OH MY GOSH JEANETTE YOU ARE A GODDESS!!!!! i just made the chalk paint wax and it is lovely, creamy and move over annie sloan This is a keeper and nothing could be more simple I thank you so much and you know im already onto the next project THANKS AGAIN
Ruth, you made me feel so wonderful…I must adjust my crown! 😀 Actually, I love using my homemade wax and saving money too! Thank you for reading and pop back over soon!
Love the wax! For the untinted harder wax, I added a few drops of lemon extract, and for the tinted – I used a few drops of vanilla. 🙂
Thank you, Denise, for the tip! I may try lavender.
Have you ever used a floor paste wax for furniture? If not, why?
I have used Johnson’s floor wax for furniture. I like the softer finish of furniture waxes and that why I use them more. But floor paste waxes hold up to high wear and tear. Thanks for asking.
Does it have to be beeswax or can you use regular household wax? I have yellow beeswax, but don’t want the color, and I have clear household wax, didn’t want to have to make a special purchase if I don’t have to
The clear household wax should work. But I haven’t actually tried it. What brand is the household wax? Does it contain beeswax?
What exactly do you use as a tint for the wax?
Michelle, I added an affiliate link in the post to the tint. Also, you can check your local paint center for paint tints. They work on both oil and water based paints. A little goes a long way.
Thank you so much for these homemade wax recipes, Jeanette! You just saved me loads of $$$ Pinned to share and refer to OFTEN.
Love saving money. The only wax I love more than my own homemade wax is AS. But I like the cost of homemade more!
Where do you buy the beeswax?
Hi, Jacolyn! I buy the beeswax on Amazon. I realize when you get this reply it will be in your email. I don’t want to spam you so if you revisit the post on Homemade wax, you can click the turquoise BEESWAX word and it will take you directly to the beeswax I buy. Some communities will have beeswax in craft stores too. We just don’t have a craft store within 70 miles. Plus I like the small beads of beeswax on Amazon. The wax is very white and melts fast. Thank you for stopping by!
Thank you, should you consider selling your own wax?
Thanks for stopping by and reading Oana! I thought about selling the wax, but it’s so easy to make, I decided to share the tutorial instead.
This is so much fun! Being new to the blog, But not new to DIY, I am enjoying everything I read!
It is refreshing to see the instructions and projects that can be completed in a short time. Those finished treasures give us added determination to do some more ?
Hi, TK! You are so right! Even as a DIY blogger there are those times when faced with a larger project, it helps to make several quick simple DIY’s to “get in the mood!” Glad to have you on board!
Thank you so much for this information. I would love to try and make my own wax as it’s so expensive to buy and I use a ton of it..
Thank you for stopping by. If you make your own wax, please let me know your thoughts on how it works for you. Have a creative day!
Dear Jeanette;
I love to read all your ideas and wish I was near enough to “play” artist with you . It’s always more fun to work with others and bounce ideas back and forth. I’m so impressed with your commitment and ability to make projects and show others how to create similar projects on your blog. Please keep up the great work and thank you for the gracious comment.
Sincerely,
Cindy
Hi, Cindy!
I truly wish you were closer too. There are only one of gal here to create with and she has one of those “real” jobs. I miss bouncing ideas back and forth. I have to tell you when I first read your comment, I flashed back to a CDS Sunday Morning segment about a girl afraid to fry food. She was on a mission to conquer 100 fears. It was so sweet and funny. I should have thought of her when I first wrote the post. Thank goodness for readers like you to help me out. I’m lucky to have you as a reader. If you ever want to bounce around ideas, let me know.
Always use a double boiler setup to melt wax . This can be a pot in a pan of simmering water. Wax ( and oil probably also) is very flammable. Your post scared me. Just the thought of the wax catching fire in a pot is disturbing.
C.W., Thank you so much for your comment. I rewrote the post to add a double boiler or set up with an oven proof bowl over a pan for water to melt the wax. Plus a couple of other options. If you have a moment, please stop back by and reread the post to see if I got it right. I appreciate each and every reader and especially those that correct me. I’m an old southern gal that learned to cook loads of fried food. But let’s keep everyone safe. Thank you for your help.
Great post, Jeanette. I’m going to give this a try. Any suggestions on making a white wax? Maybe adding a bit of white paint to the wax?
Tonya, when you have a chance pop back over the read the post again. I included some safer alternatives to melting the wax. Plus I just made white wax this morning to try the safer melt. I will be posting about the white wax next week. But just for you, I added about 2 tablespoons of white chalked based paint to the mix…and it works great. Add it in place of the raw umber tint.
I work mainly on recycled wood, which tends to be fairly rough. Do you feel this product would work on it? I’m very curious and have hesitated to buy the AS due to cost? I’d live to heat your thoughts. 👏
Hi, Kelly, The wax can work on rough wood. You may need to apply with a brush instead of a rag. Otherwise, the rag may get splinters! You could try “buffing” with a dry brush. Wax brushes are expensive, but I’ve used regular paintbrushes and hold the bristles close in my hand. I’ve added a rubber band around the bristles too. Another idea is to cut the bristles down. I cut them in half. Please pop back and let me know your results. Thanks ~Jeanette