
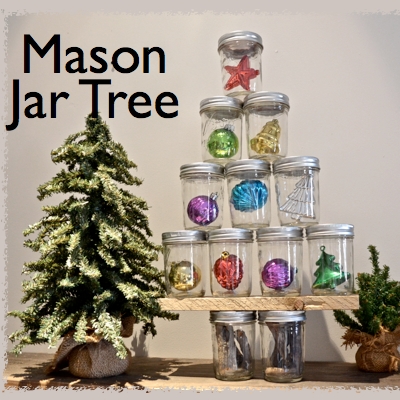
How to make a mason jar ornament tree this weekend
Have you created a something for your home and years later made another with a different look? Me too. My first one won a contest, but I’m not sure about this one. But I like this one a ton better!

My first Ornament tree is still a hit each December on Pinterest. I hope this one outdoes the first.
I created a video to show how easy this ornament tree is to make
Shop for supplies – Ornaments to buy if you don’t have time

The supplies
Dozen Wide Mouth Mason Jars – halt pint-size {I found Ball mason jars with clear sides!}
1 by 4 board – at least 30 inches long
Jigsaw or miter saw to cut the boards
10 ornaments {Make sure they fit inside the jar. I found this collection on Etsy but if you have time make them}
10 wood slices or sticks from outside
Decorators putty or UPDATE – I found this double-sided tape and used it for the tree now.
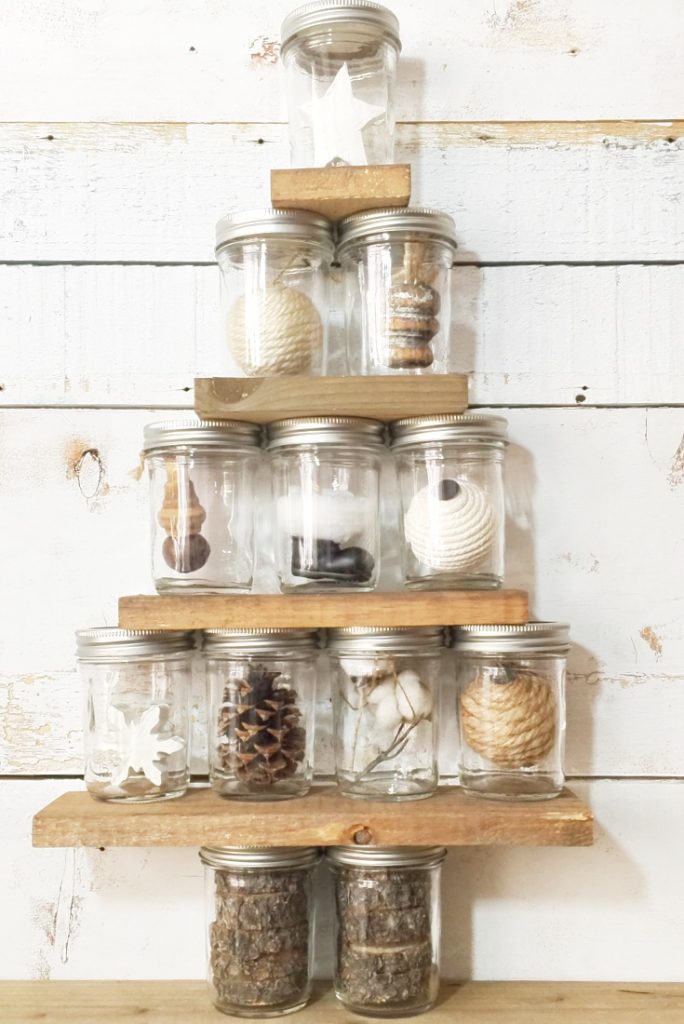
Instructions
Cut List for 1 by 4 board
12 inches
9 inches
6 inches
3 inches
Aging the wood
I used my personal favorite way to make barn wood. The tea and vinegar technique. You can read how easy it is to make this old wood instantly here.
Adding ornaments to the jars
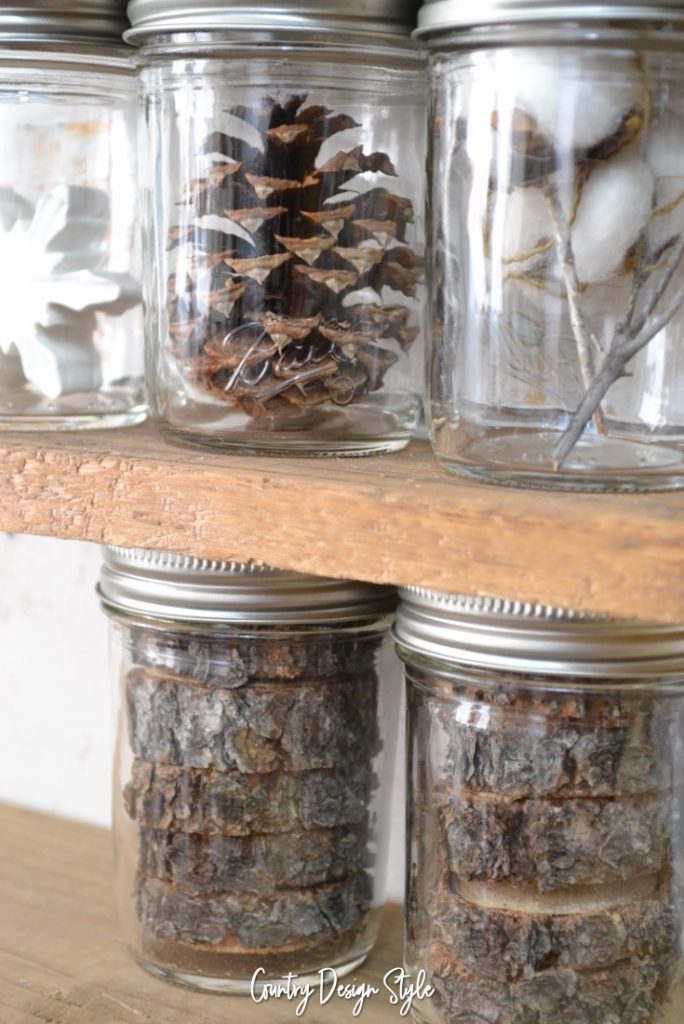
Add wood slices of sticks to two mason jars. Add the seal and ring. You can see how to make wood slices for tags here.
Next, fill the remaining jars with your ornaments. For some ornaments, I hung the twine that you hang the ornament from over the lip of the jar. Then added the seals and rings. That way the ornament hangs inside the jar.

What ornaments I filled my jars with

Three jars contain wrapped DIY Christmas ornaments.
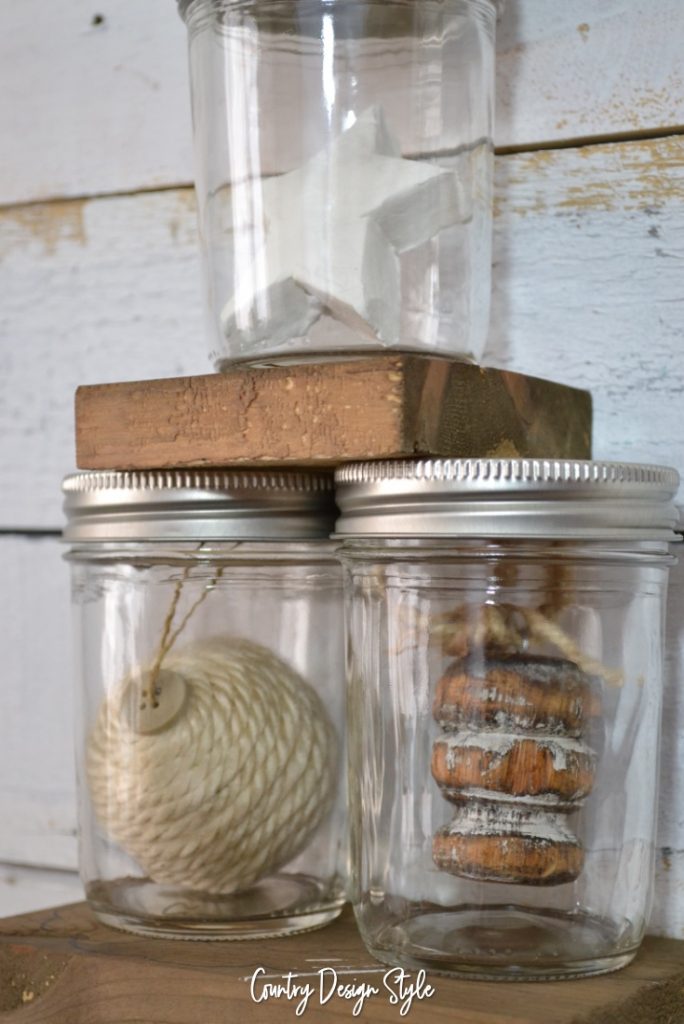
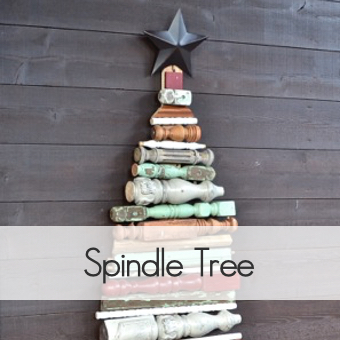
Two jars have DIY ornaments made from broken spindles.
One contains a pine cone from our yard.
Two contain a star and snowflake I made using craft clay.
One has a plastic ornament Santa boot updated with chalkboard paint. Then I wrapped the top with an unwound cotton ball.

One has DIY cotton bolls from my cotton stem project. I updated the bolls with burlap twine.
Now, I have to admit something
I skipped this step. We don’t have much ruckus in our home…even with two dogs. So, I didn’t use the decorators putty to hold wood and jars in place. But please, I suggest you not do as I did. To use the putty pinch off a bit and apply to the seals and bottom of the jars. It works better with two small pieces than one large piece. All the jars except the top jar. It only needs to attach to the bottom.
Then stack the jars and pieces of wood as in the video.
When taking the ornament tree down
First, I kept the box for the mason jars. See below ideas that we can do in the future.
Remove the putty from the jars and wood. The putty removes best with a slow rocking motion. Then roll it off. It’s reusable.

Other ideas for the ornament tree
- Add children’s handmade ornaments
- Carefully add your favorite decorated eggs for spring
- Drop in seashells collected during summer vacation
- Place a collection of autumn leaves
My favorite ornaments in the tree are the Santa boot and the snowflake. Let me know your favorite in comments below or tag me @countrydesignstyle on Instagram.
Click the images to shop the post


Hello!
I am seeing first time ornaments hanging in the jar. I think these ornaments are very unique because you have taken care of them.
I am seeing first time ornaments hanging in the jar. I think these ornaments are very unique because you have taken care of them.
I’ve put trinkets in jars for years and I love this tree idea. I love the cotton boll and the boot 👍🎄🎁 what a fun idea!!!
As always, thank you for sharing!
Thank you, TK. It does make me smile.