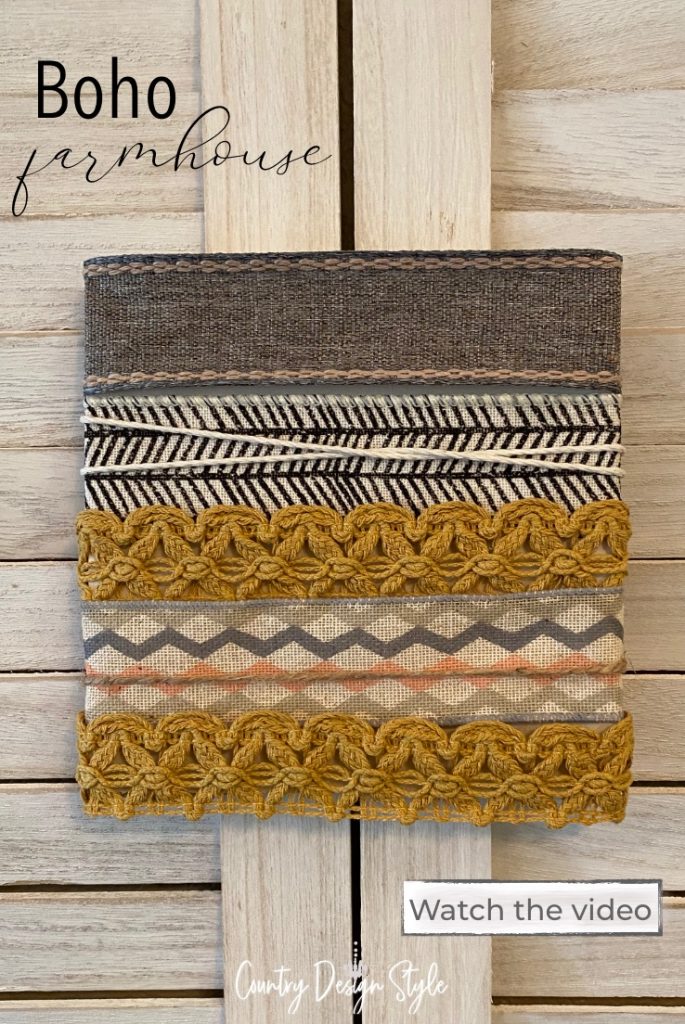
Easy Boho Ribbon Wall Hanging
Remember when you were a little girl, and mom put ribbons in your hair?
A tug here and a pull there and top it off with a ribbon.
I hated that.
Not the tugging and pulling, but the ribbon!
I wasn’t a ribbon-wearing kind of little girl.
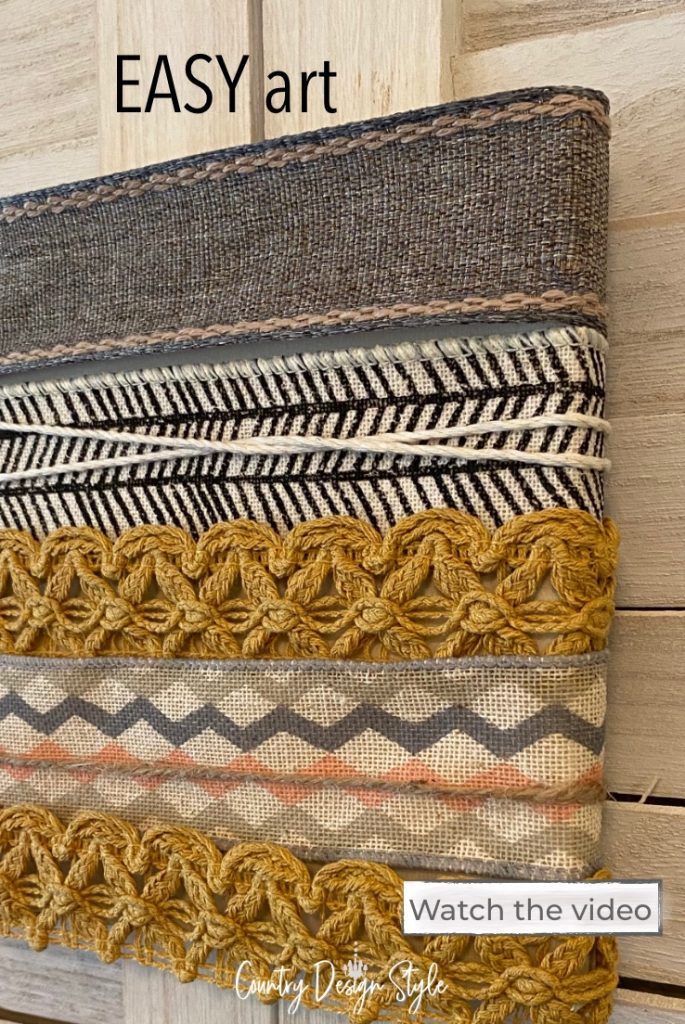
The Boho ribbon wall hanging brings back the 70s
Nowadays, I’ll grab a ribbon for something around the house almost daily.
I’ve even tied up the bread bag with a ribbon.
Oh, you too?
Well, you’re going to love this easy project today. A boho ribbon wall hanging!
This post may contain affiliate links. That means if you make a purchase, I may earn a little with no additional cost to you or the item you purchase. You can read my full disclosure here.
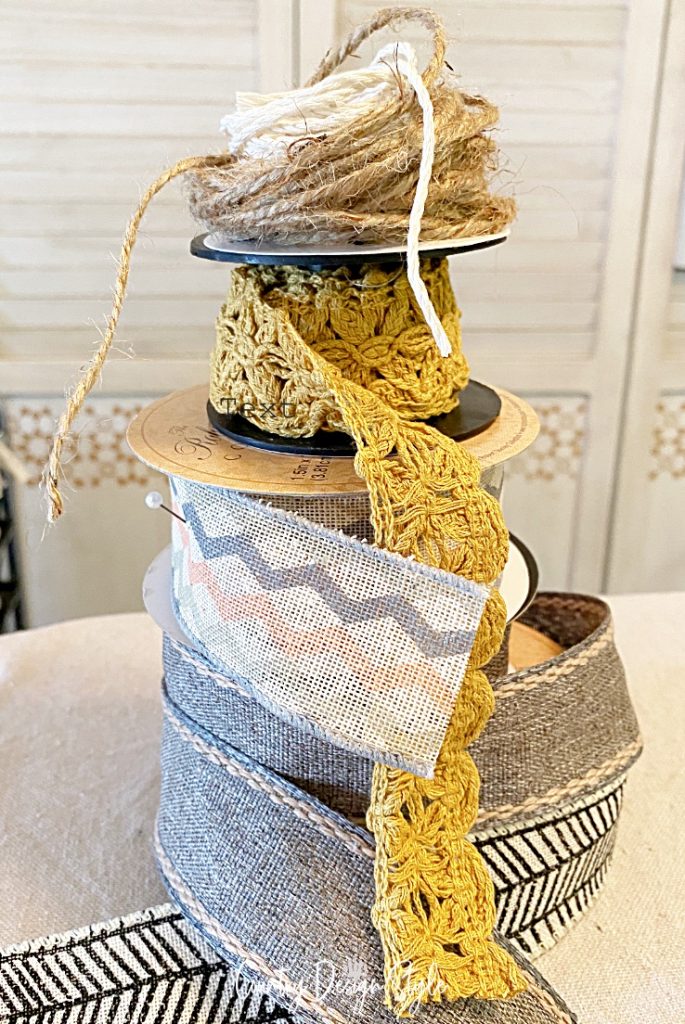
Supplies for boho ribbon wall hanging

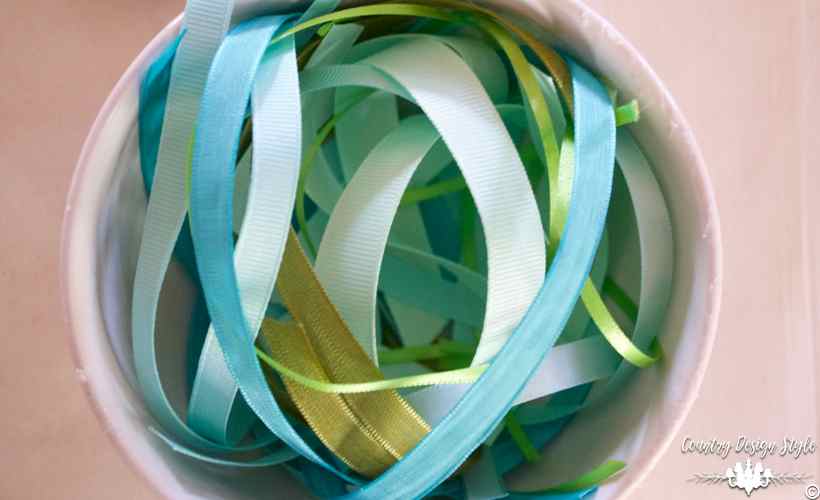
- The supplies for the boho ribbon wall hanging are a collection of ribbon pieces. Tip; look for ribbons in the fabric section, as well as the craft supply aisle.
- You can make this as large as you wish. Just grab a piece of wood the size you need. In our tiny apartment, a wood plaque is a perfect size. A large square over the sofa would fill that “hard-to-decorate area” stunningly! If the wood doesn’t fit your budget, use a large square piece of cardboard.
- You will need a hot glue gun and, of course, glue sticks.
- A rubber silicone spatula to hold the ribbon into the glue will save your fingers. Hot glue gun tips are handy to know before you plug in the glue gun.
- A couple of pieces of twine, cotton string, or yarn adds the perfect final touch.
The easy steps to create your boho wall hanging

The steps are easy, but I do suggest laying out the ribbons first. Pick the layout that makes you smile. Then take a snapshot to remember the layout that gave you that smile.
Cut the ribbons to wrap around the wood plaque. I wrapped it all the way around. But if you wish to save ribbon for other projects, cut it to wrap around the back edge.
Hot glue in place.
Some ribbons may overlap, and others may not—work from one edge to the other.
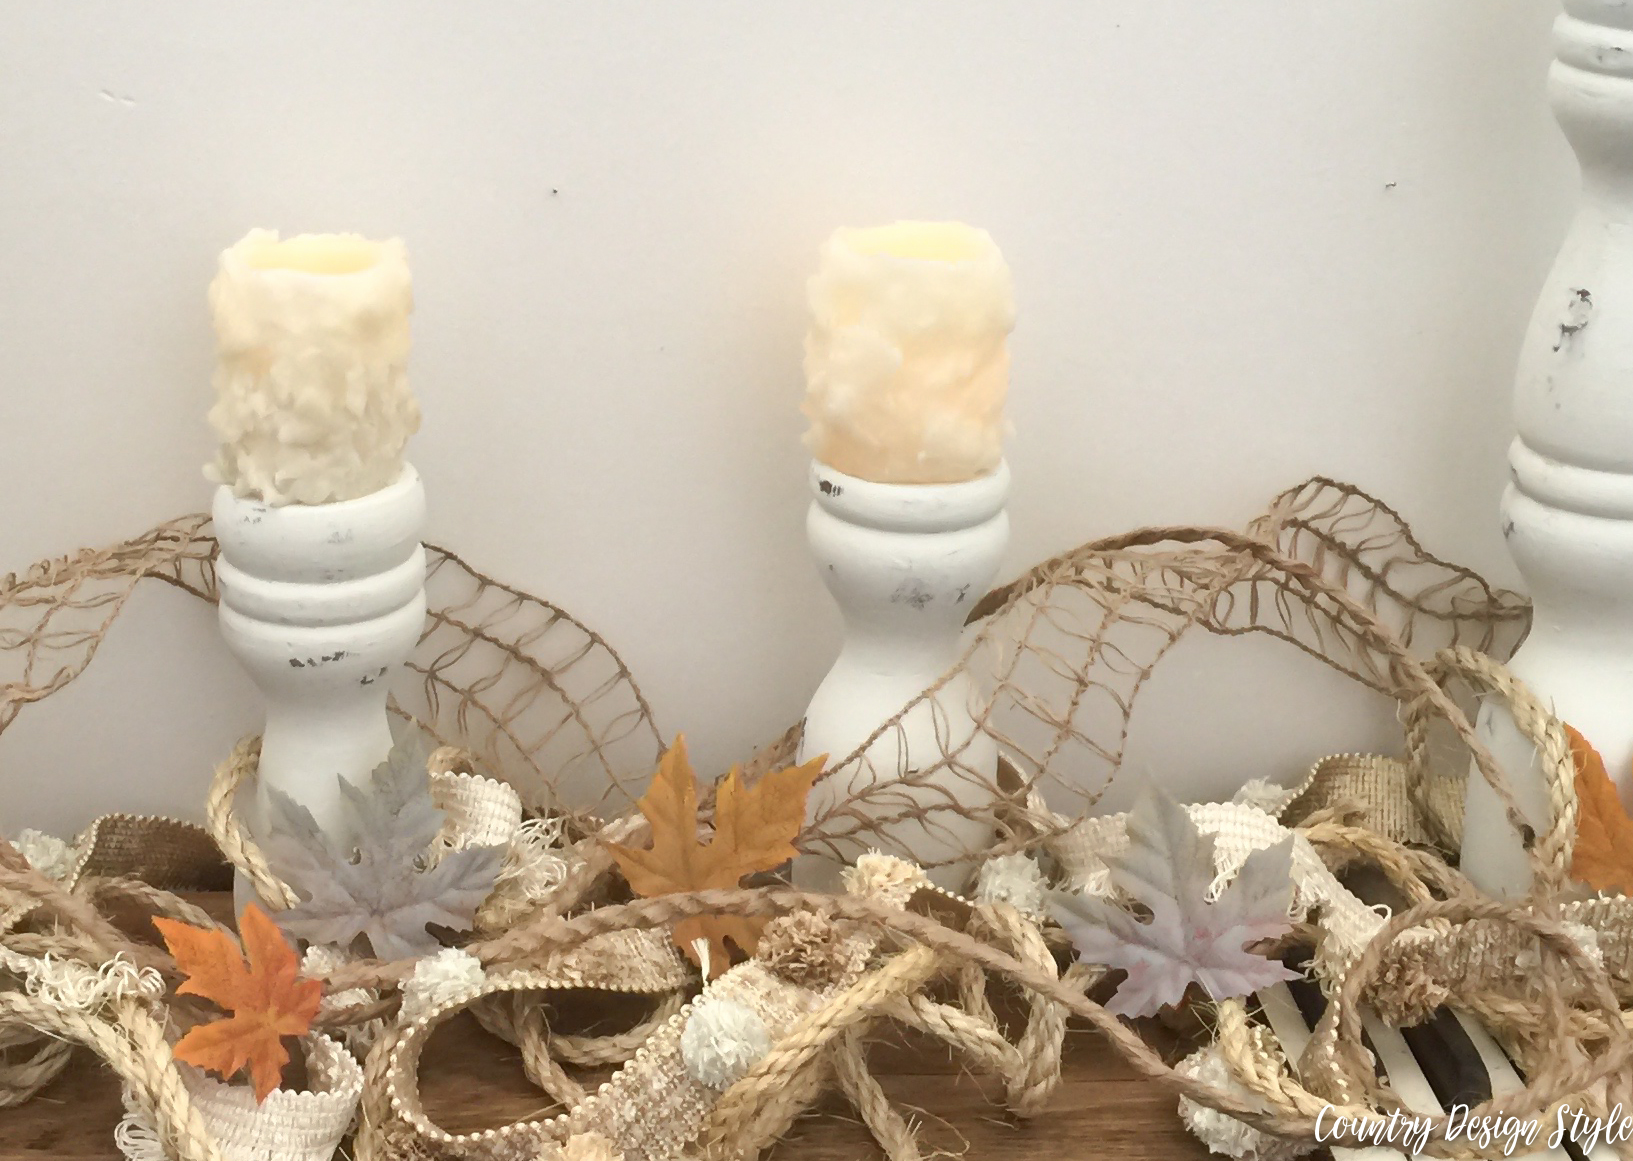
After you place all the ribbons, add a few pieces of twine. I tied mine on the backside.
The thin piece of twine gives a bit more texture to the piece.
Hanging the art
I hung our boho ribbon art using heavy-duty, no damage to walls, double-stick tape.
If your piece is large, this type of hanging kit works great. I would love to see your art piece. Share yours on Instagram and tag me @countrydesignstyle.
Hanging upright or…
Want to know something a little funny?
I didn’t realize until I was editing the final photos that I hung the boho ribbon art upside down.
But does it have a top side? I think not.
For even more easy ribbon projects, you may like these:

Ribbons that go in home decor make me happy, unlike those that go in hair.