Buffalo check and burlap wreath
The farm next to my grandparents had buffalo. The 1/4 mile road to my grandparents’ farmhouse ran along the neighbor’s fence, and when I got the newspaper for my grandparents, I would watch the buffalo. Maybe that’s why I like buffalo check so much.
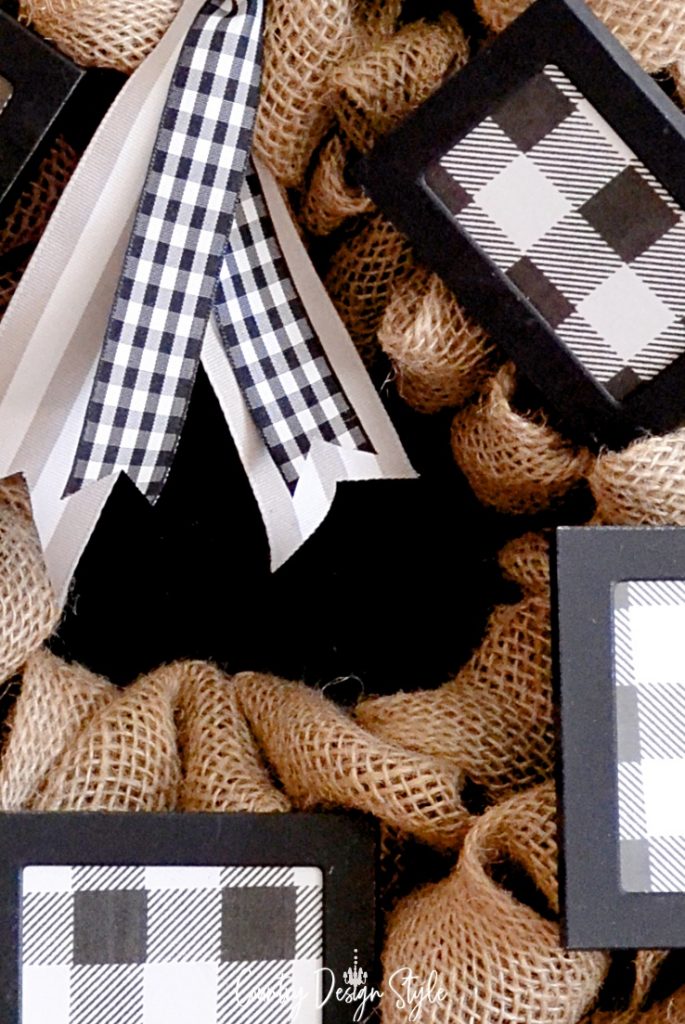
Because I live in such a small town, buffalo-check items are hard to come by. The buffalo check print fabric used in this project came from a kitchen towel. Since it was the only buffalo item I saw, I didn’t want to cut it up. Instead, I placed the kitchen towel on the copier of my printer and made buffalo check paper. Then I made a bubble-style burlap wreath.
Materials for buffalo check and burlap wreath

- Wire wreath frame, 10” (25.4cm)
- Unwired burlap ribbon, 5” (127mm) wide
- Floral wire
- Two ribbons, one gray-and-white striped and one buffalo check
- Five small frames, each 2 1/2” x 3 1/2” (6.35 x 8.9cm)
- Chalkboard or flat black spray paint
- Buffalo check kitchen towel
- Printer and paper
- Scissors
Instructions to make the wreath

1 Gather all of your materials first. Be sure to scan and print enough copies of the buffalo print to fill the five 2 1/2” x 3 1/2” (6.35 x 8.9cm) frames. You can use regular printer paper.

2 Start with one end of the burlap ribbon. Add a small piece of floral wire through the burlap. Attach to the inside coil of the frame.
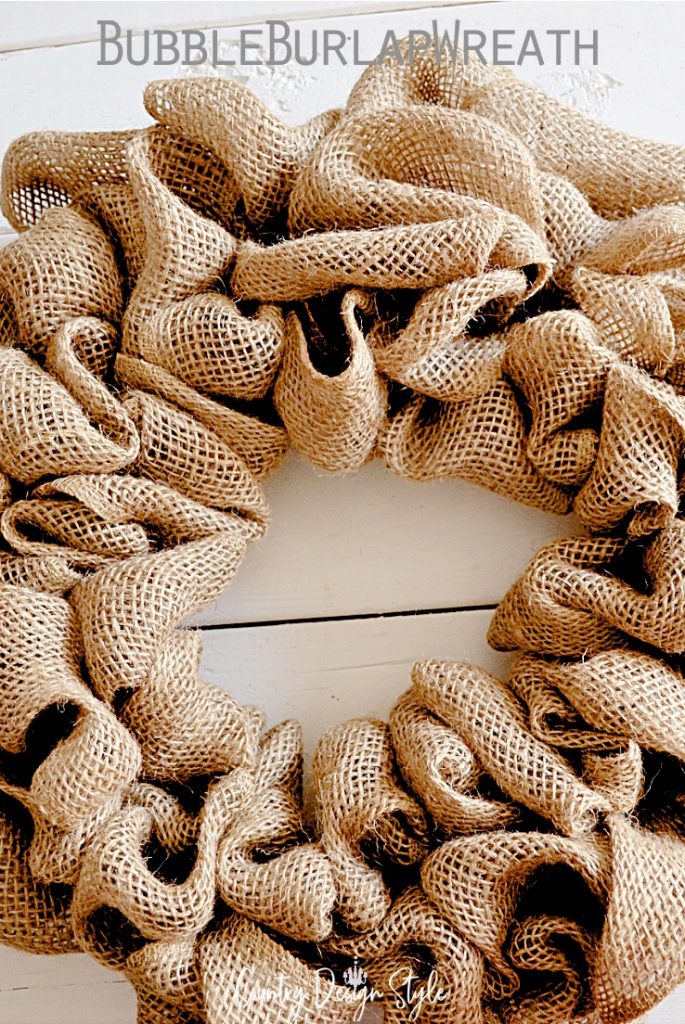
3 Laying the wreath frame on the work surface, pull the ribbon up from the back to make a 3” (7.6cm) loop. Hold it in place and make another loop through the next wire ring, moving toward the outside of the ring. When you reach the outer ring, make a twist. This locks the ribbon in place. Continue making loops through each section and twisting to move to the next section.
4 When you get all the way around the wreath, add wire to the last piece and twist in place. Fluff where needed.
Instructions for the frames
5 Collect tiny frames, remove the glass, and spray-paint them with chalkboard paint. Let dry and return the glass into each frame.
6 Cut the buffalo check paper and add them to the five frames.
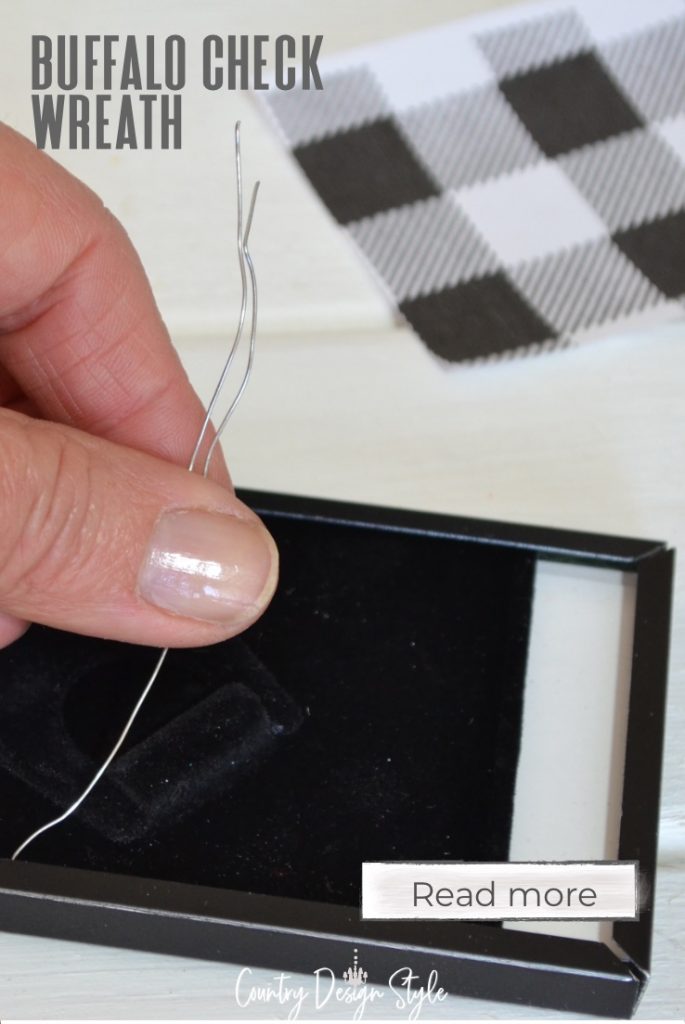
7 Add wire to backing. Before sliding the back of the frame in place, add a piece of floral wire across the back.
8 Use the wire to attach and tuck in the frames around the wreath.
<sidebar>
Tip for non-bow makers
I can build a cabinet for a TV, have made close to 100 fireplace mantels, and designed and created hundreds of wood shelves. But I can’t make a bow, even with a bow maker. So, instead, I keep ribbons simple. The ribbons in this project were placed one behind the other, then folded in half and tied at the top. Simple as that!
<end sidebar>

9 Cut two coordinating pieces of ribbon 14” (35.55cm) long. Make a dragon-tongue cut on the ends.

10 Holding the ribbons together, fold in half. Pinch together 1” (2.55cm) down from the fold. Tie tight with a piece of floral wire. Cover the wire with twine or ribbon. Use the floral wire to attach the ribbons.

More ideas for the frames
- Here are some other ideas on how to fill the frames.
- Add family photos.
- Cut out pieces of holiday cards.
- Print letters to spell out your favorite saying.
- Print out inspirational quotes.
- Seasonal or holiday shapes—hearts, stars, snowflakes, seashells, flowers, etc.
- Print out pretty patterned images from the Internet.

I love this buffalo plaid project.
Here are similar projects that readers swooned over;