The simplest way to store craft paint & create this windmill art
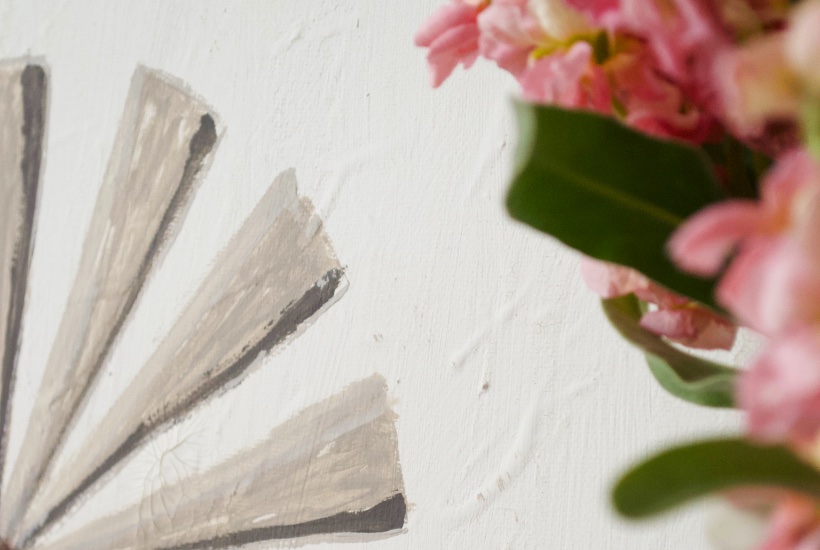 Once again I find myself digging through a storage box full of craft paint looking for my favorite color of brown. I bought it a couple of days ago! Why can’t I find it??
If you have this problem, I found the simplest solution at the thrift store.
While I share my solution, I’ll give an easy step by step tutorial for painting your own windmill art.
Now that I can easily see my brown paint!
Craft Paint Storage & Windmill Art
For your convenience, this post contains affiliate links so you can easily find the products or similar items at no extra cost to you. Click here to read my full disclosure policy.
While my paint is scattered here and there I’ll give the tutorial for making your own windmill art. Then I’ll share my lightbulb moment for craft paint storage.
Supplies from Amazon
Waverly chalk-based paints {Colors truffle, elephant, mineral, and plaster}
Windmill Art Tutorial
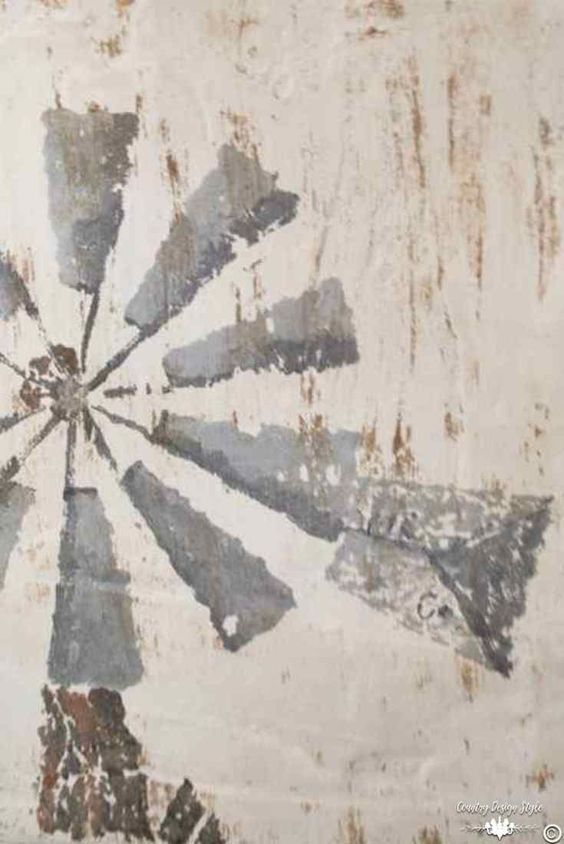
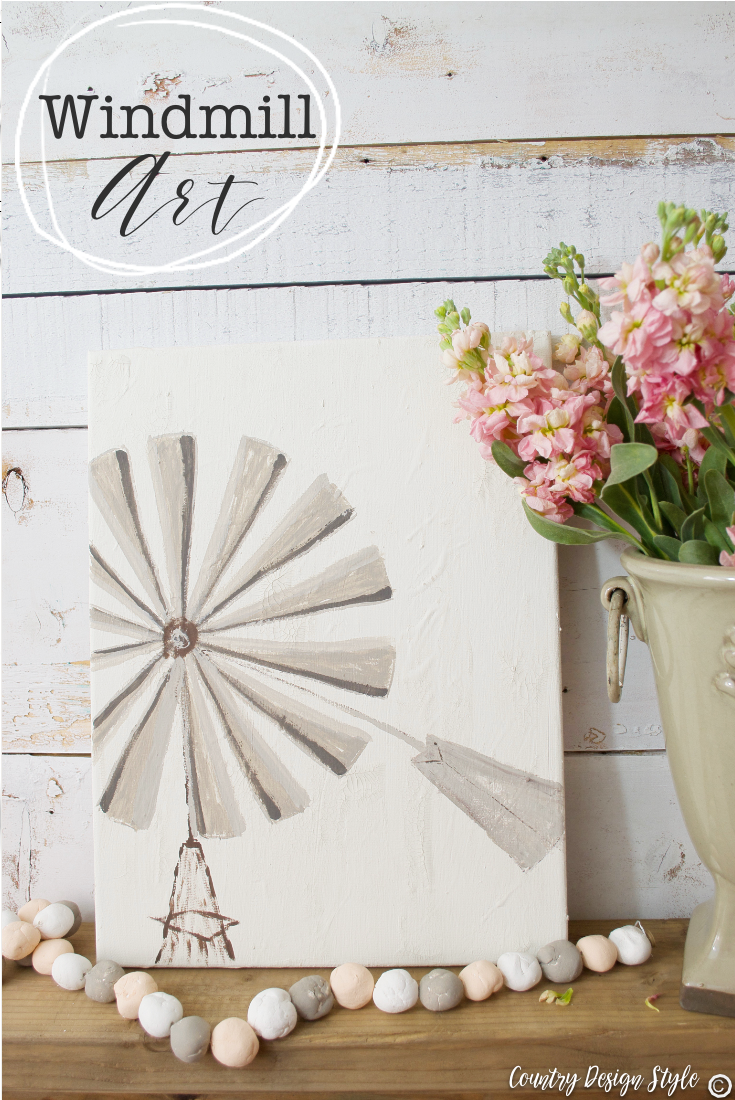
The trendiest pin I have on Pinterest is this windmill. I painted it in 1998 on a block of plaster covered wood. At the time, I created 28 different blocks. You can see them here.
Since the pin is so popular, I thought it would be fun create a tutorial to recreate the windmill larger.
Note: if you’re an artist…please be aware, I’m not!
Adding texture to the canvas
First, let’s add texture to the canvas. This is the same thing I did on wood blocks years ago…except I didn’t add Mod Podge. The Mod Podge keeps the plaster from chipping.

Add 1/3 cup of Mod Podge to a dish. This one is not my cereal bowl!
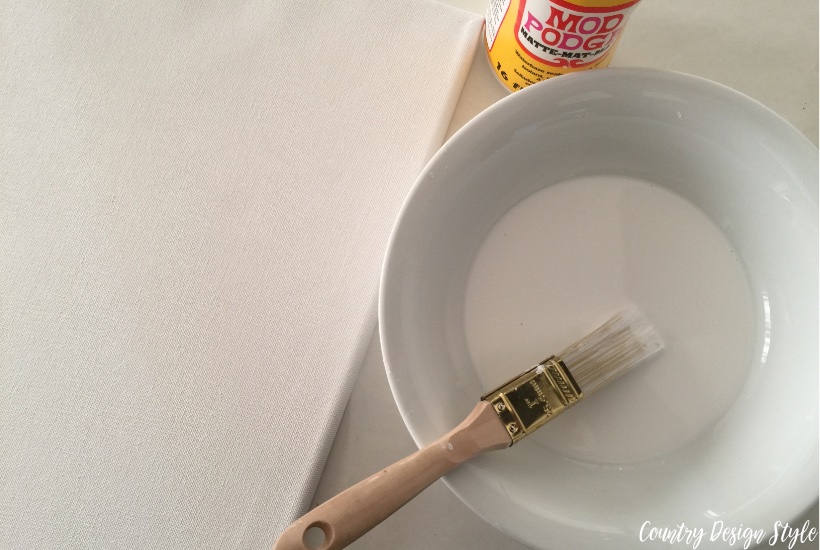
Add 1/3 cup of water to the Mod Podge. I stirred with my chip brush.
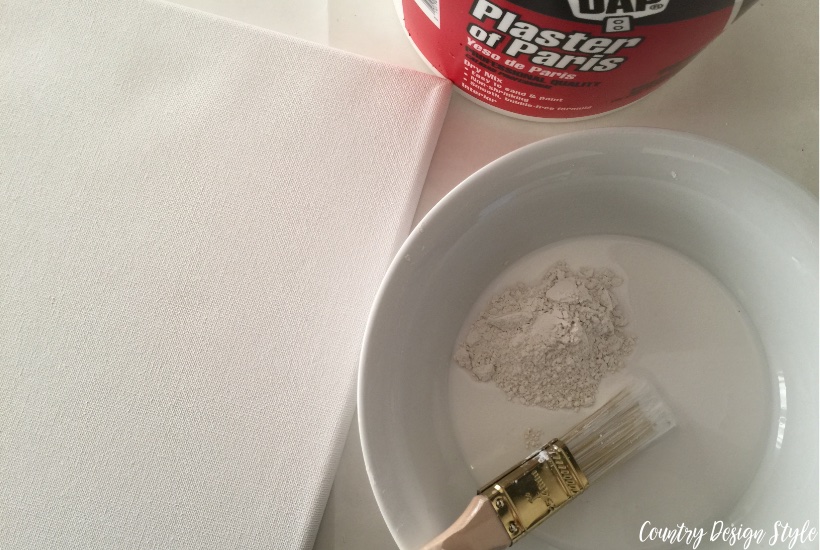
Now, I added one heaping tablespoon of plaster and stirred. I added two more tablespoons mixing between each addition. You will want the mixture to resemble thick paint.
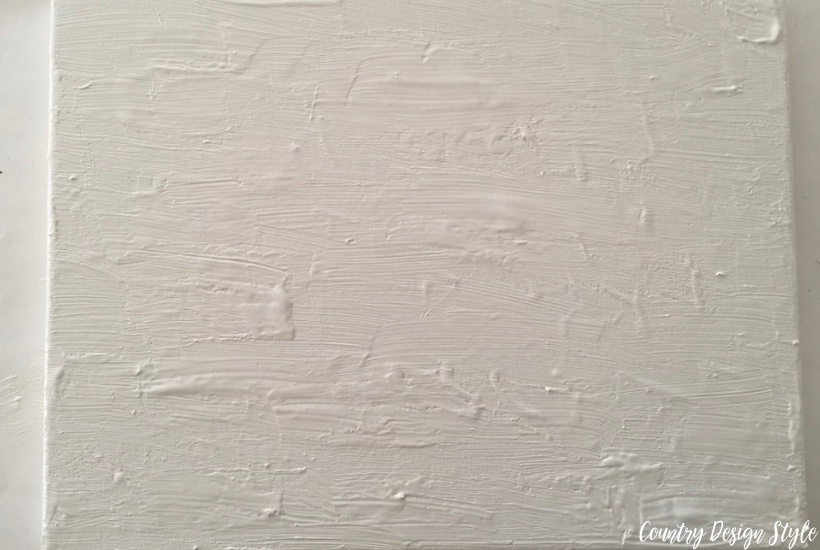
I then “painted” the plaster and mod podge on the canvas. Paint a thick coat on the canvas. I left high and low areas. Then placed the canvas in the sun to dry and…
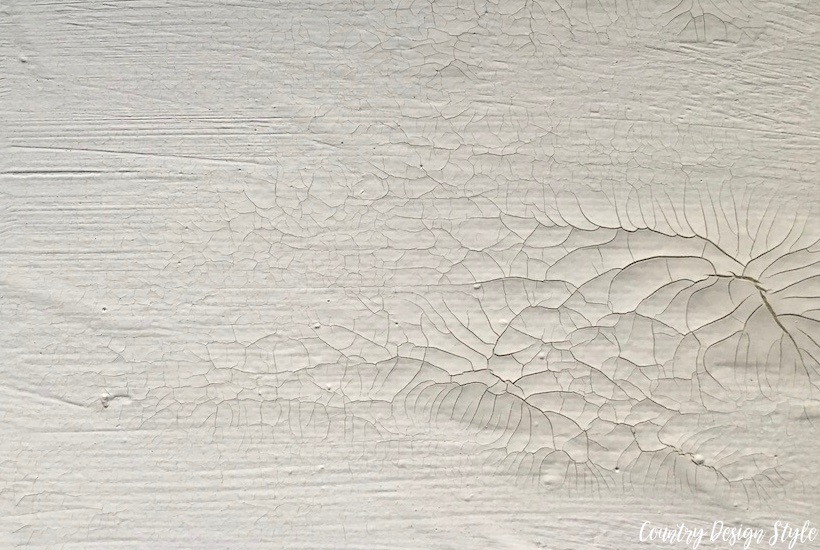
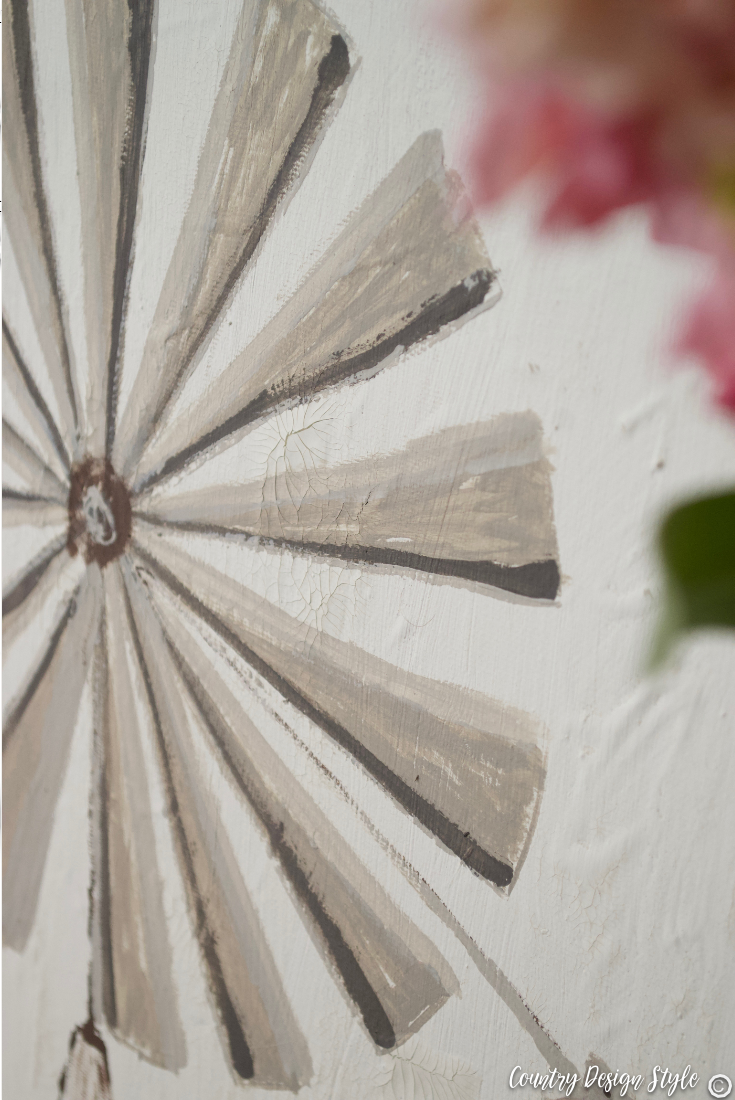
I got a crackled look. This happens when the top layer of paint dries before the bottom layers. I’m okay with the crackle. This may or may not happen to your canvas.
Painting the windmill
Please have fun with this. I painted the windmill in 20 minutes. There are mistakes and lines that are not perfect…but that’s okay. Just have fun.
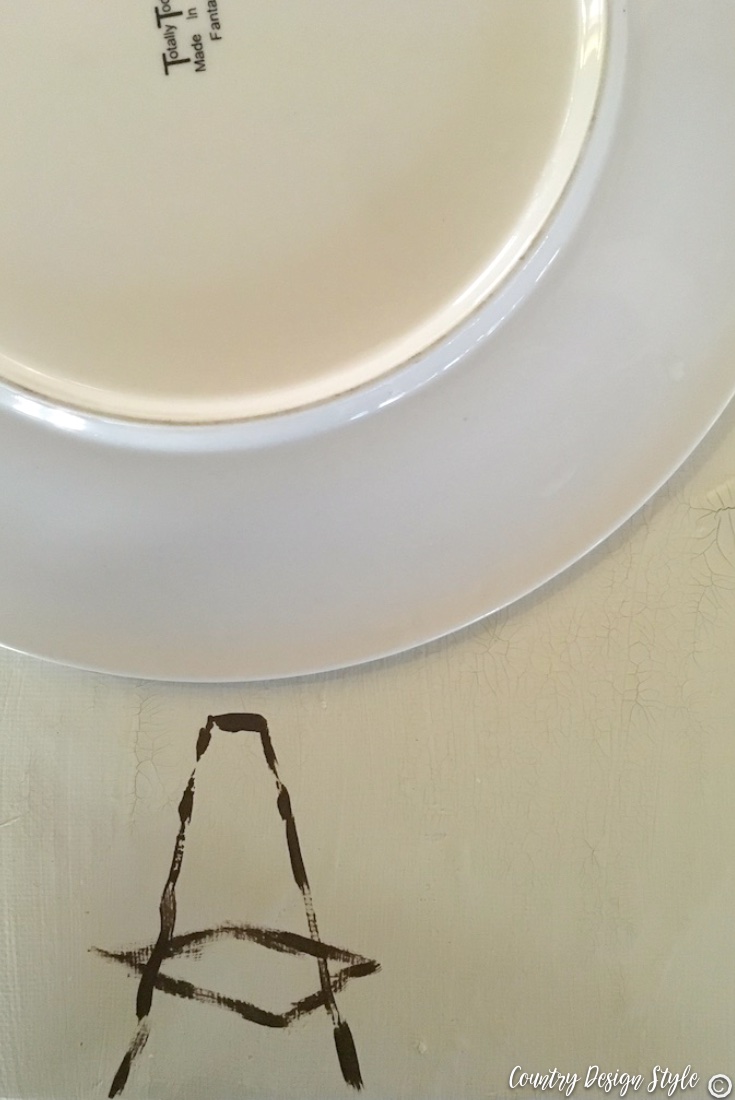
Place a dinner plate upside down where you want your windmill blades. This was my dinner plate!! :/ Then from the plate paint a cone shape with a square like above. I used the truffle color. Then around the plate, use a thin brush and add dashes about 1-inch long around the plate.
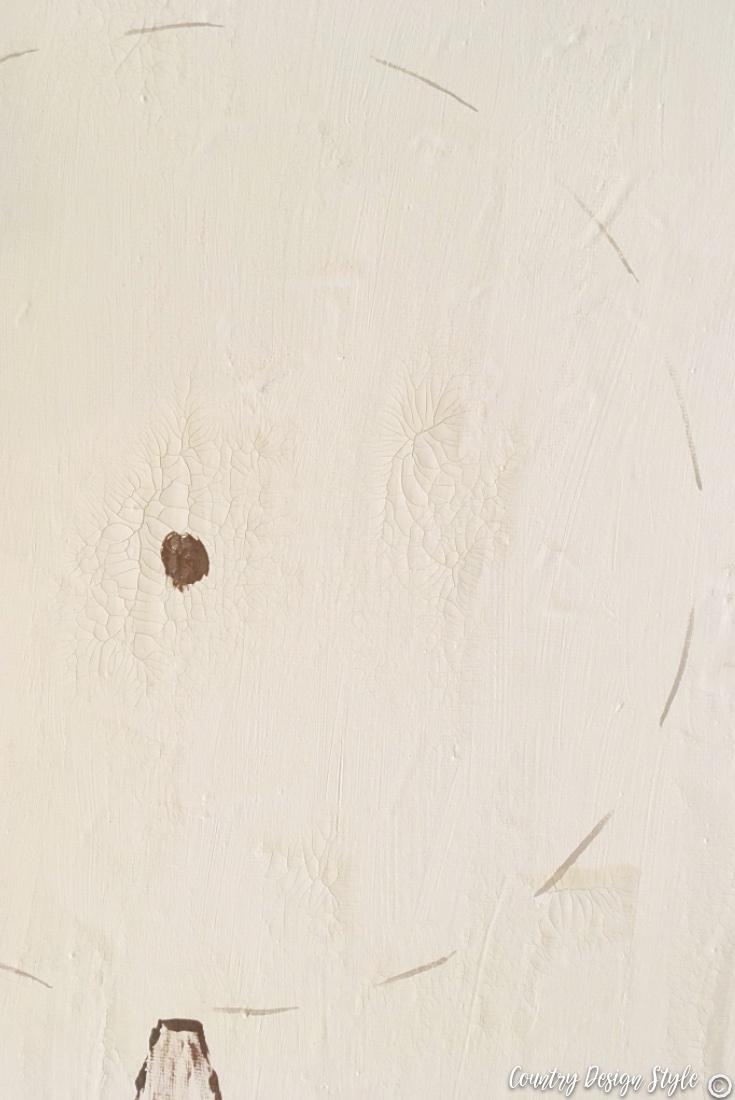
Remove the plate and add a dot somewhere around the center.
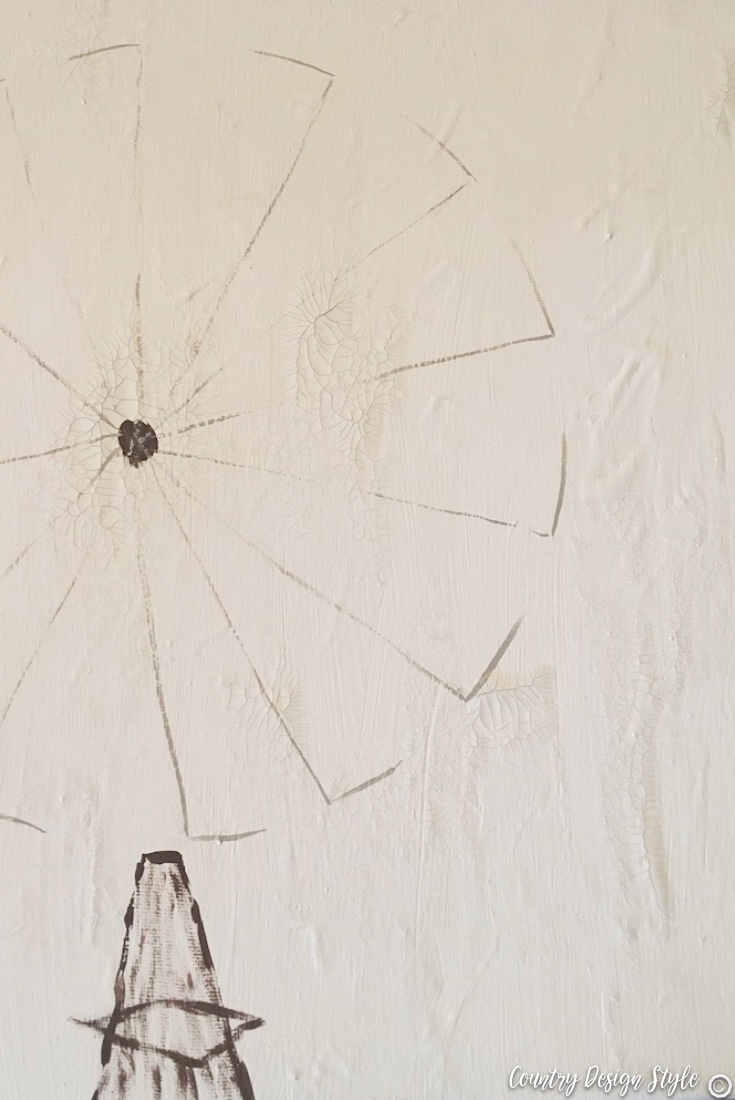
Then from one side of each dash make a line to the center. I used mineral color for these lines.
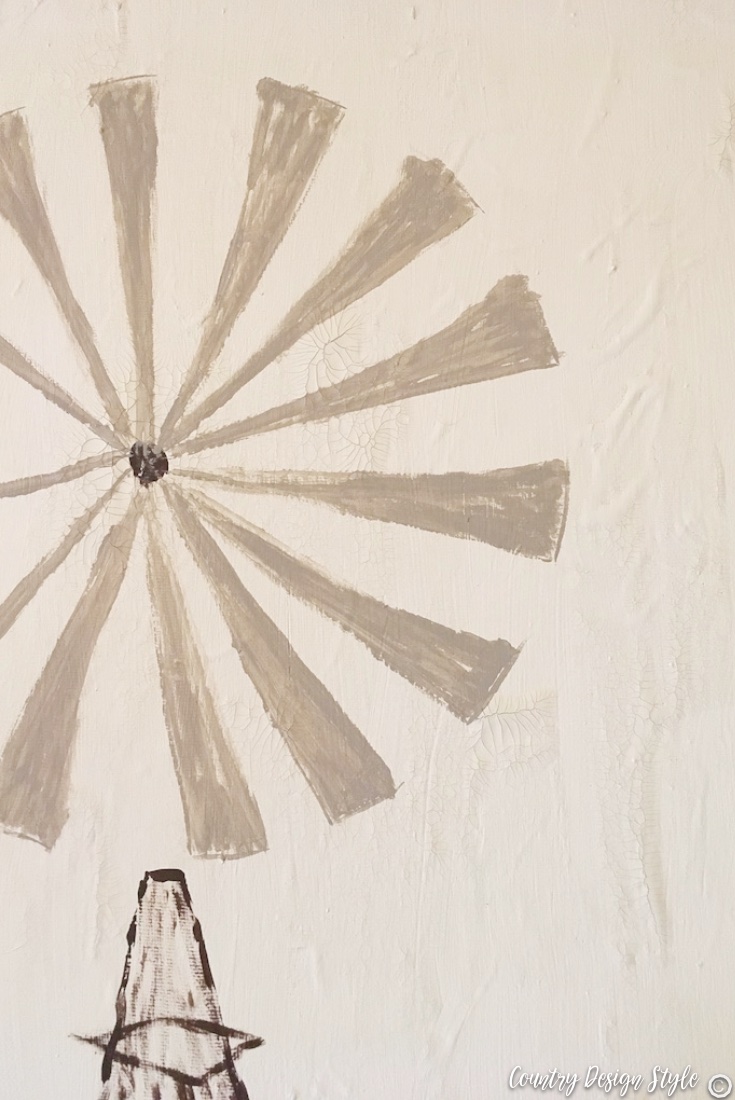
Fill in the long triangles. Notice it’s not perfect.
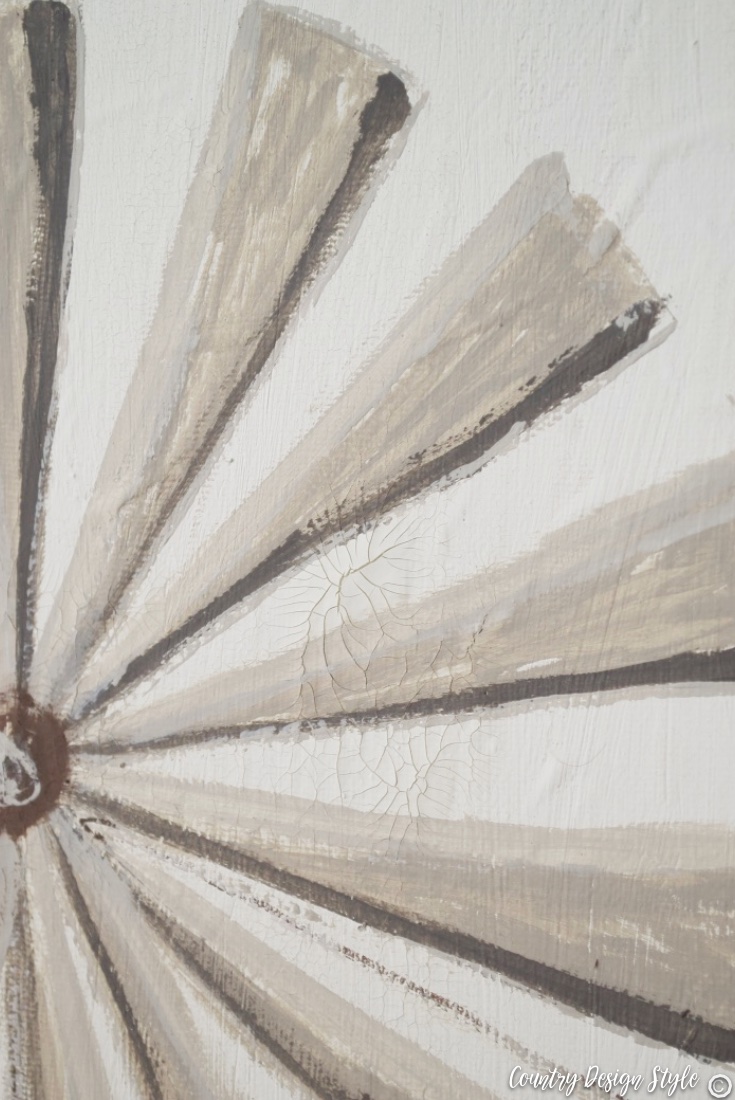
Along one side I added elephant color and added the lighter color of plaster to the other side. Although chalk-based paints dry fast, I didn’t worry about mixing paint if wet. This helps blend the colors.
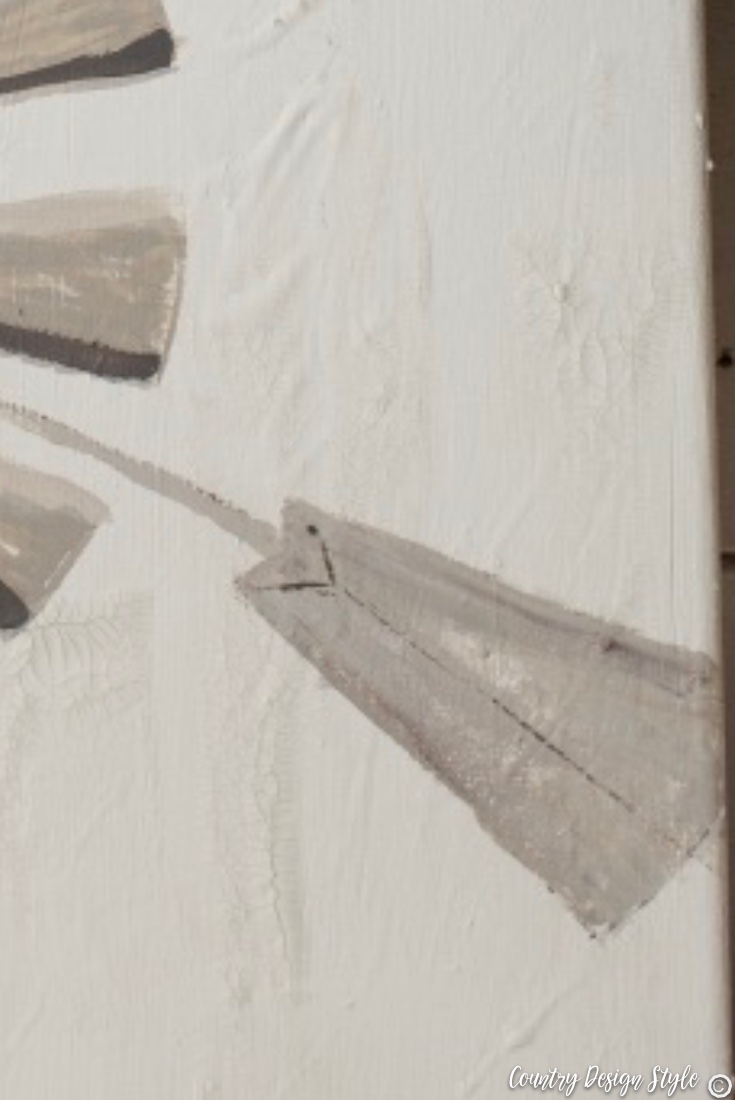
I made a tail using elephant and truffle.
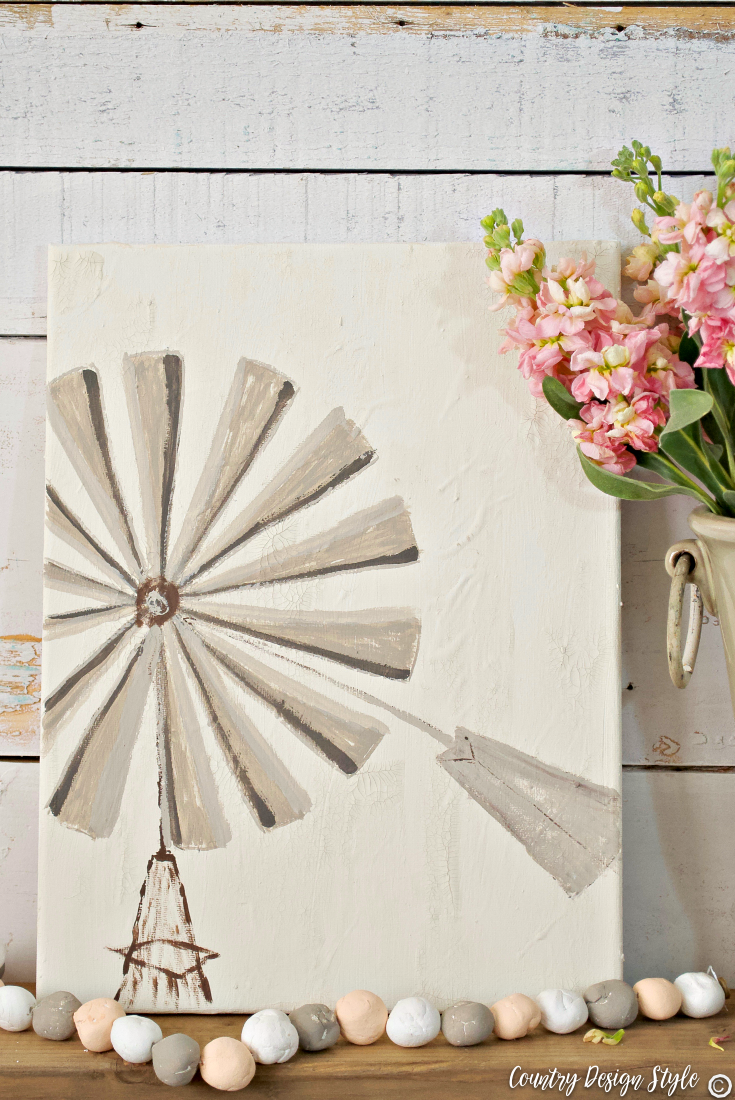
Then finished with a little more truffle in the center.
Windmill finished
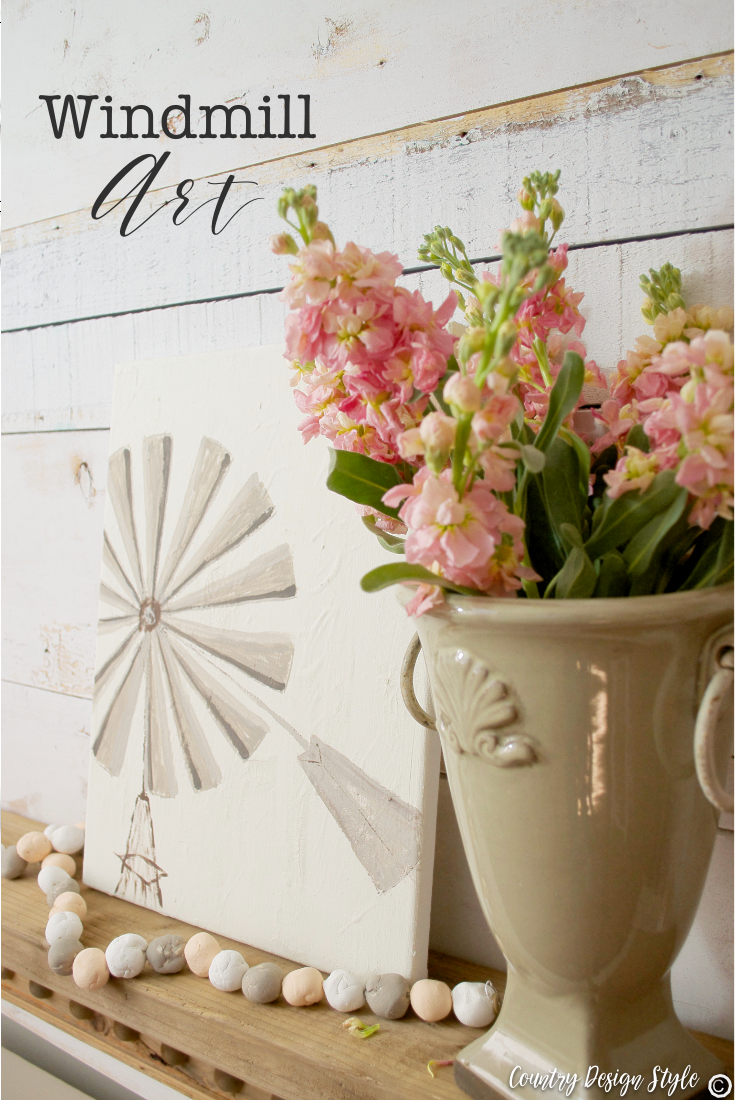
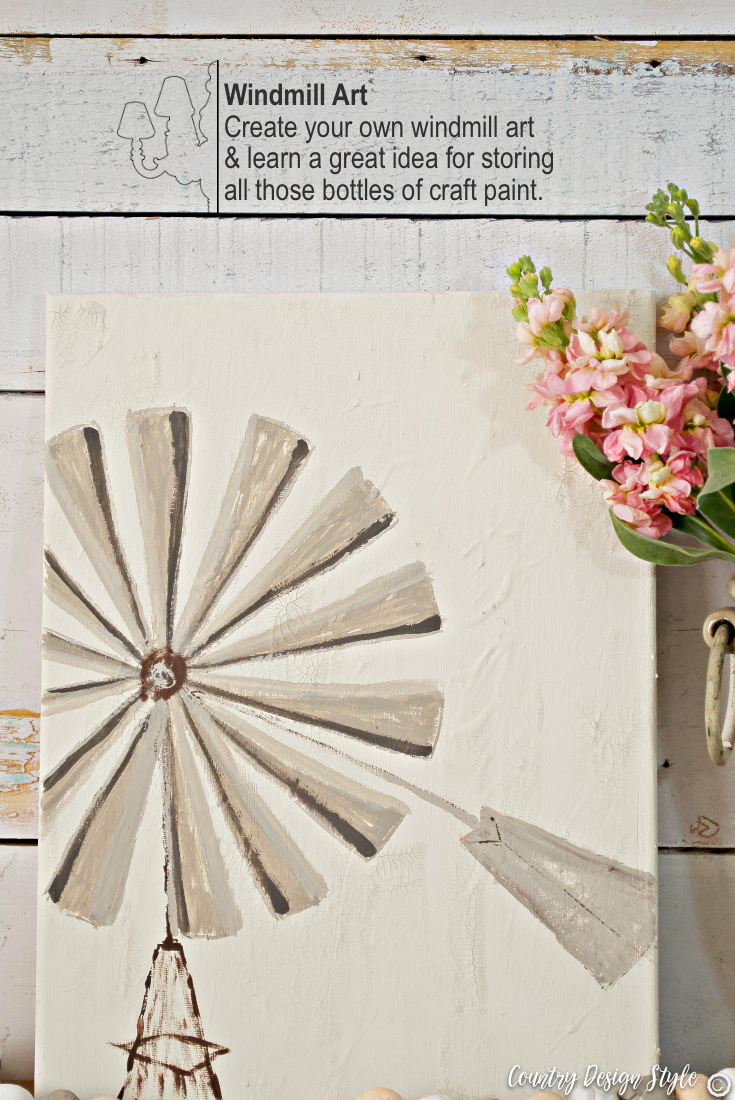
I went a bit crazy taking pictures of the windmill, scroll through and enjoy.
Craft Paint Storage Idea
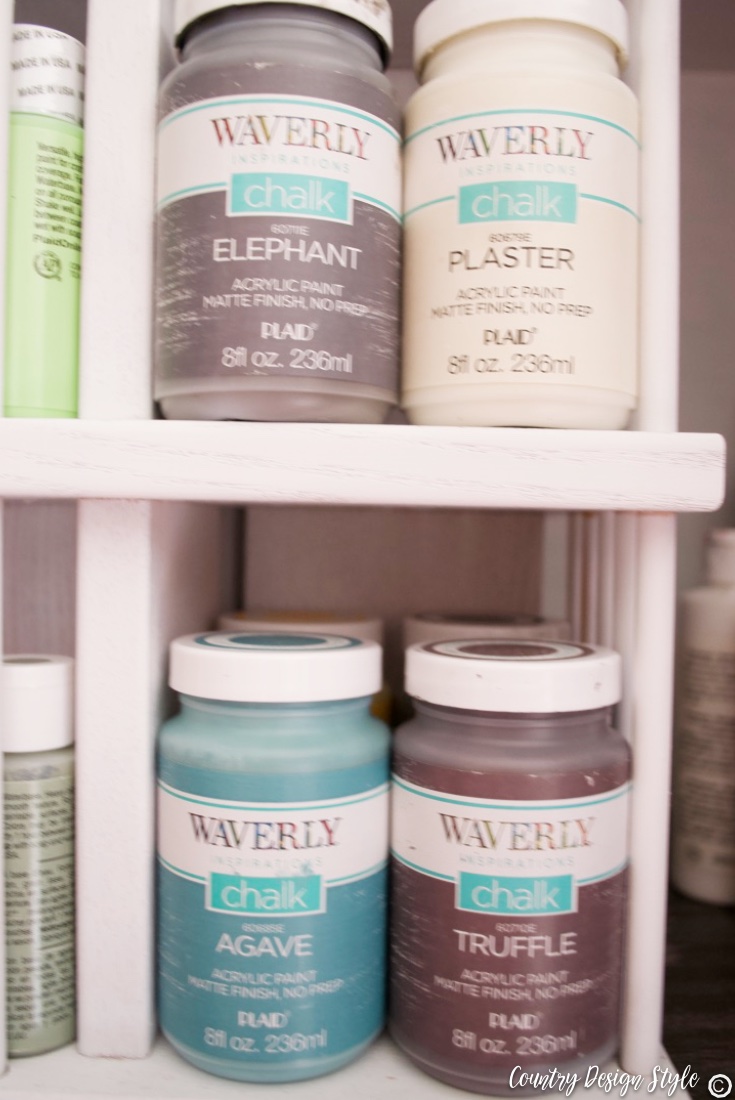
The lightbulb moment came when filling my craft room wall cabinet. I bought a rotating cd holder from our thrift store for $4. Actually, at the time, I bought it for the lazy susan mechanism. Thankfully, the time to dismantle it never came! Because it is perfect to hold craft paints. From the small 79 ¢ bottles to the chalk paint bottles.
Why didn’t I pick up on this sooner? A few years ago I bought this cabinet at the same thrift store and filled it with craft supplies. Then I “redonated” the cabinet back to the thrift store.
So the next time you’re at your thrift store, don’t pass up the old cd cabinets, shelves or lazy susans.
Now, if I could only see my other gray tennis shoe in the closet!
Join the newsletter

Subscribe to get our DIY HelpLetter each Thursday. Plus grab your Interior Decorating Ideas e-book.

