How to make a rustic wood beaded garland
 It’s a rare quiet afternoon and you want an easy project.
No sawdust.
Nothing involving a paintbrush.
Something creative you can decorate your home with.
This is super duper easy with these basic tips. And I made one of mine extra rustic.
Wood Beaded Garland
his post contains affiliate links for your convenience. For more information, Click here to read my full disclosure policy.
One of the many reasons I love DIY projects is if you get tired of it recreate something else.
Yep, it okay to destroy a project when you’ve grown tired of it, or it doesn’t fit your style anymore.
I painstakingly created this wood bead chandelier several years ago. I even bled for this project.
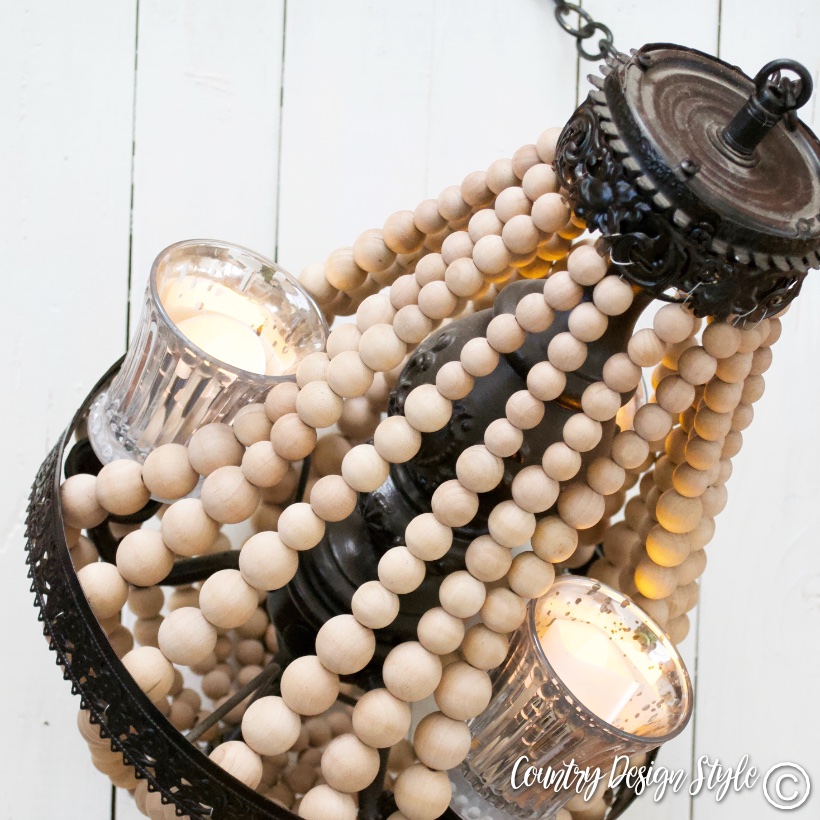
It sat or hung in several locations around our home and even outside. It even laid on a table in shabby chic style for a while. But we grew tired of it.
I wanted to make a couple of wood garlands. One to drape over decor and one to whoop-de-do along our mantel. The whoop-de-do garland I wanted rustic so I aged a few of the beads. Some I left as raw wood.
Aging wood
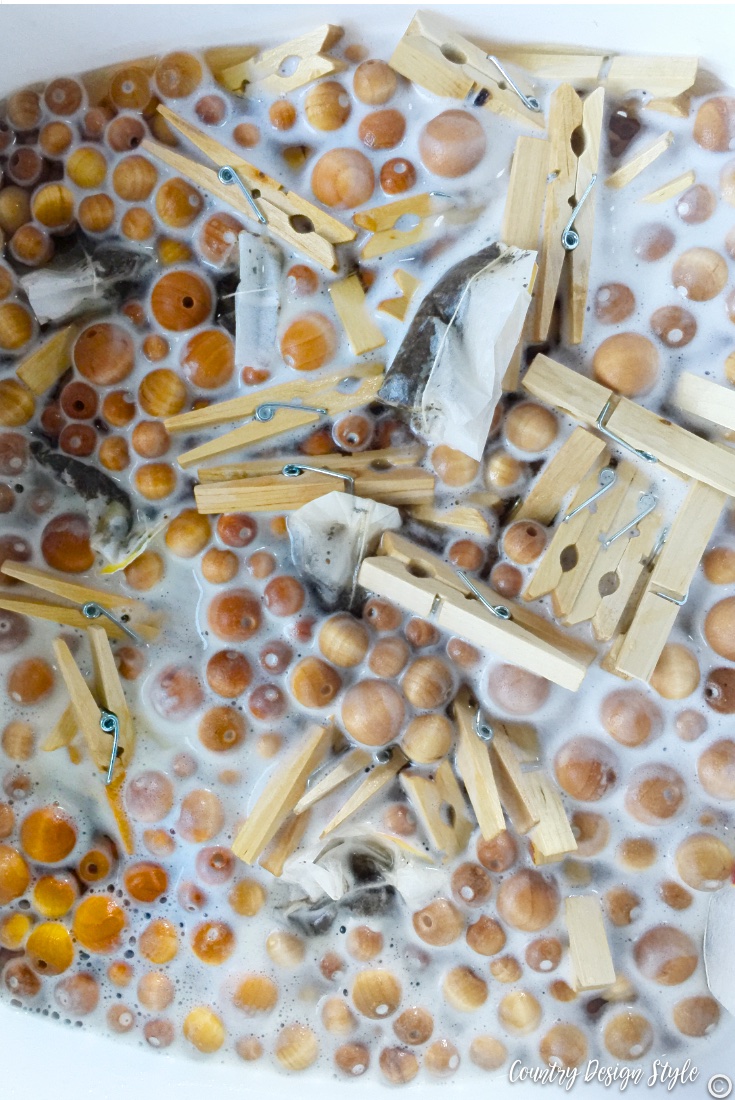
I first soaked them in tea. Notice I tossed in some dollar store clothes pins too.
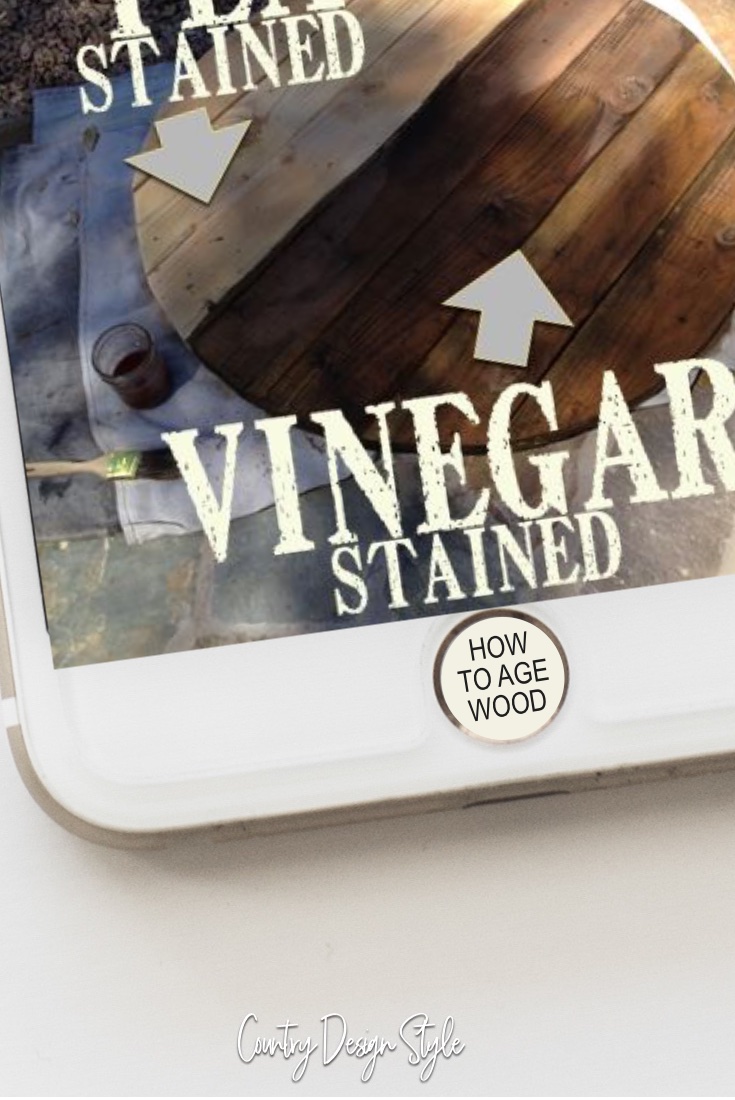
They soaked for 5 minutes. Then I removed them to dry. After they dried. I popped them into ironed vinegar. Read more about aging wood instantly here. There are important tips to learn about aging with tea and vinegar.
Creating garlands
Supplies
Wood beads {I used 10mm 14mm & 20mm}
Twine
Craft glue
Scissors
This is a tip to make threading beads on twine easier.
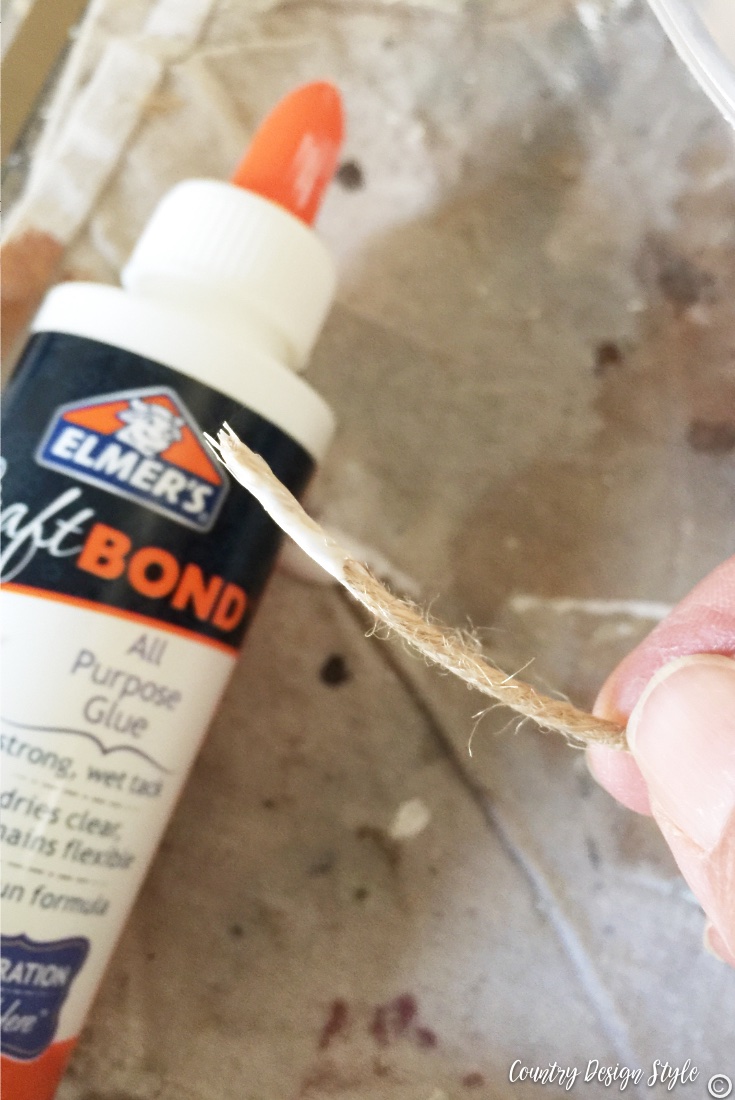
Dip the end of the twine in craft glue. Press the fibers to a point. Then let dry. When the glue dries you can use the end like a needle to thread on the beads. No unraveling!
Making the garlands
Raw wood garland with tassels
For the small raw wood garland, I used 14mm beads. I made a twine tassel first.
I wrapped twine around my hand 8 times. Then removed the circle of twine from my hand. I cut a piece about 2 feet long. I tied one end to the circle. Next, I cut a piece about 4 inches long and wrapped about 1/2 inch from the long piece all the threads. I tied the ends together. Then cut the twine and frayed the pieces.
The other end of the 2-foot long piece was dipping in glue to make the “needle.” Then I added the beads. I make another tassel and tied to hold the beads together.
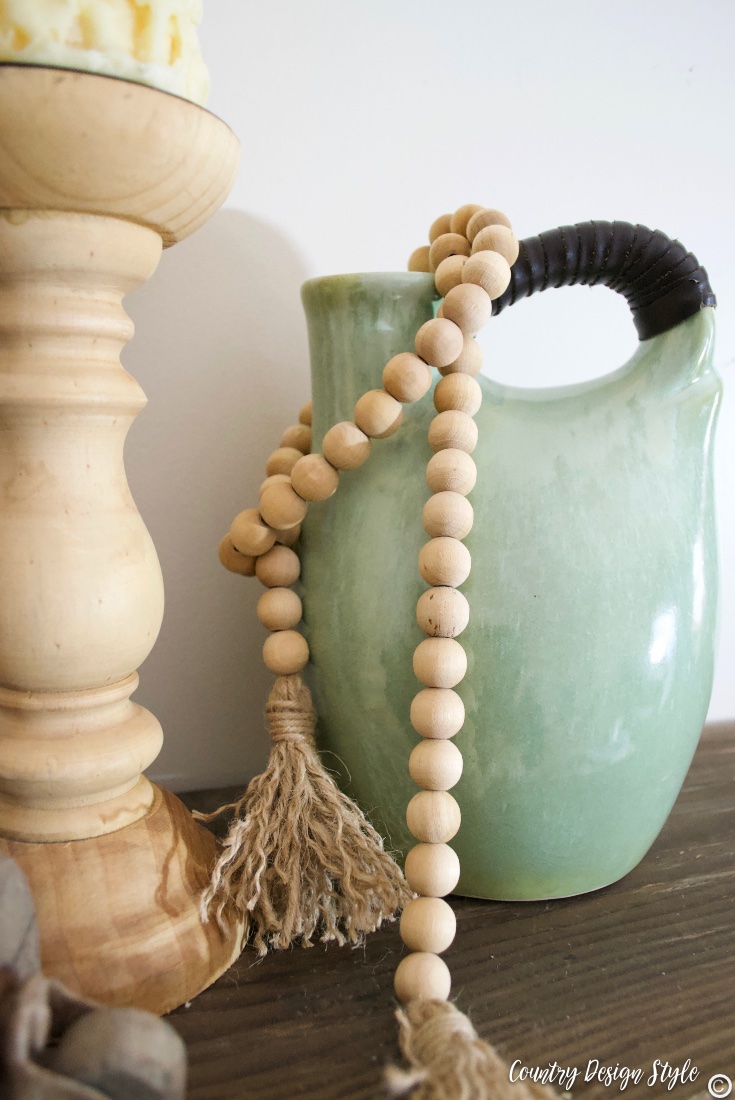
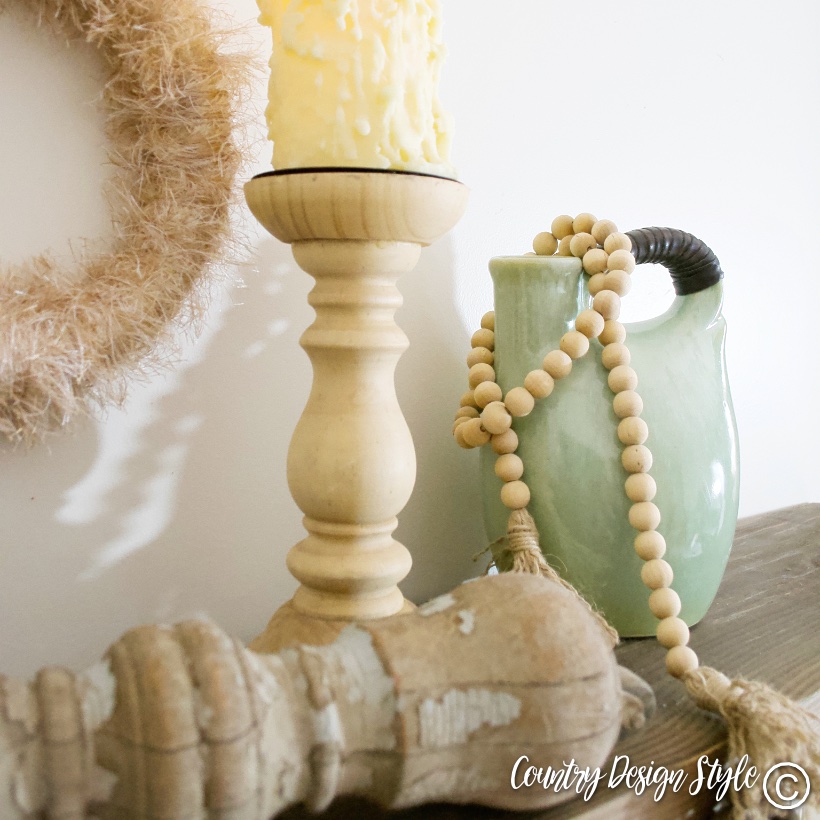
The raw wood garland is fun to drape over vases and old books. Makes an added bit of texture in the room.
Rustic wood garland
First, I cut 6-feet of twine. I made a knot in one end and a “needle” using glue on the other end. The pattern is one 20mm, one 14mm, one 10mm, one 14mm. Then start again. So, you’ve added a medium between each large and small bead. I tied a knot at the other end.
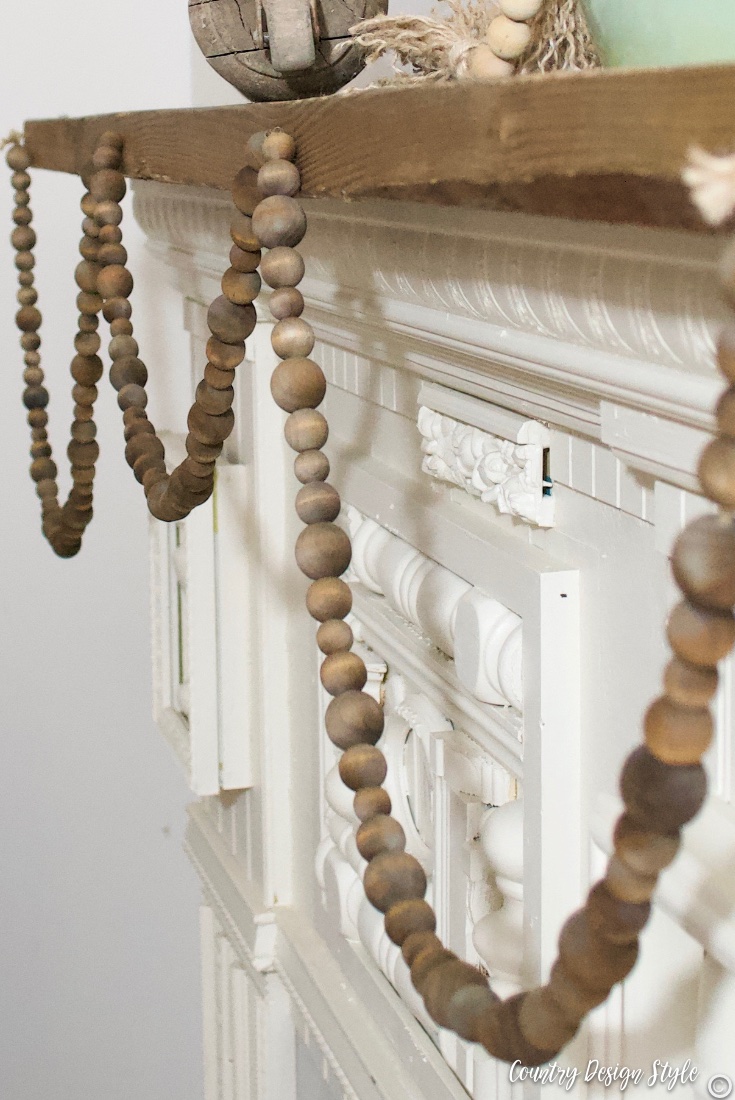
And the aged rustic wood beaded garland hangs from my favorite mantel.
Hanging in a whoop-de-do fashion!
And those aged clothespins??
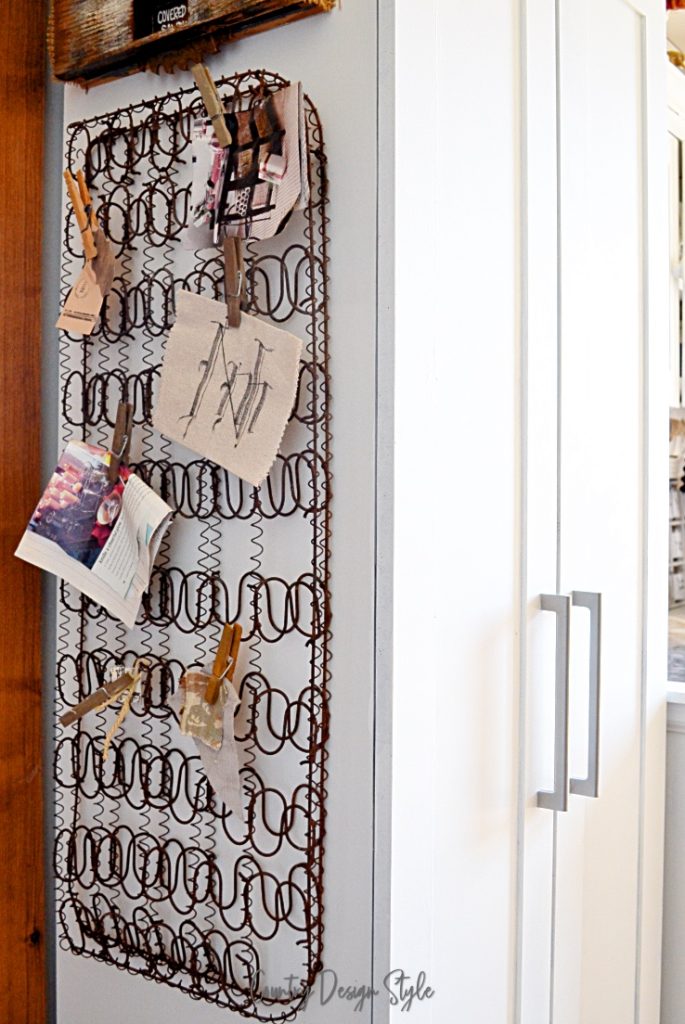
I use dollar store clothespins all around the house. In the kitchen for bread and chip bags, in the craft room bulletin board and sometimes to hang clothes! They look better with a bit of age. Wish I could say the same. :/
Join the newsletter

Subscribe to get our DIY HelpLetter each Thursday. Plus grab your Interior Decorating Ideas e-book.

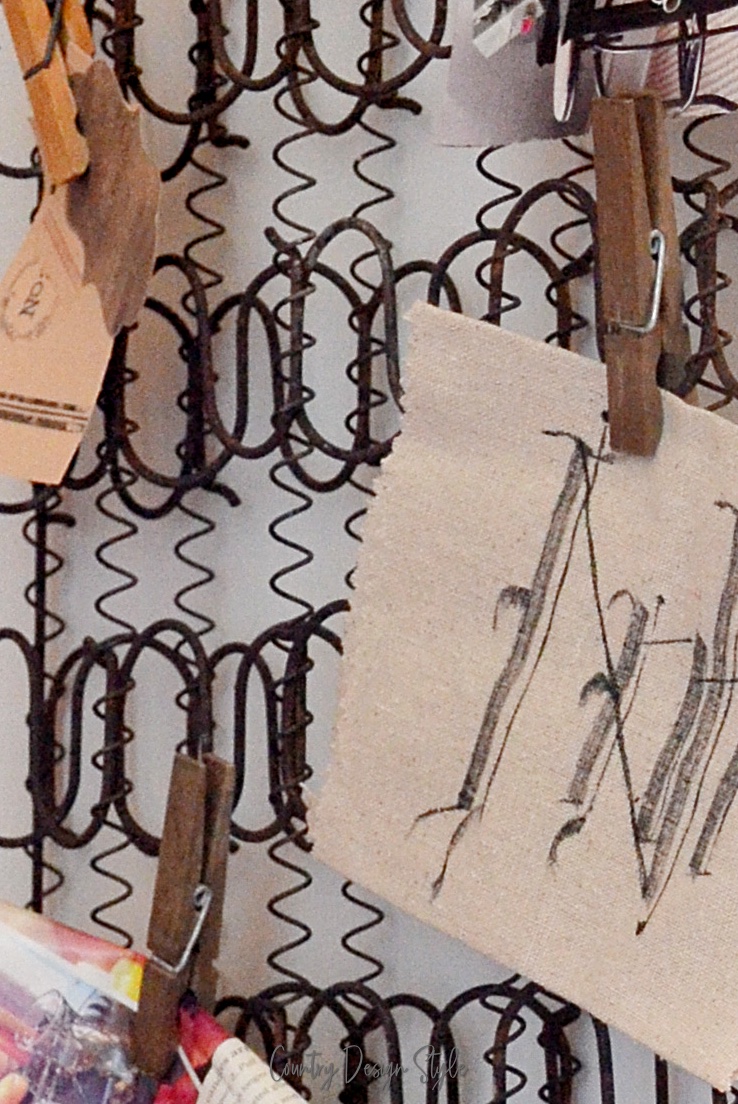



So I’m wondering about one of the hanging decors that I saw. It looks like it is a spring from a mattress (possibly baby bed/crib). I love it ❤️ Very informative tutorial. Thank you for sharing.
How many beads did it take for each of the garlands you made… can’t wait to make these.
Hey, Sherry, I ordered bags of 200 beads on Amazon. Share a picture of your garland! 🙂
Hello, I want to make this. But I have a question. I have my wooden beads already in the cotton thread. Do you think that the iron vinager will ruin the cotton thread? Or it will be ok? Thank you so much 🌷
It will turn the cotton thread darker, but otherwise, it should be fine. Especially since the wood bead doesn’t soak in the iron vinegar. Thank you for asking a great question! Hugs.
Perfect! Thanks for your time and help! 🙂🌷
Love your garland! I have one question that I don’t see in your post. How long did you soak your beads in the ironed vinegar? Thank you 🙂
Bonnie, thank you for pointing that out. I removed the beads as soon as they were completely wet. It’s fast-acting.
Nice to read your post Jeanette. I’m also a Chaney, from Kentucky! My mother-in-law’s name was Jean, Thanks for all the info!
Hi Jeanette,
I was so excited to try aging my wooden beads to make a rustic garland, so when I found you post it was just the answer I needed.
I finished aging my beads today, but they all turned out black! I’m wondering if the length of time they soak in the tea makes a difference on the final color? I followed all the instructions to the letter with the exception of the length of time they soaked in the tea. I think I left them for about an hour because I forgot about them. Thoughts?
Oh No, Michelle! I’m so sorry they turned black. I just dipped mine in the tea and removed them as soon as they were covered with tea. The tannins in the tea will keep getting darker if left too long. Even when I’m aging wood boards, I paint the tea on with a paintbrush and place in the sun to dry. A thought for a rustic chipped look would be to spray paint them with a matte white. Then sand a bit to reveal the black. I keep wanting to make a strand that’s chippy white.
What did you do with the clothespins??:)
Denise, I’m using those clothespins everywhere around the house, as my grandmother did. Now my look as old as her’s did. I keep a dozen in a kitchen drawer to clip bread bags and chips. I have an old spring from a small bed and I clip notes and reminders using the “old” clothespins. Sometimes, I clip my clothes on a hanger with one too. Guess I should have said that in the post! I’ll update with photos! Thank you for your help!
Oh NO!! I really struggled the day before yesterday to thread my beads onto string, the darn thing kept unravelling, and then having finally got it all together, 2 days later I find your blog, and such a sensible tip!! Oh, well, better late than never I guess, and at least I’ll know for another time.
Judi in the UK
Pinned all these pretty garlands! On my TO-DO list for sure! Christine from Little Brags
Thanks for pinning, Christine! Hugs.
Hi Jeanette, I was struggling with how in the world I was going to string my wooden beads onto some jute twine without the ends of the twine fraying. I went in search of a large-eyed needle that I had with my knitting stuff and before I had a chance to start my project, your post appeared in my e-mail today with a hint on how to make a needle using glue on the end of the twine. To say I was delighted is putting it mildly. I followed your directions and my stri
ng of wooden beads turned out beautifully. Thanks for the tip and all your inspiration!
Kathy F
Yea!!!! Kathy, I was timely with this post! So glad to have helped. Thanks for following.