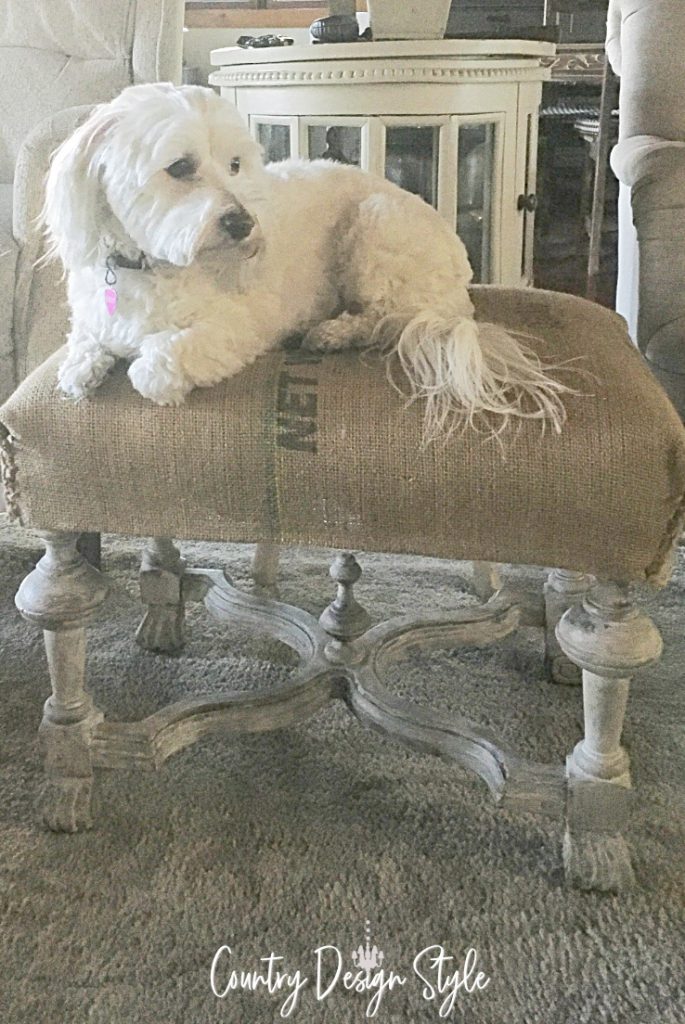
Burlap sack ottoman cover in 30 minutes or less
A burlap sack ottoman cover made in 30 minutes or less using a $5 coffee bag. Perfect for those sad ottomans that need a farmhouse style update.
Your ottoman is looking well used. You think about tossing it, but it’s used often, especially during Netflix and popcorn nights.
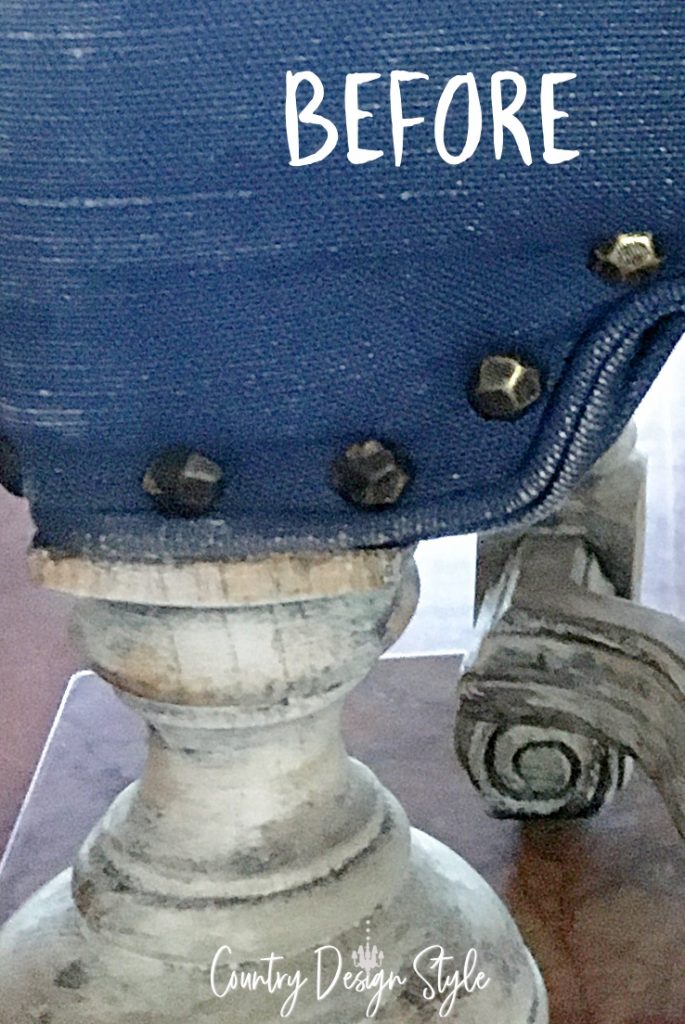
Upholster??
Sending it to the upholster is expensive, and most DIY options take so much time. Like the first DIY option I created. I watched 11 movies while making the first cover.
I finished this cover in under 30 minutes. It will hold up to our little white dogs too.
$5 sack

We found a burlap coffee sack at our locally owned shop for $5. Then I promptly stashed it away in a drawer upstairs and forgot about it.
Then, while decluttering, I ran across the sack. Do you do that too?
Instead of donating it, I tried to think of something quick and easy to do with it.
- If I had a large frame, I could hang it as art. But we don’t have much wall space.
- I tried arranging it on our dining table, but the wood is about the same color.
- Using it on the porch makes our squirrels happy. They can destroy burlap in a few weeks.
While walking around the house with the burlap sack, the property brothers show caught my eye. So, I sat down and laid the sack on the ottoman. Wowza!
Perfect!
Burlap cover steps

I grabbed some twine and a large needle and turned the sack into a cover in under 30 minutes.
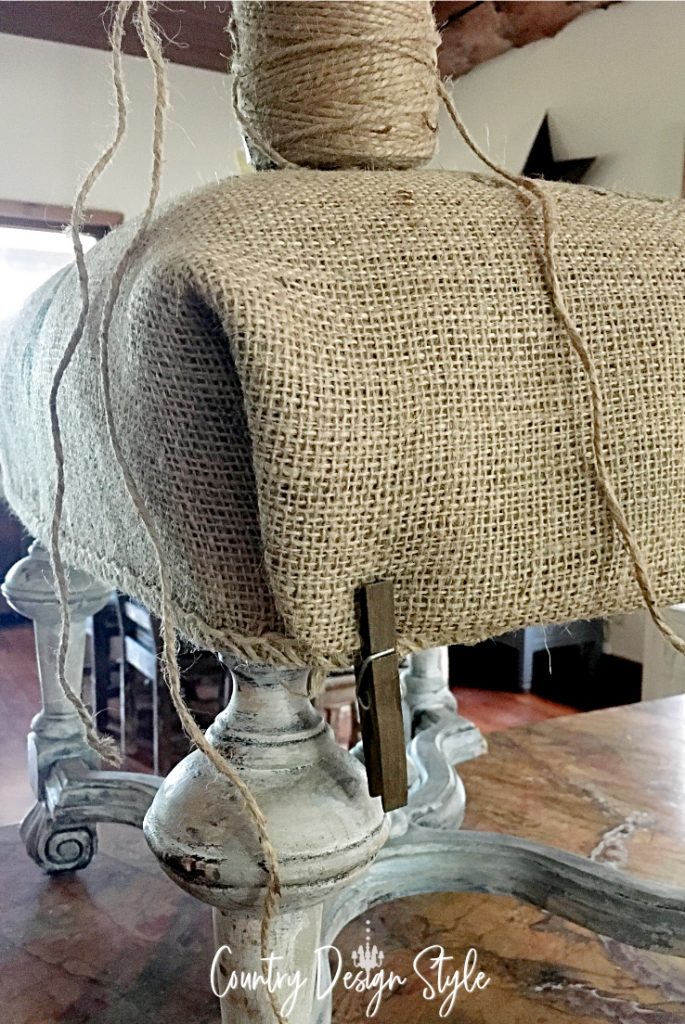
Clothespins held things in place, and a blanket stitch in the corners and along the top edge finished the cover.
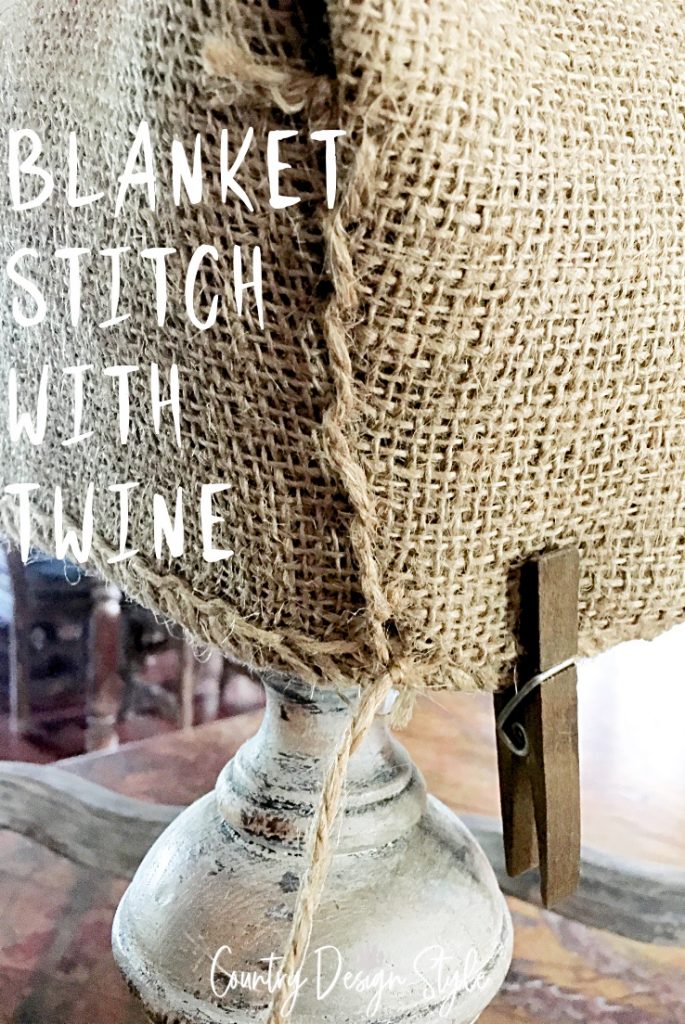
If you’re not sure what a blanket stitch is, this video is helpful.
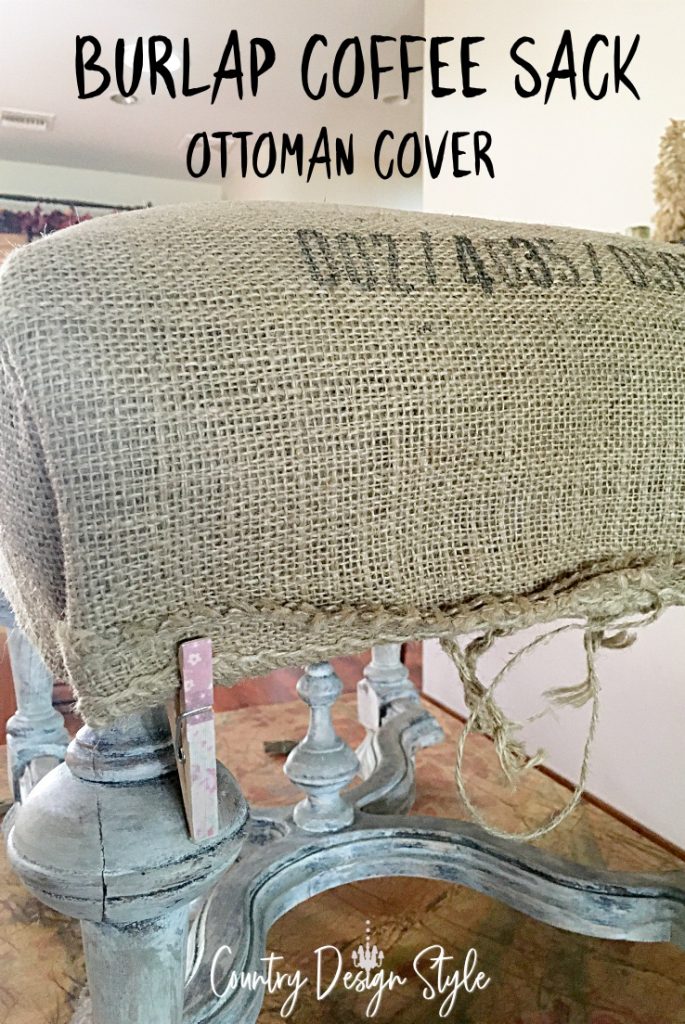
Note, I didn’t cut the sack anywhere. If the ottoman were smaller, I would have cut the sack down to size.

By the way, on the first shaggy ottoman cover, I used a burlap base. I used hot glue to “sew” that burlap. Hot glue and burlap go hand in hand.
Take a moment, check out my hot glue gun tips to protect your fingertips, and gather ideas for hot glue.