
Craft Cabinet for Thrift Benefit
Did you know many animal rescues have a thrift store that supports them? The funds raised go to care for the animals in need.
To help bring awareness to these thrift stores, I started the Thrift Benefit for Sheltered Animals.
A creative group of DIY bloggers is sharing today, their creative ideas from thrift stores that support animal rescues.
I found an ugly cabinet that was calling out to be a…
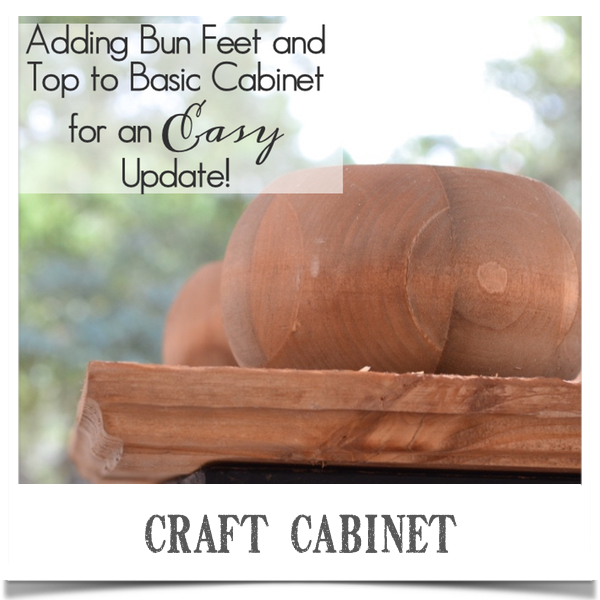
Craft Cabinet!
But first a bit more on the Thrift Benefit for Sheltered Animals. Humane Societies across the U.S. depend on funds from {hard to get} grants and donations. To help with additional expenses many rescues open thrift stores. Shopping, donating and inspiring others to transform treasures found at these thrift stores is my small way to help the animals. At the bottom of this post are projects, stories, and animals from other DIY bloggers who are also helping the animals while they wait to find their new homes. DIY bloggers are the best!
Now for that craft cabinet.
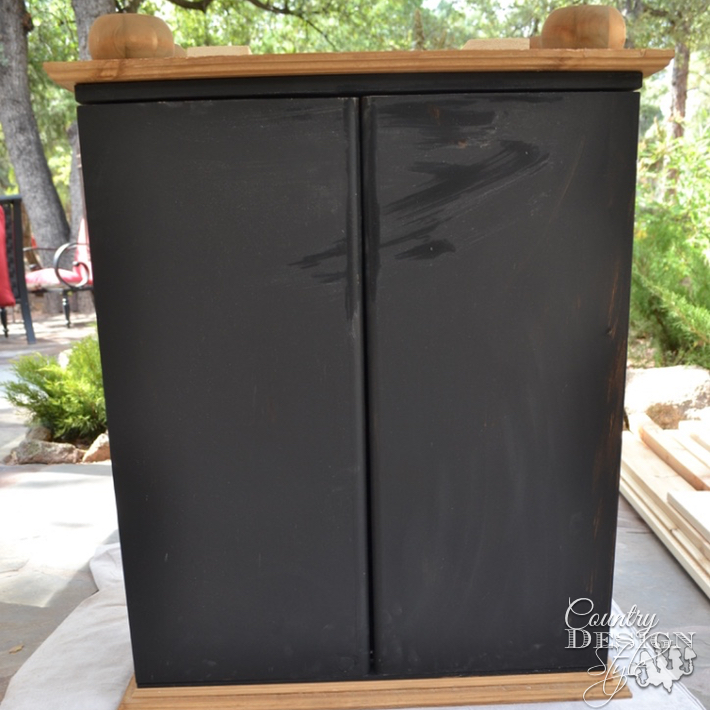
A basic fake wood cabinet gets dressed up.
When we need to get dressed up quickly, we grab a simple black dress. Then to add fancy, we slip on cute shoes and add a hat!
That’s what I did to a basic cabinet from our Humane Society’s Resale Thrift Store.
All proceeds from the Resale Store go to support our Humane Society of Central Arizona.

This is a basic cabinet I found for $10. When I opened those doors I knew it needed to be a craft cabinet. Perfect storage!
Here are the steps I took to add fancy!

I measured boards to cover the top and bottom with one inch extra in front and two inches wider for the sides. This gives an inch for each side. The top boards are tongue and groove. Wood glued and clamped until dry worked for the top piece. For the bottom, I used regular pine boards. I added wood glue to the boards and clamped. For more support, two pieces were added across that I glued and screwed on the bottom. These cross pieces will not be seen underneath.
Next, I routered edge of the front and sides of the top and bottom.

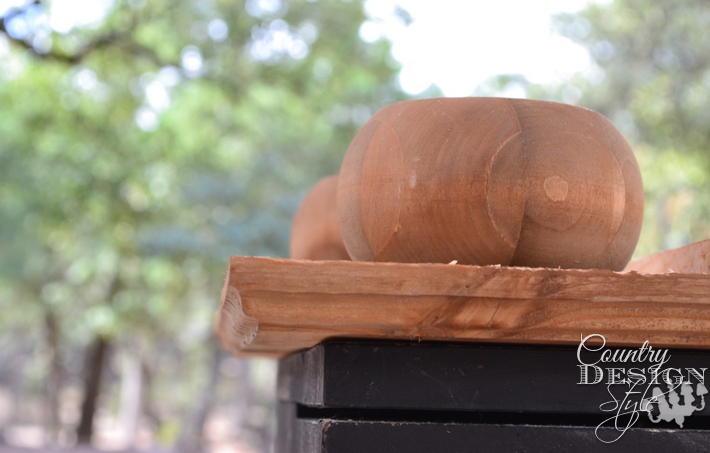
Then I added bun feet {fancy shoes} to the bottom. Before adding to the cabinet I aged the wood of both top and bottom and those cute bun feet.
The cabinet wears a basic chalk paint black. Inside and out. Two coats. I used one of those paint pads to paint the inside quickly. Worked great!

Turning the cabinet upside down I added the top by screwing it on from the inside. I added more aged wood trim around the front and sides. The wood trim is like earrings!
I screwed on the bottom from underneath the cabinet. I gave the chalk paint a light sanding. Then a wax finish will keep it pretty through all the crafts.
Cabinet filled with crafts
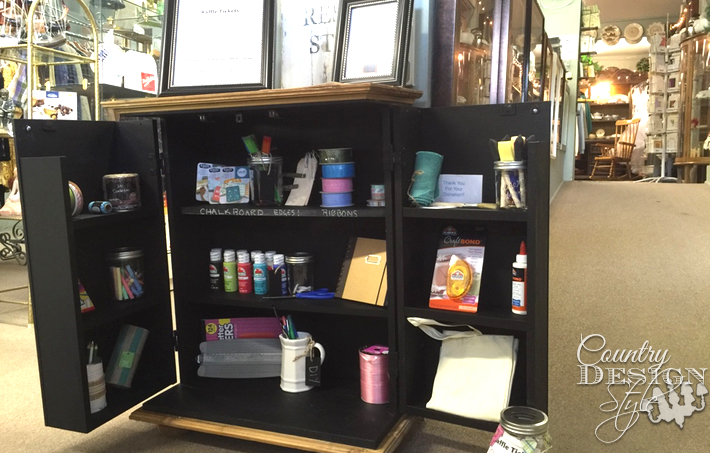
A quick trip to the craft aisle fills the cabinet with basic supplies. I decided to raffle off the craft cabinet at the Humane Society Resale Store. When I purchased the cabinet the thrift store made $10. They earn a couple of hundred in raffle ticket sales for the cabinet.

I would like to thank all the creative DIY bloggers who joined the Thrift Benefit for Sheltered Animals this year. Thank you for helping the animals in need in our unique way.
Now sit back and enjoy the inspiring projects, stories, and animals. If you wish to find and share these posts on social media just search for #thriftbenefit4animals! Thank you for spreading the word.


awesome awesome – like it so MUCH!!
Hugs
This piece is perfect for craft supply organization! The person who wins it is going to be thrilled! Now that I’ve seen your project, I’m going to keep my eye out for something similar to make over. I could use a piece like this for my supplies.
Paula, I was so happy to find the cabinet. I went in with the idea of a craft cabinet to make over and this one was perfect!
I just knew you would do something amazing!
and just love that your raffling off the beautiful piece- that will be one lucky winner!
Thanks again for creating this event- and I’m sure all our furry friends in need thank you too!
Christina, thank you for help us out with the event again!
Wow! I need a cabinet like this in my life! 🙂 Love it! Thanks so much for hosting this event every year! I am really enjoying being a part of it!
Jennifer, I so happy you could join us again this year.
Jeanette this came so nice… I am using drawers right now…now you have me wanting to look for a cabinet…Thank you for hosting this great event each year!
Thank you Tammy! I have a blast doing it!
Thank you once again Jeanette for organizing this event! And that cabinet is amazing – loads of room for crafty stuff!!
Thank you so much! It’s always a fun and creative event.
Thanks for organizing this event. I loved it. I sure do miss that animal shelter in Phoenix. And your project is terrific!!!!
I didn’t realize you lived in Phoenix at one time. I have a friend in Phoenix with a bunny, but she took great care of it throughout it’s life. We are about an hour and a half away from Phoenix now.
I used to have one of those exact cabinets. It was designed to hold video tapes–and I gave it away! How I wish I had saved it now! Great job!
Video Tapes!!! That’s what this cabinet was made for! Mike kept saying, “you want to keep it, don’t you?” while I was finishing it up. Yes I did! But hopefully it will make money for the Humane Society.
Jeanette, you are such a sweetheart to organize this and to donate your cabinet to raise more money for the shelter. I hope they sell a lot of raffle tickets! I could definitely use a cabinet like this in my craft room or any room for that matter! She looks great in black and the new shoes and hat are an awesome addition! ;o)
Lucy, I’m thrilled you join us this year. It’s a fun event.
SO many added details and a great way to update a dated piece. You are so kind to donate it. I am sure someone will surely be thrilled to win it.
I love your scopes and seeing Bella running around. She is a sweetie.
Thanks for organizing this worthwhile event, Jeanette.
Meegan. thank you so very much! I would have never thought I would like LIVE videos…but it’s kinda fun! Bella warms my heart! Thank you for joining the event! You’re the best! 🙂
Oh my goodness – that is amazing! What a transformation! This inspires me to organize my craft/DIY stuff in something repurposed and cool like this!! Thank you for all of your hard work on this benefit and for including me again this year. I love this!!
Thank you Karen for joining again this year. I adore your tripod lamp!!!!
Great job on the cabinet! And, thanks once again for doing all that you do to help sheltered animals! Happy to be touring with you again!
Julie, I’m so thrilled to have you join us each year. You inspire me.