
Whitewash
Whitewash or liming or pickling wax. It’s all basically whitewashing over wood with wax.
I’ve adored the look for years. Now I’ve finally made my own whitewash wax. Furthermore, thanks to a reader I also made a red and turquoise wax too! Today, I’m sharing how it made the whitewash wax.
Now I can’t wait to whitewash some projects….and red wash and turquoise wash!!

Here’s the wax I made. The whitewash wax was made last week just after I posted about how to make clear and dark waxes.
Disclosure: This post contains affiliate links, which means that if you click on one of the product links, I’ll receive a small portion of any sales at no additional cost to you. I only share products I like, used and have ordered, OR products I want.

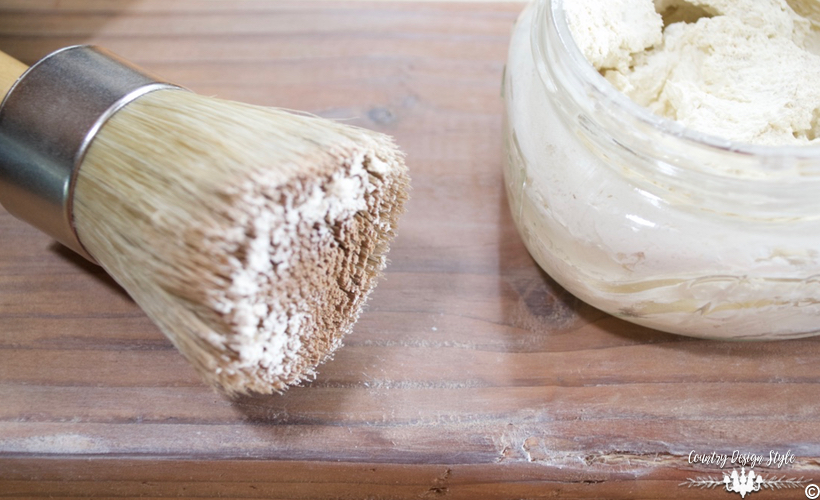
To make the whitewash wax I used a wax melting pot. I used the same beeswax and mineral oil.
The Step by Step
Remember to create at your own risk.
Place 2 tablespoons of beeswax beads in the top of the melting pot. Place a tealight candle underneath and light the candle. In a small heatproof dish add 3 tablespoons of mineral oil.
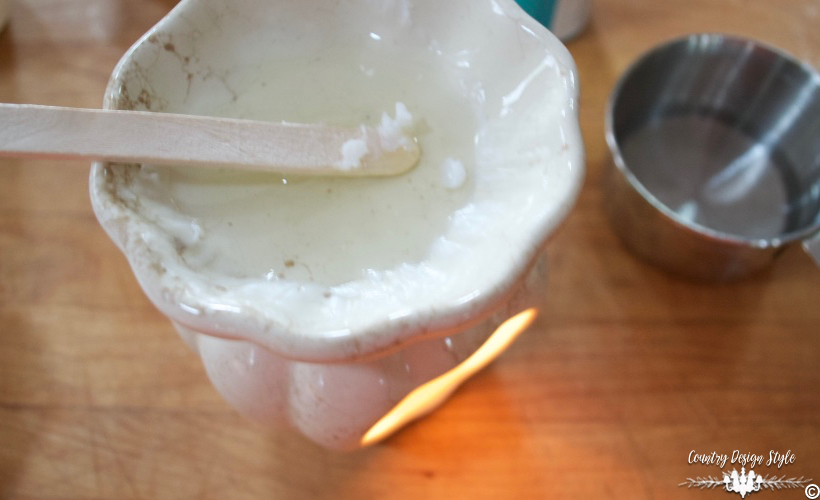
Use a craft stick to stir the melting wax. Just as the wax melts, carefully blow out the tealight and remove using potholders or needle nose pliers to grab the hot tealight and remove. Then use potholders carefully pour the hot wax into the dish the mineral oil.
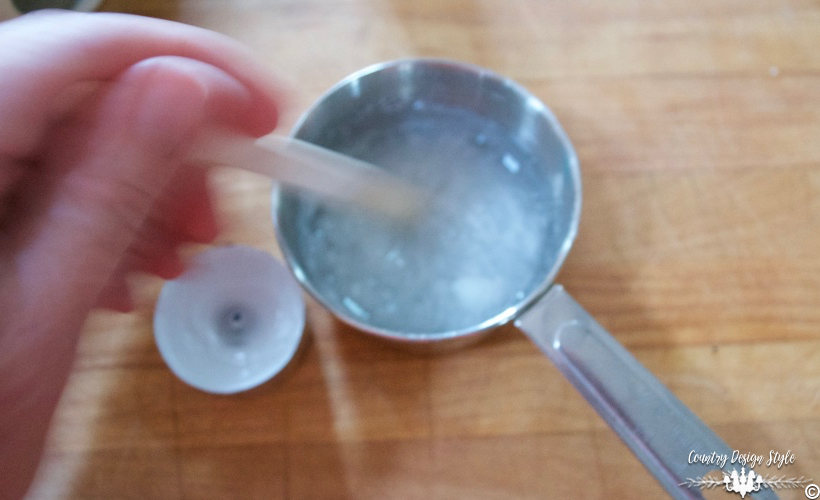
Start stirring with the craft stick. Continue stirring until the wax cools and thickens the oil. Add about 1/2 teaspoon of chalk-based or craft paint. If your wax is too thick add more mineral oil. If it’s too thin melt a bit more melted wax and stir.
When the wax is completely cool store in a container with a seal.
This makes 3 tablespoons of soft wax.

Above is the white wax mixed and ready to use.
Light tinting of the white paint with a buffed wax shine.
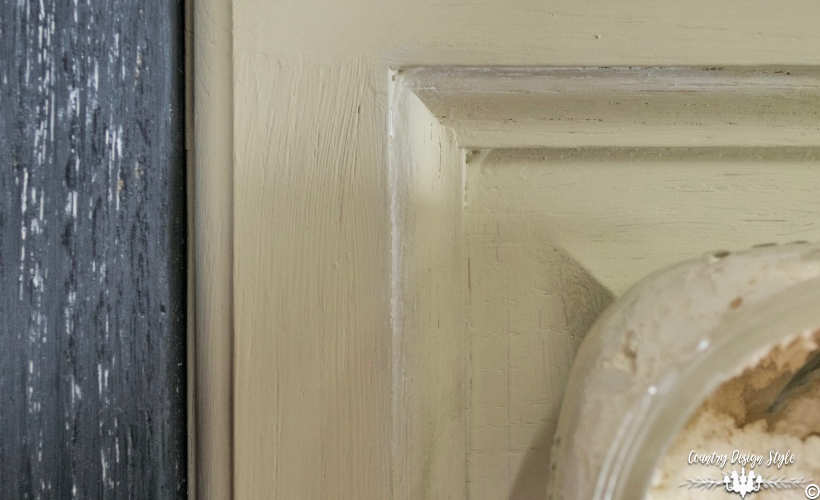
However, the whitewash wax… adore!!!

I can’t wait to whitewash, lime or pickle…something!
I did make a rustic box and used the turquoise wax, and I adore it.
Let me know if you try this one! 🙂
Check the cornerstone post on how to distress wood.


Hi ya from Australia.
So I want to guess up another turned legs chunky table with white chalk paint and spruce the wooden top..
Would I wipe over the whole peace with methylated spirits….then slough on the home made chalk paint…..then buff with wax?
The table top is finished with a kind of patchwork/brickwork pattern of veneer……not sure if you or any of your gang out there have any tips for the top……sure would appreciate any suggestions.
Yours in reclaimed creative furniture finishes…..
Hope xx
Hey, Hope, Yes you can clean your chunky table, paint with several coats of chalk-based paint, then apply wax and buff for protection. The patchwork pattern may still show but not as prominent. If you want to get rid of the patchwork, you would need to sand first until smooth.
Could you use this as wax over chalk paint? You wouldn’t have to color to it at all if you didn’t want to add color what you are working on.
Hi Rue, Yes, I use my homemade wax over chalk-based paint all the time. I use the clear more than the color waxes because I personally like the protection and not the aging aspect. Great question and I adore your name. ~Jeanette
I just love yr ideas & I’m sure Ii could chat with u for hours!!! Great to know there’s like-minded people out there! Thx
Hi, Sarah, I know we could chat for hours. Have you seen any of the live videos on Facebook yet? I’m a quiet person unless I’m talking about creating fun things for the home. I go live Mon-Fri at 9 am Arizona time. Here’s a link to the latest video https://www.facebook.com/CountryDesignStyle/videos/162433328463146/
Your blog is interesting & informative. Could you please consider taking photos of the featured project that aren’t extreme close-ups. It’s difficult to see the finished project in such close proximity. Thanks.
Hi, E! I don’t have the table anymore. 🙁 I will be lime waxing another piece again when I find the right one. And I’ll remember to take a picture of the whole piece. Thank you for reading along.
I’m confused at why you went through all the trouble of wax and mineral oil?
You could actually use the Butcher’s Block, Howard’s Wax ‘n (something, and the softest) or Bowling Alley Wax, or even Johnsons’s wax. If it’s too thick You could cut it with mineral oil or mineral spirits.
This is nice, but it’s an unnecessary lab experiment.
I just laid a reclaimed pine floor and am wanting to avoid the yellow and orange. I’m also using something white. Something! 🙂
how much chalk paint do you think you added to the white wax recipe; ballpark?
Jill, I added a teaspoon and a half to two teaspoons. A bit less than the colourant for the dark wax. I was afraid the paint would be “stronger” than colourant. I’m happy with the mix. I didn’t realise that’s not in the post. I will add it. Thank you.
ok, the post doesn’t match your answer, but I get it now. it states only 1/2 tsp
I’m going to make this white wax! Right after I make the drop cloth shades. You’re amazing, Jeanette.
Lol, Tonya. Either amazing of just daring to try things around the house.
Love this diy? I think the colored wash/wax would be great on a piece going in a nursery. so I am assuming you add white chalk paint to the wax to get the white wash?
Glenda, yes it was white chalk paint that I added for the white wax. Forgot to mention that. The turquoise was water based craft paint from one of those little bottles. The red was a chalk based paint, just because I didn’t have any other red paint on hand. 🙂
Okay Jeannette you got my creative juices flowing…..Love that turquoise!!! OMGoodness…if you get time, I know your into the lighter colors, but would you put some of that turquoise wax on a bigger piece…my heart is doing flip flops…no kidding.
Lol, Linda! I’d be happy to do the turquoise on a larger piece. I’ll work on it this weekend. I’m got a few ideas in mind. Thank you for inspiring me!! 😀