Farmhouse Style Spools DIY
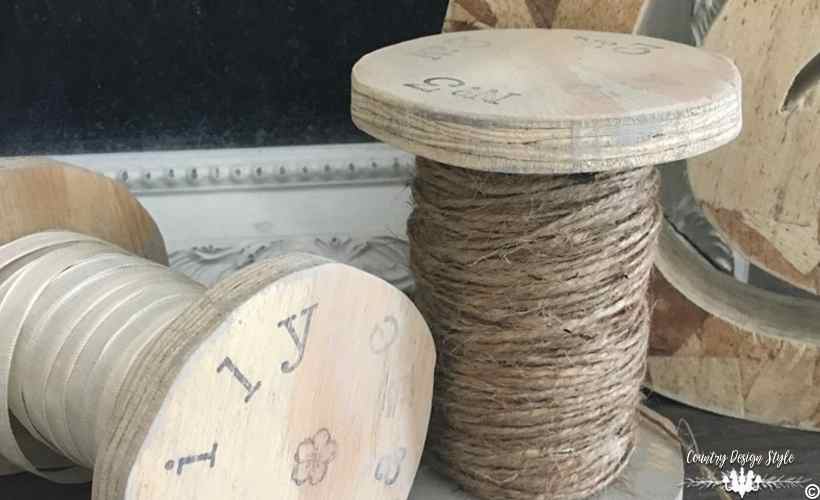
Farmhouse Style Spools DIY
This post contains affiliate links. I make a commission for your purchase at no extra cost to you. This helps me maintain the website. Thank you for your support. Think of it as a friend letting you know where I found a product I use, love or want. Click here to read my full disclosure policy.
List of Supplies and Tools
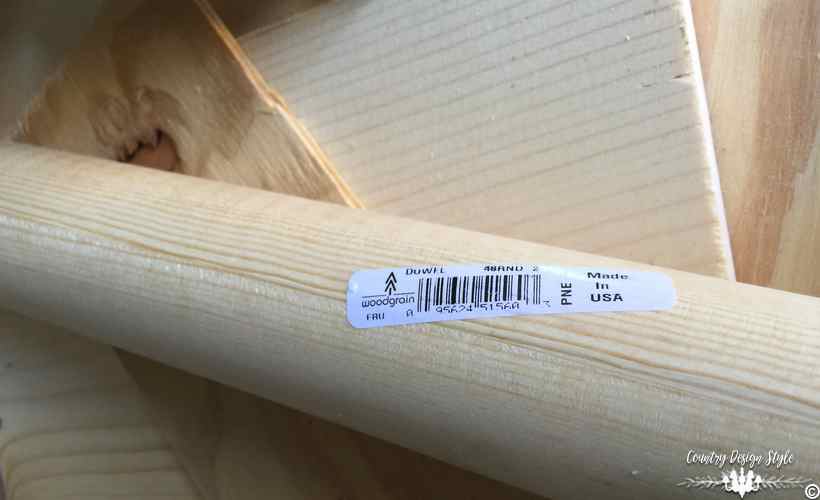
Dowel {mine is 2 inches in diameter}
Miter saw {or have the home improvement store cut the dowel for you}
Scrap wood
Wood Glue
Jigsaw with wood blades
Sanding block or paper
Something round to made draw circles the size you want or try this. {I made several sizes of circles…by pairs!!}
Chalk paint
Water
Brush
Rubber stamps {I didn’t have these but wish I did when I made the spools} I use alphabet stamps and stamp pad
Various twines and ribbons
You can also purchase these 3-inch wood circles if you don’t have a jigsaw or scrap wood.
The Steps
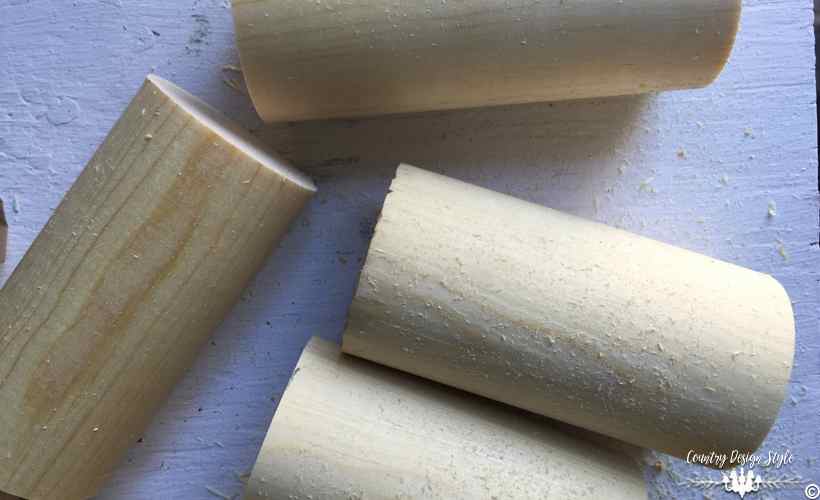
One ~ Cut the dowel into 3-inch to 6-inch pieces.
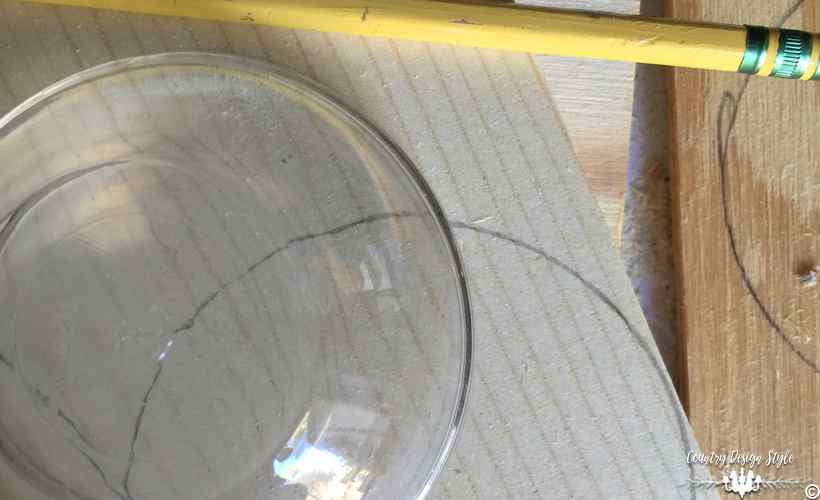
Two ~ Draw circles on your scrap wood. Cut out the circles using a jigsaw and sand the edges.
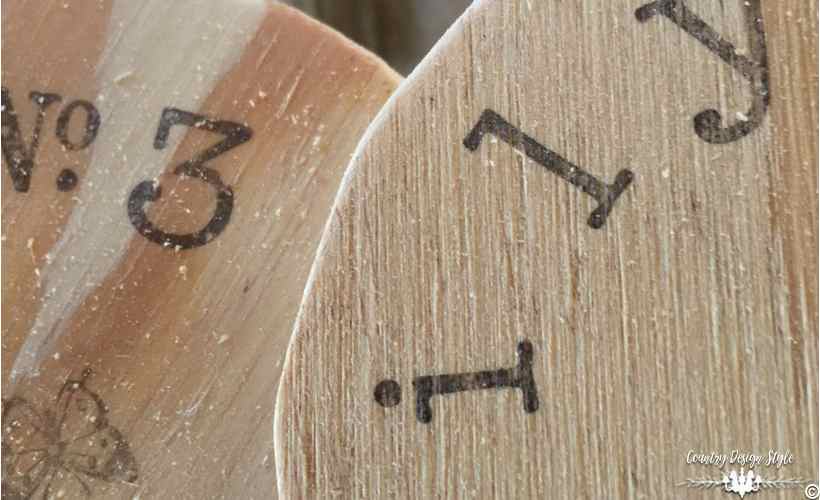
Three ~ Stamp on one side of your wood circles.
Four ~ Glue the circles on each end of the dowel pieces. Using my favorite wood glue and no nails needed.
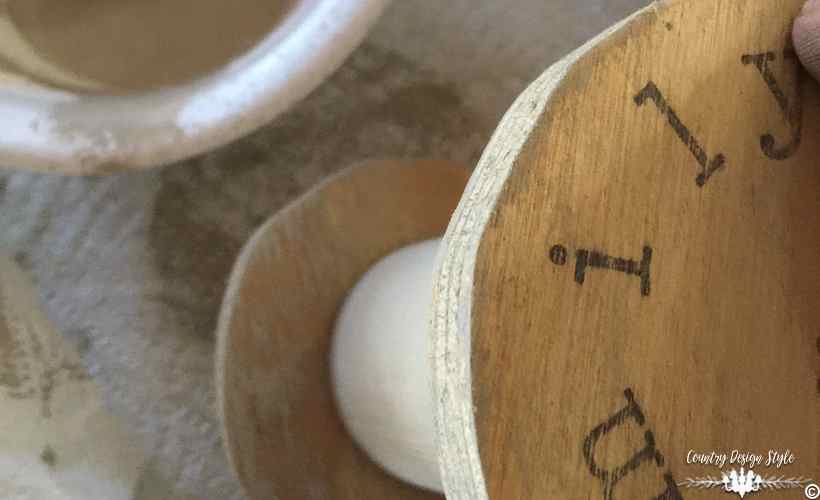
Five ~ Mix half water and half chalk based paint for a white washing or in my case brown washing look. You could do the aging wood technique, but do the stamping first. Sometimes the aging technique causes the ink to run.
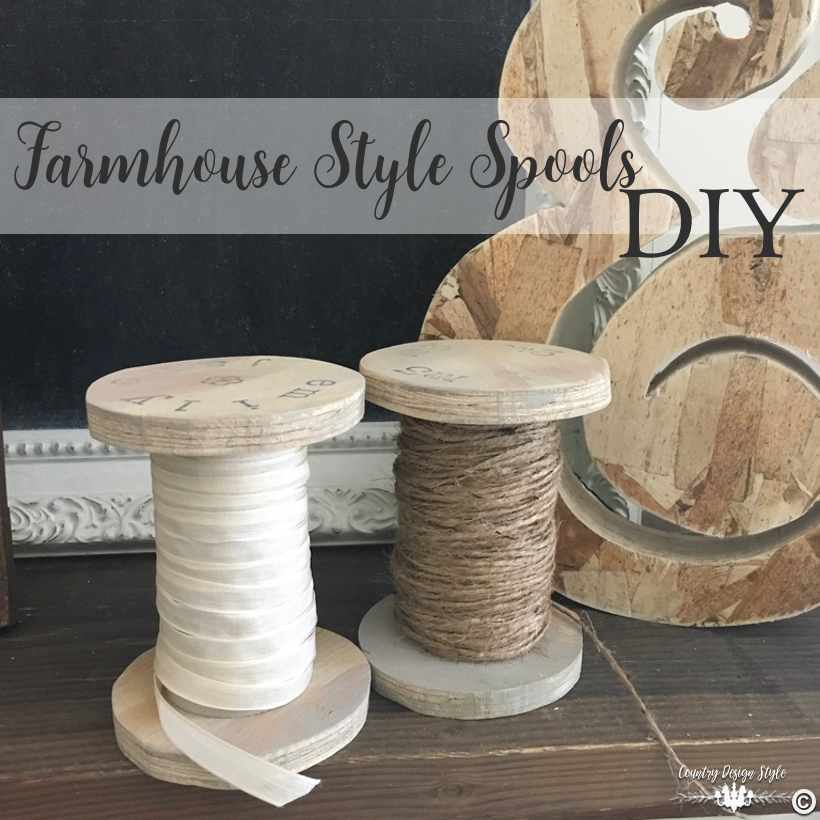
Six ~ Wrap the spools in various twines and ribbons. Included in the display is the & sign.
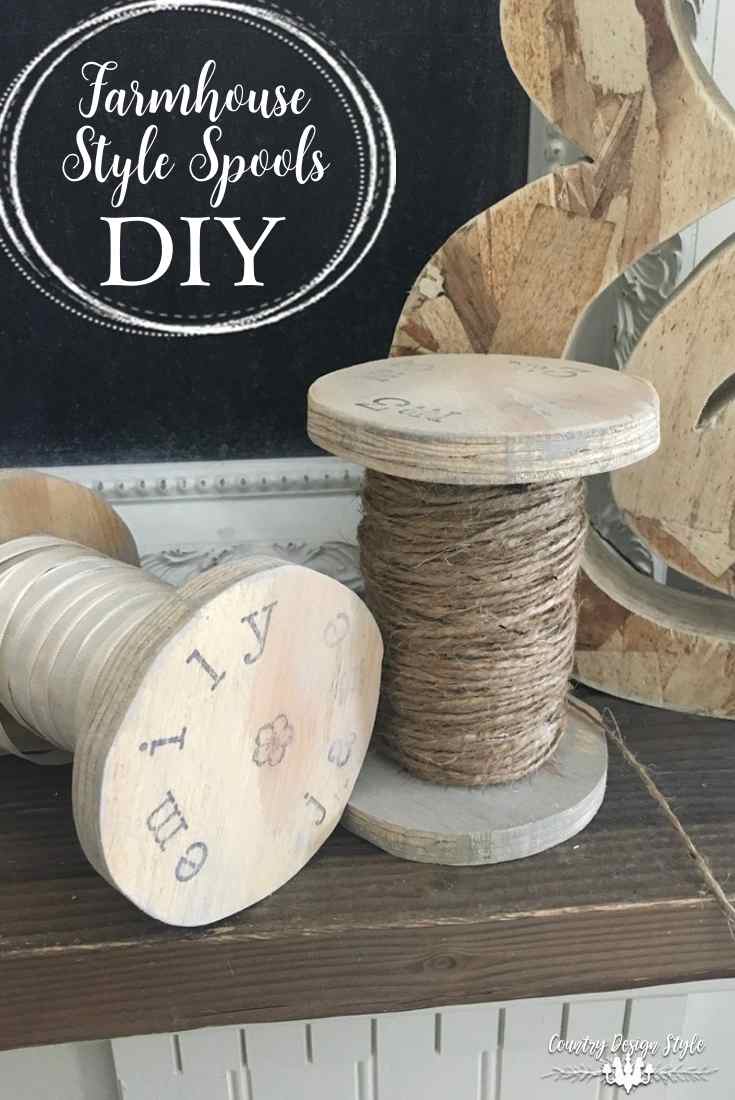
Here are other large wood farmhouse style spools I found on Amazon. Enjoy!
When I create a project using rubber stamps I wish I had more stamps.
Join the newsletter

Subscribe to get our DIY HelpLetter each Thursday. Plus grab your Interior Decorating Ideas e-book.



I just stumbled upon your windmill picture on Pinterest that linked me to “the rest of your story”. Oh how I love your design and decor. My husband and I live in an old home that this grandparents built a very long time ago. We have fixed up and added on to it raising our five children. I am looking to paint a big simple barn picture on canvas that would go over the double entry doors in the new addition. We’ve tried to tie the New with the old part of the house by displaying antiques etc on a long shelf near the ceiling of the addition. I enjoyed reading your post. Thanks for sharing!
Hi Terri, Thank you so much for your sweet comment and for sharing your story. You are lucky to have a family home to make your own. What great history. Thank you for reading along and following. Hugs to you and your family.
You are so awesome! I wish you were my neighbor. We would be BFFs !!! ❤❤❤
Tami, I wish we were neighbors too! I can see all we would create. So, we’ll have to be neighbors and BFFs online! Thanks for stopping by!