
How to use Chalk Couture
Have you heard of the fastest-growing craft company? I thought it was just another stencil company. But it’s so much more than regular stencils. And easier to use.

This post is updated often as new techniques, and videos are completed.
What is Chalk Couture
The product line consists of:
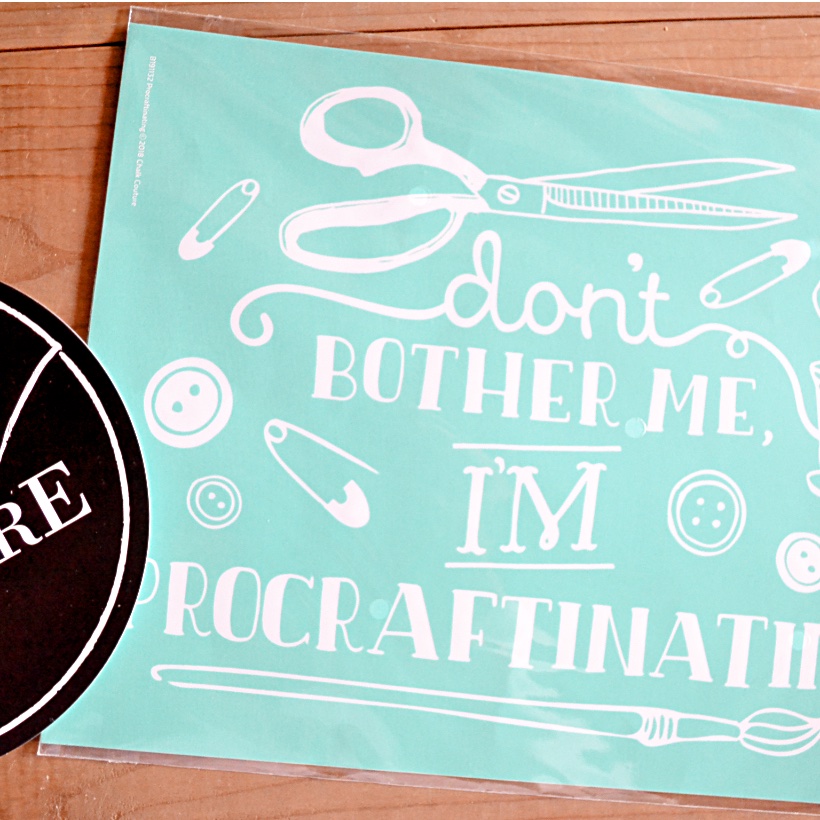
- Transfers – vinyl sticky-backed sheets created like silkscreens.
- Chalkology Paste – Jars of beautiful chalk-based paste applied to surfaces.
- Chalkology Ink – Jars of beautiful inks to apply to glass, metal, and fabric.
- Surfaces – The line of black and white boards, frames, wood signs, fabric pillow covers, totes, and bags.
- Accessories – Squeegees, the multi-tool, and other goodies you can add as you continue to create.
This post contains affiliate links. Click here to read my full disclosure policy.
Don’t have a Prime membership? What are you waiting for?
Click to Start your Amazon Prime 30-Day Free Trial now!
Why I picked Chalk Couture
As a blogger, I get many requests and opportunities from many companies to sell their products. As long as the product fits our DIY world, I research the company and product. If I like the company standards, see earning potential, and LOVE the product, I go for it. Chalk Couture is the first company that fit.
Direct Sales Company
When I realized Chalk Couture was a direct sales marketing company, I stopped my research. I’m the gal that hosted a Tupperware party, and invited all the ladies up and down our street, only to have two people show up. Me and the Tupperware representative! I started researching again when I talked to friends (bloggers and non-bloggers) about the selling possibilities.
Chalk Couture allows many different ways to sell. Online, pop-up shops, workshops, live events or create home decor using Chalk Couture and sell online or locally. A direct sales company you can make money at any level!
Transfers vs Stencils
Chalk Couture Transfers differ from stencils in that they have silk screen material that paste is pushed through to the surface using a squeegee. With stencils, you use a flat round stencil brush and pounce or swirl the paint on the surface through the cutout areas. There’s no pouncing or swirling of the paintbrush with Chalk Couture transfers.
What is the learning curve to use Chalk Couture?
If you’ve ever used a stencil, Chalk Couture is easier. If you’ve never stenciled, Chalk Couture is a breeze. I suggest starting with an easy project first. Work your way up to a multilayer transfer with many colors on the window glass.
How to use Chalk Couture?
Basic supplies to get started
Click the link at the top to see all the products.
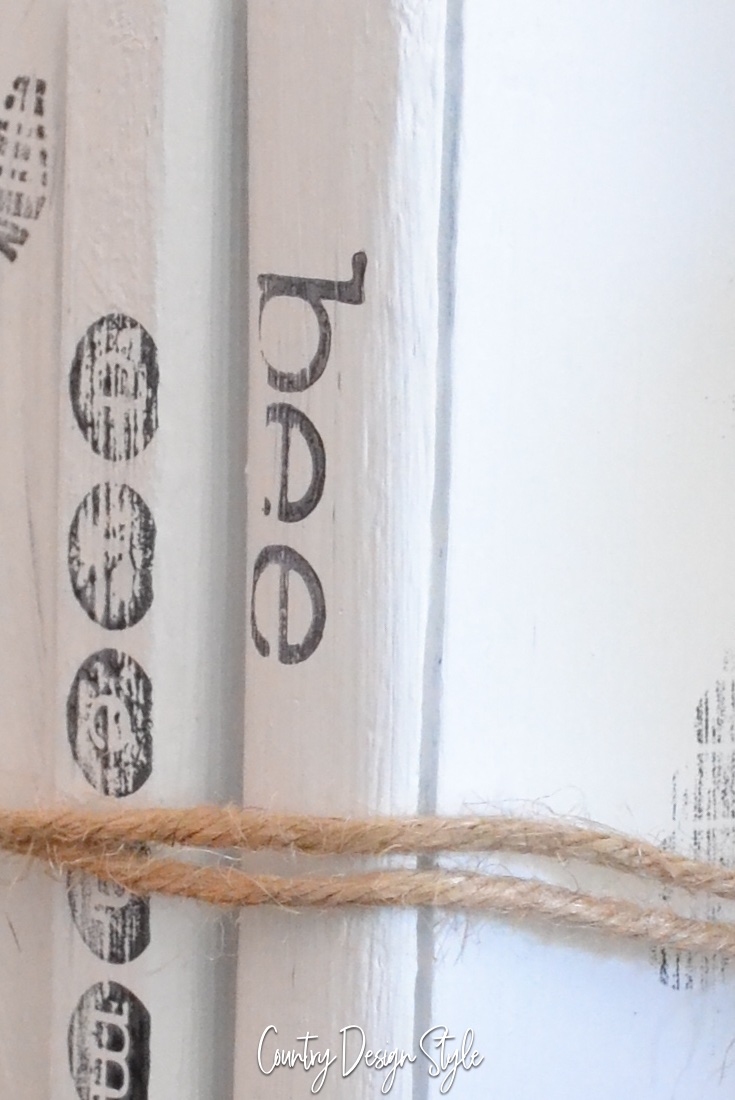
Decide if you plan to use Chalk Couture surfaces or something you have at home. I suggest using one of their surfaces for your first try. The surfaces are made for the paste. Even though, I’ve had amazing results on old chalkboards set in an old window, a piece of wood, and on an old book.
Picking your transfer is the hardest part.
Note: Along the left side you can view transfers by size. Also, note the surfaces match the sizes of the transfers.
Next, pick the Chalkology Paste or Ink. The luscious colors go well together, just pick your favorite color. But if your surface is a black chalkboard, then black velvet or bark may not show well. The paste is not paint but chalk in a paste form. It is water-based. If your paste ever dries out, squirt a bit of water using a spray bottle. Then mix to the desired consistency. The paste dries quickly.
Finally, get a squeegee. The small squeegee works great for most projects, especially for your first project. Squeegees help push the paste through the silk screen.
Addition supplies to have on hand.
-Cake pan or shallow plastic bin with 1/2 inch of cool water to clean your transfer.
-Towel to “fuzz” the transfer.
-Marker to mark the back of the backing sheet of the transfer.
– A few paper towels
-Cleaning wipes, these work amazingly.
Basic steps for your first Chalk Couture project
- Remove the backing from the transfer. Lay the sticky side on a towel to “fuzz” the back. This helps remove the transfer from the surface when finished.
- Lay the transfer on your surface. Make sure to lay smooth and lift to remove any air bubbles. I use my finger to go over the silkscreen areas well.
- Open your Chalkology Paste and remove the seal. Stir with a craft stick or a Chalk Couture stir stick. The paste should be the consistency of sour cream.
- Add a small amount of paste to your squeegee. Apply over the transfer using the squeegee to move over the silkscreen areas.
- When the areas are covered, use the squeegee to remove any excess paste on transfer, and scrap back into the jar.
- Lift the transfer. Life from top to bottom or side to side. Lifting corner to corner may stretch the transfer.
- Lay the transfer sticky side down in the water.
- Add the lid on your paste, it dries quickly.
- Use the cleaning wipes to clean the transfer. Then lay on your towel, sticky side up to dry. When dry add the backing and your transfer is ready for your next project.
- Admire your first Chalk Couture project.
- Go make another one because now you’re hooked!

More Ideas for Chalk Couture Projects
Messy Technique

The messy technique is so fun and the results always surprise! Check out the video created for Pinterest sharing the messy Chalk Couture technique.
Creating completely different projects using one transfer
Transfers with layers like the vintage pickup.
Using transfers with many pieces
Reverse transfer on glass
Umbre colors
Multi-color
Multi-layers
Mixing transfers
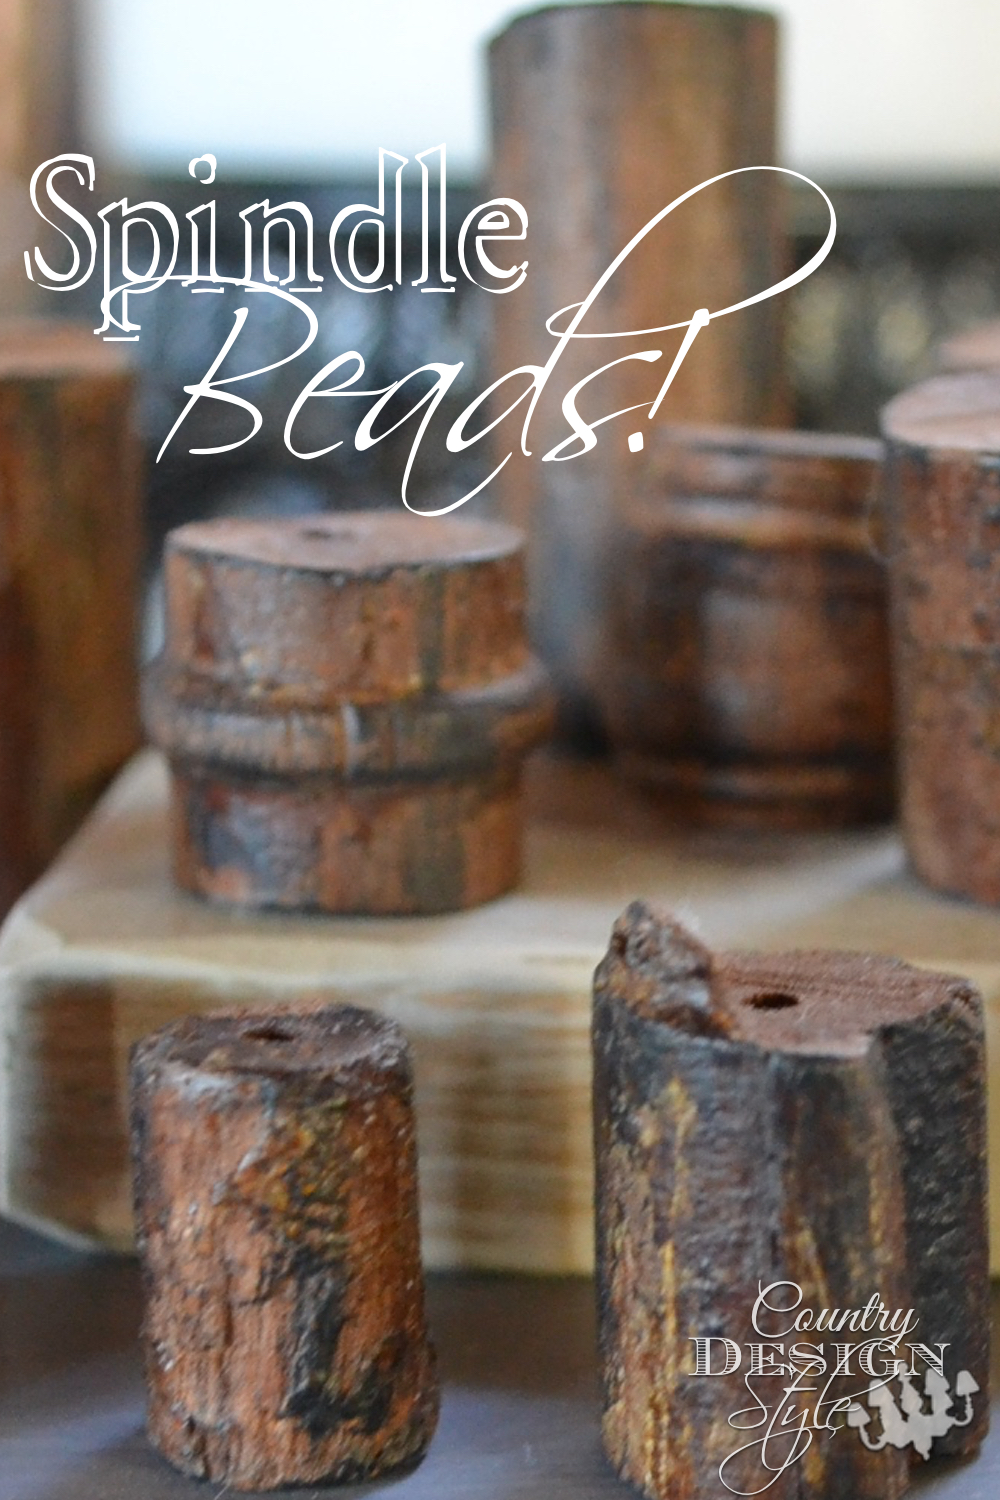
Chalk Couture on wood
Backgrounds
Large Transfers
Mistakes and how to fix them
Since I tend to push DIY to its limits, I’ll add more as I make mistakes. Although Chalk Couture is easy to use.
I removed the transfer and noticed I missed a spot.
Solution – Replace the transfer and fix the area.
When I removed the second transfer from a layered project, some of the first layers of chalk came off with the transfer. As in the pickup.
Solution – Use a blow dryer or craft dryer to dry the chalk faster, on the coolest setting. Then, lay the second transfer. Or let the chalk dry for a few minutes. Sometimes I have trouble waiting a few minutes, you too?
Some of my paste is drying, while I’m working on other areas.
Solution – Use a damp paper towel to cover areas already completed.
While removing the transfer from the backing, the transfer stuck to itself.
Solution – Place your transfer in your cool water and slowly let the water help release the transfer from itself.
If you’re looking for extra income or have a beautiful business of your own,
Click here to learn more Chalk Couture.
Now to find an easier way to transfer all these videos.


First can you make huge welcome signs with this and then Can you varnish over your project when finished and to your post about a second layer lifting up your first layer in multi layer transfers what about spritzing it with water before removing the transfer that way both are wet and should stay in place just a thought let me know if it works if you try it loved the post very helpful thank you for it
Hi Ruth, There is a large welcome transfer. You can spray varnish over the project. If you use a brush, it can smudge. Chalk Couture now has a GREAT wax that I use on multi-layer transfers. Water might cause the chalk to smear. I’m glad I was helpful, please reach out if you have any more questions. I enjoy using the product.
Having used the Cricut machine for a couple years now, I am frustrated with the amount of waste there is. So much vinyl being thrown into our waste. Chalk Coutore seems like it would eliminate this issue, yet obtain similar results. And, what crisp lines!!!!!
Linda, I’m loving this product. I have the silhouette and can made stencils, but then I have to use a stencil brush. Stencils are not as crisp and full of color like Chalk Couture. Plus the company is wonderful to work with. Hugs.
I am looking at this company’ for a fun thing to do, and maybe make a small business out of it…I do big furniture with chalk paint and distressing pcs… If I knew how to send pictures of my work, I would love for you to see them… I am old school….lol and just learning the technology lol.. Do you live in Canada?
Hi, Pat, I sent you an email to get more information on Chalk Couture. You can attached any photos you have to the email if you wish. I’m looking forward to seeing your creations. Jeanette
Attempted to do the kitchen conversions with two colors. When I pulled the stencil off some of the first color came off. How do you prevent this from happening?
Hi, Cindy. Here’s what happened. The paste dries quickly. While you worked on the second color, the first color dried with the silkscreen still on the paste. When you finished and removed the transfer, the places with dried paste pulled up. There are two ways to prevent this from happening.
1. When you finish with an area, lift the transfer off only that area. Use a blow dryer to dry that area. You can lay the transfer back in place and continue.
2. When you finish an area, cover it with a damp paper towel. The dampness keeps the paste from drying too fast while you finish.
I tend to do better using the damp paper towels, but I suggest trying both. Others like the lift and dry technique best.
Thanks for reaching out to me. I love helping! ~Jeanette
I’m just starting to gather my supplies for a chalk paste/ink transfer project. Reading through these directions gives me great hope for success. Thanks for great instructions! I believe success (for me) sprouts from first having confidence that a reasonable, outcome is possible. And, with these instructions it’s almost like having a classroom!!! Thank you 😍
TK, Thank you for our sweet compliment. Message me if you have any questions. I’m here to help. It’s so fun to use.
Can you Chalk Couture on velvet using the chalk inks?
Yes, you can Marsha! It took me time to find this out. I live in a small town and I haven’t found any velvet anywhere to try it. But I just saw a project another designer did on velvet and it works great. I do suggest making sure the velvet is laying the same way. Then moving the squeegee in the same direction.