
DIY Fall Table Runner

This project is a blast!
You get to destroy then remake to your liking!
Nature just may need to take a lesson from our creativity.
Carnadaisy or sunmums, or how about peonisters.
This DIY fall table runner is super duper easy. It takes only 2 things. A glue gun and a bunch of $ store fake flowers. A big bunch!
DIY Fall Table Runner
Our dining table is 72-inches long. I bought 19 one dollar bunches of fake flowers. It ended up the perfect amount.

First, destroy the flowers. Remove the flower heads from the stems. Fake flowers are held together by two pieces of plastic. Sometimes there might be another plastic piece between the layers of petals. You can toss the stems and plastic pieces unless you think of a use for them.
If you do let me know!!
We live in a small community and our $ store is small. The selection of flowers poor. Four of the 19 bunches were autumn leaves. I removed the leaves from the plastic veins. Don’t toss the stems and veins because you can make these burlap leaves.
Remove the leaves and place in a plastic bag. Why, because for spring or Easter you can make a leaf table runner.

Now separate the flower petals into large, medium and small sizes.

Next, scatter out the larger petals down the center of your table to make sure you’ll have enough $ store flowers. Nineteen is plenty for my DIY fall table runner measuring about 90-inches and 13 to 14-inches wide.
Gluing the flowers

Now, let’s glue the flowers. Fire up the glue gun. Make sure to glue using a heat protective surface. I bought a 12 by 12 tile at the home improvement store for hot glue surface. I have to admit, this project I did on our marble countertops. 😕 Lap one flower petal over another and glue. Silicone finger tips or a silicone rubber spatula is helpful to save the fingers. You can read more hot glue gun tips by clicking here.
Notice above the petals that cover the holes in the middle of the flowers. After the larger petals are glued to the size of the table runner, start gluing medium flower in any gaps. Then glue the smaller petals. Most of those were glued into the middle of flowers to “make new types.” Those carnadaisy, sunmums, and peonisters.

Above shows how I gathered petals and glue the around the center hole. Then sat in the middle of other flowers. Note, the glue “threads!!!” They will be everywhere. I have a tip for those from a reader. Use a blow dryer. They magically disappear. 🙂

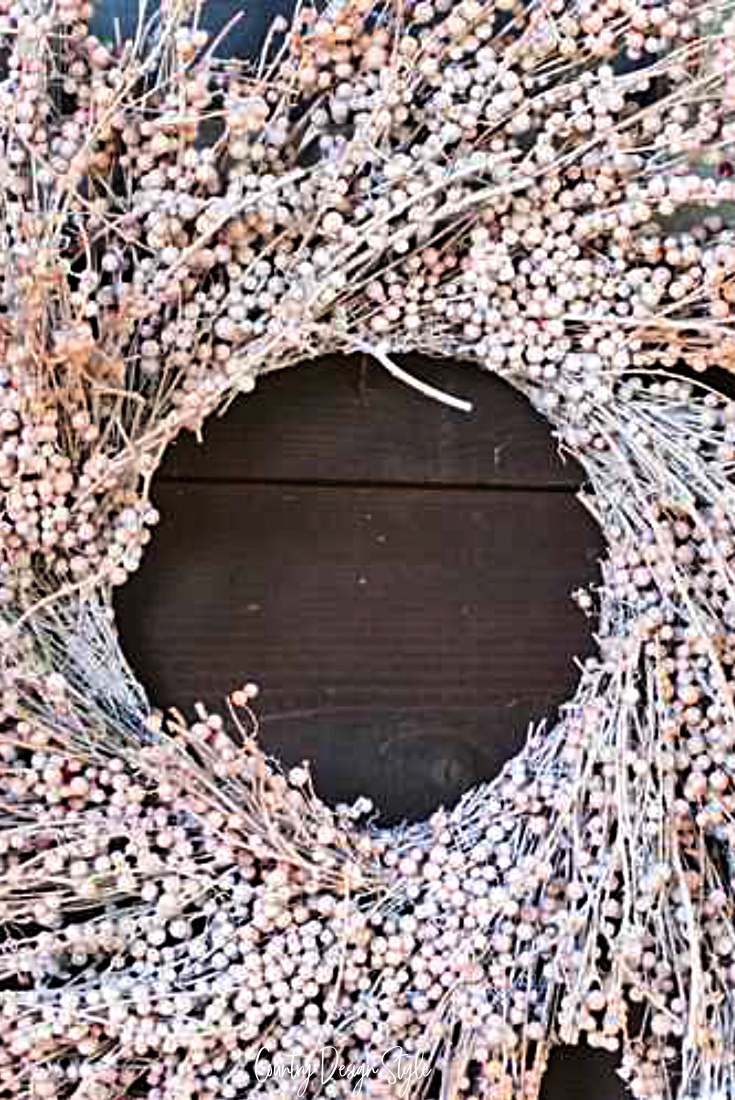
I made my DIY fall table runner to hang off the ends about 6 to 8-inches.

You can pin this to remember later!

For now, our table is decorated with the DIY wood Signs here and here, small crate and a large urn of white, cream and gray painted wood fruit. As soon as small pumpkins arrive in our grocery store they will replace the fruit. I want a pumpkin to fit in the crate too! 😀

If you’ve been reading along with me for awhile you’ve seen similar projects using this idea. Here’re the deconstructed flower banner and cake plate drape.

I’m thinking about hiding thankful questions among the carnadaisy, sunmums, and peonisters for Thanksgiving.
Let me know if you try this one. 🙂


Love this idea. Think I will do for Christmas but no red or green. Prefer golds, silvers and a touch of cream.
You definitely are creative and also your picture appears you are a very happy person and it shows in you work.
Diana, thank you so much for the compliment! I do love my work and always look for happiness in everything. I would love to see your Christmas table runner. This is why I also love DIY, the creative juices flow and it inspires others. Hugs! ~Jeanette
Great idea! I’m a little unsure of my hot glue abilities, so do you think I can do the same thing, but glue the flowers on burlap?
Yvonne, you bet! I almost did the project that way but remembered the two other projects where I just glue flowers to each other. In fact, right now I have the flowers laying on a fall table runner and plan on laying them on my burlap runner. I took the flowers apart so they would go farther and I could place centerpieces and plates on the flowers. I’m planning a dinner and will use clear plates. The flowers will either look cool through the plates…or smashed! 😕
That is soooo pretty!!!! You are so creative!
Thanks, Linda! It’s an idea that worked! Plus you should see me wear it as a scarf!!! 😀