DIY Fall Art Project Made with Readers
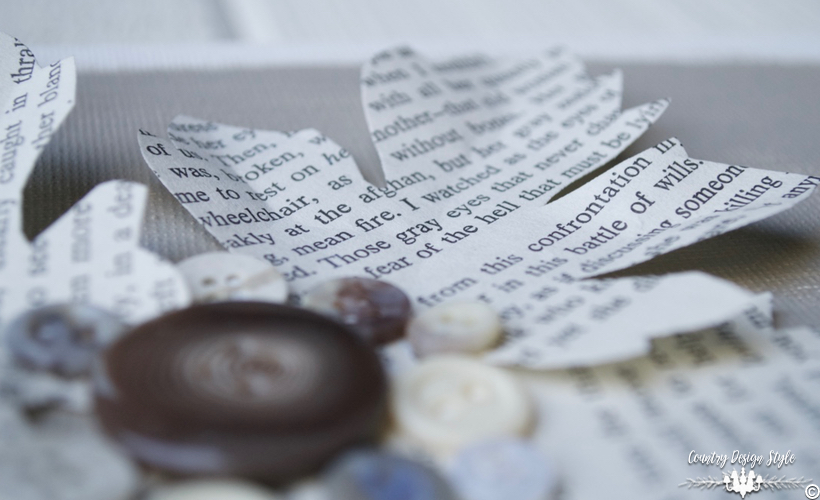
We had such a great time during our last Design Workshop. We talked, laughed, drank, and even managed to create a project. A fall art project.
Projects made on the Design Workshop usually, never make the website!
Today I’m sharing the project we did last Thursday night.
Fall Art Project
If you would like to join us start by subscribing to Country Design Style here.
DIYers on Design Workshop receive a link to register for the free workshop. On the workshop page, is a list of supplies and tools for the project. Remember to bring your favorite drink!!
Creative Online Membership
Need more help than creating a craft? You can now join our Creativity Grows When Women Gather membership. Members can learn step by step techniques to tackle more DIY projects and home decorating.
Come on and take a peek inside the classroom by clicking here.
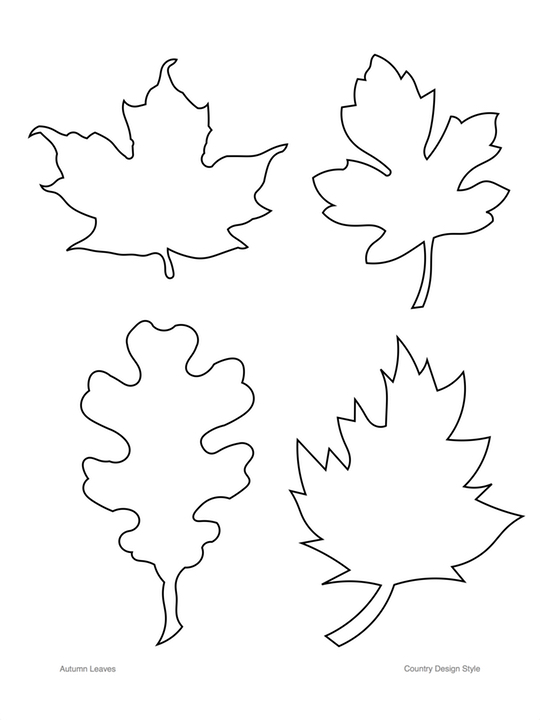
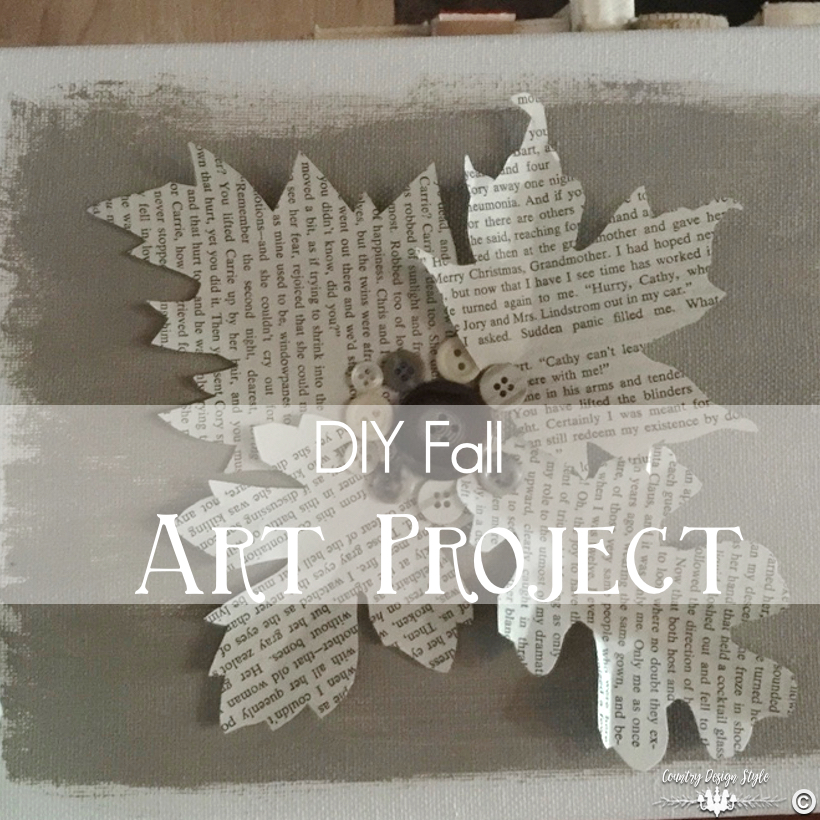
The fall art project starts with leaves. Cut-out leaves. You can download a free printable here.
I cut my leaves from two old book pages.
My old book disclaimer! I had reservations about using old books for crafts. We have 3 boxes of books gathered over the years that were bought at yard sales and thrift shops stored in the garage. Most were not in good shape when I bought them. Many were green and blue for decorating a bookcase. The more tattered and torn the better. We’ve moved the books several times, but for 9-years they sit in storage. I had to get rid of some due to mold…yuck. But now that I’ve found some creative ways to reuse them, I feel we can love them all over again in their new life.
Here are other ideas for making book page projects. Make a copy of several book pages. You can print them on parchment type paper for an old look. Use newspapers instead of tossing them. Check at your favorite thrift store if they sell books that are damaged. Thrift stores receive boxes and boxes of books. Some do not sell books if the covers are missing. Those end up in the landfill…unless you offer to buy them for your book page projects.
List of supplies for the fall art project
8 by 10 canvas frame
Craft paint in your favorite autumn color
One-inch paintbrush and a smaller artist brush
Craft Glue
Scissors
Book pages
Collection of buttons in your favorite autumn color
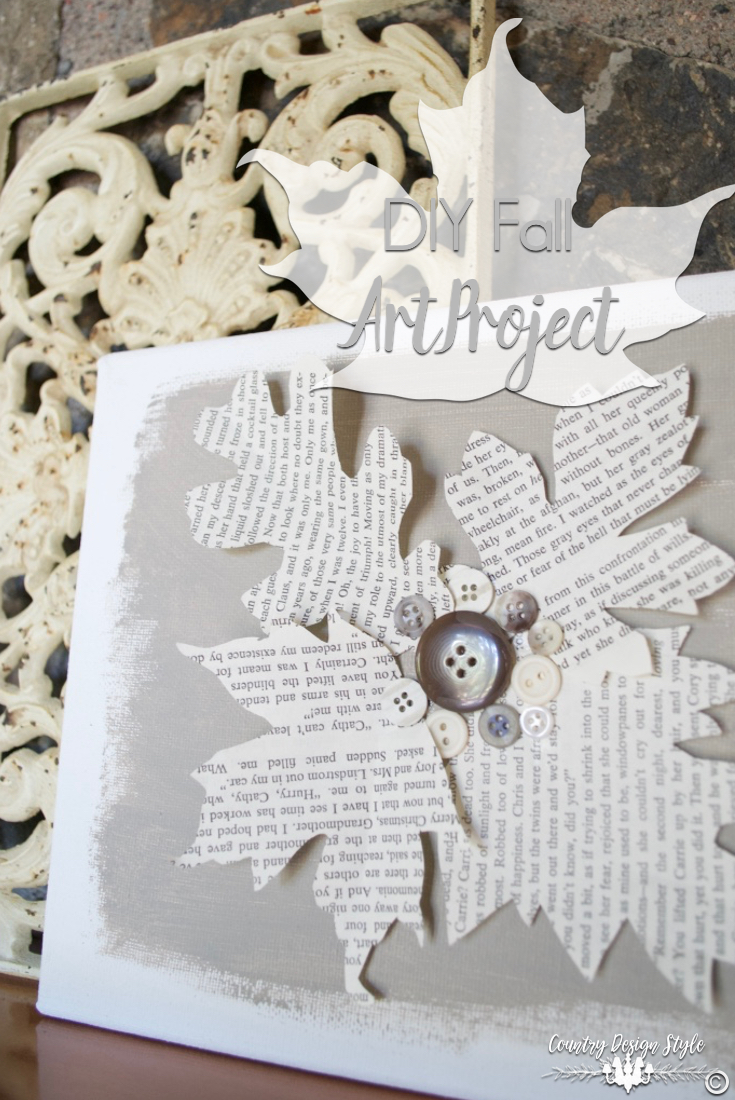
Step 1. Paint the canvas. I left the edges plain. The photo above is the one I made before the workshop and the blue below is the one I made during the workshop.
Step 2. Cut out the four leaf shapes using book pages, copies of book pages or newspaper.
Step 3. Fold the leaves down the middle slightly and fold the edges here and there for dimension.
Step 4. Glue the leaves in the center of the now dried canvas with tips pointing to the corners. I like to use a small brush to apply the craft glue.
Note: Craft glue is thicker and dries harder than regular white glues.
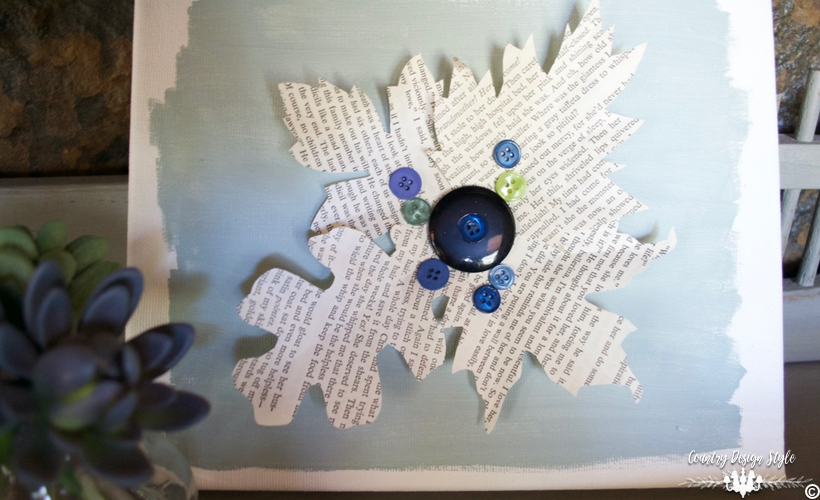
Step 5. Start arranging buttons in the center until you have an arrangement you like. Then glue in place.
Tip: Snap a quick photo of arrangments you like to refer to when you’re ready to glue, hang, or nail together.
Join the newsletter

Subscribe to get our DIY HelpLetter each Thursday. Plus grab your Interior Decorating Ideas e-book.

Very cute, Jeanette! One of these days I’ll finally make it to one of these workshops. I kick myself every time I miss one but with our different time zones, it seldom works out. I’m just going to have to add it to my calendar and make it happen!
Marie, I would love to have to join us! I’m thinking about doing some on a Saturday or Sunday afternoon. Usually, during the summer months, everyone is busy on weekends. But with fall arriving soon, a cool afternoon inside creating might be fun. 😀