DIY Metal Leaves made into 1 awesome wreath
You never know when inspiration is going to hit. You can be sitting on the front porch, enjoying a soda, while watching leaves fall… an BAM!
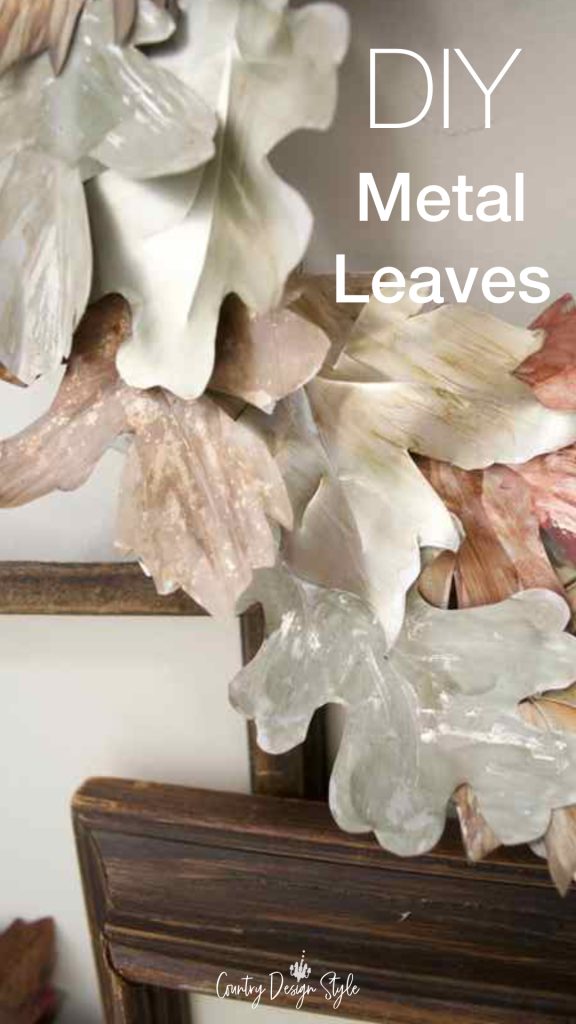
DIY Metal Leaves post is one of my most popular fall projects ever. I can’t seem to top this idea. But I’ll keep trying.
I started with 17 soda cans. Each can make 2 leaves. There should be 34 leaves in the finished project. But when I finished painting {or inking} the leaves I had 33 leaves.
Someday I’ll be cleaning under the sofa, or behind the desk and find the lost leaf.
In the meantime…I hope you enjoy this idiosyncratic project! 🙂
DIY Metal Leaves
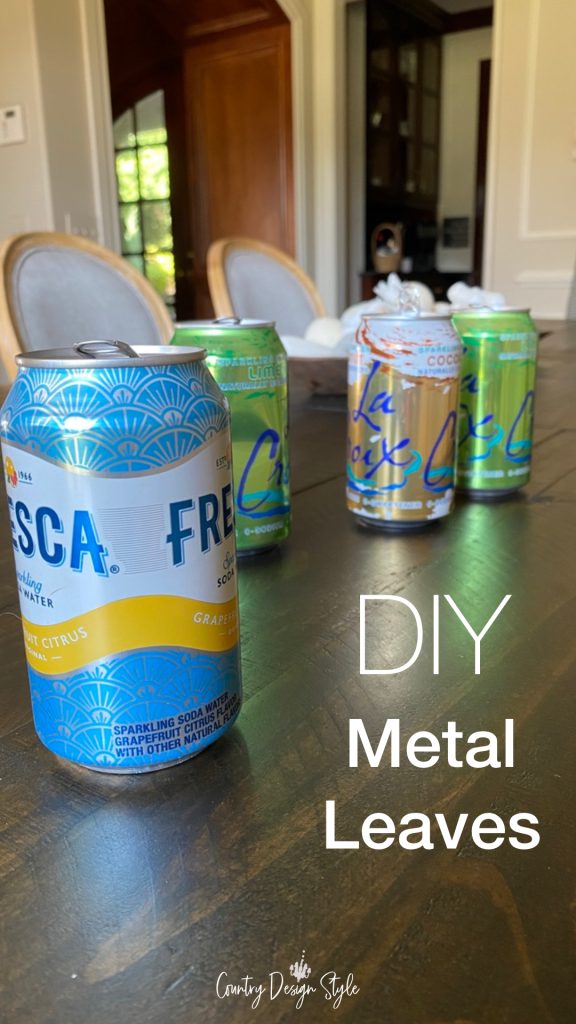
Create at your own risk disclaimer! The metal, if you can call it metal, of the soda cans, can be sharp. Use caution!!
Disclosure: This post contains affiliate links, which means that if you click on one of the product links, I’ll receive a small portion of any sales at no additional cost to you. I only share products I like, used, and have ordered, OR products I want.
Here is a free download for my leaf shapes.
Cutting the metal cans
The metal is so soft, I used my crafting scissors to cut the cans.
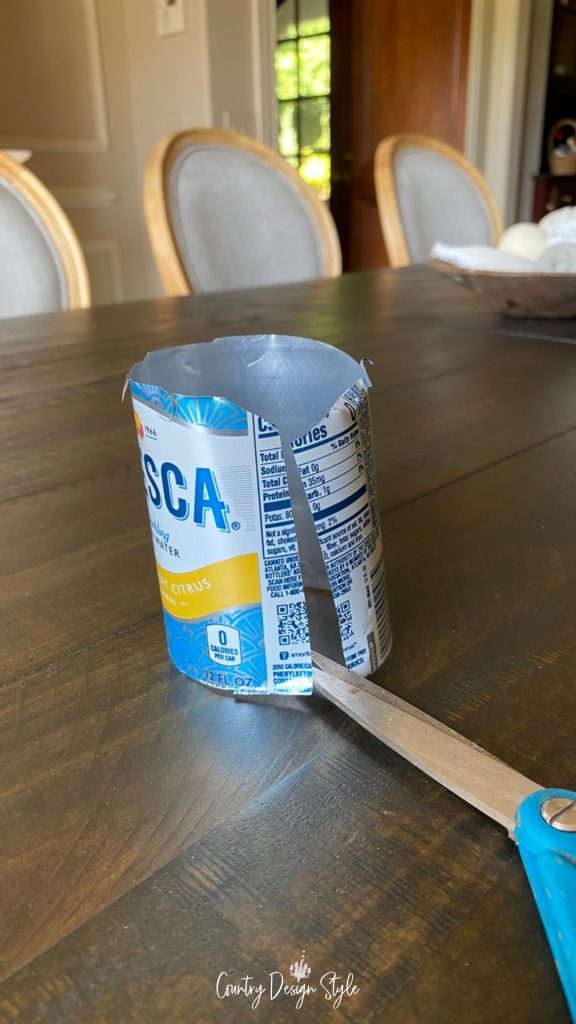
To get flat pieces, first, remove the top and bottom of the soda cans. Next, cut down the cylinder. To uncurl the metal, rub along the edge of a countertop.
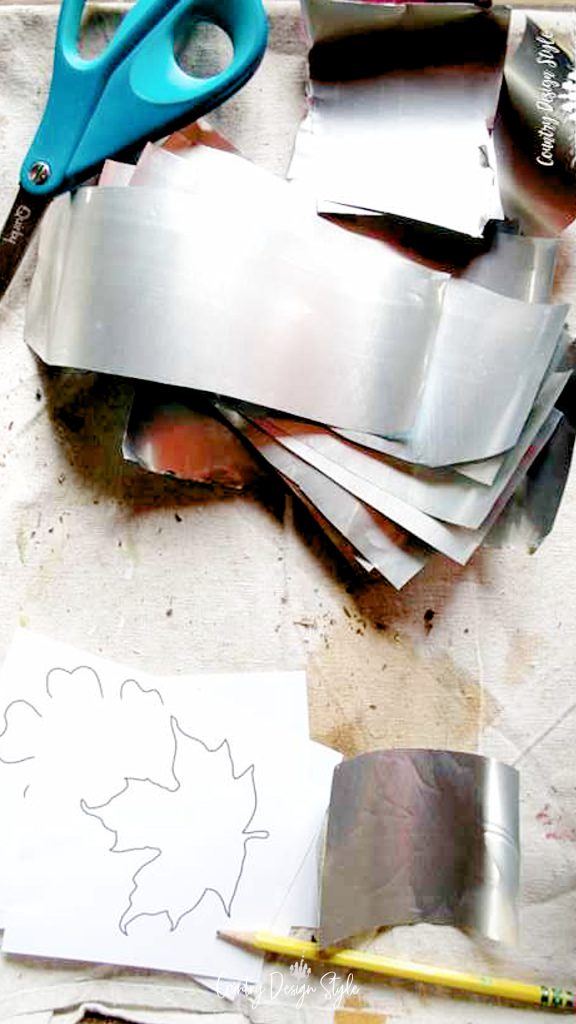
Each can is enough for two leaves. Working on layers of drop cloth, I outlined the leaf shape using a pencil.
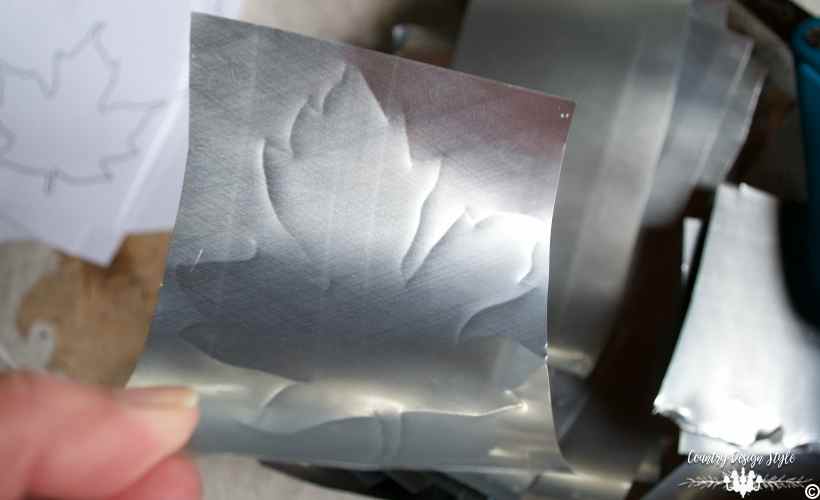
The drop cloth allowed a depression in the metal.
Painting
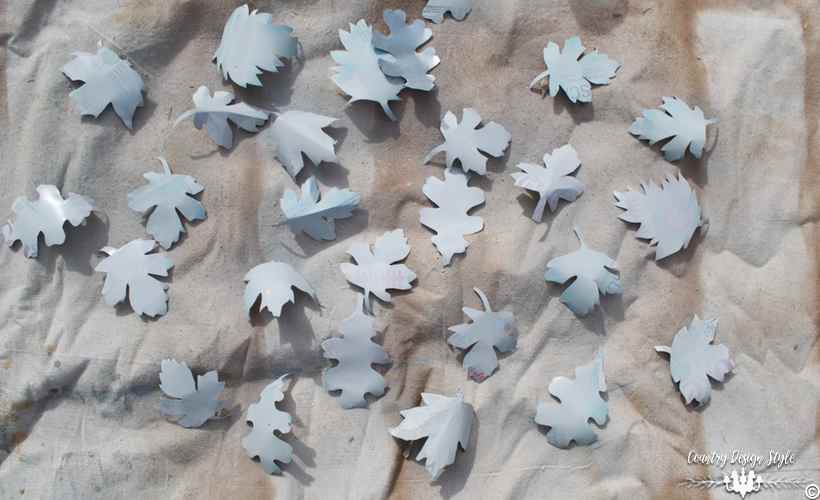
I cut 34 leaves. Then to hide the soda labels I spray-painted the back sides.
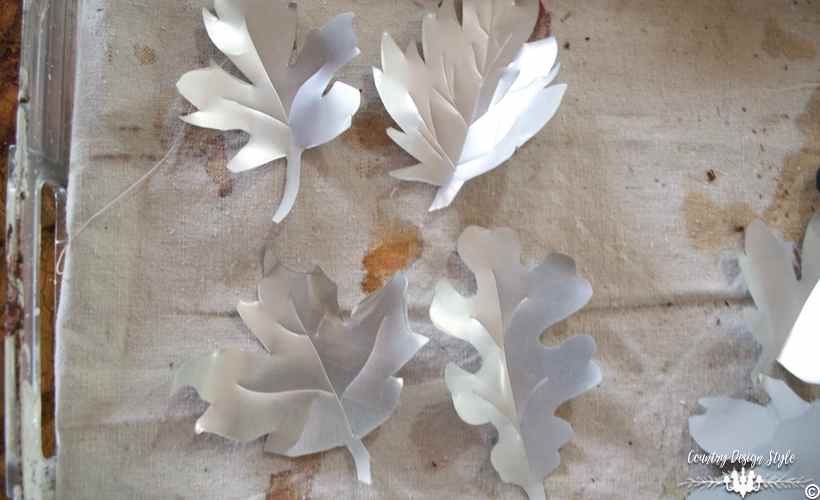
After the paint dried, I flipped the metal leaves. Then, using an awl (or a nail would work) I pressed “veins” into the leaves.
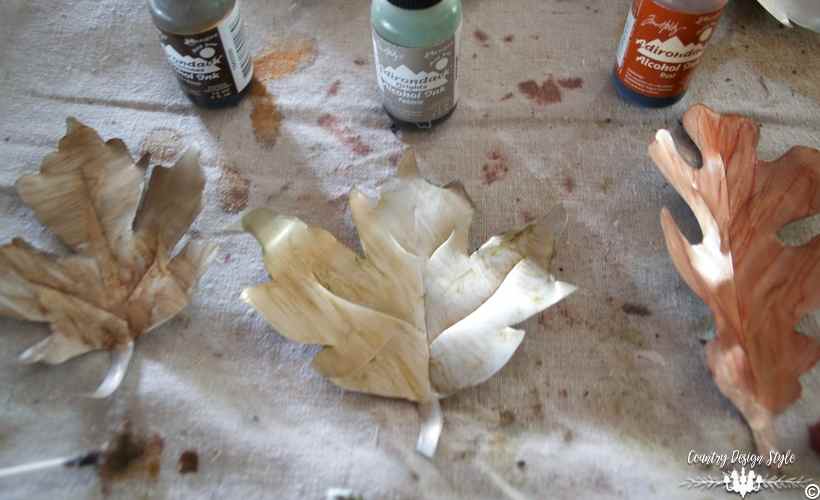
I could have left the metal as it was. Who knew the inside of a soda can look so good?
Instead, I stained the metal. Below are the inks and stains.
Distress Stain in Weathered wood
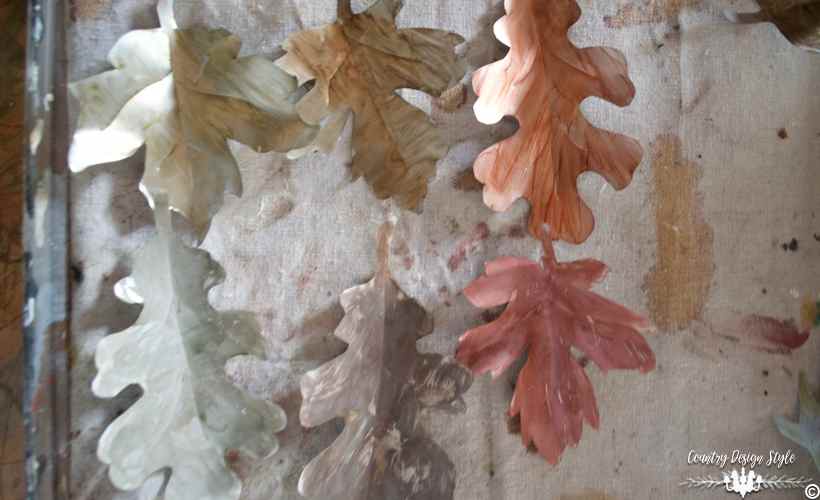
The look of the inks was great…but I tried testing another idea. Using chalked-based paint, I covered the leaf with a creamy white. Next, I added the alcohol inks. The paint definitely added a base for the inks. The leaves on top are ink only, bottoms are paint and ink. I used a cotton swab to apply the inks. The stain bottle has a sponge top. I rubbed the stain into a small piece of foil and applied like the inks.
Gluing the metal leaves

The inks dry fast. Firing up the hot glue gun, I layered the metal leaves on a wire wreath. If you wish to keep your wreath for years, you may want to use E6000 to permanently glue the metal to the wire. At least, more permanent than hot glue.
By the time I finished the wreath, I had just enough leaves. And I only glue one leaf to my countertop!!! Thank goodness for marble…even if it’s orange! 🙁
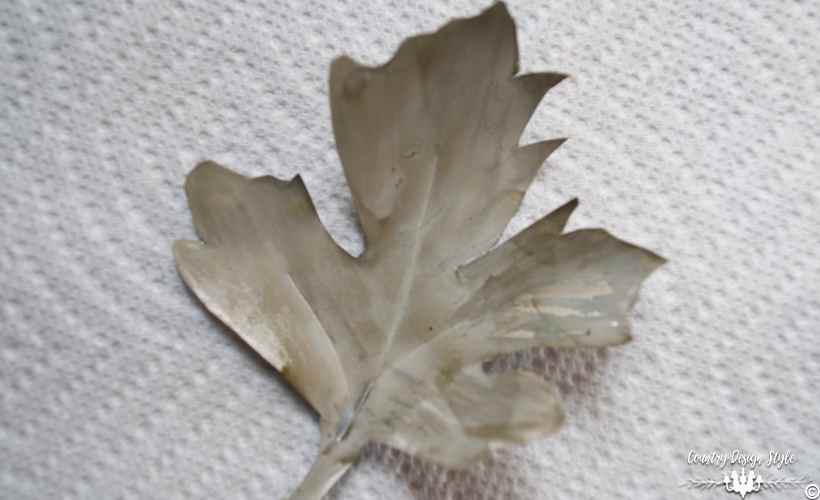
A closeup of my favorite leaf. Painted, then inked with the pebble. 😀
Finished DIY Metal Leaves Wreath
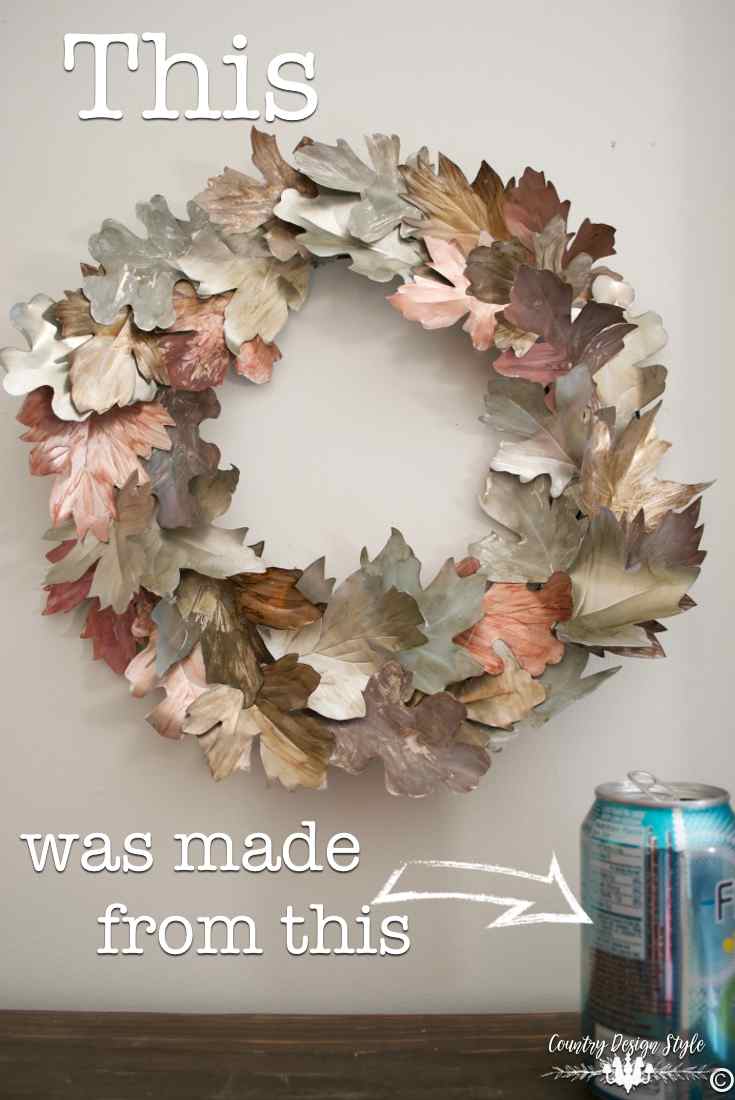
This is the final result. Beside the wreath, I placed a soda can. An image perfect for pinning!
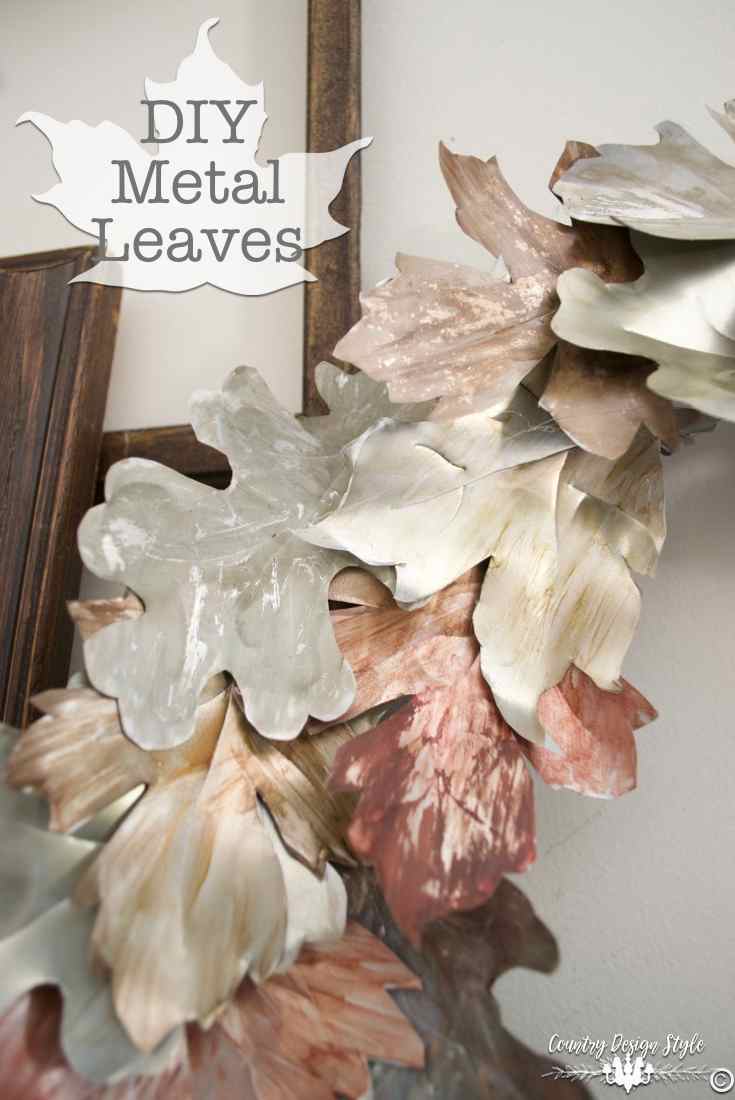
On this side is a closeup of the DIY metal leaves wreath.
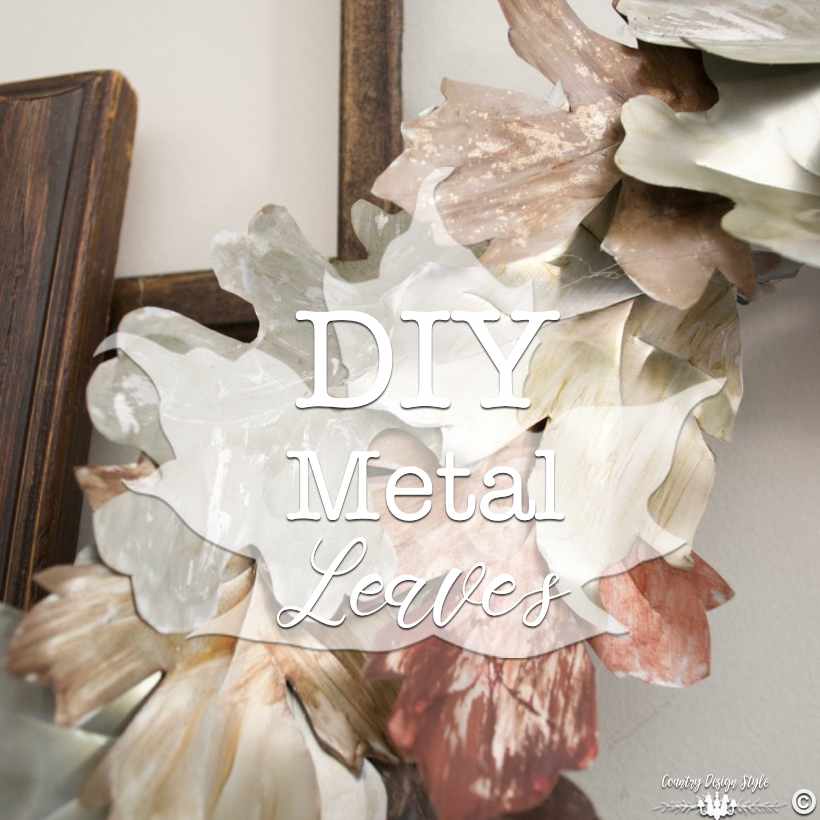
In fact, the DIY metal leaves would make a cool banner. Lettering added to each leaf is another idea.
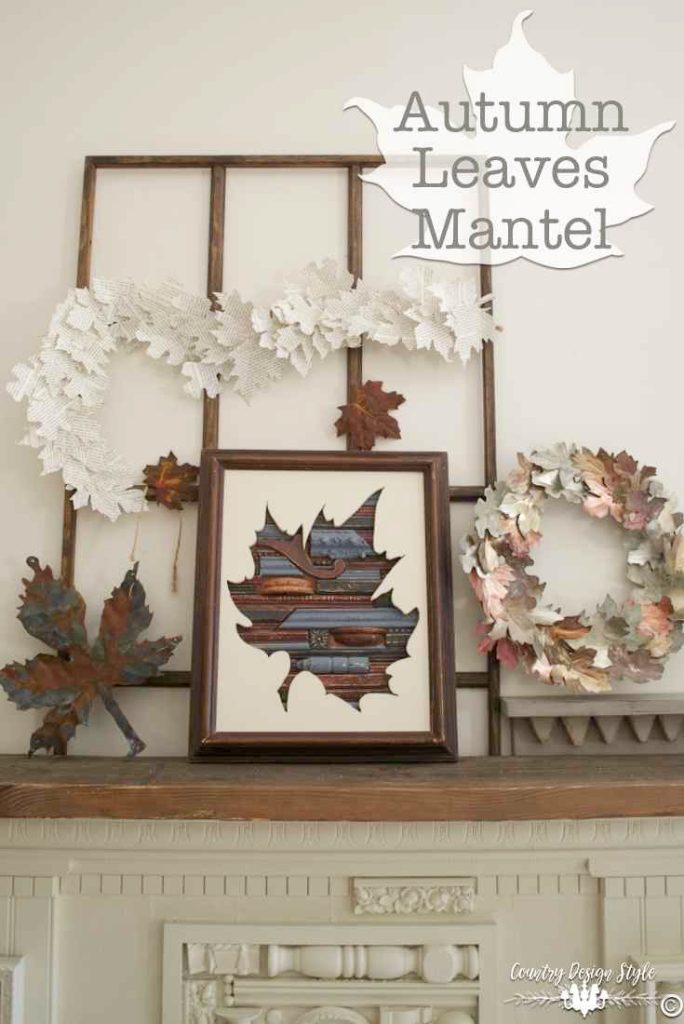
Above I added the DIY metal leaves wreath to our scrap wood mantel. Displayed with more leaf DIY projects. The fabulous metal leaf on the left was bought in Pismo Beach. 🙂
Autumn leaf from scraps {that’s the one in the frame}
Rusty leaves {there’s a video too}
Book Page Leaves {if you’re not into cutting metal :)}
Do you remember the necklaces made from soda can tabs?
Have you made anything from soda cans? Let me know in the comments. Update: I recreated this idea for spring. You can read about the metal flower wreath here.
Join the newsletter

Subscribe to get our DIY HelpLetter each Thursday. Plus grab your Interior Decorating Ideas e-book.


I love the wreath and the way it looks. Great job!
Hello!
I think It’s a 12-inch wire wreath frame. I Can’t believe I didn’t include the size in the post. Thank you for pointing it out.
I think It’s a 12-inch wire wreath frame. I Can’t believe I didn’t include the size in the post. Thank you for pointing it out.
so creative am really like it . Your all ideas almost so creative thank you so much for making this effort for us
Jeans, you are very welcome.
Hi Jeanette,
are you able to but the leaves outside in the rain and weather with the alcohol inks?
I have to admit, I’ve never put the metal leaves outside. But, if you give me some time, we are in the process of moving and everything is pack, I’ll try it.
I was gathering steel information today and while doing the information I reached your website and suddenly see the metal leaves .You cut the boxes so nicely and made great leaves and you have to color it so that it
I like this pretty leaf garland! It’s so interesting that it’s made of metal, too!
love these live tutorials, nice to see how you manouvre the metal with your tools. Will have to have a goo at this at some point ‘
Thank you so much Leo! I really enjoy doing the live videos. I feel like my creating along with my friends. There’s always a seat at the virtual craft table.
I really love with this, this is something that 1st time I have come across, And I really love that. Please share that How you have done the spraying on that, which spraying you have used. I would definitely e to invest on that! Good job dear! Thanks a lot for sharing
I used exterior spray paint in a creamy white to cover the backs of the leaves. It’s one of my favorite projects. Thank you for following Country Design Style.
One of my family treasures is a set of reindeer and sleigh made from soda cans that my dad made in the early 60’s. My mother saw it somewhere and showed it to my dad. Each reindeer was cut from a single can, and then shaped with pliers. He also attached flowers made from soda cans to a metal form for a hanging lamp.
Can’t wait to try this. Could you tell me which weathered stain you used. Make??
Thank you, you’ll have fun making the wreath. I used Tim Holtz weathered wood stain, it’s a scrapbook type stain and ink.
Going to make one for my mantle
Cheryl, you’re going to love it. Let me know if you have any questions. It’s pretty easy to make. ~Jeanette
What size wire wreath did you use? I would hate to run out of leaves because I purchased too large of a metal wreath. Thanks.
I had to go measure. It’s a 12-inch wire wreath frame. Can’t believe I didn’t include the size in the post. Thank you for pointing it out.
This is gorgeous! Thanks for sharing.
A friend and I created 2 beautiful wreaths thanks to you inspiration. I have never used alcohol ink so that was an adventure. I wished we could have seen more of the painting process. Did you put the inks straight on the leaves or dilute with alcohol ? The colors didn’t quite look like yours but hey I think it’s the best “recreation I have ever done 🙂 Love this project! Thanks for the inspiration!
(I can’t seem to figure out how to post the picture 😞)
Ps….we cheated a bit and used Tim Holtz tattered leaves, BigZ. We aren’t quite the DIY’r that you are and hand cutting all those leaves felt daunting. Lol!
Robin, I glad you have fun recreating wreaths. I should have filmed the painting process. But really all I did was add a drop or two of the alcohol inks on a leaf, then swirl around with a cotton swab. This is why I love DIY. Everyone can create using different materials and techniques for the basic idea of the project. I don’t think you can add photos in comments, but if you click above “share your project” you can add up to 3 photos. Or hit contact and send me an email. Thank for your sweet comment. ~Jeanette
Wonderful tutorial, I just bought supplies and will give it a try, love your color choices.
Thank you so much. It’s one of my favorite projects! ~Jeanette
Thank you! I know what I’m doing this weekend!! PERFECT!! 🙂
Yeah! So glad you like the project. Soda cans are easier to cut than they were years ago!
I know this share from you has been around for a bit, but this is the first I’ve seen it….how beautiful it is! Thanks for sharing and I will be pinning to try it sometime soon. 🌞
Charlotte, thank you for pinning. This winter I put it away, but I can’t wait to take it out again. Just wear gloves and take your time. Hugs Jeanette
I’d really like to recreate what you’ve done, however, I’m apprehensive about those sharp edges around the Grandbabies… is there a way to make them round / smooth or dull, that you would recommend. I have a barn full of about 30 large garbage bags of cans. Thank you for your time and any insight.
Hey, Christina! I would not suggest using or even doing this project around little ones. After spray painting, I hoped the paint would coat the edges enough that they wouldn’t be as sharp, but it didn’t. The “safest” idea to use soda cans I can think of would be to make lanterns. Cut strips about 1 inch from the top and bottom of the can about 1 inch wide. The slightly bend the strips out and insert a tealight battery candle. But it’s still not a project for kids. Thank you for reading along with me.
What are the size of your leafs? Did you have one type or two?
The leaves are approximately 2 1/2 inches. I used four types of leaves. You can download the basic leaf shapes here if you wish. https://countrydesignstyle.com/wp-content/uploads/2016/09/Fall-Art-Project-leaves-cut-out-Country-Design-Style-countrydesignstyle.com_.jpg
What are size of leave? Did you have two to three different styles?
One more question . . . how much stain did this use? There are four of us doing now and I want to make certain I purchase enough. Thank you again! Love have projects that bring me together with my favorites.
Tammy, I love projects that a group of DIYers can get together and create together. I only used drops of the stain. Most leaves used three drops but some used only two. Send photos! 😀
I absolutely LOVE this. My sister and I are going to make this – just as soon as we have enough cans 🙂 What size wreath frame did you use? Also was it a flat frame or raised?
Thanks much! We are so excited!!
Hi, Tammy, The frame I used was 8 by 8 and flat. You can easily shape the metal to give dimension to the wreath. You and your sister will have a blast making one.
Jeanette
This inspired me! We drink a LOT of soda, and was looking for a way to re-use the cans when I saw this! Rather thnn make a wreath, I decided to make a family tree by finding cool branches with lots of twigs to attach the leaves to – I love birch! – then using smaller leaves and writing names and birthdays and other info on the leaves on the one side and photos mod podged onto the other… plop it into a pot and secure it, and it makes a wonderful conversation piece!
WOW, Lisa! I would love to see a photo. This is why I love the DIY world. We inspire each other and make projects that fit our style or like you expand the idea. Hugs!!!
I love all your work. Your directions with pictures is so helpful.
Is there a way to remove the green box on the left that reads, “How can I help you?” ? The black bix at the botrom that tells about cookies will not disappear, no matter where you click. The boxes make it difficult to read the directions. Every so often a blue boarder pops up covering the text, which makes it unable to read. Great ideas, however the 3 above mentioned things make it aggravating to use you site.
Thank you, Candy, for your help and comments. I’m working on fixing the issues you addressed.
I think this idea is wonderful! Beautiful work. I will now be buying soda in cans in lieu of bottles.I am a caregiver for my 93 year old Mother and this will be a good project for when she’s resting. Thank you. Happy New Year
Thank you for reading, Billie. More important, thank you for being a caregiver! Hugs.
I HAVE NOT USED POP CANS OR POP TOPS FOR ANYTHING. WHEN I WAS IN FLORIDA A NUMBER OF YEARS AGO, I WAS IN A CRAFT STORE AND ONE OF THE CLERKS HAD MADE A WOAMN’S VEST WITH POP TOPS. I LOOKED AT IT AND THEY WERE SEWEN TOGETHER WITH EITHER FISH LINE OR DENTAL FLOSS. .
IT WAS VERY LIGHT AND WAS A LONG VEST IN ABOUT A SIZE 12 OR 14. I HAVE BEEN SAVING POP TOPS AND HOPING “SOMEDAY” TO MAKE THE VEST. HAVE YOU EVER SEEN THIS? I WISH I HAD MY CAMERA ALONG THAT DAY SO I COULD HAVE TAKEN A PICTURE OF IT.
Pat, wow! I haven’t seen a vest made from the pop tops!!! I love people’s creativity! Thanks for telling me about it. I’ll look it up online and see what I find. Have a fun and creative day.
This was a very inspiring project! I love using ‘stuff’ to make something beautiful. Since it is well past the fall, I’ve considered doing dogwood blossoms on a grapevine wreath. I’ll give it a shot. Thanks for this wonderful idea!
Great idea Jan! Yep, cut the cans into any shape. One reader cut magnolia leaves and I thinking about cutting hearts for Valentines. I figured out this project almost too late for fall. 🙂
BEAUTIFUL! Quick question though…did you do all of the cutting with just plain scissors? I have to try this ???????? ????????
Yes, Kellie, just plain o’scissors! In fact, I used my favorite crafting scissors. Soda cans are not made like they use to be. Thanks for stopping by. 🙂
I am just wondering if the edges of the cutout leaves are sharp?
Christine, I was surprised at how “soft” soda cans are nowadays. I’m one of those that almost pass out when I cut my fingers!!! While I was cutting the leaves, I kept saying, “I should be wearing gloves.” But I never stopped long enough to put on gloves…and no cuts. Do wear gloves, though. 🙂
You are so incredibly talented and gifted! What a gorgeous wreath! And I love your Autumn Leaves Mantel, too! Fabulous! Thank you for sharing with all of us!
Beth, you made my morning! Thank you. Have a wonderful day and stop by anytime. 🙂
Beautiful!! I will definitely try this!
Thank you Suzy!
Oh I so love this idea, Jeanette! I’m scared klutzy me will cut my fingers off. Pinning to share.
Wonderful!! They really look real!!
Thank you, Cheryl. They are fun to make. I even made one leaf for a Facebook video to share there too.
Beautiful! Absolutely love this idea and am going to make some of those leaves myself, maybe intersperse them on some found limbs for a wall hanging. Thanks for sharing this.
Linda!!!! I love that idea! I have such creative readers! 😀
Love this going to try with magnolia leaf for a Christmas wreath
What a great idea!!!
I love that pop can wreath. It is beautiful! Nice choice of colors. Great job Jeanette.
Thanks, Paulette! I did notice my choice of colors picked out several years ago. Weathered wood, rust and a grey pebble! I was heading for farmhouse style.
now THAT is really creative. I love the wreath and the way it looks. Great job!
Thank you, Sharon! I have to admit…it came out better than I thought it would. 🙂