
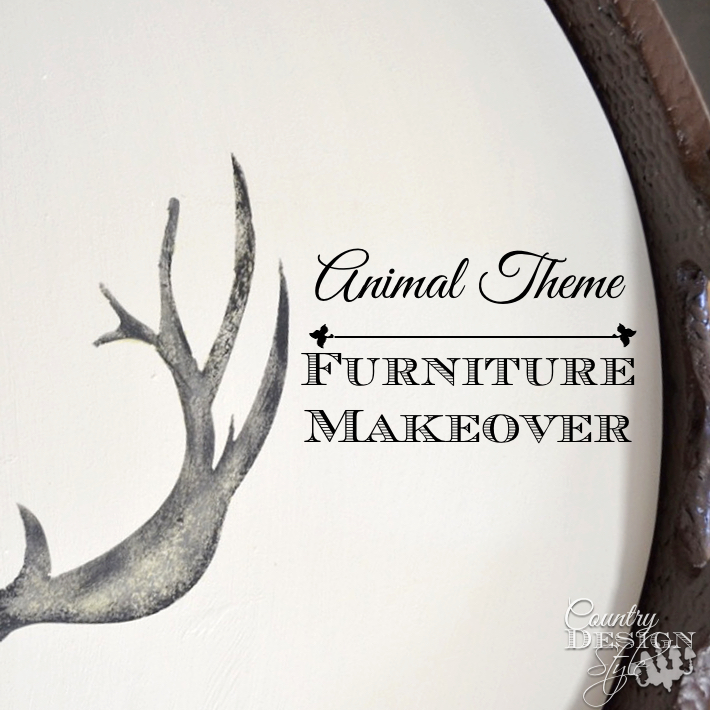
Animal Theme Furniture Makeovers

Can you hear the tapping?
It’s me!
Doing a happy dance for 2 reasons !!
Reason number 1. It’s a furniture makeover day!
Reason number 2. I learned a trick with my silhouette cameo and it was easy!!!
Today’s furniture makeover is an animal theme. Each month I’m proud to be a small part of a creative group of super duper talented ladies who do stunning furniture makeover. At the bottom of this post, you can peruse all the animal themed projects.
This month was a tough one for me. I remember redoing a very shabby chippy chair with a leopard print covered seat many years ago! But I didn’t do that this time.
Instead, I wanted to stencil elk antlers on to???
What??
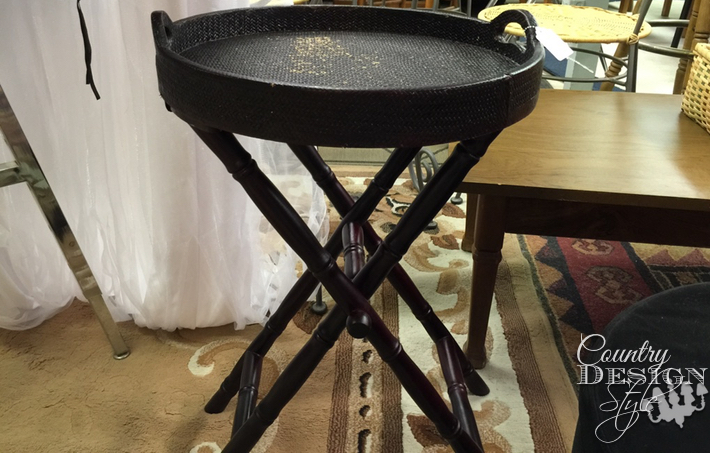
Then I found the perfect thing. A tray table at my favorite thrift store. I even “scoped” the shopping adventure. I brought it home and then thought…do I stencil right on the woven top??
So I asked my readers for their opinion. You can read the great ideas here.
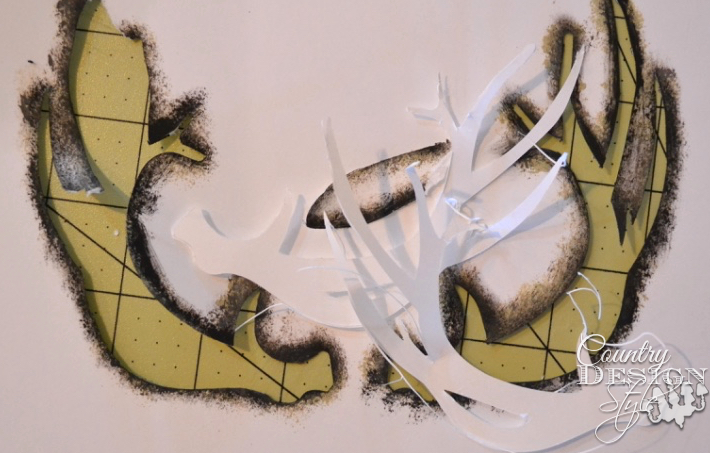
Antler stencil
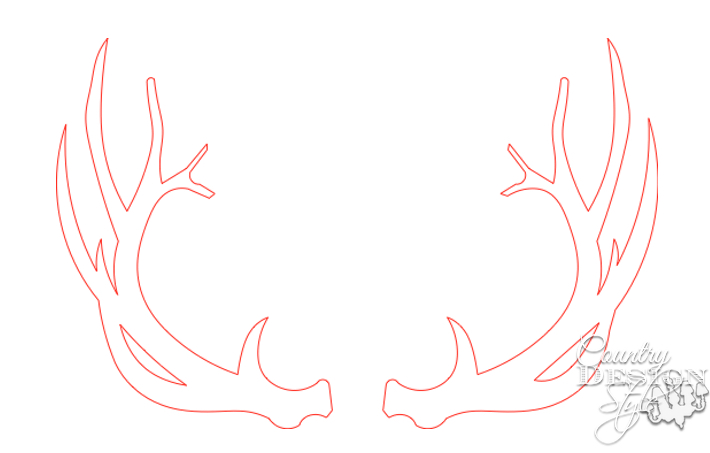
Now for my drawing. I drew these basic antlers on keynote, Apple’s presentation app. Not sure why I drew in red? 😕
Now the number 2 reason for the happy dance. You can now add a .jpg file to Silhouette cameo. If you’ve ever tried to draw on Silhouette…let’s just say…don’t bother. I will be sharing the steps to add your drawing or .jpg file in a future post.
A silhouette is a machine that you hook up to your computer just like a printer. It works like a printer except it has a tiny blade.

This is my stencil cutout! It has some rough areas but I can work with it.
Redo the top of the table

I cut a circle from a piece of quarter inch MDF to use as an insert in the tray. Easier to stencil. Plus I want the stencil to be dark. The stain of the table is dark. To draw a circle, use a paint stick. Drill a hole in one end for a nail. From the hole measure along the stick to one half the size of your circle. Notice above I made an 8″ circle measuring 4″ from the nail hole for a hamster wheel makeover!
Yep, not a typo. Hamster wheel!
The inside of the tray is 15 1/4″. Above I drew a 15-inch circle measuring out 7 1/2″ from that nail hole. I use a jigsaw to cut. Then used the vertical wheel sanding disk on the table sander to actually make my cutout round. 😕

The circle was painted with 2 coats of a putty color chalky type paint. Then I centered the antlers and made a couple of chalk marks…while watching Karianne’s Periscope. 😀
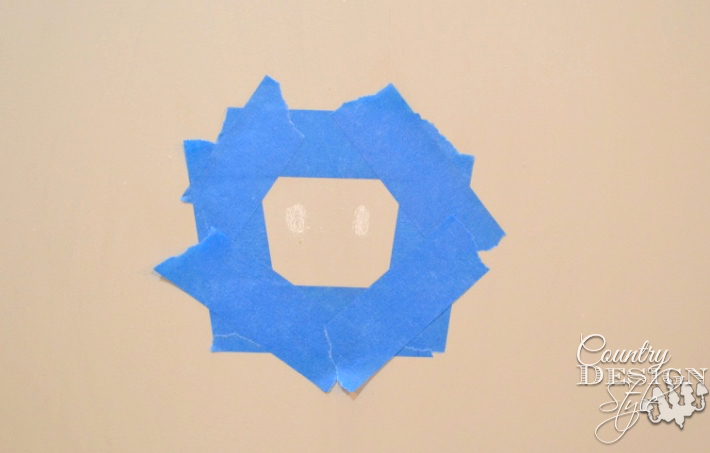
Using painters tape I added a “plaque” for the antlers.
I’m not a great stenciler.
Finished table
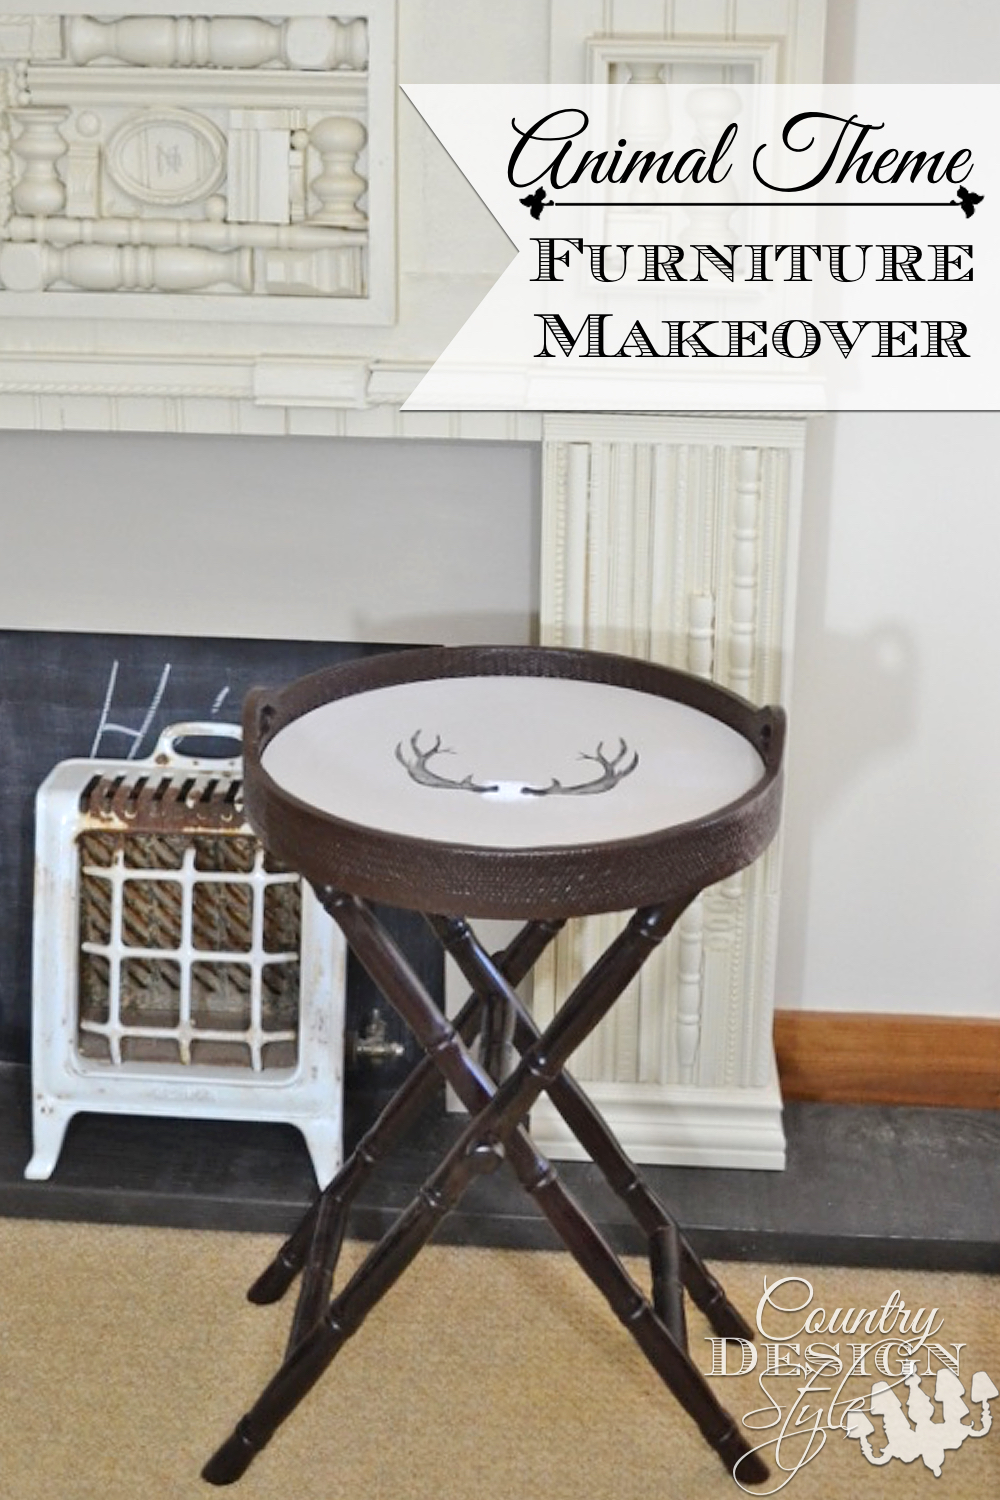
But I’m okay with the results. It’s hard to tell in the photos, but the tray table was purply mahogany stained. I didn’t think the purply would go with the putty gray. I used a walnut gel stain on the entire table and tray.
The tray had worn areas in the center and the gel stain covered great.

Now for more animal theme furniture makeovers.


Well, I think you are a great stenciler! You’ve inspired me to drag out my Silhouette Cameo. I use it in spurts, but makes projects so much easier!Love your table!!!
Christy, thank you so very much. I’ve used the Silhouette for signs but just may start using it for home decor projects too.
Jeanette…this is great! Love the stenciled outcome and how smart to make it in the Silhouette! I need to use mine more & may just do that as soon as you share your technique for importing a JPEG!
Wendi, thanks! I’m working on the silhouette post now. Should go live on Friday. Should!
Love this! I really need a Silhouette. Did you find it easy to use or learn to use when you first received it?
Paula, thankfully it was very easy. I had a large project of making signs for a thrift store when I first got the silhouette. I didn’t have time to learn how to use it, but it was so simple. Really works about like a printer. You will love it.
Very creative Jeanette – I love what you did with this table!
Marie, awe thank you! It was a fun project.
This is so cool! It looks like those antlers were made to be there! Love it!
Thank you Bre, I was hoping the table would turn out okay. I donating it to a silent auction for our Humane Society. Might need to make a matching pillow too. 🙂
Those antlers are PERFECT for that table. I love how such a small detail can make such a HUGE impact!
WELL DONE!
Hugs,
Karin
Thank you so much Karin!
This turned out awesome, Jeanette! That table was the perfect piece for this makeover. Oh, and I’m hoping to get a Cameo soon- can’t wait to experiment with designs and stencils! 🙂
Jen, it’s an amazing tool. I so glad they updated the software to include jpg files! Opens a whole new design area. Thank you for this fun tour.
A sweet addition to a sweet project! I love the antlers and their rustic appeal. Great job, Jeanette!
Thank you Larissa!!! It’s not a volkswagon but it’ll do! Lol! I’ve shown your dresser to everyone!!!
I love the antlers Jeanette! I REALLY need to use my Silhouette for stencils. I’m so bad about not…but I’ve wanted to for a long time! Thanks for the motivation to get on it! 😉
Nancy
Thanks Nancy, I can’t wait to see what you create with the silhouette!!! When I first got the silhouette I had a large project to do and barely had time to learn how to use it. After the project was done, I was done with the silhouette for awhile! 😕 Now I’m excited to use it again.
Love me some antlers, and your interpretation of this month’s theme! Great job!!
Thank you Kimm. The antler theme fits perfect around here!
When applying the gel stain to the table base did you have to sand it first? If so, how much?
Bonnie, thanks for asking. I didn’t sand it at all. The table and tray were dark already. I just brushed on the gel in sections and wiped back with a clean paper towel. It might be different if the table was light. Staining is not my favorite.
I love this makeover. Antlers are some of my favorite things and these are just perfect on the table. Great job!
Thank you so much Lindsay!