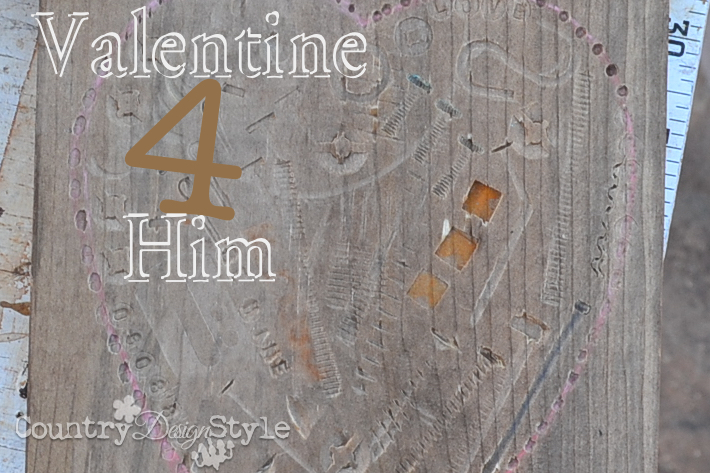
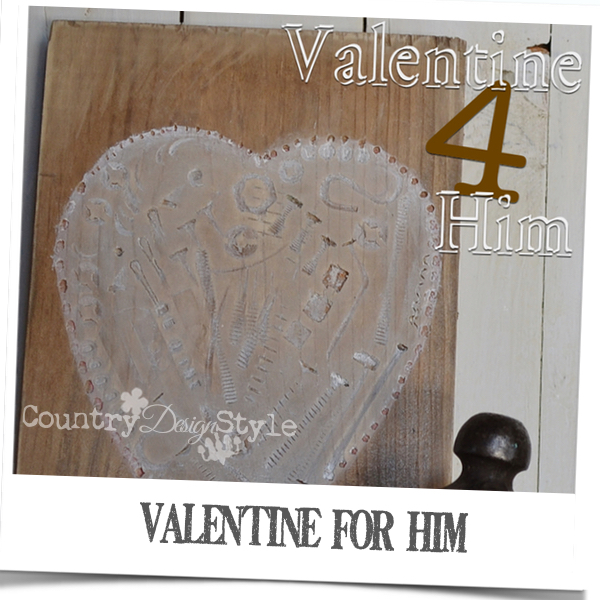
Valentine for Him
Stuck on a Valentine idea for your guy?
This is an easy idea and gets out any frustrations!!!
Because we don’t need frustrations on Valentine’s day!
Here’s a Valentine for him.
Here’s what you need for this easy project.
This post contains affiliate links, which means that if you click on one of the product links, I’ll receive a small percentage from the sale. This helps me offset the costs of blogging. 🙂
- A piece of wood {I used a leftover piece of 1 by 6 pine that was 8 1/2 inches long} A wood plaque from your favorite craft store or order a wood plaque here would work too.
- A hammer and needle nose pliers.
- A collection of nails, screws, nuts, bolts, and any other metal junk in the toolbox!
- I used a letter and number stamping set. You can order a stamping set here.
- My piece of wood was aged with tea and “ironed vinegar.” If you wish to age your plaque the steps and supplies needed are listed here. Otherwise, you could paint your wood or leave natural.
- Liming wax; this is a white pickling effect type of wax. The same as other wood waxes except it’s white! This would also look great in a dark wax…maybe even more manly!!!

The white wax does give a bit of lace look!
Even to the nails and screw impressions.

Here are the steps I used to do this manly heart.
Step 1: I aged the piece of wood using hot tea first and then my “ironed vinegar.” If you follow me much, or even just a little, you will know I love this technique to age and add protection to the wood.
Step 2: I cut out a basic heart shape and drew it on the wood with a piece of chalk. The chalk can be wiped off. I actually left my chalk line on and there’s a faint pinkish line.
So manly! :/
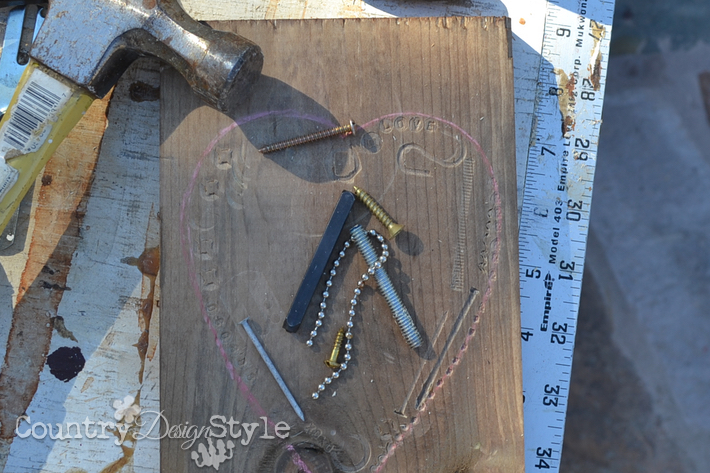
Step 3: Now for the fun! Start banging away. I used the needle nose pliers to hold nails, screws and anything that would leave an impression on the wood and banged with the hammer. Saving my fingers! Note the word “LOVE” on the top right. That’s the lettering stamps. I like using bend nails too. I have a lot of them!
Step 4: Used different small items to bang to outline the heart shape. I really should have done this step first, but I didn’t think of it. Oh, tools work too! I banged the impression of Phillips screwdrivers tips and the tip of those needle nose pliers.
The needle nose pliers left an impression that looked like “LIPS!”
The lips are along the left side.
Applying the wax

Step 5: Apply the wax, white or dark, with a small stiff paintbrush. The stiff bristles push the wax into the impressions. Make sure to keep the wax within the heart. The wax is hard to remove.
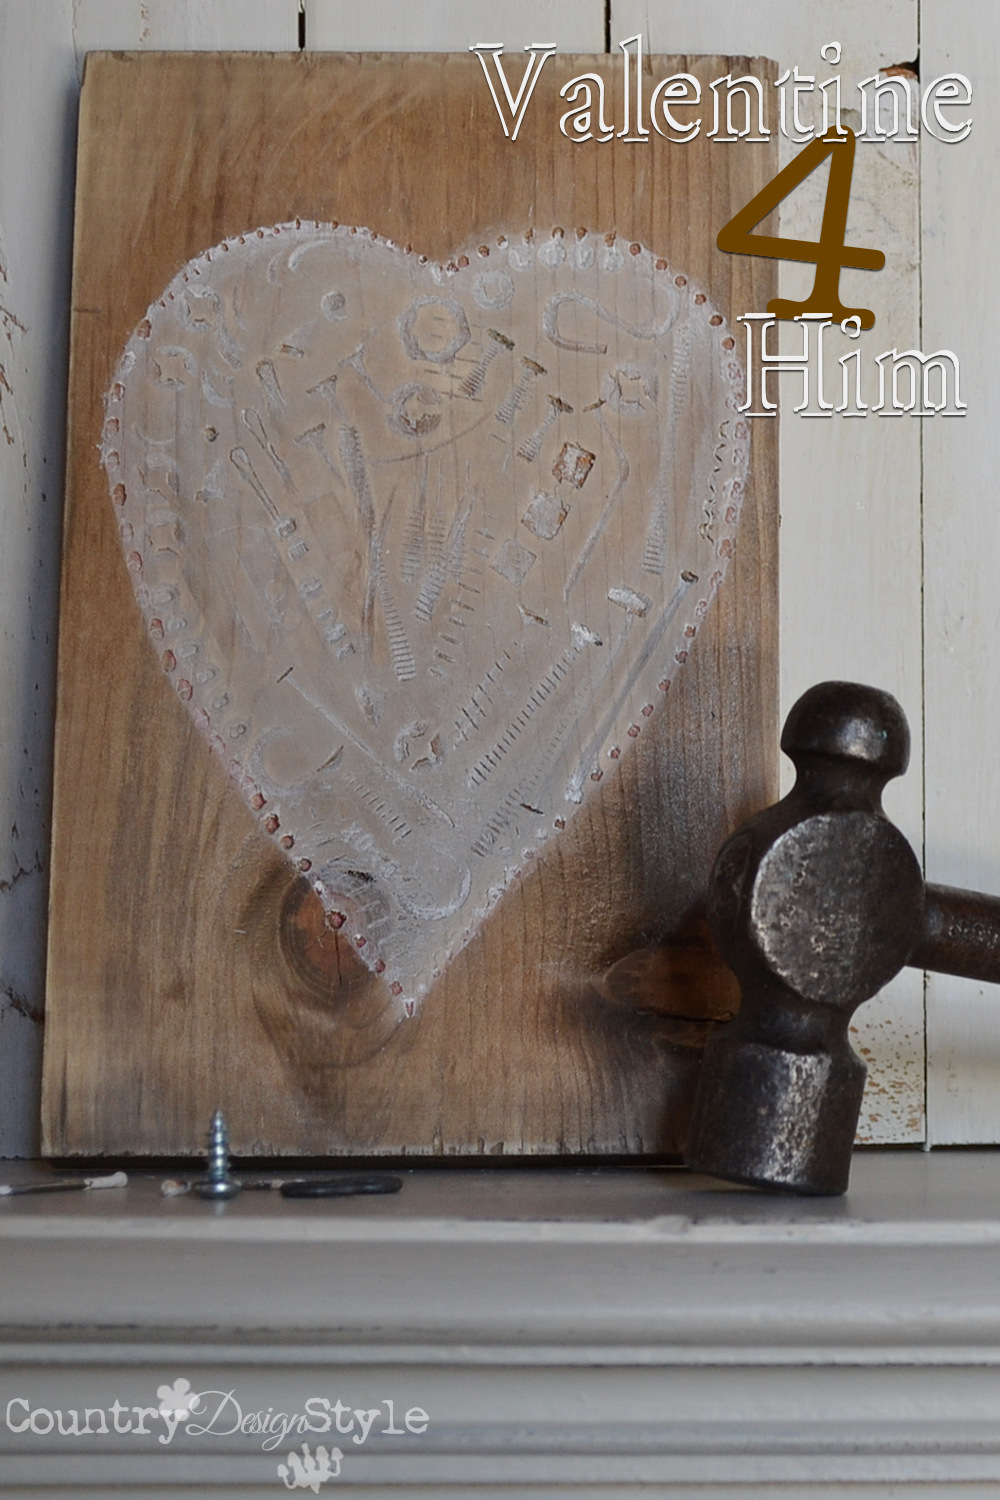
Step 6: Use a cloth to rub in the wax. I used a clean area of cloth, wax-free, and swiped into the heart to keep the wax within the heart.
Another pounded project
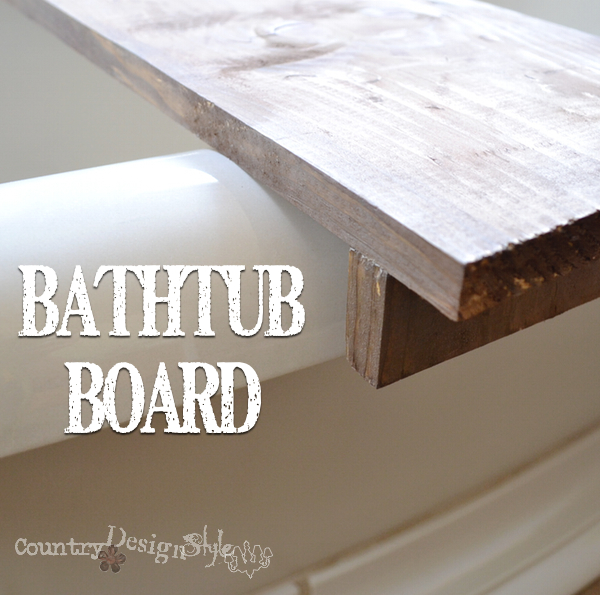 If you like this project, check out the bathtub board I made using the same technique. Except I used dark wax.
You can add a hanger to the back. MG {my guy} will most likely prop his Valentine on the bookcase in his office. 🙂
So, let me know what you think of this project in the comments below. I love hearing from readers…