
Snowman Decor
Today I’m sharing a snowman decor idea that’s adorable, inexpensive and takes less than 30 minutes to make unless your cat helps.
I don’t have a cat to help, but I do have an Otis.
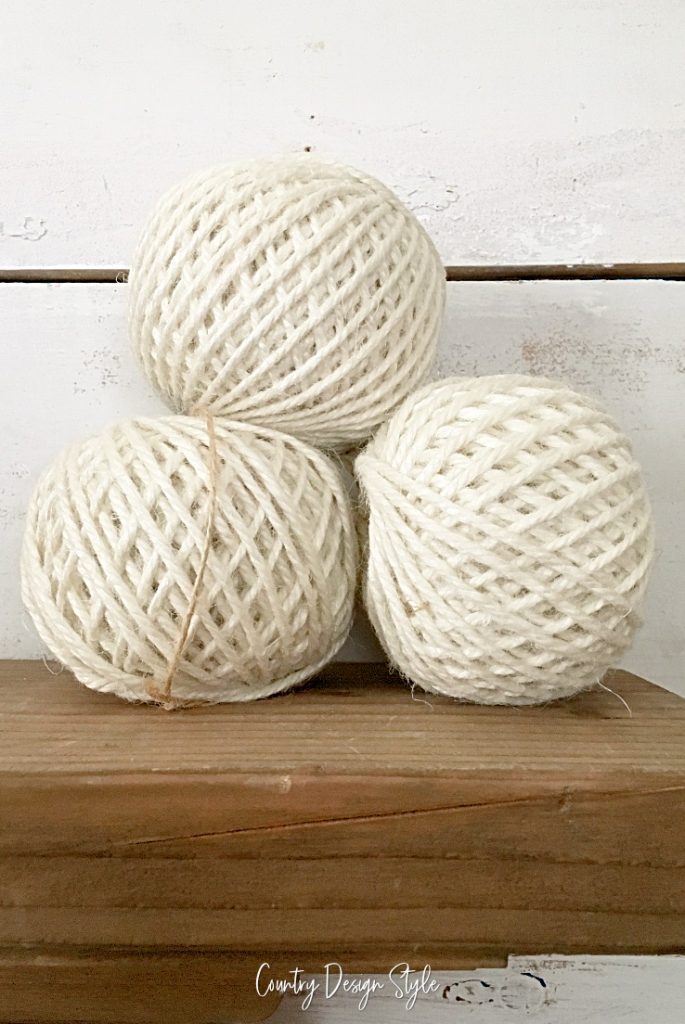
Think about those times when you see something, and it inspires something completely different. Like seeing a bunch of juniper berries under the tree after a wind storm and that night, you make blueberry pancakes for dinner. I saw three balls of white twine and saw a snowman.
Make the twine balls the right size.
Now the twine balls are all the same size. To create a small middle and even smaller head, I simply removed some of the twines.
I wrapped around a spindle to save for other twine projects, like a wreath of twine, and some I made into a ball.
That’s were Otis came in. He loves balls. Otis had the twine ball and was heading to the stairs. He likes dropping a ball and watching it go down the staircase. I could see the twine ball unraveling all the way down.
I noticed two things about the head as I removed the twine. First, the snowman is a blockhead. And second, the twine is spaced closer together toward the middle of the ball.

To fix the blockhead, I plan on making a “knit” cap. More on the hat below. To adjust the spacing of the twine, I unwrapped extra and rewrapped with a little space.
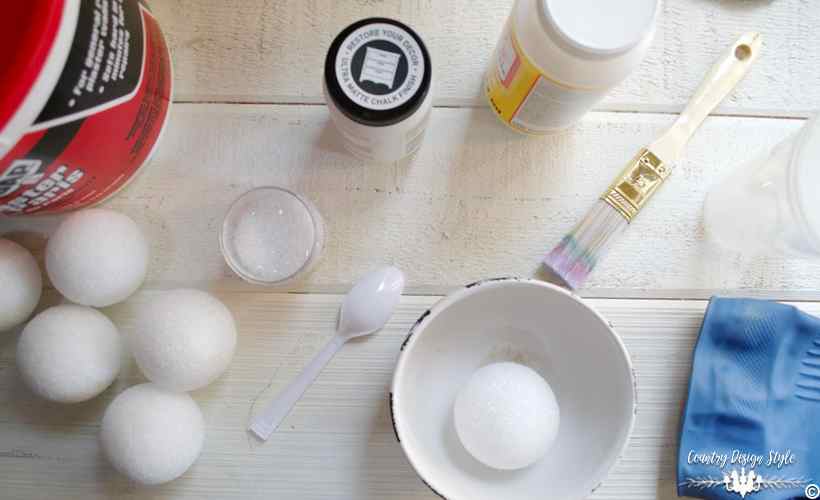
Shop for supplies
- Five black buttons – I found two just alike, the others are different sizes.
- Three white twine balls
- White craft glue
- Scissors
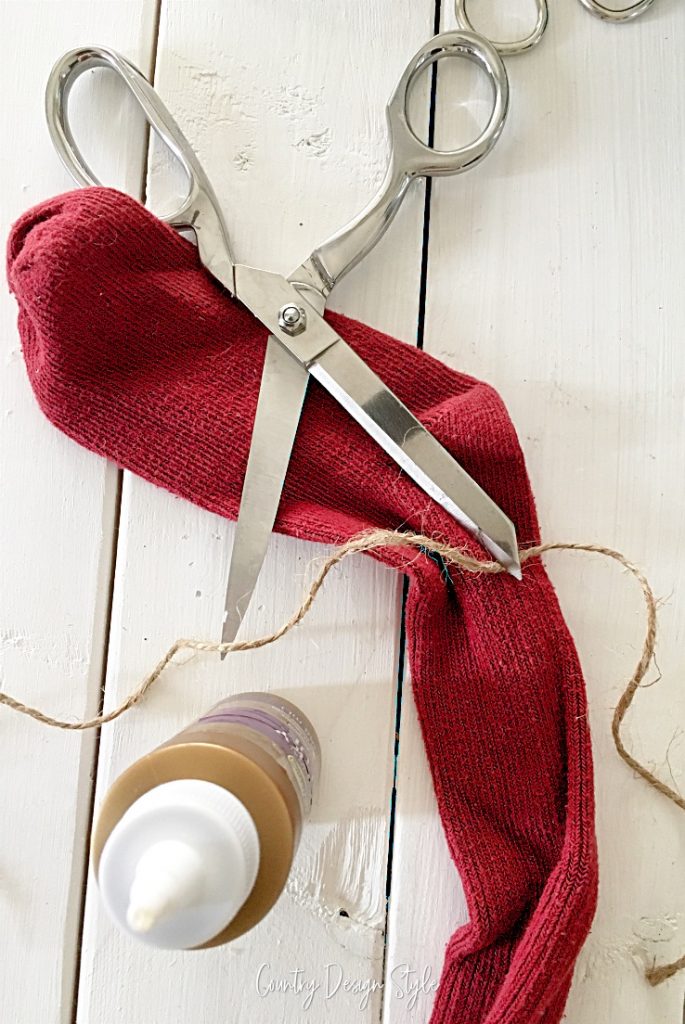
- One red sock
- An artist paintbrush
Making the snowman
Directions

Cut the sock in the locations shown above Cut the ribbed top from the rest of the sock. Then cut about 3/4 of an inch from the bottom of the ribbed piece. This will be a scarf.
I didn’t worry about the sock coming unraveled. I will sit quietly on the mantel. But if your snowman has plans for more action, use a line of craft glue to seal the fibers.

The top of the sock will fold down to make a cuff on the knit cap. The other end is the “pom-pom” top. Cut a piece of extra twine about 4 inches long. You do have lots of extra twine!
Wrap the twine around the sock about an inch from the cut area. Use scissors to cut down into the ribs to form a “pom-pom.” If your snowman has those action plans, you can add a real pom-pom and attach it with glue.

Place the cap on the head. See, it hides the “blockheadiness.” Then glue on the eyes using the same buttons. If you don’t have identical buttons, that’s okay. Make one with different color eyes.
Glue the large button in the center of the bottom ball. And two smaller buttons on the middle ball.

Then place the paintbrush down into the bottom ball. Add the middle and then wrap the scarf in place, then the top. Now our guy is ready to sit on the mantel and be snowman decor only.

If your snowman has active plans, use glue to hold things together.

Now, I’m craving a blueberry sundae.


Love these little snowmen!
Thank you, TK. Their little faces have such sweet personalities.