
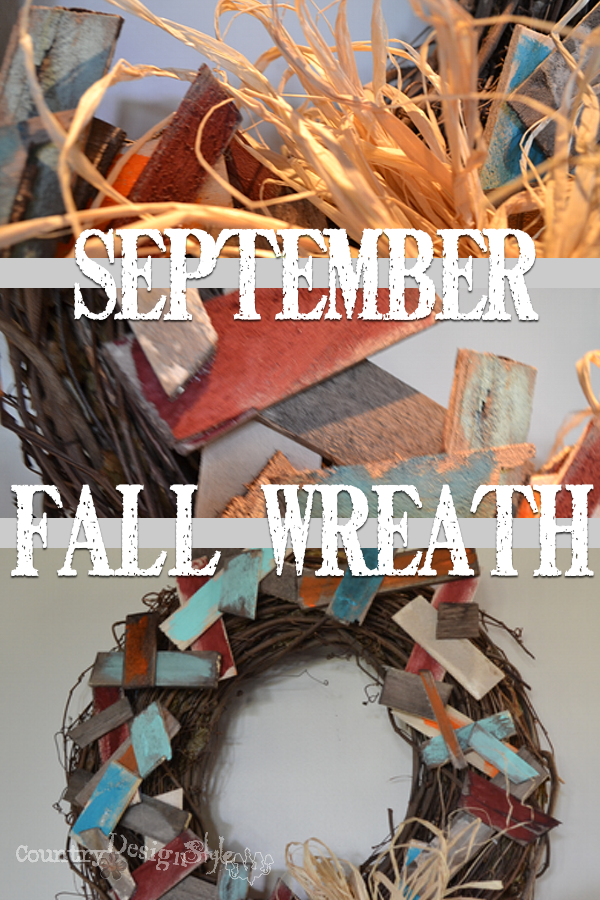
September Fall Wreath
Planning fall decorating and grabbing the burlap? You may rethink and grab wood shims instead of a September fall wreath.
I adore fall!
 On the first Monday of each month this year, I’ve redecorated the same grapevine wreath. You can see all the months do-overs below. I’m also not purchasing anything to add to each wreath. Using only things I have on hand.
September is fall, almost! When I think of a fall wreath, I think of burlap. I have burlap!
I started upstairs for the burlap and then rethought.
What about something different???
The Supplies
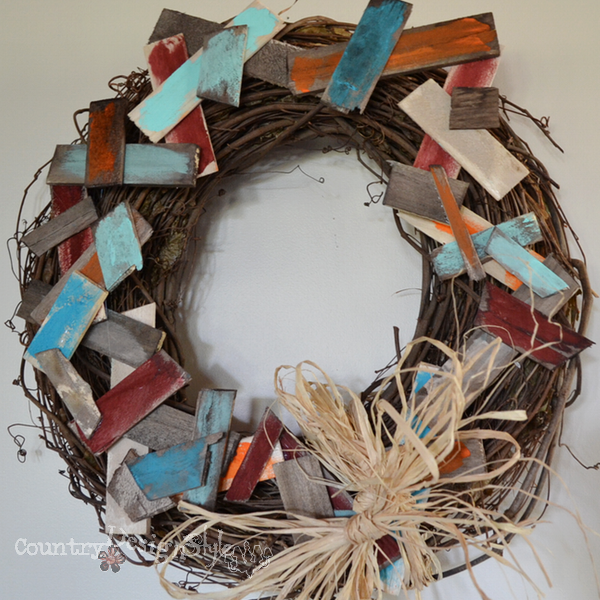
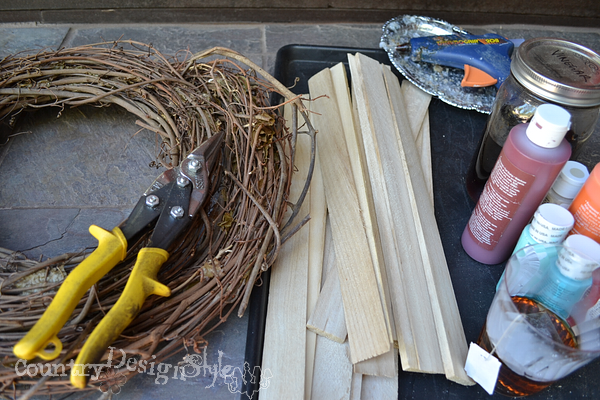 Here’s my different! Shims. I had plenty leftover from Bella’s numbered table. She is using the little table every night too. She’s such a sweetie.
Anyway, back to September fall wreath and those shims. I used tin snips to cut the shims into different sizes. Some were as long a 6 inches, some as short as an inch.
Sloppy Paint
 On slight more than half of those shim pieces, I roughly painted with craft paint. Totally not a good paint job! Messy, lumpy and spotty.
I didn’t even use “fall” colors. I grabbed some turquoise and baby blue. It’s hard to tell in my wonderful photo, but there’s a linen color too. Plus some orange and barn red.
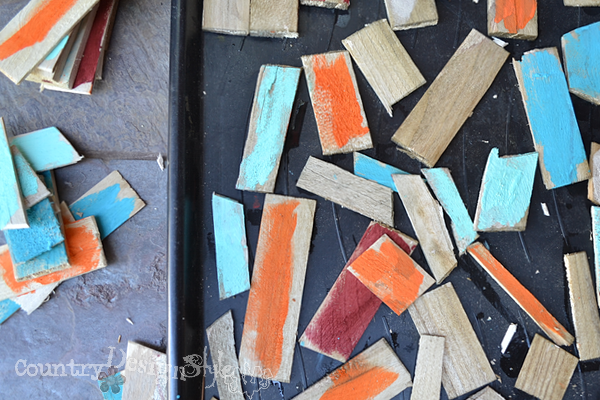 After the paint dried, I removed half of them from my tray.
Speaking of my tray, It’s a rubber oil drip pan from a dollar type store. Perfect for small painting projects. That’s my tip for today!
The shims in my oil drip pan painting tray were then painted with hot tea. When dry, I painted them with “ironed vinegar.” Click here to read more about the tea and ironed vinegar technique.
Bringing the pieces together
 Now it’s time to fire up the hot glue gun. Here are my hot glue gun tips.
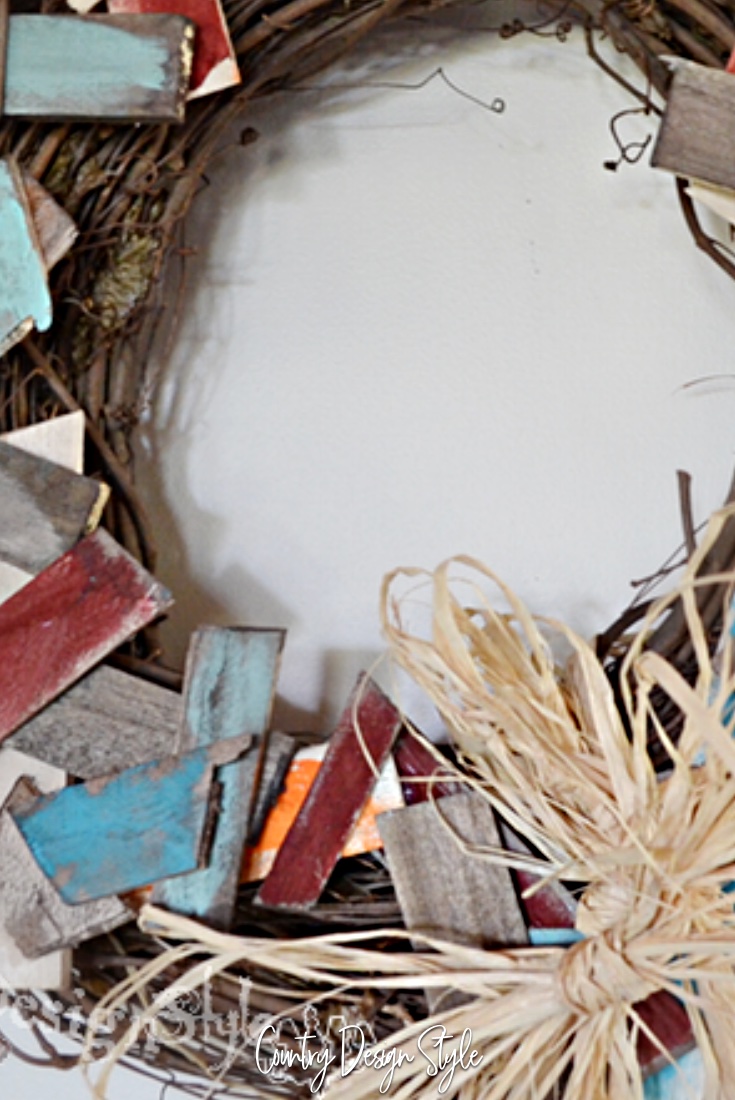
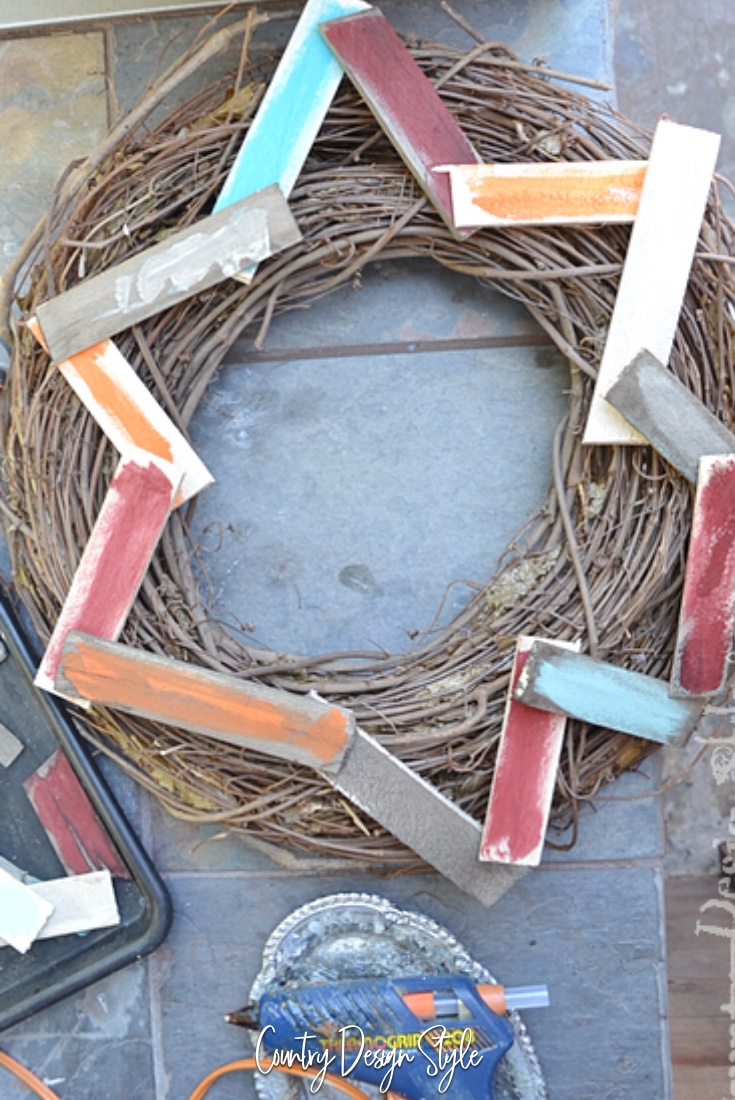
I laid out the larger shims in a rough star shape on top of the grapevine wreath. Where they touched I added a dollop of hot glue. Then I started to glue on the next sizes of shims. Continuing until I liked the look.
At this point, I could lift off the shims and have shim wreath. I simply used the grapevine wreath to get the shims laid out. But I’m on a quest. Use the same wreath for each month.
So three dollops of hot glue hold the shims onto the wreath.
At least until October when it turns scary!!!
 Here’s the tough part!
I wanted to add a burlap bow!
But I’m staying strong and tied on a raffia bow.
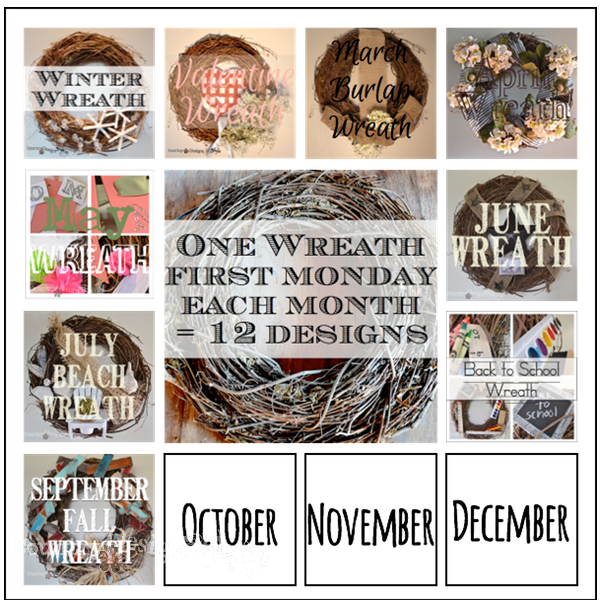 Here’s the same wreath, so far, nine different ways.
You can click on the months below for more detail.
 Which one do you like the best so far? Let me know in the comments below.


Because I’ve been obsessed with coastal design all summer, I have to say my favorite is July! But, this month’s is so ‘out of the box’ glorious, that it comes in as a close second!!!!!
I do like this one…the colors are perfect and the shims are unique. Nice!
Cecilia,
Thank you. The ironed vinegar aged the colors perfectly for fall. Thank you so much for visiting and commenting. ~Jeanette
asking which one i liked best is like asking me which do i like best chocolate or gold haha but this one is unique it may be the front runner xx
Chris or “monkey” thanks! I do know my least favorite wreath…so far! It’s the one of May. I did pink for my mom. I’m not a pink fan, but the main reason was to took everything I could find to get that pink banner to stay on! It was definitely the hardest one to redo. But mom’s worth it. 🙂 I would have sent it to her but I still needed it for the other months. ~Jeanette