Easy Fall Mini Pumpkin Decor
This easy fall mini pumpkin decor will help add fall and height to your tabletop, mantel, or front door in 30 minutes or less.
Did you hear that???
It was my sigh of relief. Fall is almost here. There’s a cool breeze through the trees. The cobwebs in my brain are blowing away. My favorite sweater is wash and at the ready.
Can you tell I’m not a summer person??
Let’s bring on fall with so 30 minutes or less projects, okay?
This post contains some affiliate links for your convenience. What that means, if you make a purchase after clicking a link I may earn a small commission which helps cover my blog expenses but it won’t cost you a penny more! Click here to read my full disclosure policy.
You can make this larger for the front door. It’s the same but going bigger.
Here are the supplies
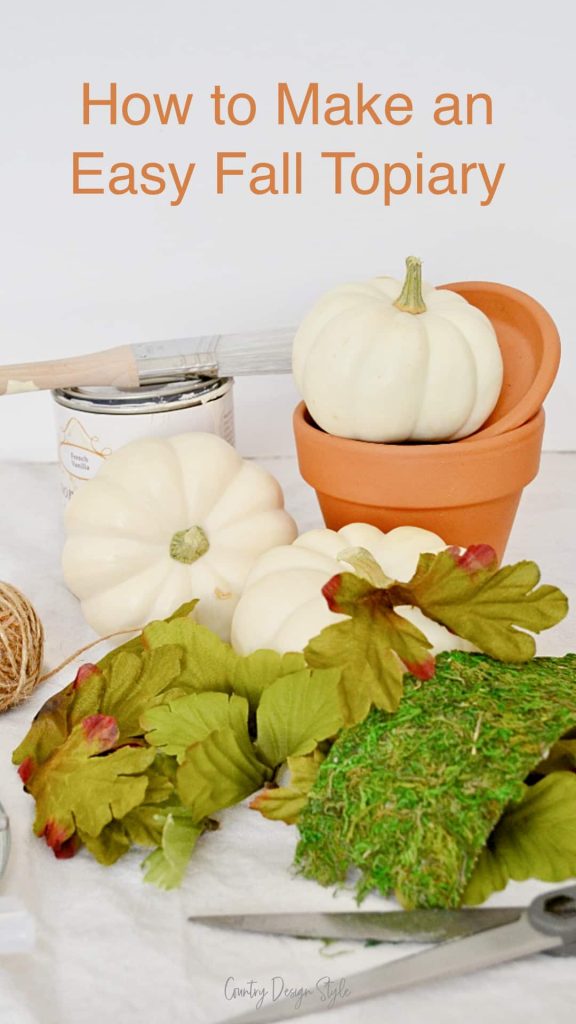
3 mini pumpkins, each slightly larger than the others {mine are real from the grocery, but fake work too…and last longer}
Clay pot with a saucer that fits the larger of the 3 pumpkins
Paint of your choice and color
Paintbrush
Moss {I used moss ribbon, but I suggest using regular moss}
Faux leaves {I toss fake flowers when dusty or ugly, but I keep the faux leaves}
Scissors
Twine
Hot glue gun and glue sticks
Pick your paint colors
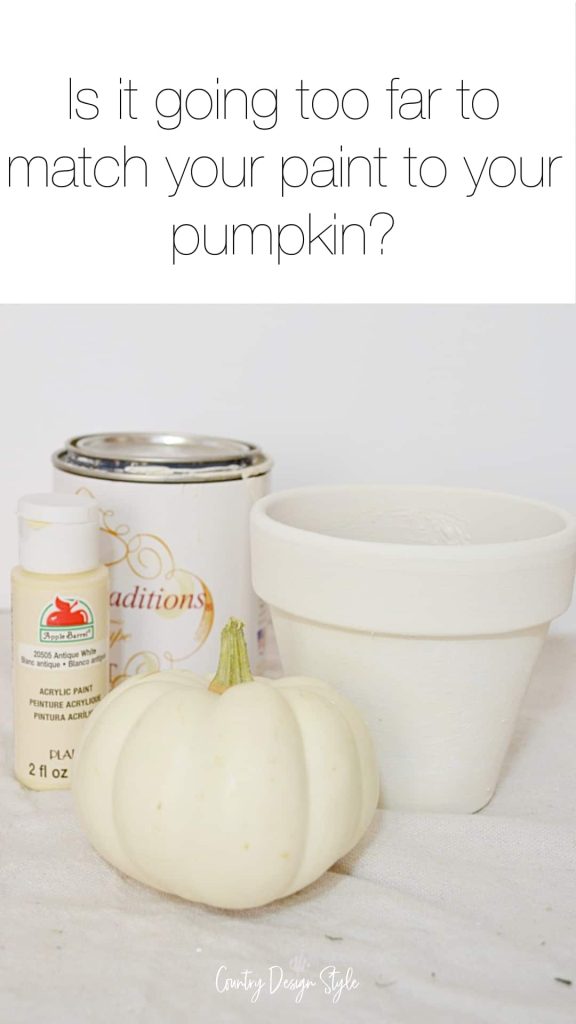
First, paint the clay pot and saucer to match or not match your pumpkins. I tried matching, but it’s not even close.
I add drops from bottles of craft paint to “tint” paint.
The steps to make your own easy pumpkin topiary
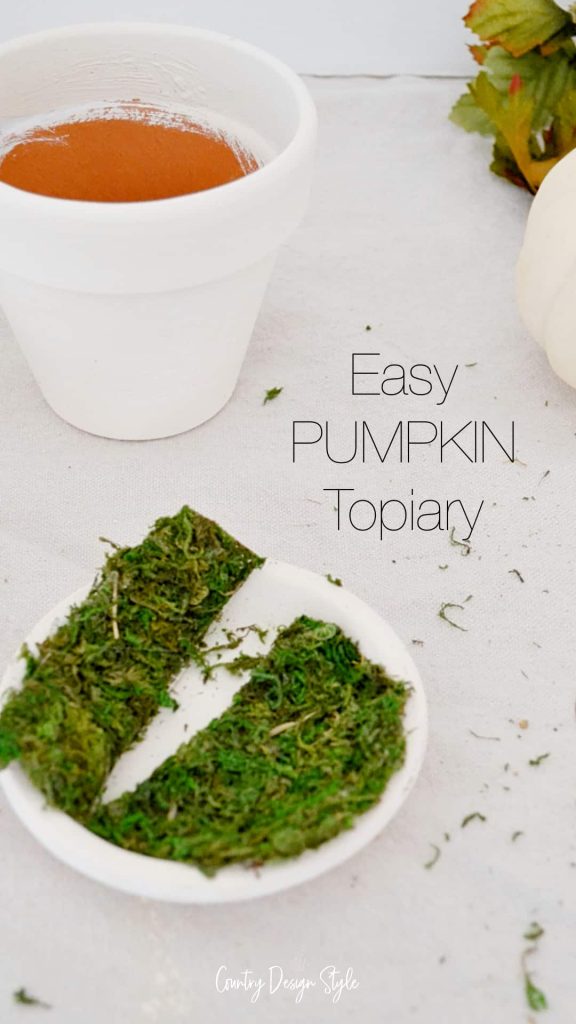
I decided to use ribbon moss because…that’s what I had! I bought it to use as a ribbon on a special gift. This was leftover, I overbought. The gift was wrapped in brown craft paper and used the moss as ribbon. Stunning!
Used in this project…not so stunning! But I make do.
I hot glued the moss ribbon to the inside of the clay saucer.
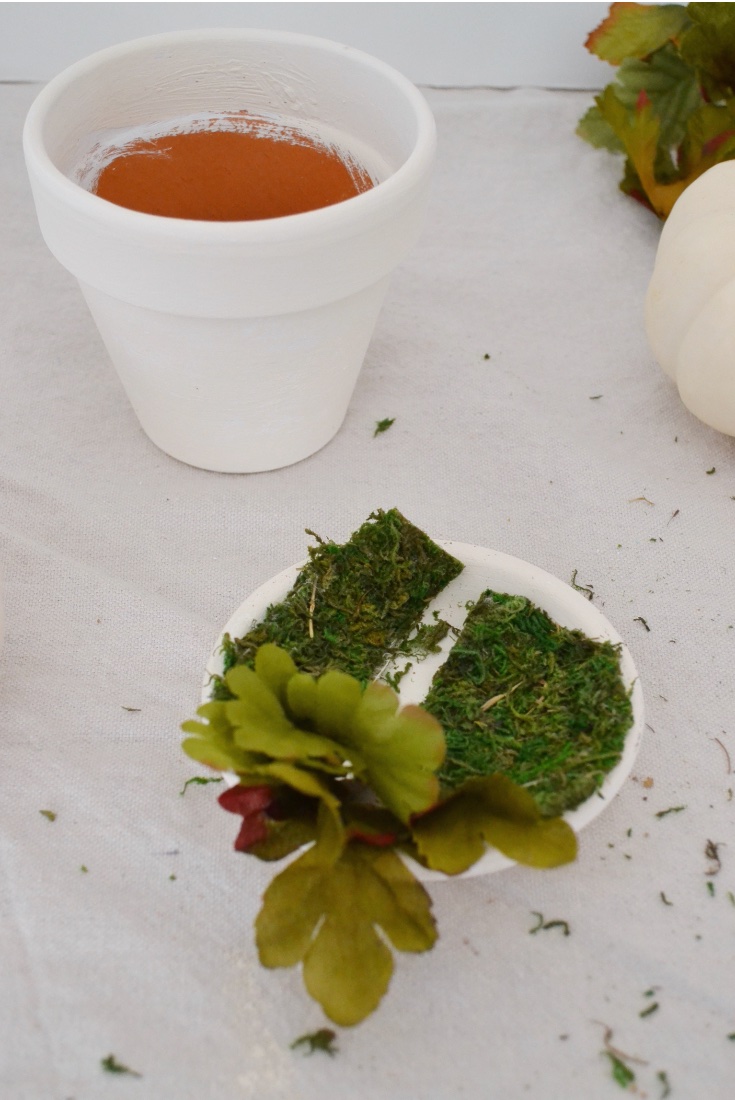
Then I hot glued the leaves in open places.
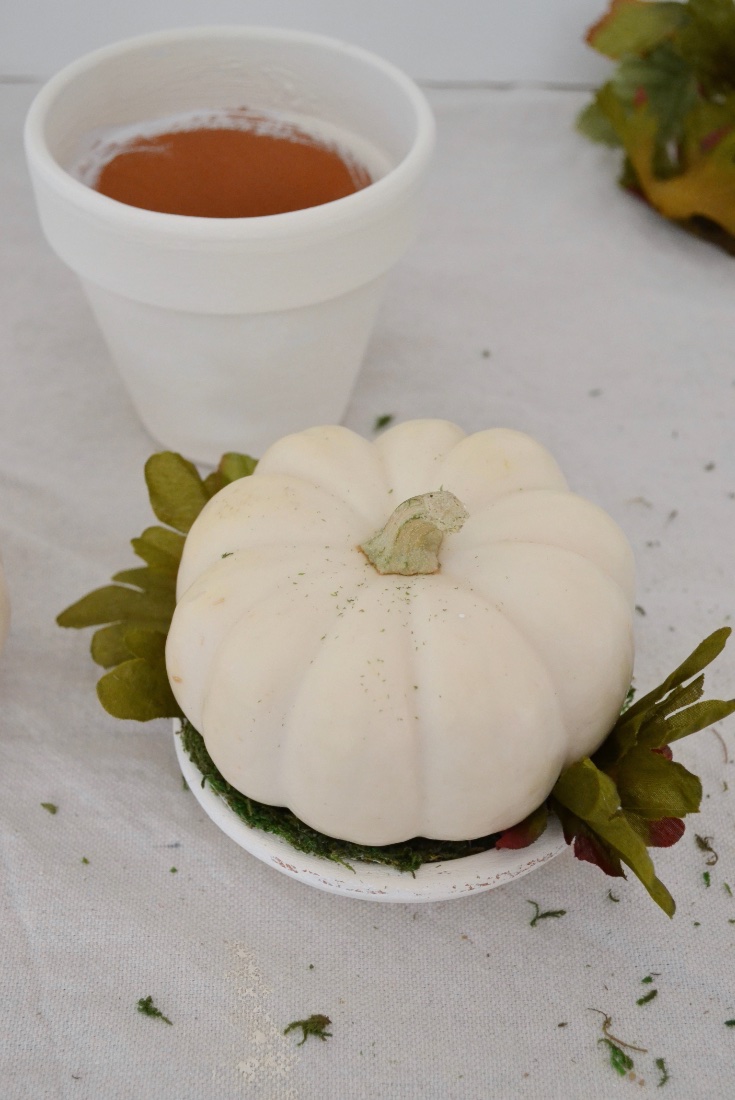
Not it’s time to hot glue the pumpkin down into the saucer. Well after your remove…
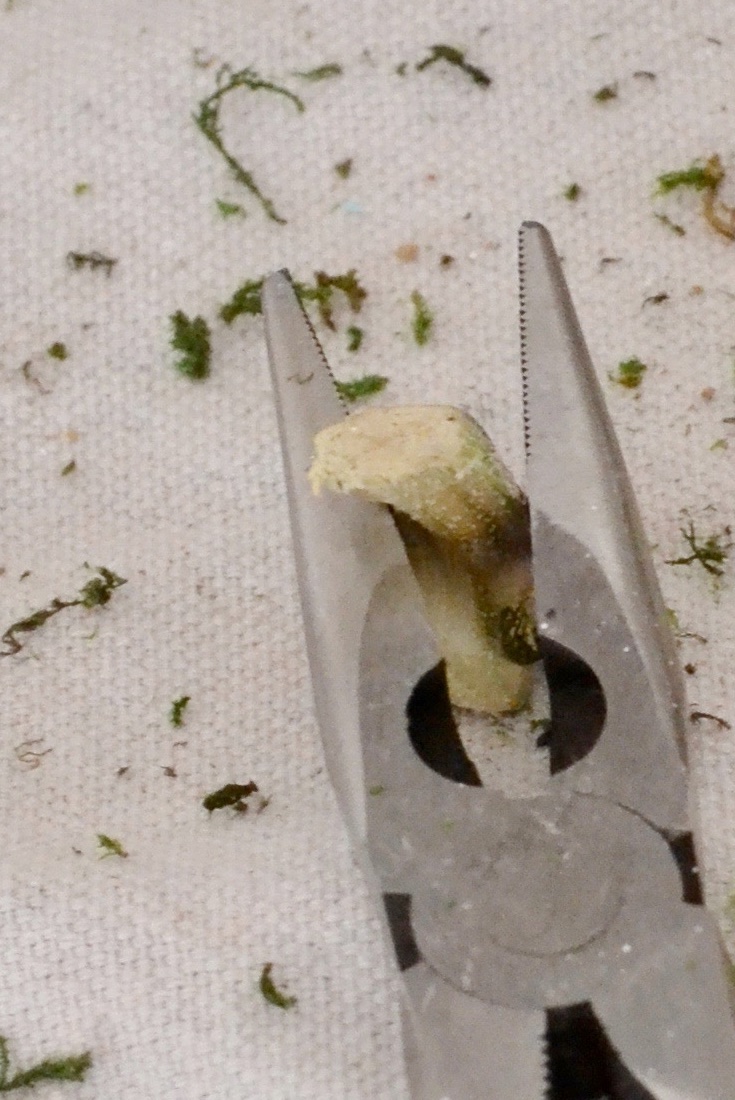
the stem. Use any type of pliers to remove real or fake stems.
Save the stem
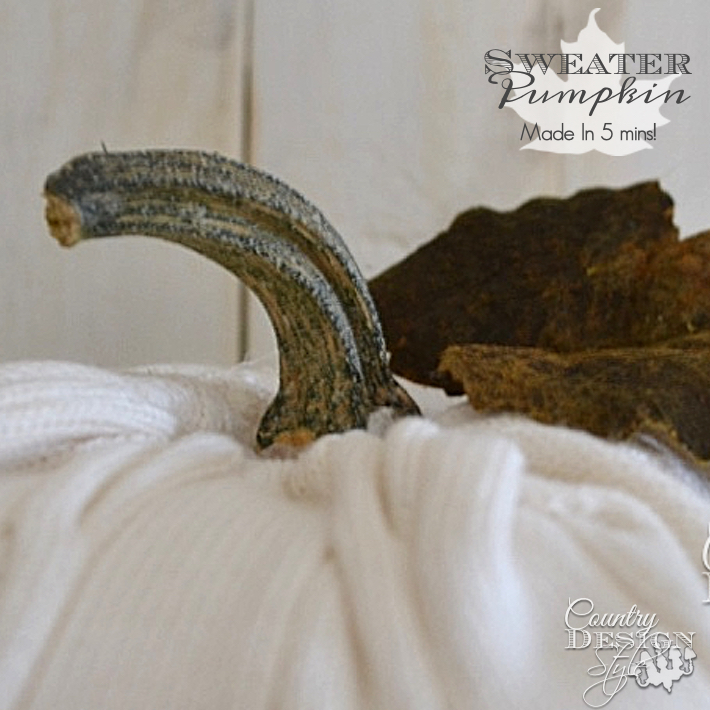
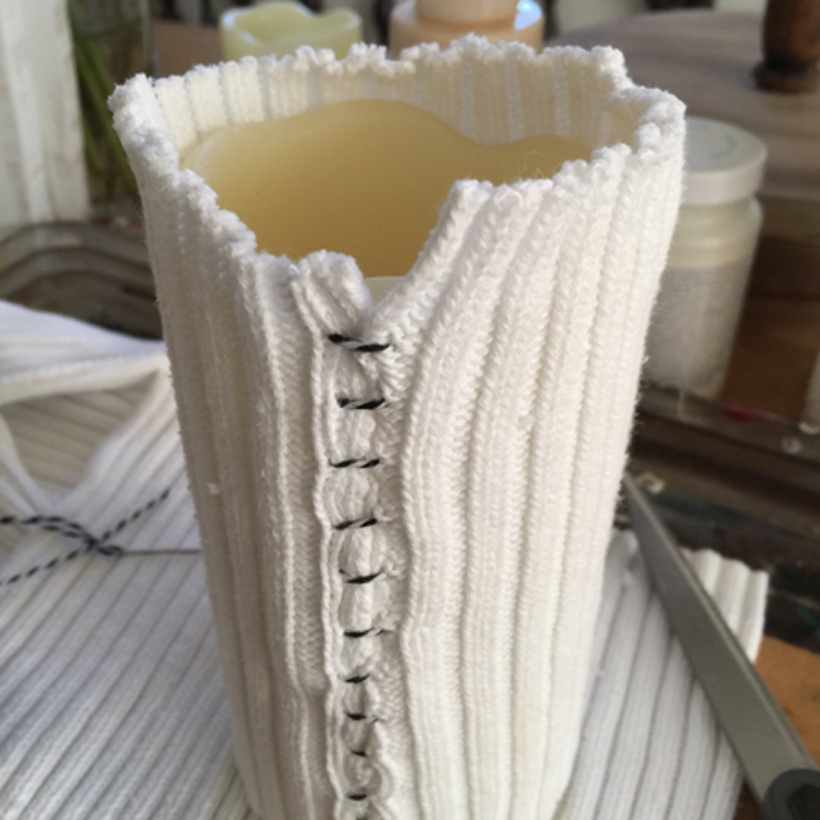
Keep the real stems for other pumpkin projects like this sweater pumpkin. It only takes 5 minutes to make.
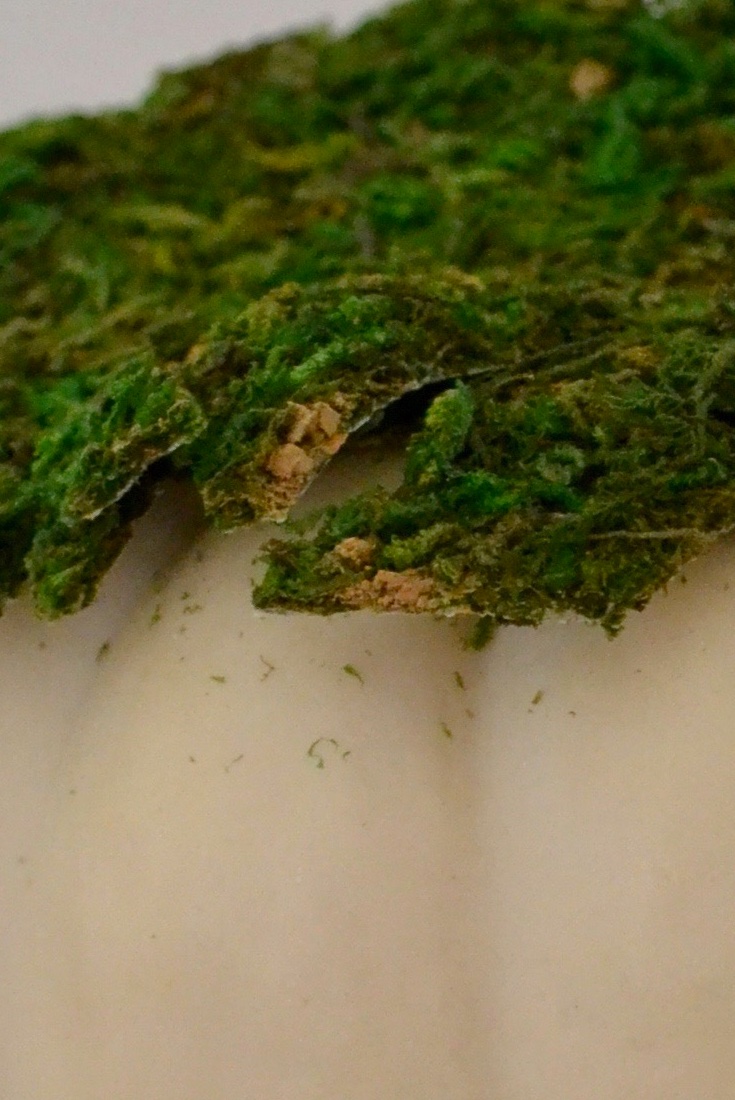
Keep stacking and layering moss and leaves to the saucer until…
you run outta pumpkins!
Tip; test the placement of each pumpkin before gluing to make sure the stack is sorta straight.
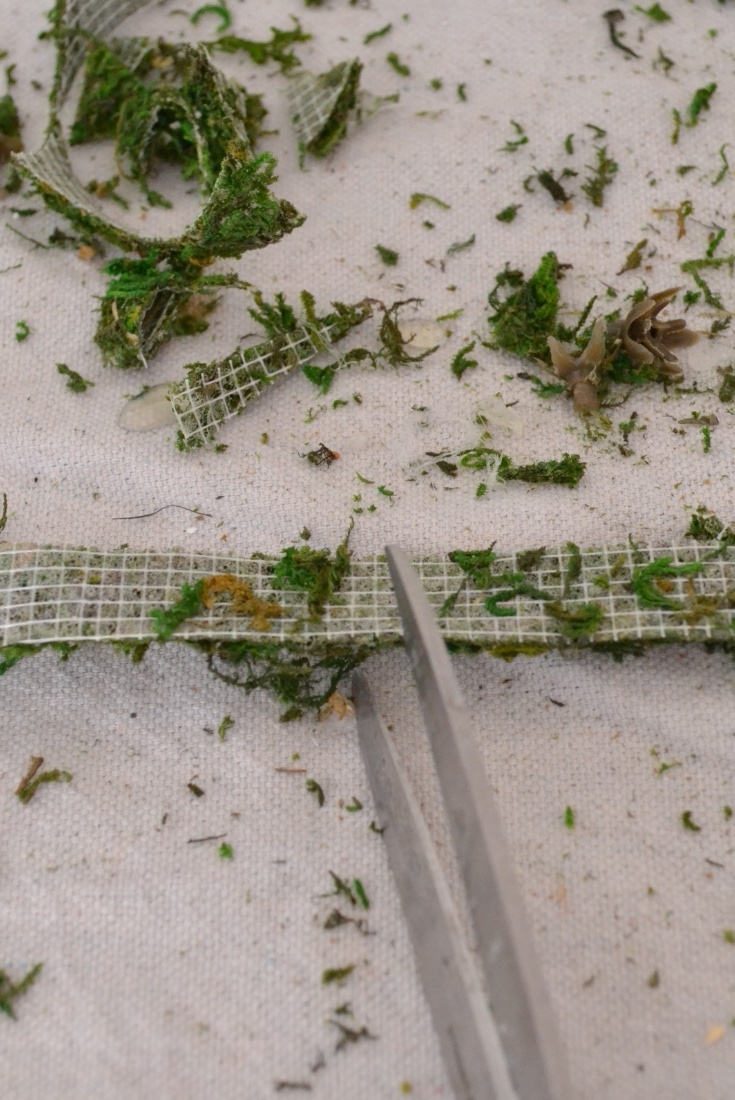
If you have moss ribbon you can cut the width. I cut a narrow strip to glue around the top edge of the clay pot. Which becomes the bottom of the display.
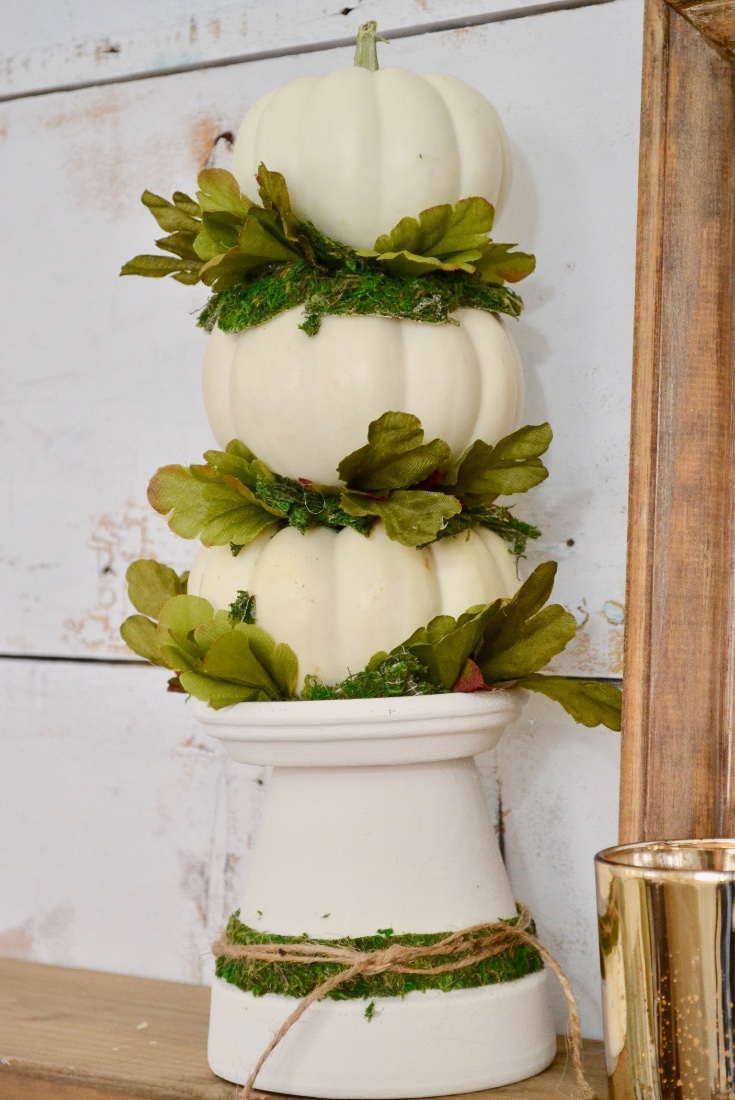
I wrapping a piece of twine over the moss ribbon…because that what I do. Then placed it upside down and topped it with the stack of pumpkins.
Another tip; use toothpicks or wood skewers to create more of a topsy-turvy display of pumpkins.
Display your creation
This took less than 20 minutes to create.

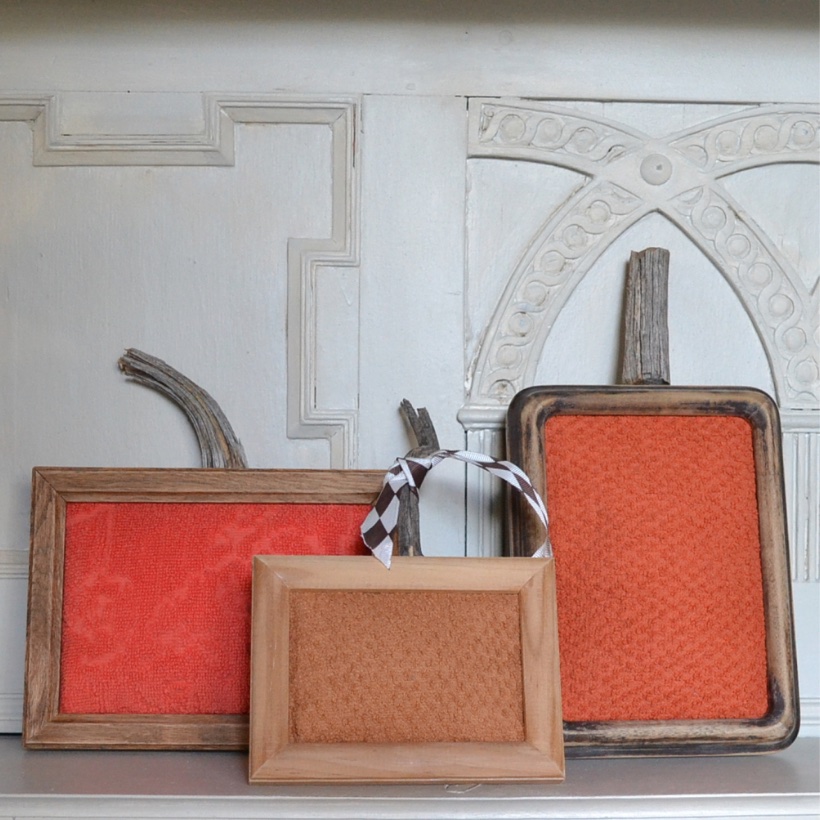
Now let’s see if I can clean up all this moss in 30 minutes or less! :/
Join the newsletter

Subscribe to get our DIY HelpLetter each Thursday. Plus grab your Interior Decorating Ideas e-book.


Jeanette, this is a beautiful fall decoration! I would love to make this and use it as the centerpiece on the dining room table. And it’s so simple to make! Bless you!!
Thank you, Andi! I’m working on many easy Holiday decor ideas this year. We’re taking a weekend trip in the RV and I’m bringing the pumpkins to add a bit of fall. 🙂
I love this easy project Jeanette. Great tabletop project.
Thank you, Pam. If time permits, I would love to have a ladies lunch and create these together. As long as we could keep the moss outta our sandwich!