Distressed Metal Table that Looks Better than it did New
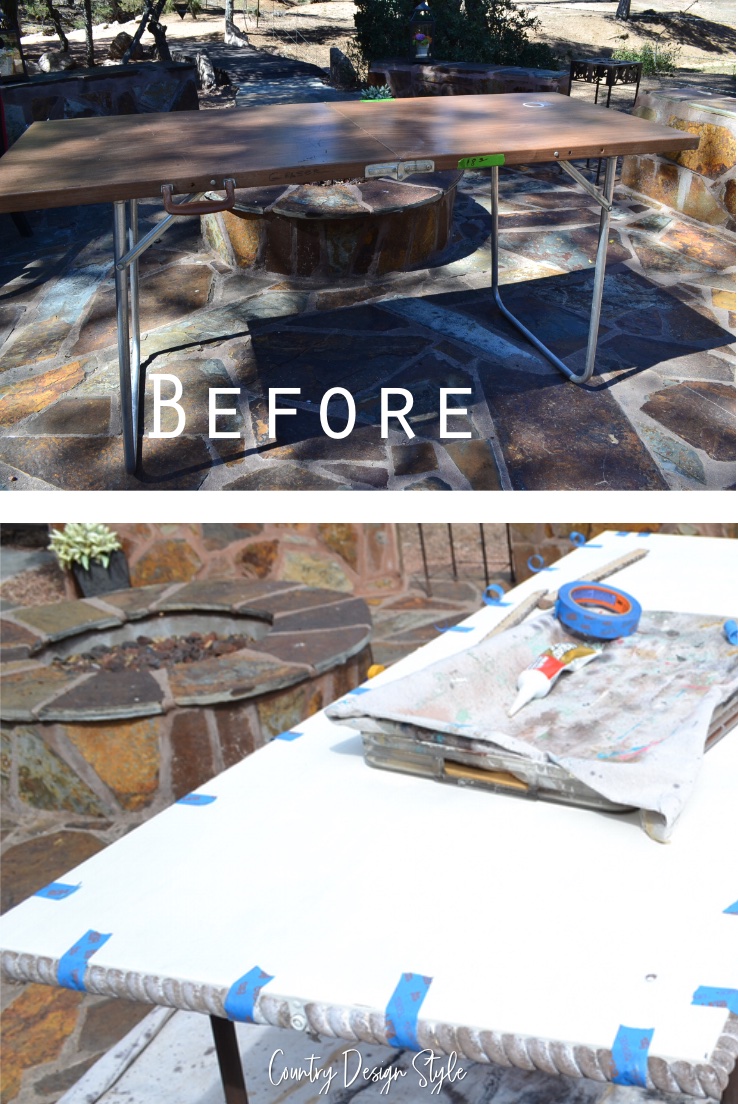
I found this metal folding table at an estate sale for $8. I need a folding table for the weekend. But I don’t need it to look this bad. A distressed metal table is what I made.
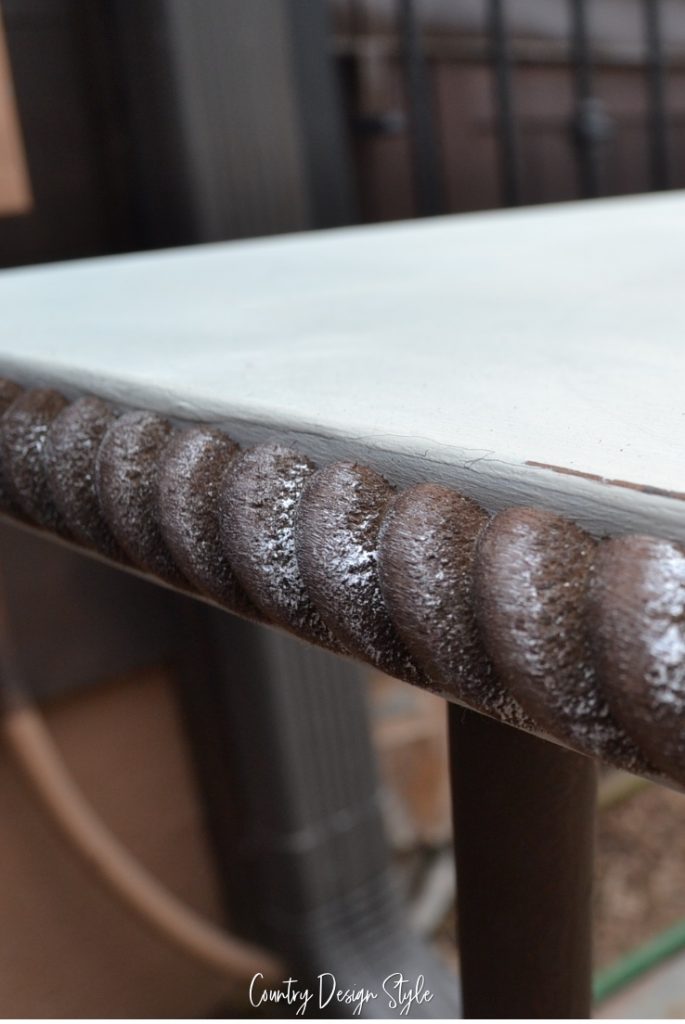
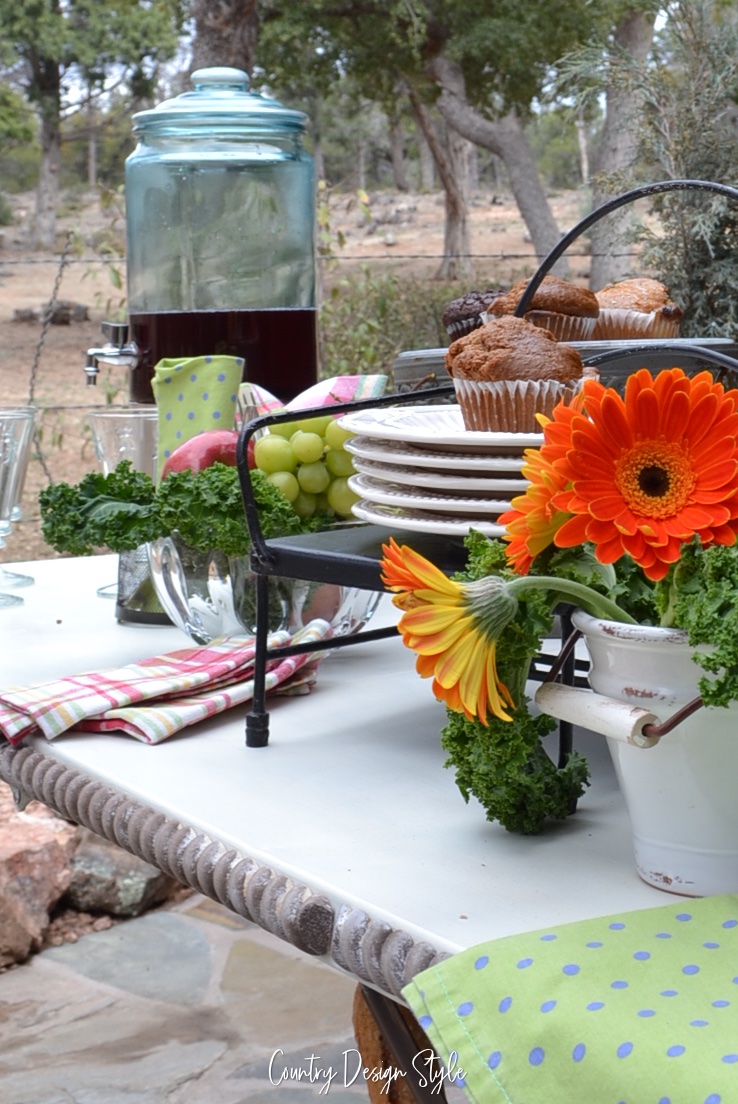
I’m hosting a thrift event at our Humane Society’s Resale store. Last September, I hosted a painting event. The vintage styled folding table can hold treats.
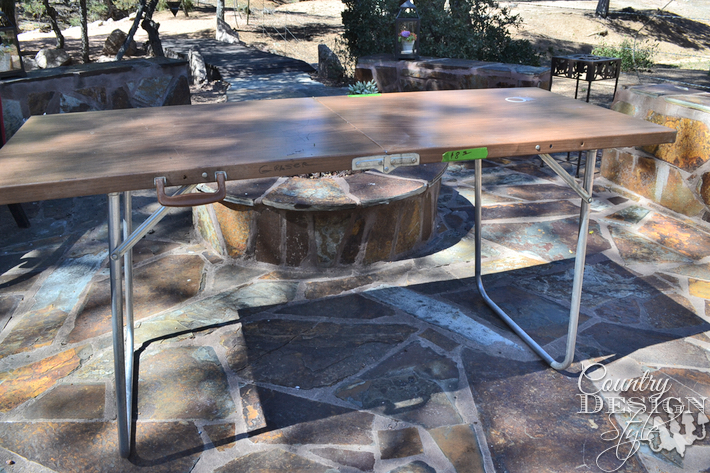
The table is an unusual pick for the distressed theme. It seemed already distressed. But, let’s do this.
It seemed already distressed.
But, I went for it…
This post contains affiliate links. Click here to read my full disclosure policy.
Don’t have a Prime membership? What are you waiting for?
Click to Start your Amazon Prime 30-Day Free Trial now!
Painting the table
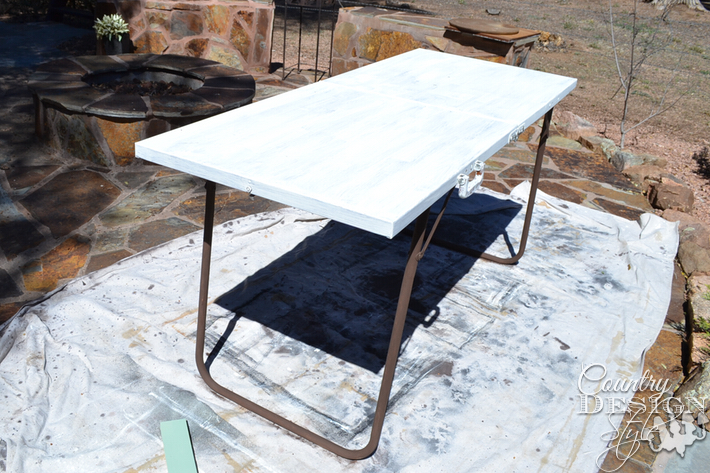
First, I painted the top with chalk-based paint by Heritage in the Colosseum. I painted those tube legs with brown mixed a little black for a richer brown. The whole table was waxed and buffed.
Humph…I took distressed and cleaned it up.
So, now to add correct distress and added a little pizzaz. It needs to dress up or down for the event.
Dressed up with Rope Trim
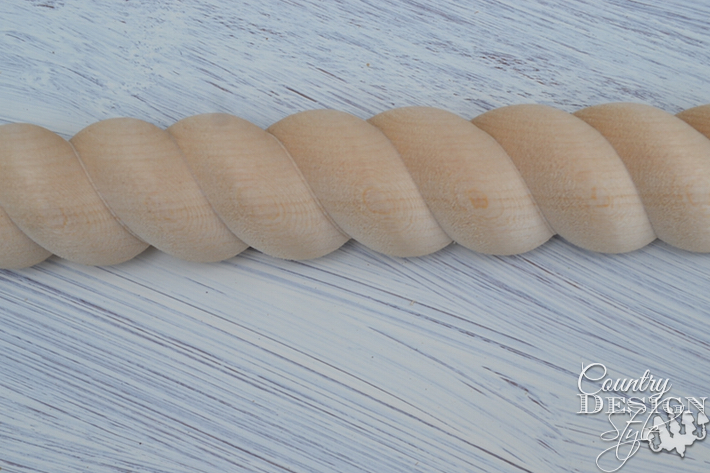
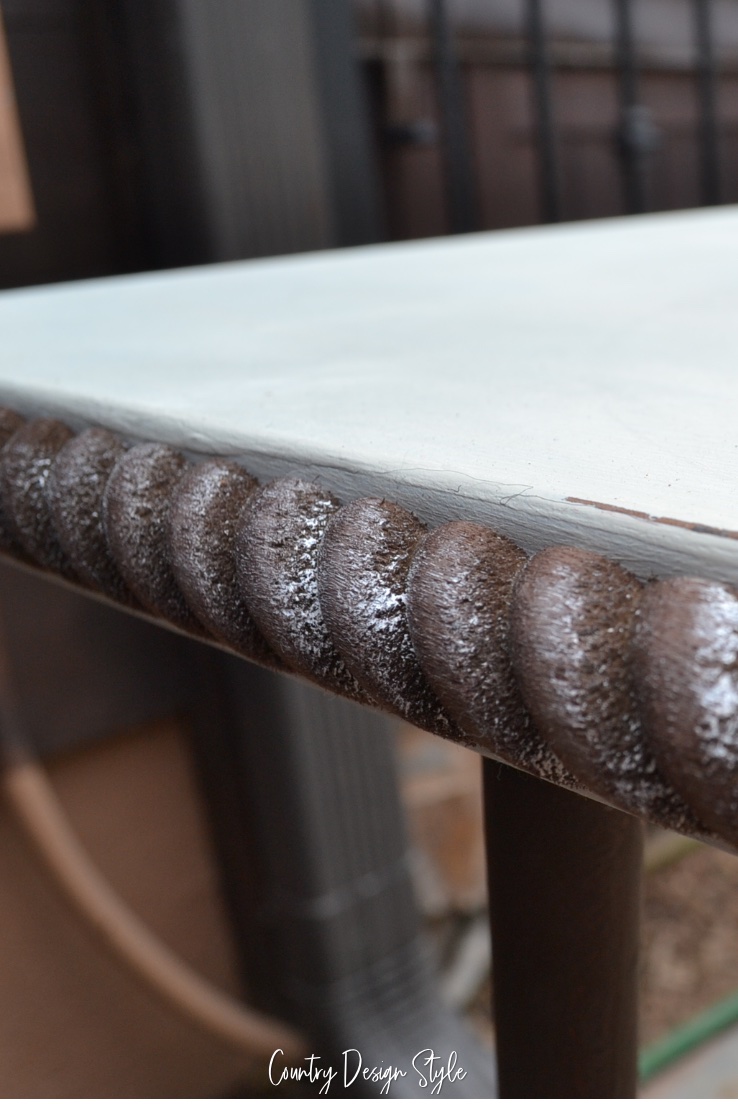
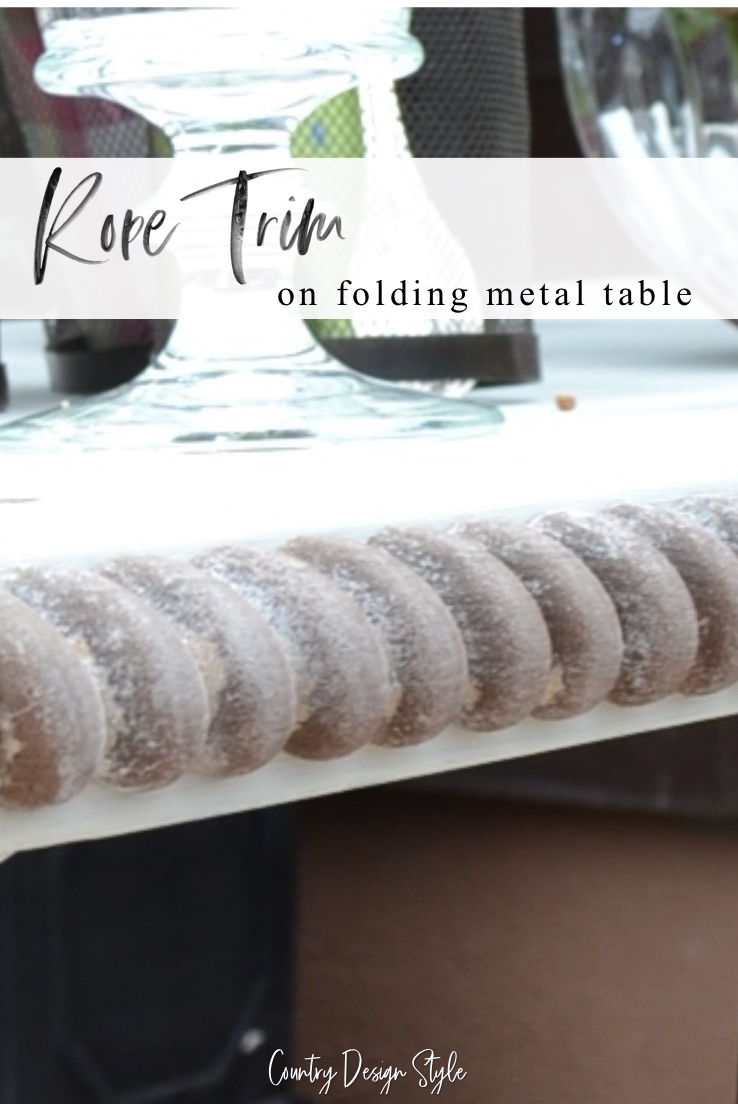
Have you seen the thick rope trim in your local home improvement store? I’ve always wanted to do something with it. This table said it wants thick rope trim around the edge.
Remember I paid $8 for the table and I’m adding $30 in trim!
But it will be worth it…I hope!
Cutting the trim
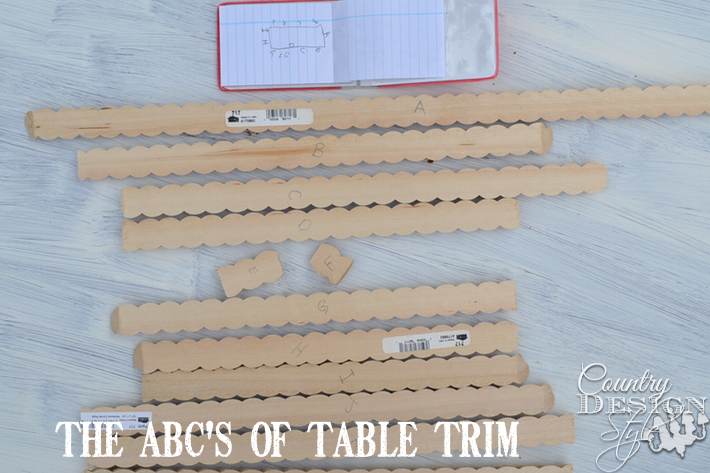
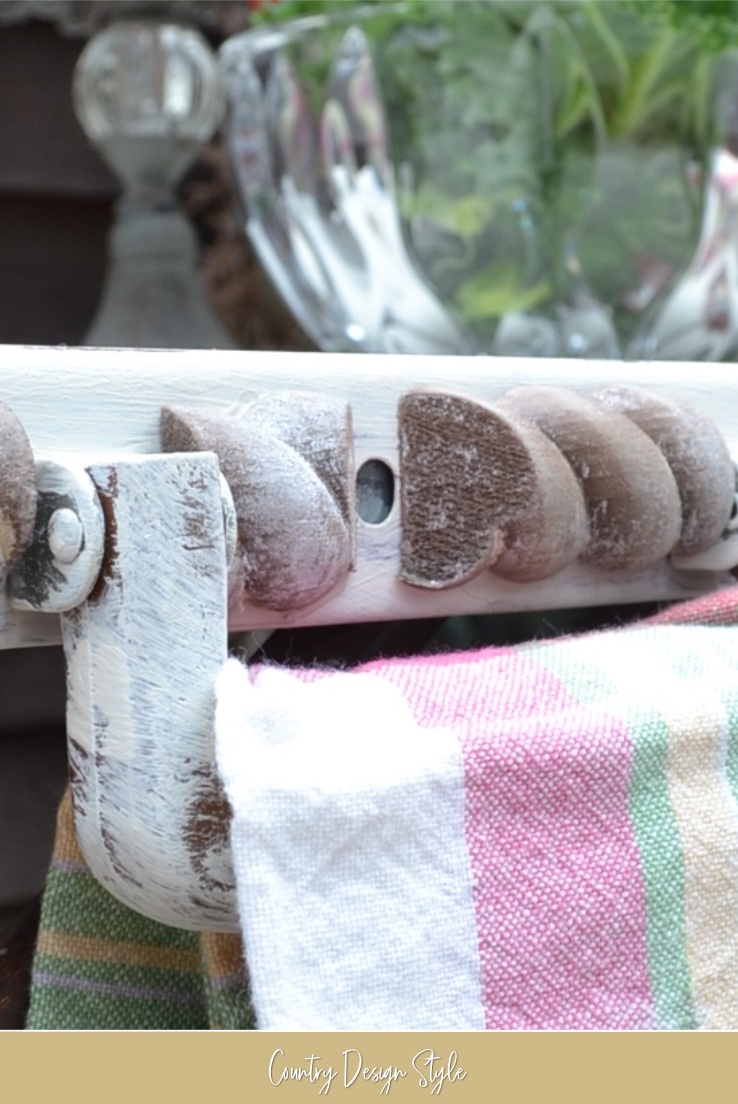
Notice the table has a handle on the edge, plus little buttons that click through holes to hold the legs up.
PLUS, the table does fold in half!!!
So, I drew a rectangle and started on the side without buttons, holes or hinges. I labeled it “A.” Then I measured and cut the trim. This piece was an outside 45° angle on both sides. After cutting the trim, I wrote an “A” on the back.
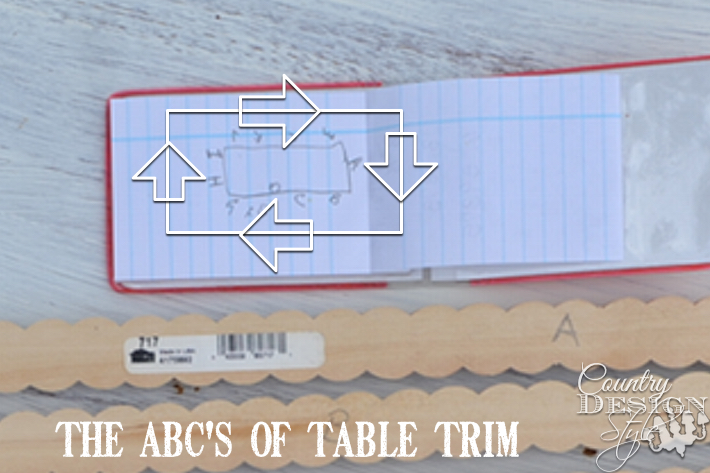
I continued measuring, cutting and labeling all the way to “M!”
I even cut trim to go between the handle. Two pieces because there was a button there too.
Distressing the trim
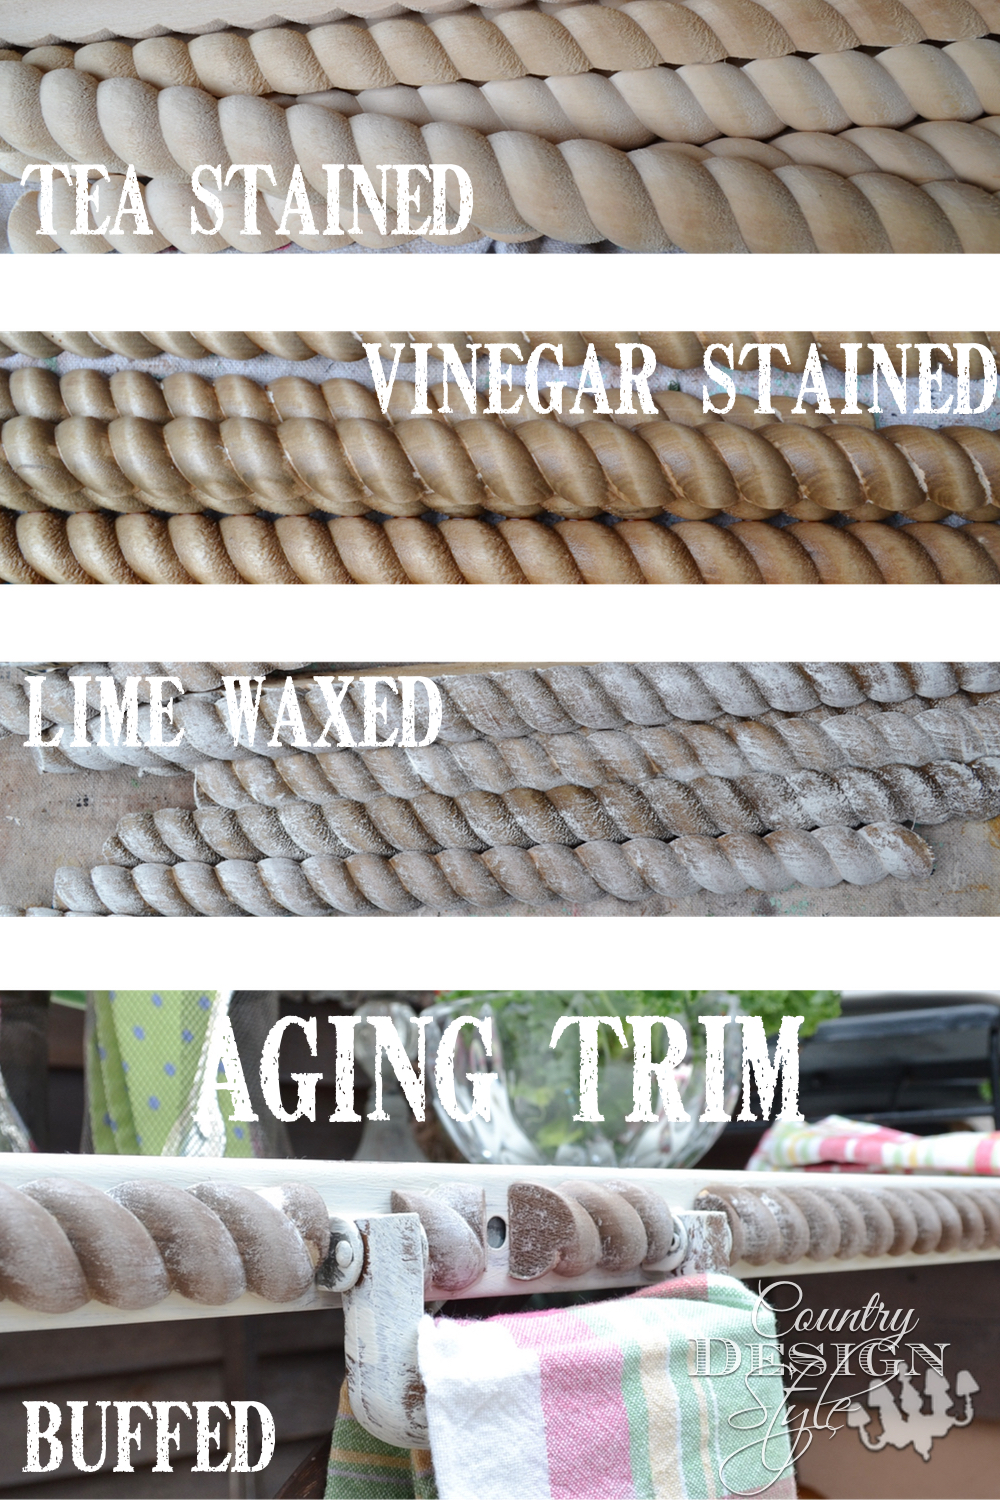
NOW for the distressing!
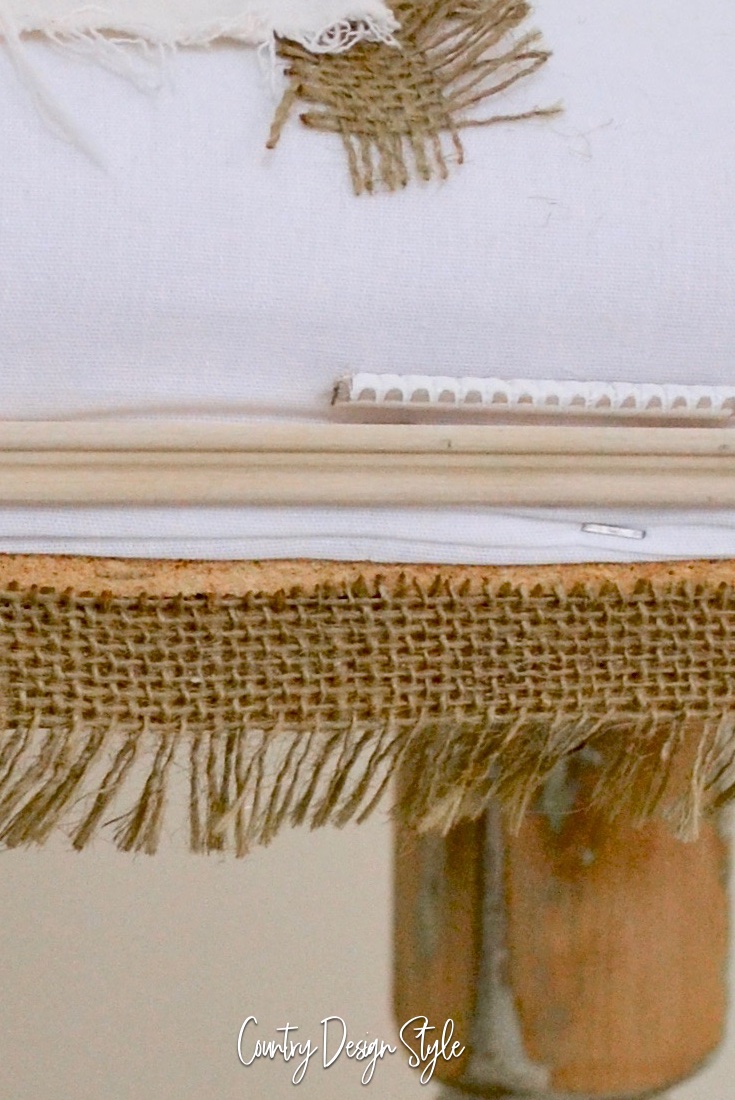
Tea and vinegar stained the rope trim. You can read more about aging with tea and vinegar by clicking here. After the trim turned aged and distressed, I lime waxed it. Lime wax {or pickling} is a white soft wax. I applied it with a chip brush making sure to push it into the rope crevices. A quick buffing and…started applying the trim starting with “A.” I used liquid nails to glue the pieces in place and painters tape to hold until dry. Over the hinges, I used clamps until the glue dried
Easy as ABC!
D, E, F, G, H, I, J, K, L & M!
It was worth it!
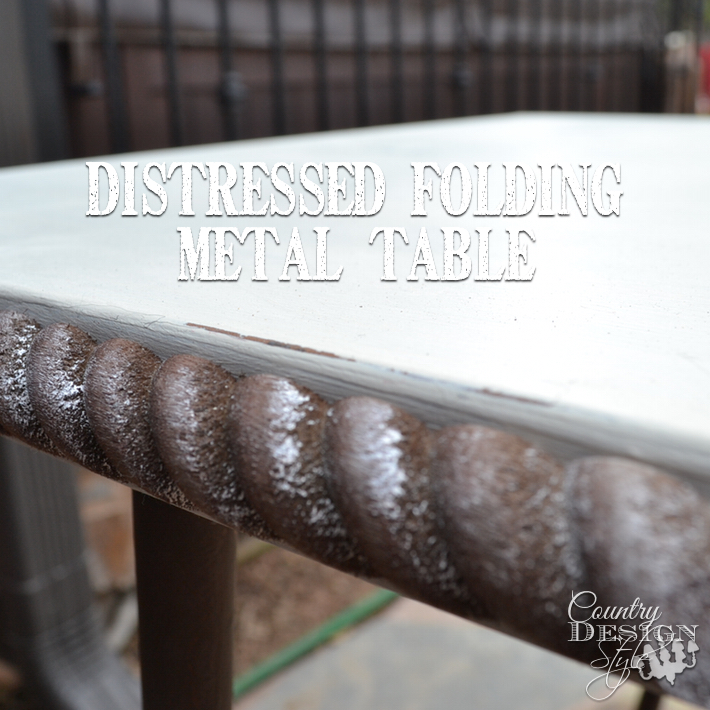
I like the aged trim that matches the legs and the lime that matches the top.
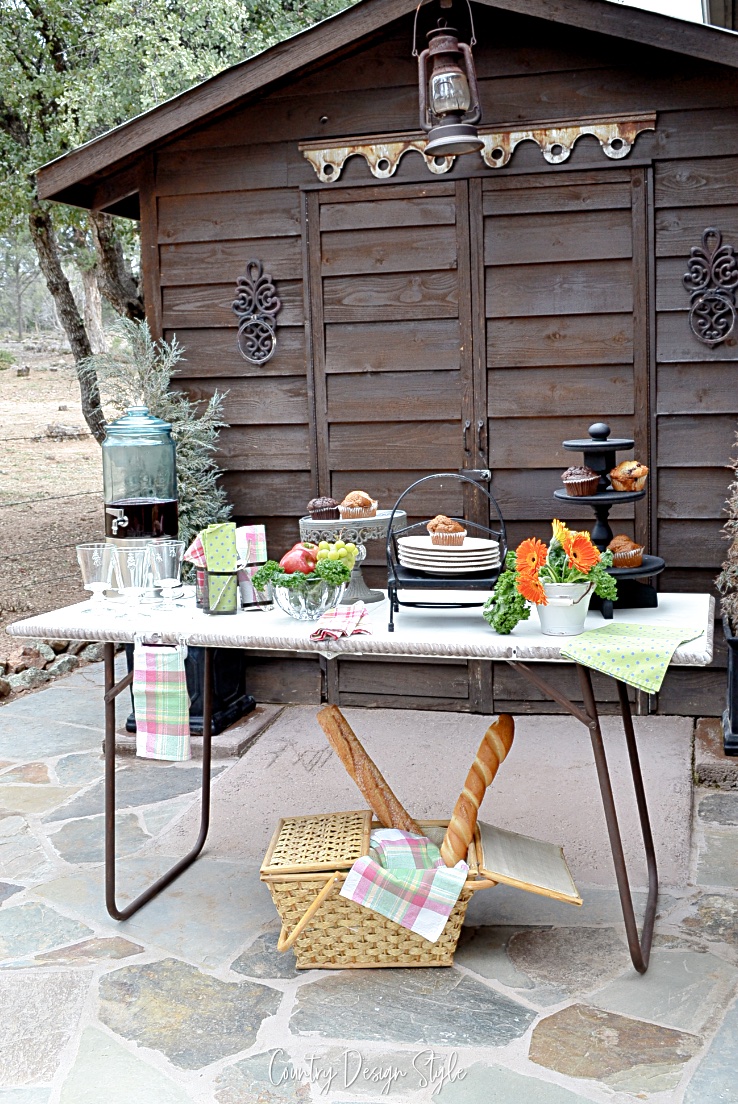
Now to dress the distressed metal table to p~a~r~t~y!
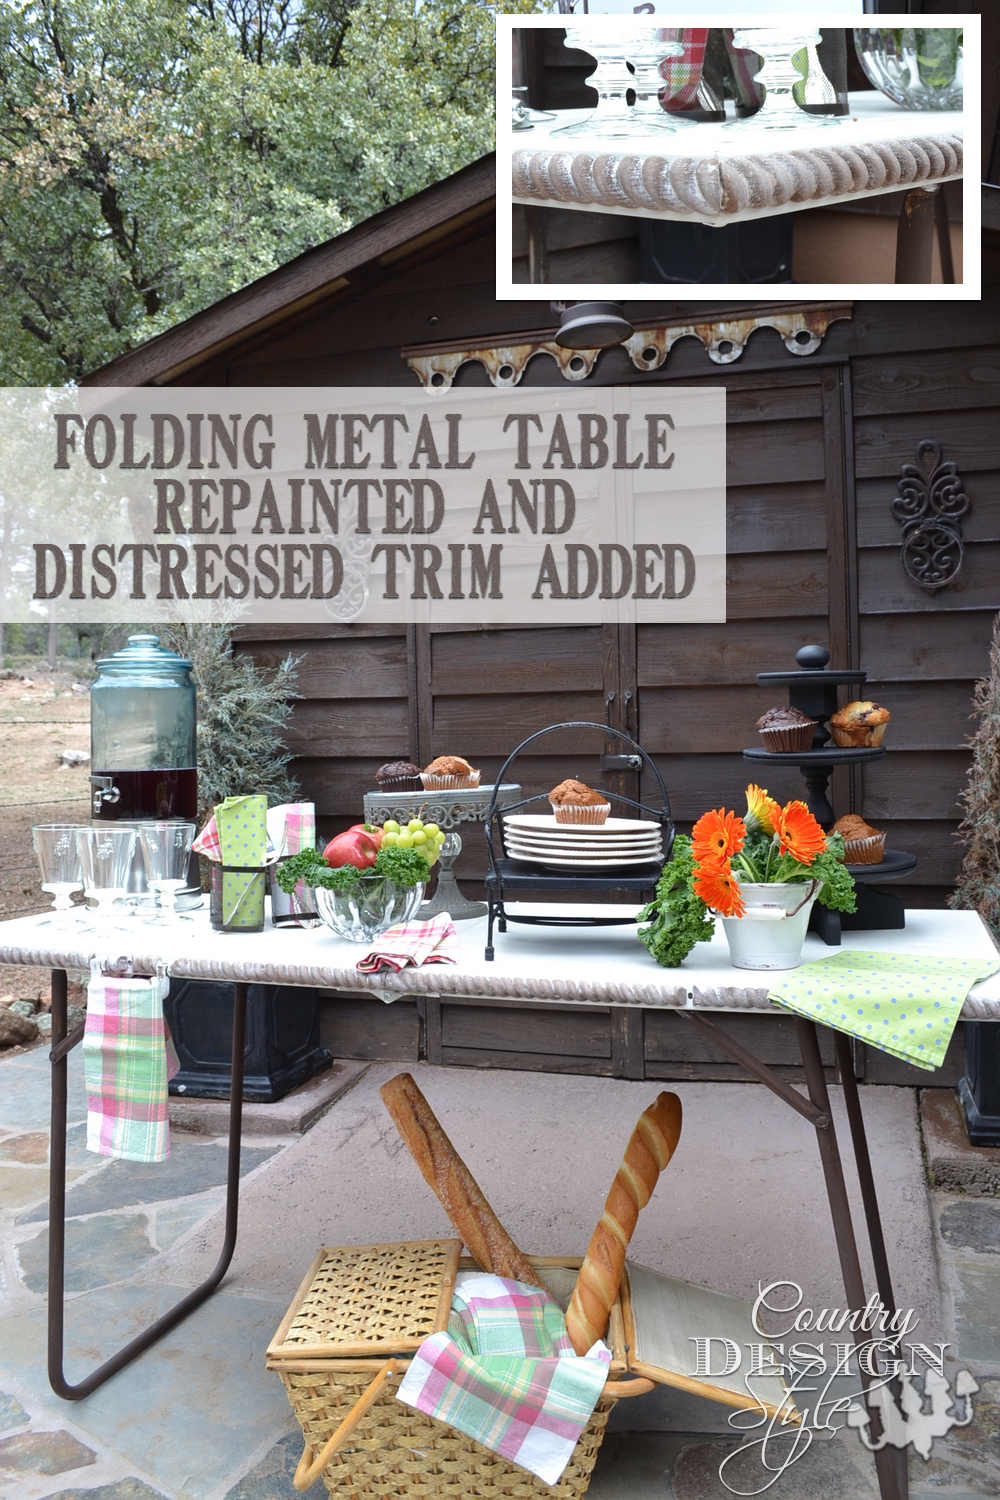
This works!
Now…will it fold???
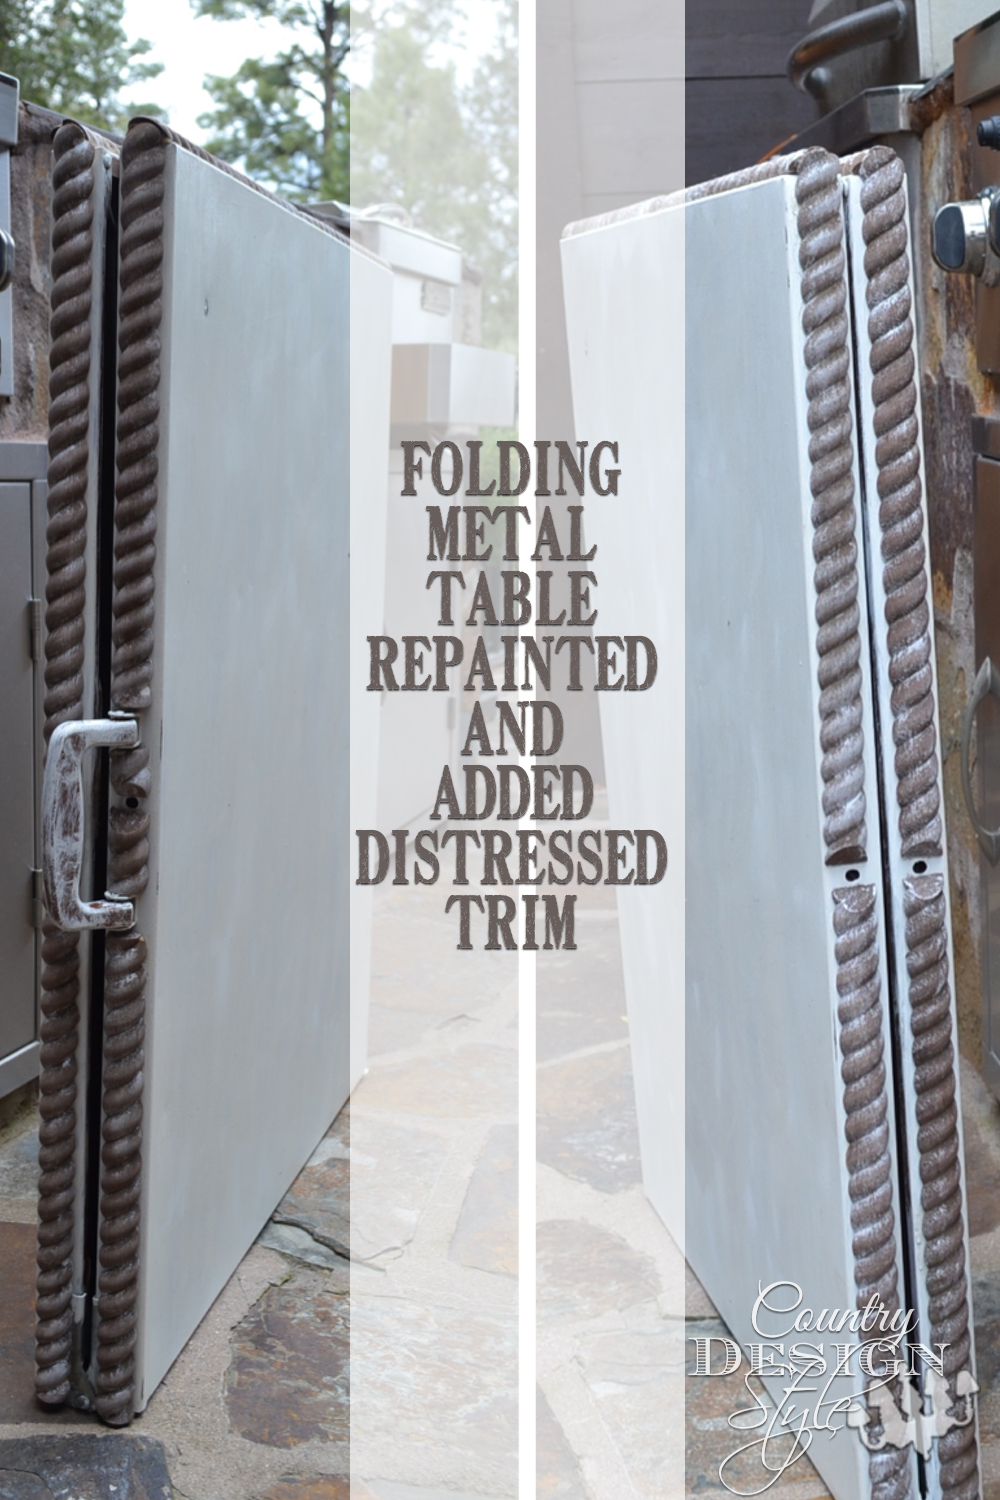
This works!
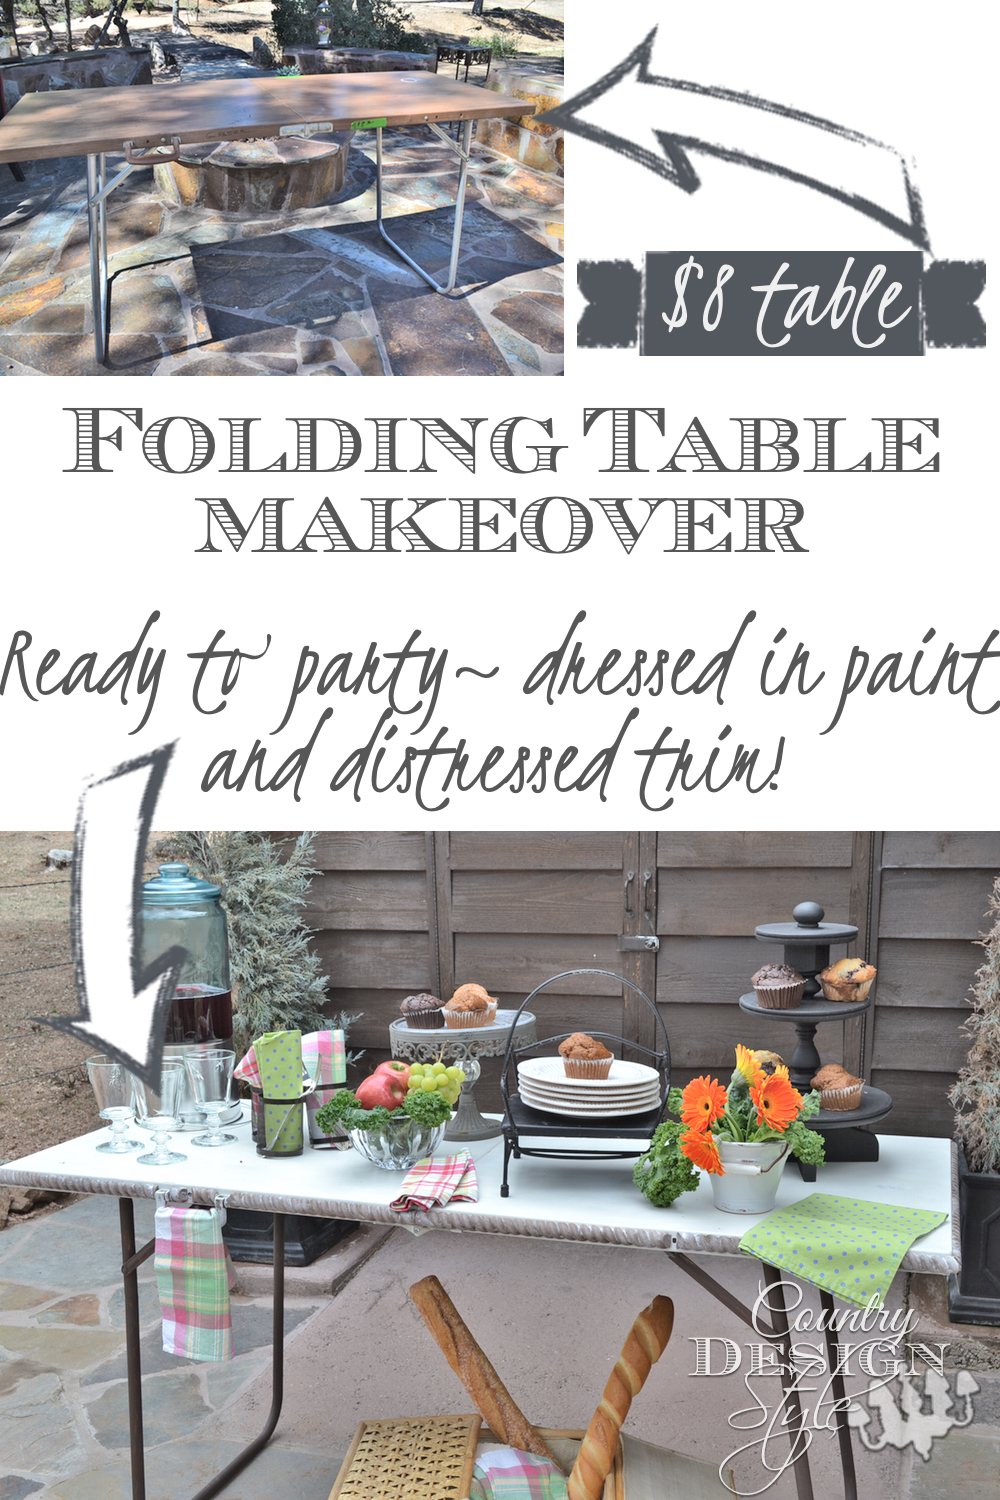
Notice the use of the handle to hold a hand towel.
The distressed metal table is ready to party and use for creating demos. If this project is a bit much to take on, here’s an idea for a table makeover farmhouse style.
Join the newsletter

Subscribe to get our DIY HelpLetter each Thursday. Plus grab your Interior Decorating Ideas e-book.

Wow, that is crazy amazing!! You made a basic ole table fabulous!! Love it!
Nancy
Holy cow! The trim really tricks it out in the coolest way! What a deal and transformation Jeanne. I know you’ll put that beauty to lots of use.
This is so cool! I love the addition of the trim, it totally transforms it!
This is crzy creative girl! I’ve always wanted to try the rope trim and you’ve inspired me to do something with it..just don’t know what yet:)
Wendi, I can’t wait to see what you come up with for the trim. The best part of working with the rope trim is either way is the top. I thought at first if I cut a piece upside down the rope would be wrapping the wrong way. 😕 Jeanette
Loved adding the trim. It was the flowers on top of the Sunday brunch cake. I would never have thought of doing that. Purrfect!
Ahhha, thank you Tanya! Plus thanks for stopping by. You made my day. 🙂 Jeanette
Wow, Jeanette, you dressed that drab table right up! Great idea to add the trim. 🙂
Thank you Christy, I was nervous about this one! 🙂 Jeanette
You are so clever! I would never have thought to give a piece like this an update. This folding table is going to be so useful for picnics and other fun events and it’s so pretty now that it doesn’t even need a tablecloth. Great job!
Paula, after putting so much extra money in trim, I was going to make it work. It will be handy when family and friends visit too. Jeanette
What a novel idea! I love it!
Thank you Larissa, I’m just glad it worked. Jeanette
Jeanette your table is beautiful. I love the colors that you chose, and to think that you can folded it up and store it is perfect. Have a beautiful day! Jo
Yep, this table will get a lot of use and looks unique too! Thank you Joanne for stopping by! Jeanette
Goodness girl, you really brought that piece to life! And you had me on the edge of my seat with “will it fold?” Thank goodness after all of that work. It looks so classy now, I love it!
~Tami
Tami, Lol! Mike and I were both on the edge of our, well boots {since we were standing} wondering if it would fold. Thankfully it work great! Whew! Jeanette
Wow Jeanette! I love all your things but this may be your most brilliant moment! I pride myself in seeing the potential in pieces that others don’t but I think I would have walked right past this one! What intricate work for the trim! And I love the lime wax- I have been wanting to try that. Awesome job! Sharing and pinning!
Thank you Laura, I’m still looking around for a white wax in the chalky paint line up. I found one but it’s on backorder. I really like the look. Even layering dark wax with white is fun. Take care. Jeanette