Rustic Layered Frames
I did a project with thrift shop frames that I loved so much I wanted another one. So off to our local thrift shop to collect more frames and make rustic layered frames.

I spent a whopping $5.75!
One is octagon shaped and was a whole $2!
Here’s the link to click to see my first layered frame project.
The first layered frames took an afternoon to complete.
This one was a bit longer!
Why?? Because instead of using hot glue I used wood glue, nails and in a couple of places screws.
This post contains affiliate links. I may make a commission for your purchase at no extra cost to you. This also helps you find and see what I used in the post too. Think of it as a friend letting you know where I found a product I use, love or want. Click here to read my full disclosure policy.
Don’t have a Prime membership? What are you waiting for?
Click to Start your Amazon Prime 30-Day Free Trial now!
Prepping the frames

First I removed all the glass and stuff on the backs of the frames. Including the sawtooth hangers.
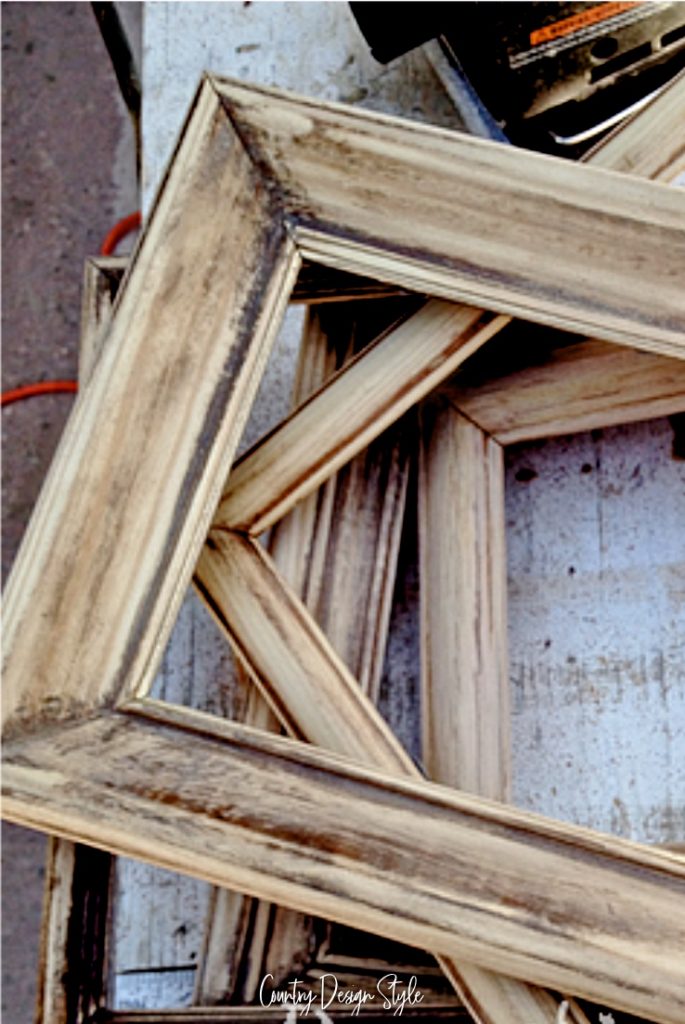
Then I sanded all the finishes. I used a lower grit (rougher sandpaper) to start using my sander. Then I use a medium to smooth. Finishing with fine grit and sanding by hand. I like to buy this sandpaper with three different grits. The 9 by 11 size fits in my favorite sander too.
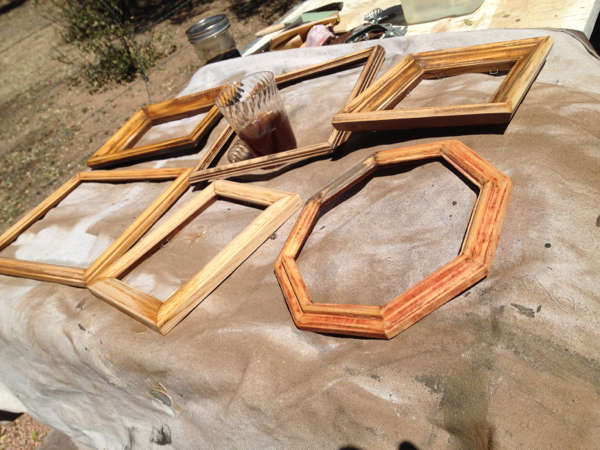
Next, I aged the frames with tea and vinegar. You can read more about the aging wood technique here. This technique works on all types of wood. Like the beads for this rustic wood garland.
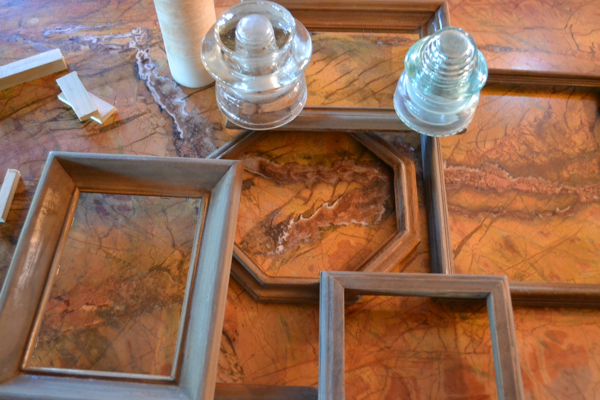
The Layout

Above is the picture I took of the layout I liked. I wanted the frames to touch in areas that would be easy to glue and nail together.
Glue, nails, and screws
I started gluing and nailing the frames using weights in some areas while others were drying.
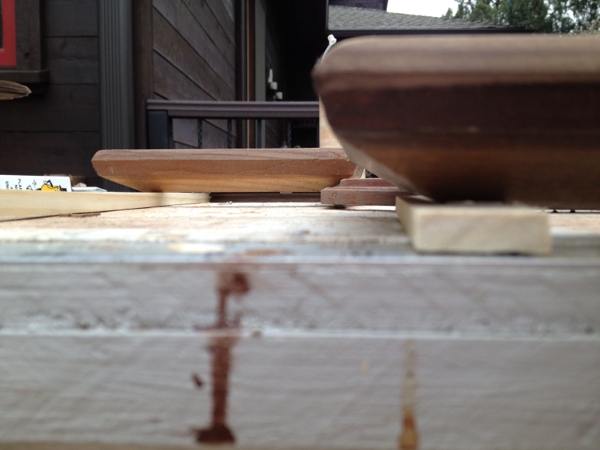
Above I moved the connected frames to the work table outside and added small pieces of wood so all the frames would lay flat.
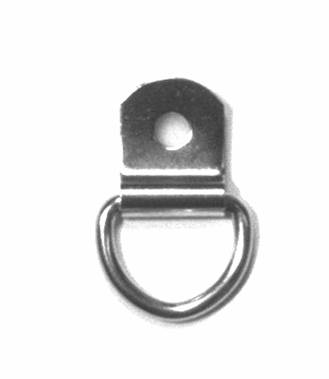 Next, I added a “D” hook like the one above to that octagon frame, almost balanced!!!
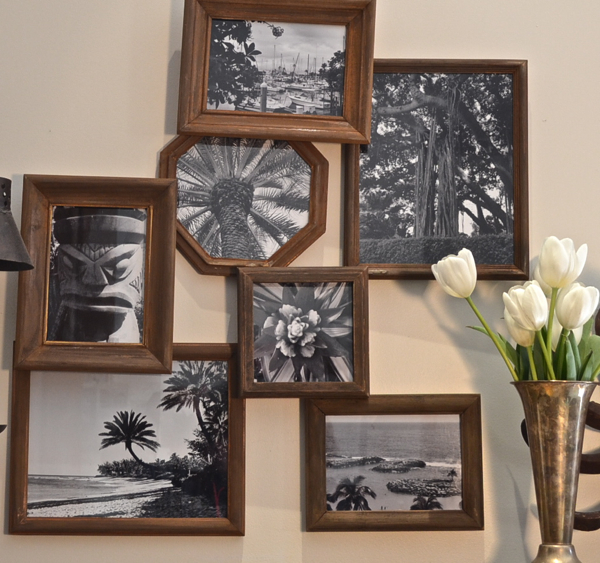
Then I added the glass and black and white pictures of our Hawaii vacation. Tip, when nailing small nails to the back of a frame, slide the tack hammer along the cardboard backing. Doing this, so far, I’ve not broken any glass. Again, so far!!
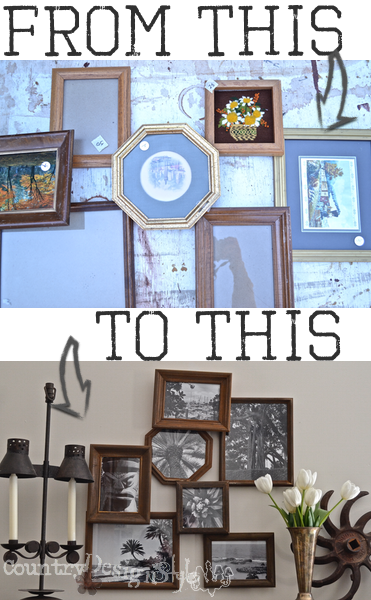
Finished rustic frames
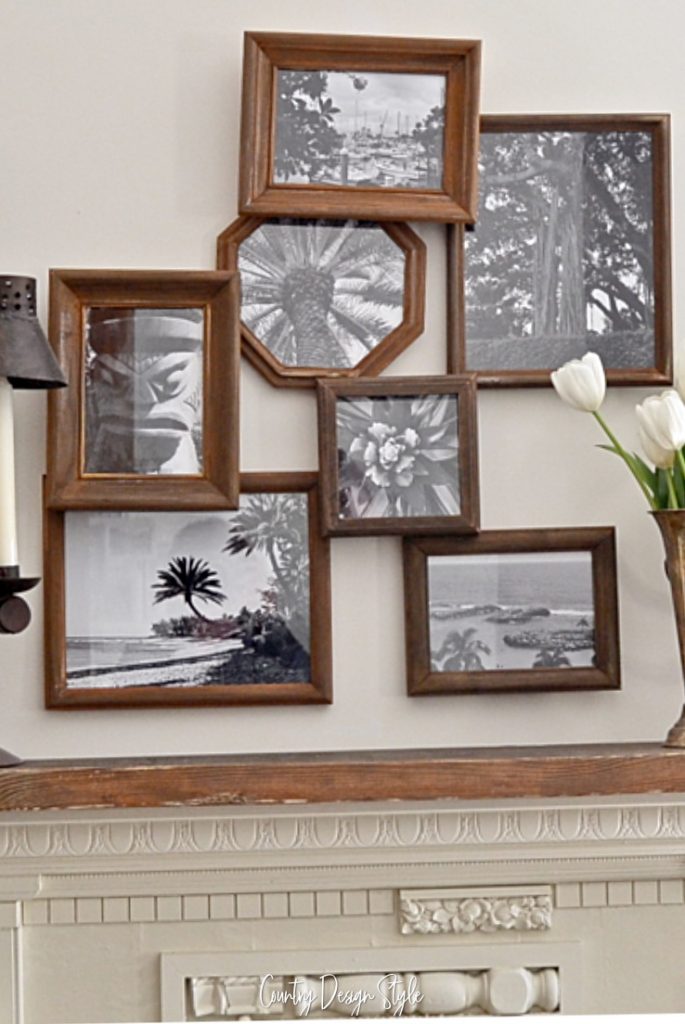
Our vacation pictures hanging above the scrap wood mantel.
Oh, to hang straight I add one of those double-sided sticky hanging strips to one side.
Those stick strips work great for my purposes. Have you tried them?

I like the rustic look of the frames with our iron candle holder and my rusty flywheel!
I could live in Hawaii. Island fever doesn’t sound too bad!