Junk Wreath and DIY Perseverance
You’ll have a blast making this junk wreath, and if not, I’ll share DIY perseverance tips to get it done. You might even break things to add to your wreath.
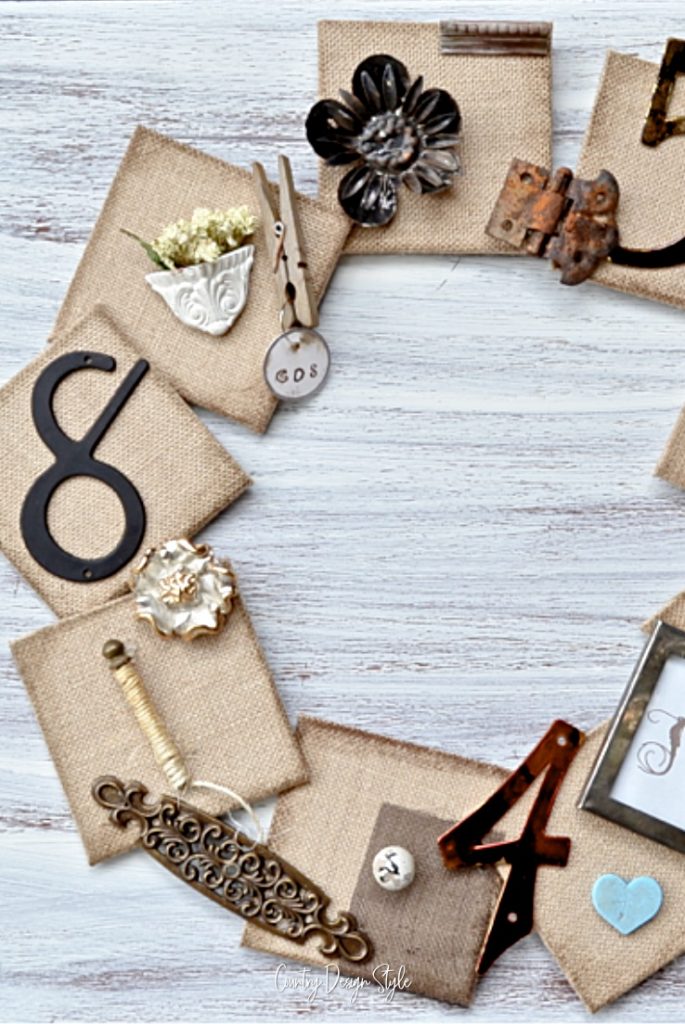
This post is showing my junk wreath and about perseverance.
DIY perseverance!
This post contains affiliate links. I may make a commission for your purchase at no extra cost to you. Think of it as a friend letting you know where I found a product I use, love or want. Click here to read my full disclosure policy.
Junk Wreath Instructions
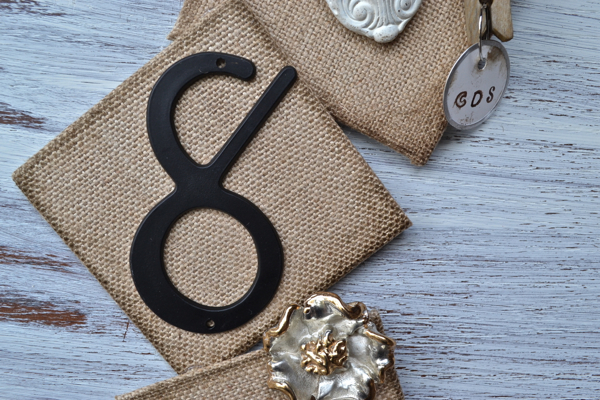
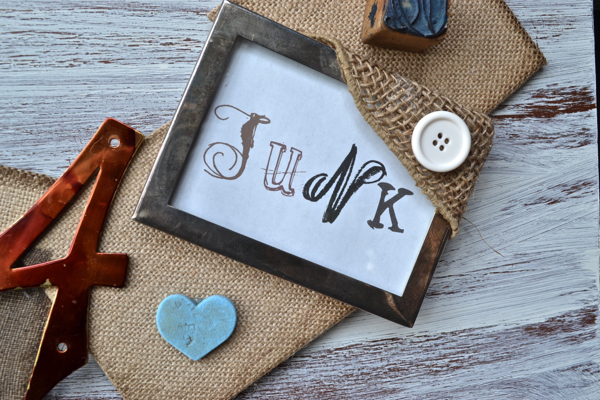
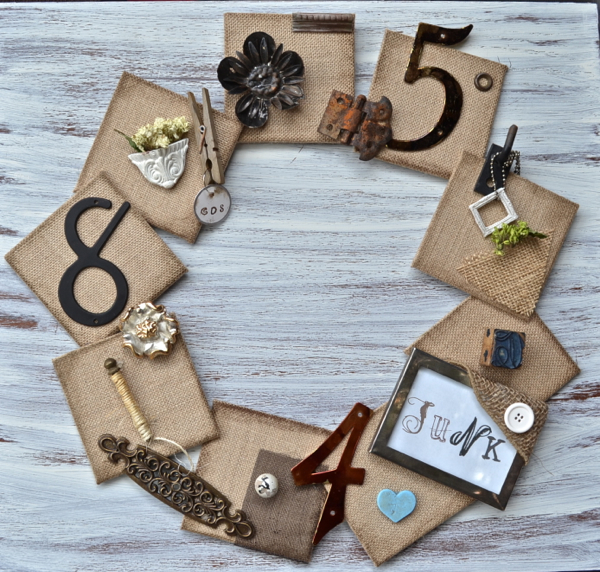
- Layout the base. My base is 3 by 3 canvas burlap squares. Overlap the squares at different angles.
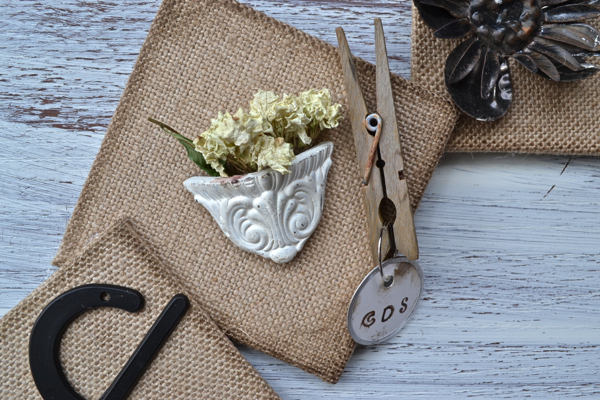
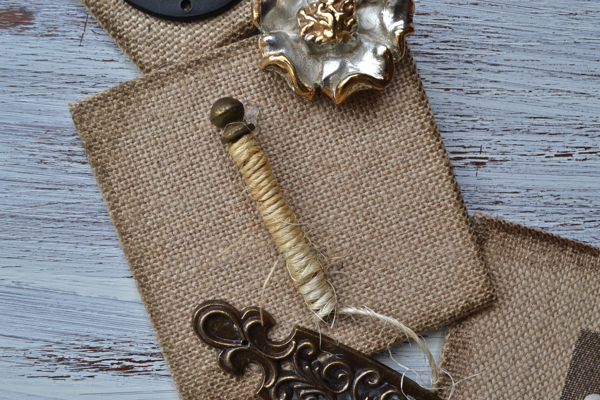
- Layout the larger pieces of junk. I used some pieces of junk on two squares to help hold things together.
- Layout smaller pieces of junk. Mix shapes and colors around the wreath.
- When you find the layout you like, snap a picture. You can use the photo to recreate your wreath when adding glue.
- Fire up the hot glue gun. Start gluing the base first. Click here to read my hot glue gun tips. Includes great ideas from readers too.
- Next glue the larger junk pieces. Make sure to glue those that will help hold the wreath together.
- Then finish up by gluing the smaller pieces. Take another picture of your masterpiece.
Hang your junk wreath.
Tip: use a soda can tab top to hang your wreath. Hot glue it to the back. This is one of my favorite hot glue guns.
My thoughts on DIY perseverance
I think perseverance is the main ingredient in DIY projects.
I know, if I didn’t have the stick-to-it-iveness to complete a project as I’ve envisioned, 90% of my projects would not get finished.
If one glue fails, try another or get the hammer and nails!
If you don’t like the layout, move things around. Not sure what to do with it? Cut it in half, turn it over or inside out.
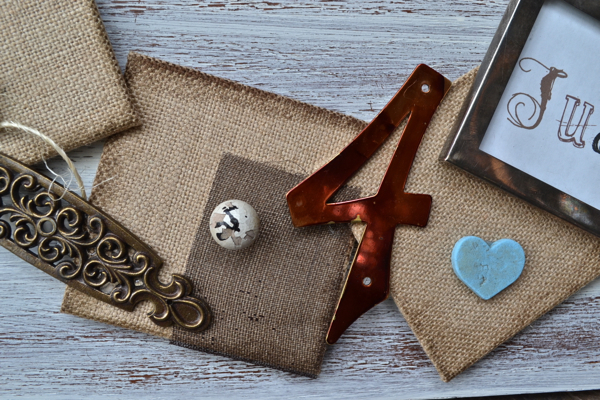
Add something else to the project or take something away. The little blue heart was found on the ground this morning while walking the dogs. This cute pumpkin is covered with another item found while walking the dogs.
Use it in a different way. Does it hang on the wall? Sit it on the table.
Does the project seem too complicated? Take it, step by step. Don’t worry about step 6 when you’re on step 2.
Have you ever made a similar project years later? I remade a DIY lighthouse many years later!
Can’t figure it out? Ask someone for help.
There is crying in DIY!
I sat on our garage floor one afternoon with tears because I couldn’t figure out a mitered cut needed for a client’s wooden window cornice. It was not the usual 45-degree angle and my math is atrocious!
Perseverance took over and the next morning I drew the angles with chalk on the garage floor to visualize what was needed to get the angles right.
The cornice fit great and the client never realized it brought me to tears.
So it’s okay if DIY projects seem complicated, don’t look right in the beginning, or bring you to tears.
Persevere! You will be happy you did, I promise.
Join the newsletter

Subscribe to get our DIY HelpLetter each Thursday. Plus grab your Interior Decorating Ideas e-book.





Hi Jeanette….love your idea you call junk wreath…I call treasures wreath! I think every crafters has that bits and baubles drawer basket or tub….what a great idea to enjoy some of those things just two small or one of a kind all in one place! I’m definitely going to try this…thank you for the inspiration!
Thank you, Kim! I like your name for the wreath so much better than mine! Thank you for visiting and following. Hugs.
Gorgeous! I think you are on to something here!!! I bet there will lots of these junk wreaths springing up now….
Pinning!!!
🙂
hugs x, Crystelle
Crystelle Boutique
Crystelle,
Thank you! I happy you like the junk wreath. It was hard to know when to stop adding junk! ~Jeanette