Wood signs for home
This collection of wood signs for home decor is super fun and easy to create. Do you need something to do over the weekend?
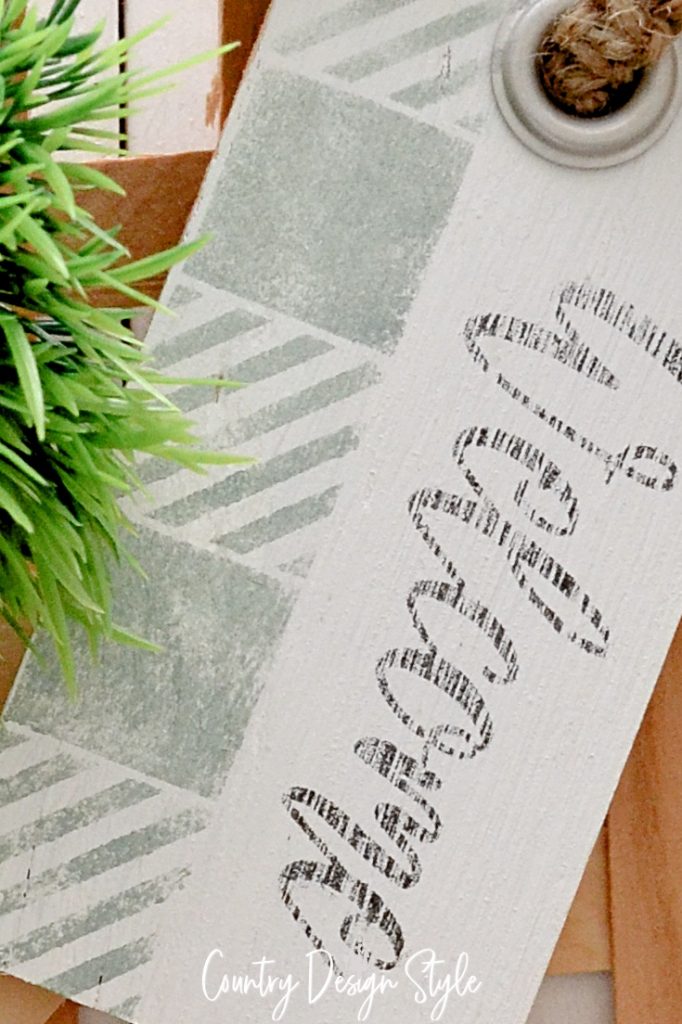
These wood signs are hanging tags shaped made from plywood. After you get the basic steps you can use your imagine to make them your own.
Supplies to gather for hanging signs
- Plywood or scrap wood
- Table saw or Dremel saw max (I donated my table saw after getting the Dremel saw)
- 80 grit sandpaper
- Drill and a collection of forstner bits.
- Twine
- Craft glue
- Buffalo check stencil
- Stencil brush
- Chalk paint in your favorite color
- Collection of craft paints
- Freezer paper
- Craft Stick
- Computer and printer
- Rusty washer found at thrift stores or on the ground!
- Grommet kit
Cutting the wood signs
If cutting out your own tags does not appeal to you, grab these instead. I’ve ordered several over the winter when it’s too cold to stand outside and cut pieces of wood. Although, these tags are half the size of mine.
These tags are 6-inches long and 3-inches wide, cut from 3/8 inch plywood. Any scrap wood works too.
I used the Dremel saw and cut 3-inch strips Then used the miter saw to cut 6-inch pieces.
Then using the miter saw, I cut 45-degree angle at the top.
Drilling the holes and an amazing coincidence
Match the holes needed with your washers or grommets, and drill holes at the top of each tag.
I’ve been wanting to make these tags for months. On my thrift store shopping list, yes I have one, an extra-large rusty washer is listed. After months of looking in every thrift store around, I didn’t find one.
Last month while on an RV trip across Texas, I was sitting in the passenger seat thinking about DIY projects. I do that often. I thought to myself, “Texas could be a good place to look for a rusty washer!”
A minute later, we pulled over the let the pups have a water break. I leashed them up, opened the door, and stepped out to a perfectly rusted extra-large washer laying on the gravel along the side of the road. Perfect!
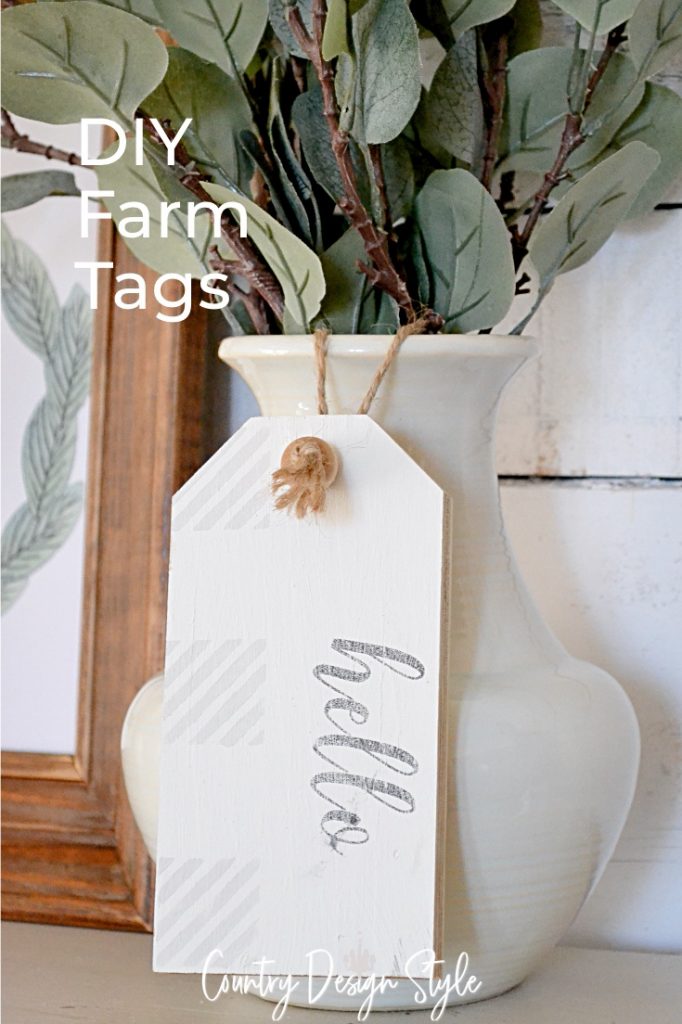
There’s a live Facebook video showing how I made the wood signs for home decor in my favorite farmhouse style. You can see the live video here.
I also made a time lapse video.
A couple of things to note
I like the layers of plywood. So, I only paint the top of the wood leaving the layers to show.
I didn’t paint the backs, but I may in the future and add other sayings, style or colors.
The freezer paper transfer is easy. To learn more about the transfer technique click here.
If all this seems too hard or time-consuming, try these printable old wood tags here.

The welcome sign has a macrame beaded twine for hanging. You can see the live video where I made the macrame here.
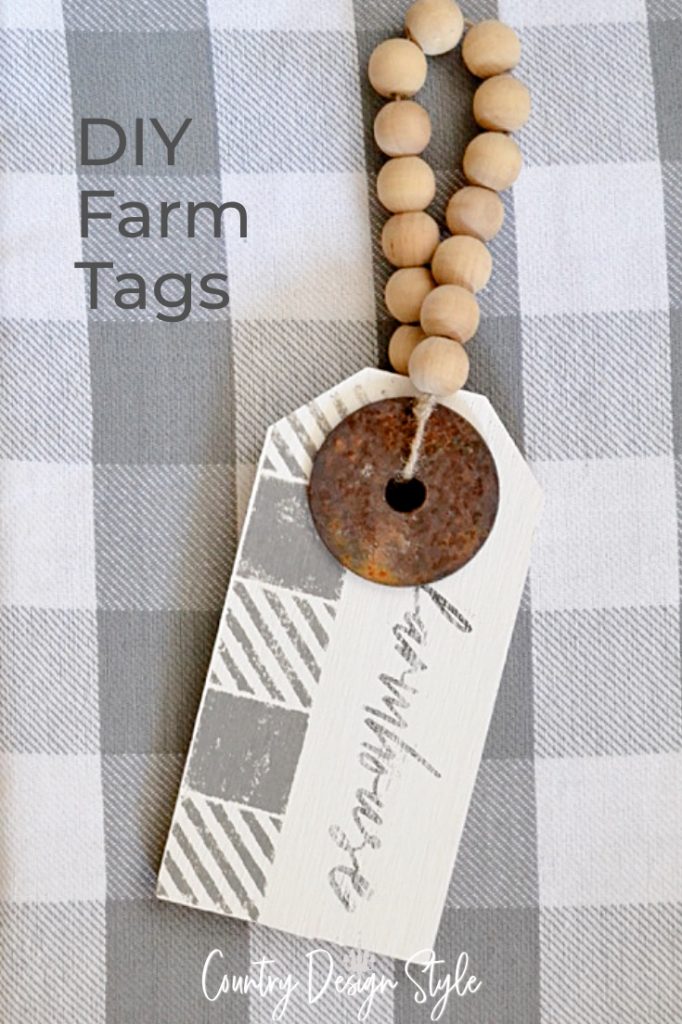
Above is the Texas roadside rusty washer on my favorite wood sign for our home.
Do you ever find yourself stumped on which home project to do first? I did all the time! Now, I ask myself a few questions and know exactly which project to tackle. This helps for work too!
If you learn best by watching a video, I share easy DIY projects Monday – Friday at 9 am Arizona time on Country Design Style’s Facebook page. You’re welcome to join us. Occasionally, we do a DIY workshop. I give out a list of simple supplies to have on hand in advance. Then on the day of the workshop, we all create together.
As well, you can watch Chalking videos Monday – Friday at 8:30 am Arizona time here.
See you online!
Join the newsletter

Subscribe to get our DIY HelpLetter each Thursday. Plus grab your Interior Decorating Ideas e-book.

