Reclaimed Barn Wood Heart
Will glue stick to barn wood? It will if the grime is sanded and cleaned away. Otherwise, you’ll be cleaning up glitter and gold leaf pieces.
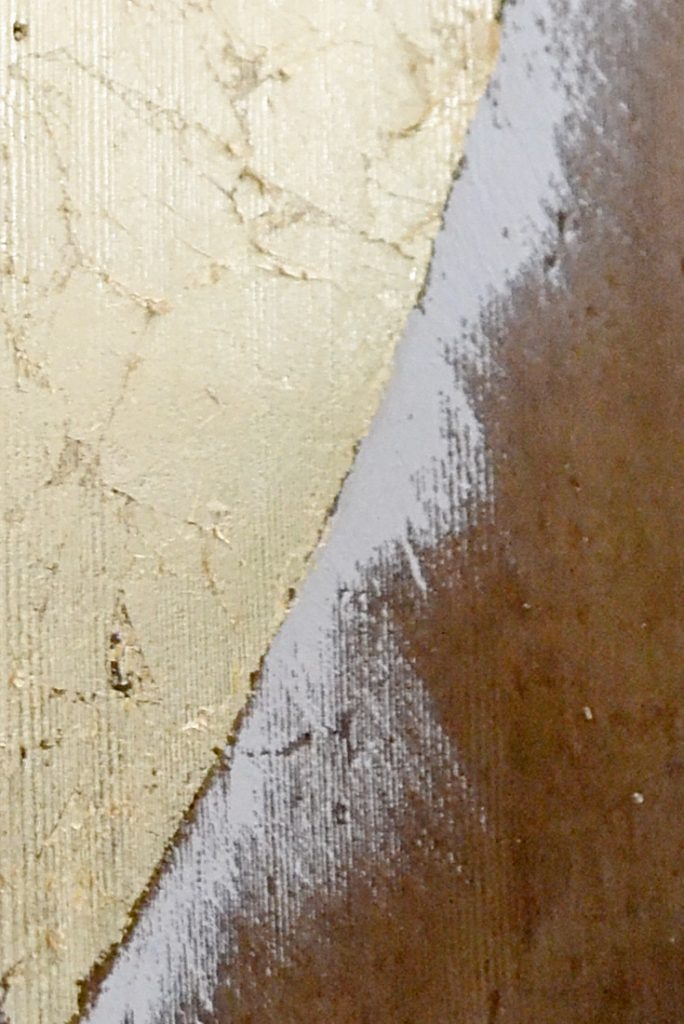
I’m writing a big post about working with reclaimed barn wood. This reclaimed barn wood heart project was a test along with a project. So, let’s get to the project.
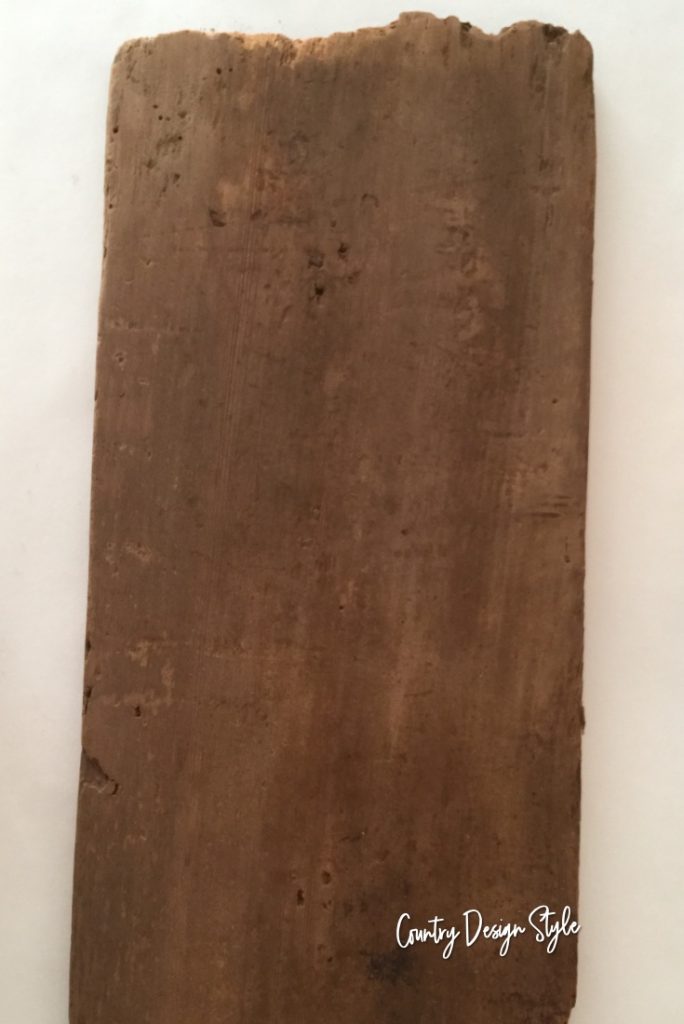
Cleaning the barn wood
First, I clean the boards using a scrub brush and soapy water. I use dish soap. Then because it’s winter, I rinse the board with warm water from a bucket. In the summer I would’ve used the garden hose.
After the board dried, I sanded the wood. Always wear a mask when sanding barn wood. Even though you clean the board you never know what’s in the layers of the wood.
No barn wood? No problem. Click here to learn how to age wood instantly.
This post contains affiliate links. I may make a commission for your purchase at no extra cost to you. Think of it as a friend letting you know where I found a product I use, love or want. Click here to read my full disclosure policy.
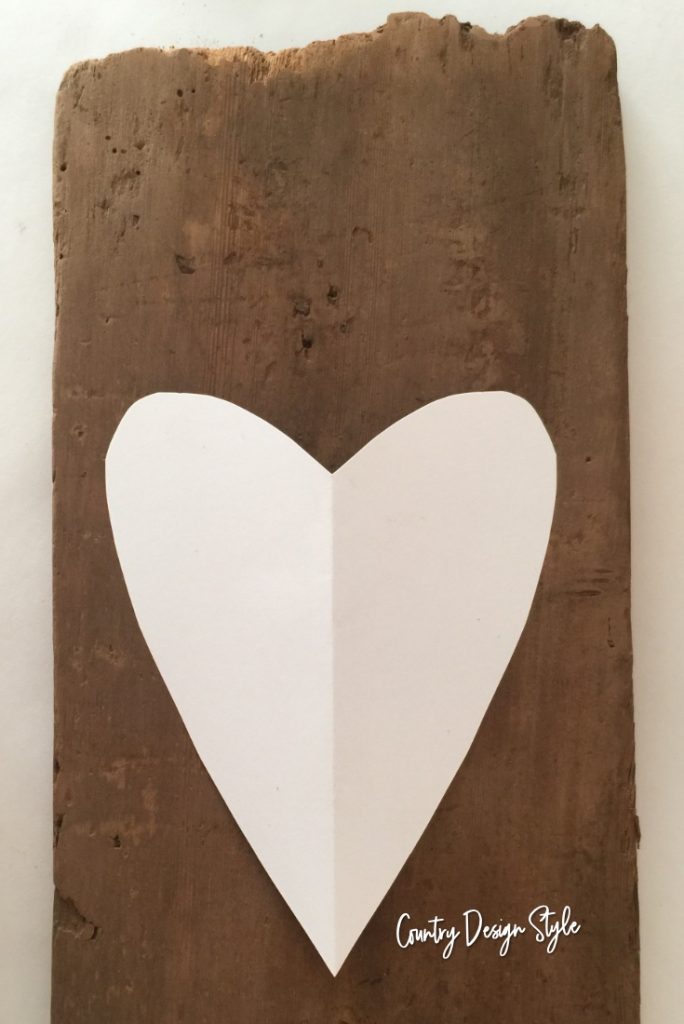
For the heart shaped I went back to elementary school. I folded a piece of paper in half and cut out heart.
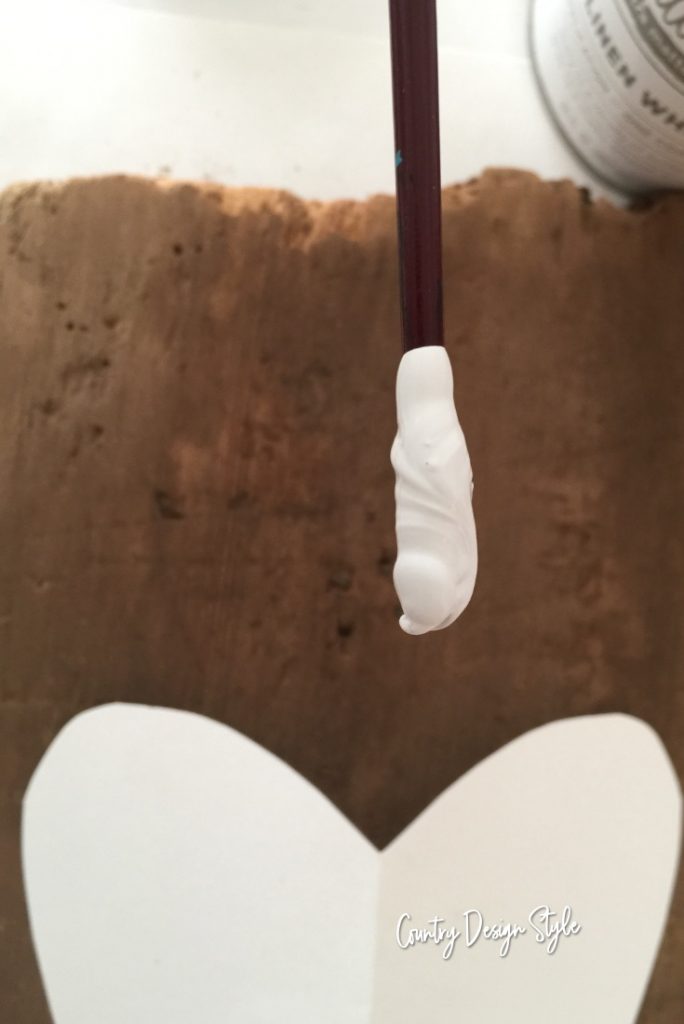
Do you have a bottle of chalk-based paint that’s thick sitting around? Now ‘s the time to use it. Mine is almost as thick as honey. If you want to learn how to use chalk-based paints without stressing out, this will help you.
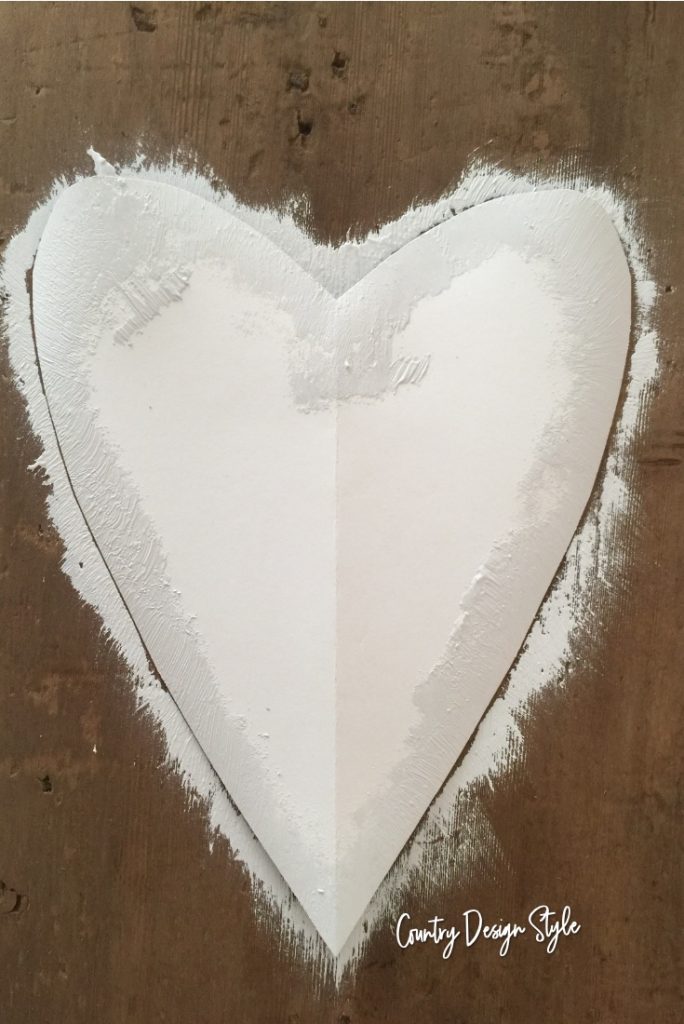
Laying my brush on the heart, I moved the brush onto the wood. I want the paint to show the characteristics of the barn wood. Does your board need more character? These ideas can help your board.
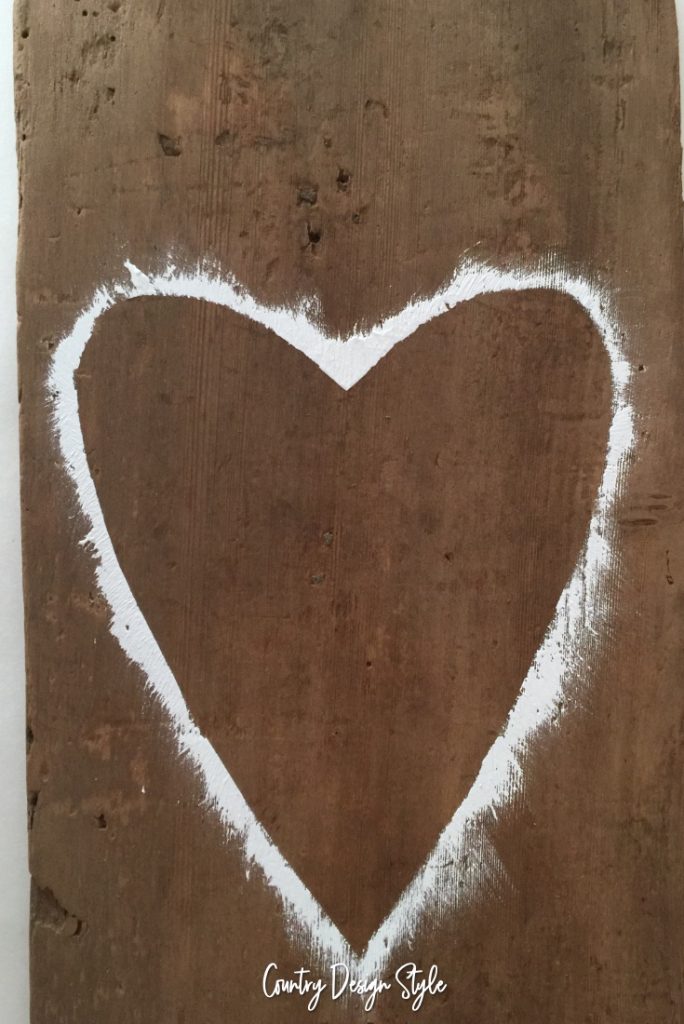
Now, I have to admit I almost stopped the project at this point. I like it.
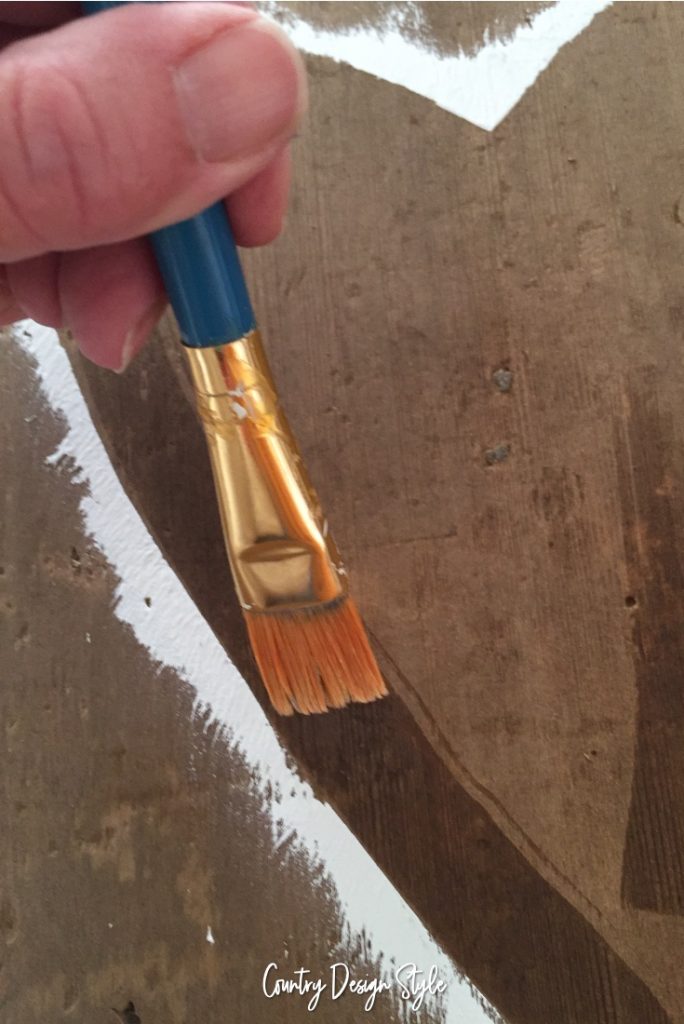
But I continued and started adding gold leaf glue to the inside of the heart.
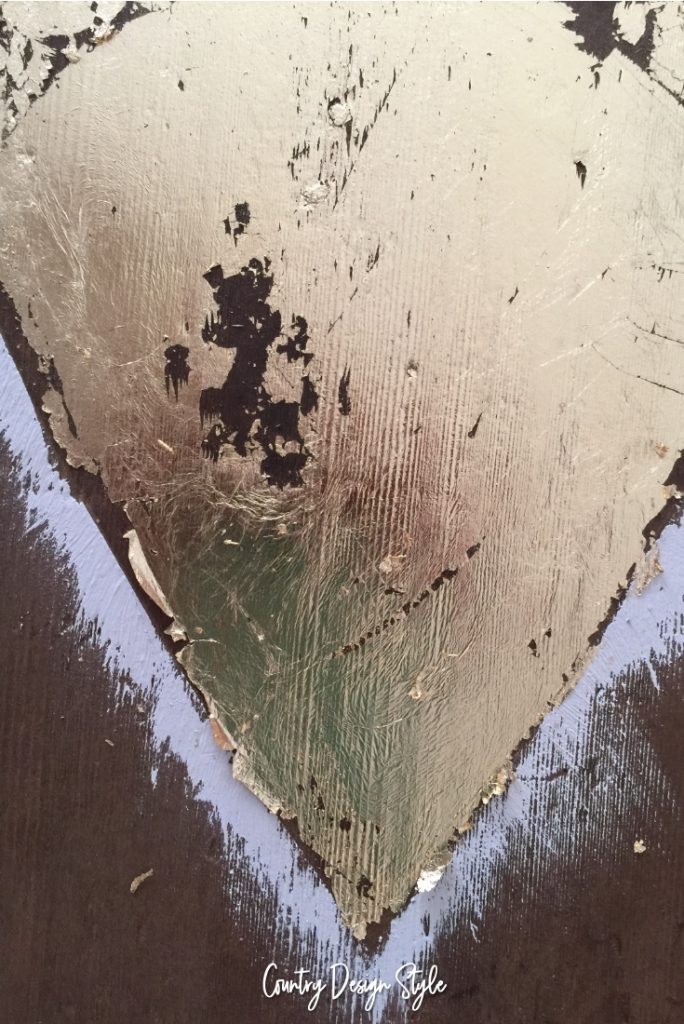
These are the sheets of gold leaf that I used. If you haven’t tried gold leaf I suggested it’s very easy to do.
Steps to gold leaf
- Applied the glue.
- Let dry for 3 to 10 minutes.
- Gently lay the gold leaf over the glue.
- Use a soft brush to remove the extra gold leaf.
For smooth gold leaf
Carefully lay the full sheets over the glue.
For rough gold leaf
Gently tear the sheets and let the pieces wrinkle as you lay in the glue.
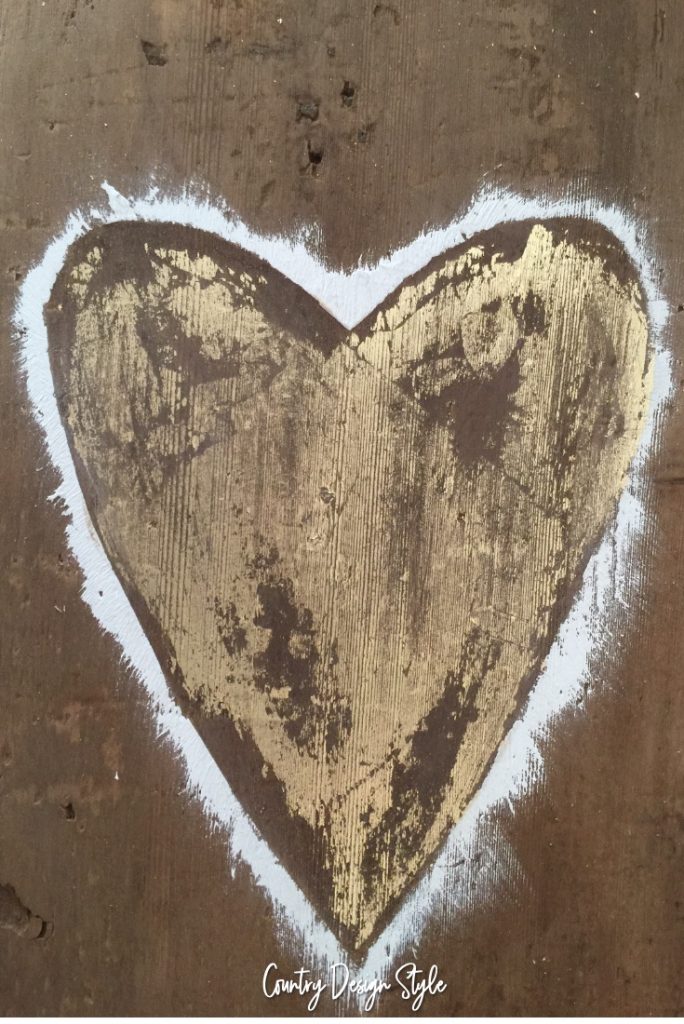
When I started this project I had an idea of roughing up the gold leaf. So I tried sanding over everything. I didn’t like it.
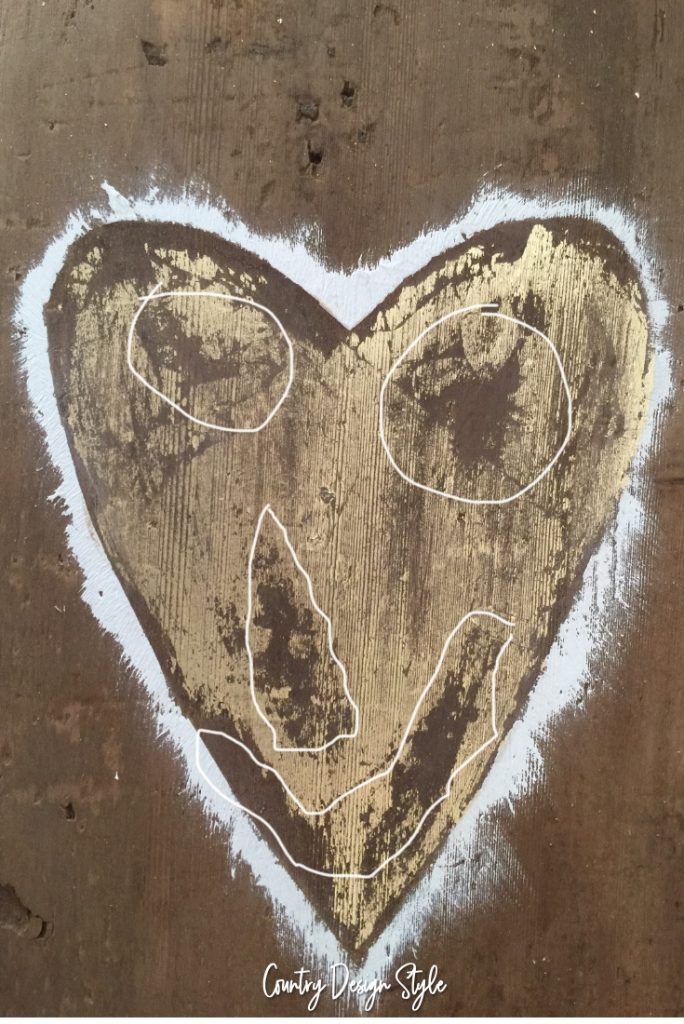
In fact, I see a scary face!
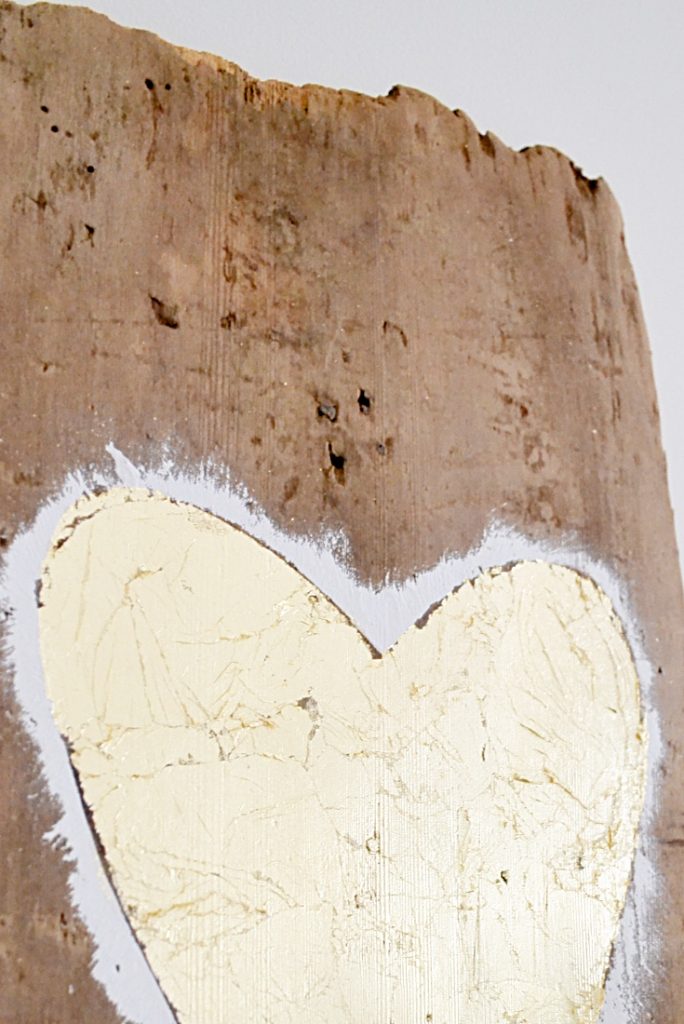
So I simply redid the gold leaf. Now I like it again.
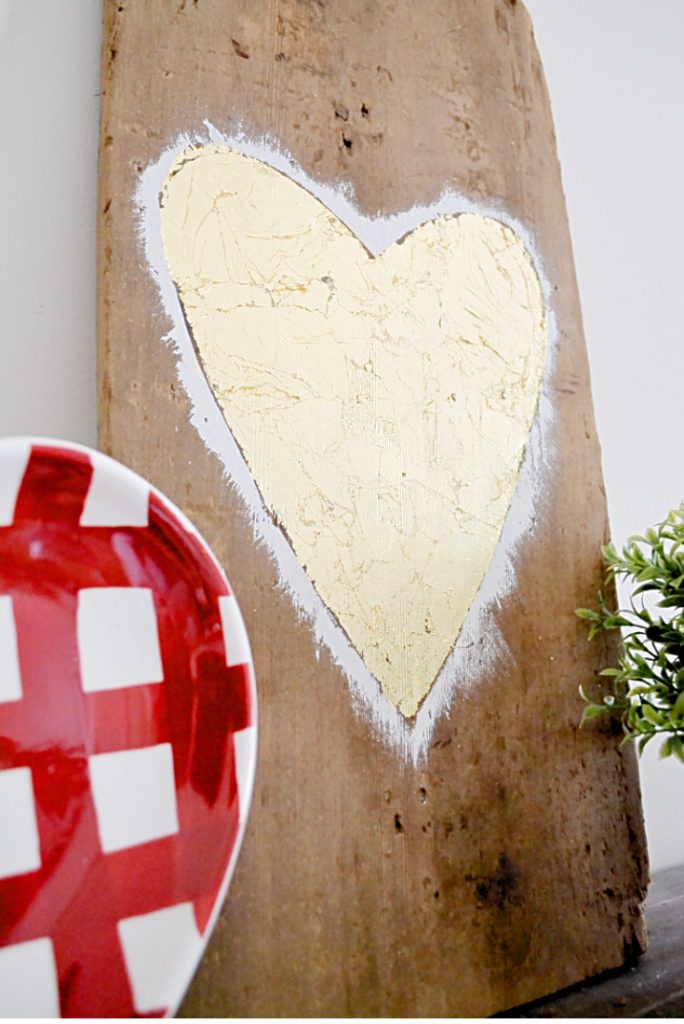
Working with gold leaf you’ll quickly learn there are still pieces to clean up.
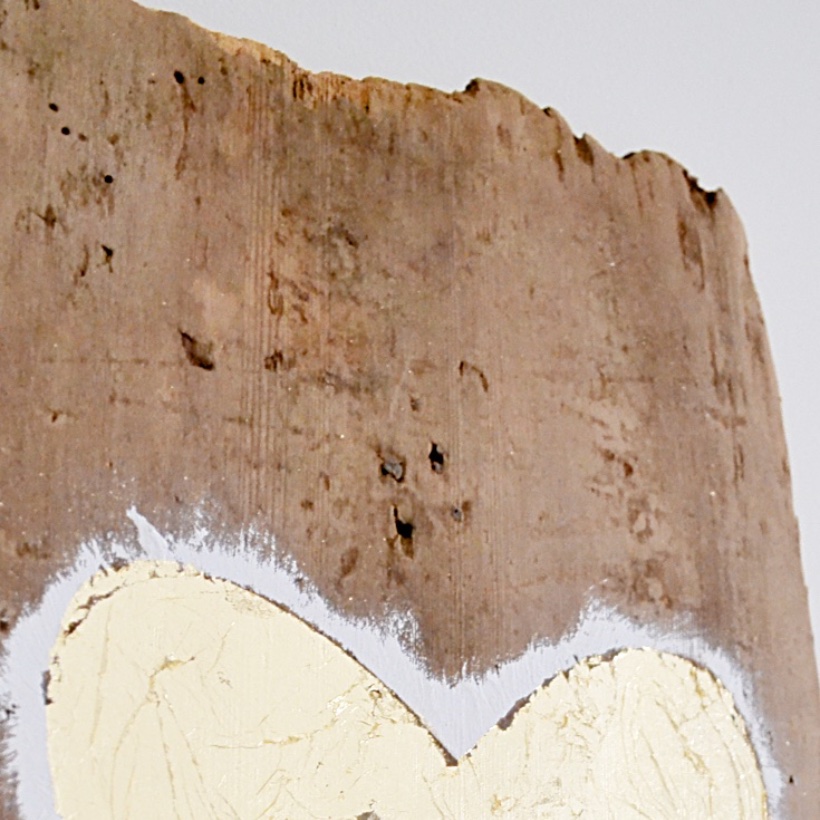
My favorite part of the project, that ragged edge of the Barnwood.
Join the newsletter

Subscribe to get our DIY HelpLetter each Thursday. Plus grab your Interior Decorating Ideas e-book.

This is really pretty. There aren’t that many barns around where I li e. Aging your own wooden board just wouldnt be the same. Maybe I will try it. I will let you know. Thank you for the inspiration.