
How to make a rustic ladder
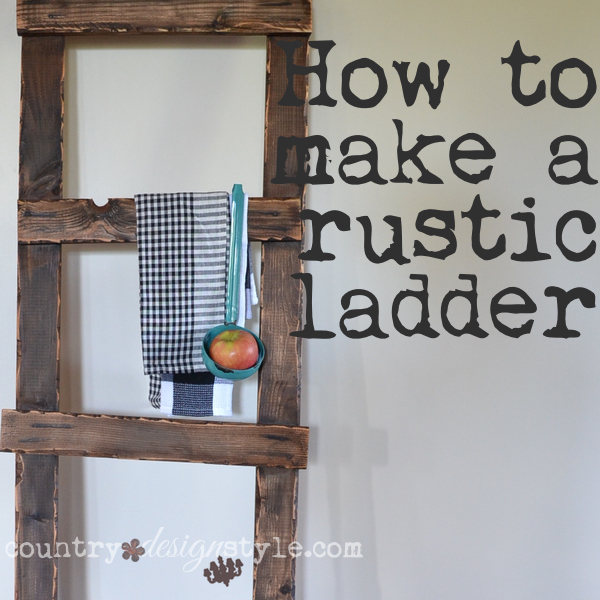 How to make a rustic ladder.
This is an easy DIY project. I just finished making two for friends.
It would be quick to make several to sell too! Hummm!
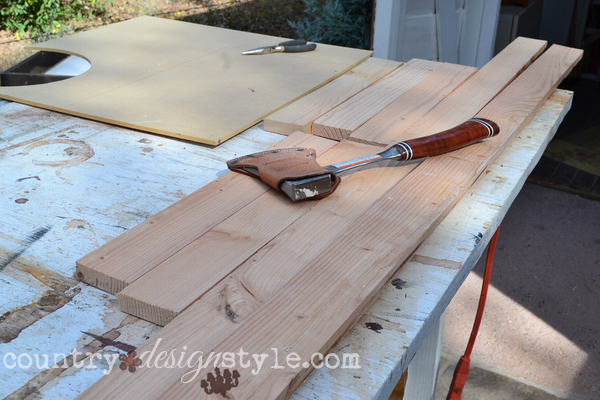
I bought three 1 by 3 boards at our home improvement store. I used furring strips boards. They are cheaper than regular pine boards. I spent under $6.
The steps
Rough up the wood
 Step 1:
Take a hatchet to the sides of the boards. For safety, clamp the board to a worktable and use both hands on the hatchet. I worked off about 50 calories banging those boards! 🙂
Tip: Rough up the wood first and then cut!
I didn’t! I cut the wood first, then had to clamp small strips of wood to use the hatchet. Ugh!
If you don’t have a hatchet, a sander will work or anything to rough up the edges of the wood.
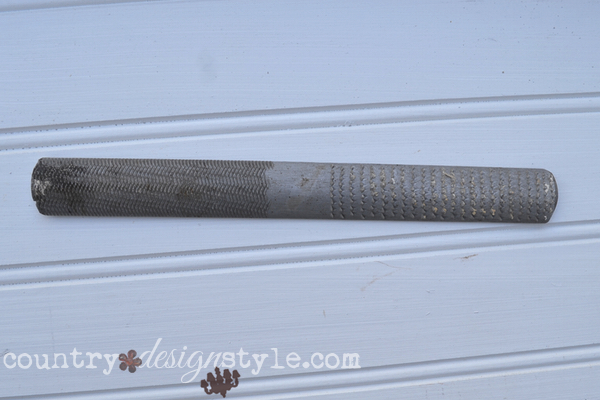 Wood files or rasps work too. One is pictured above. They look like a metal nail file only…yikes!
 Cut boards
2) boards 6 feet long.
5) boards between 16 1/2 inches to 18 inches.
I wanted a rustic ladder! So some boards are a bit shorter.
Layout the boards
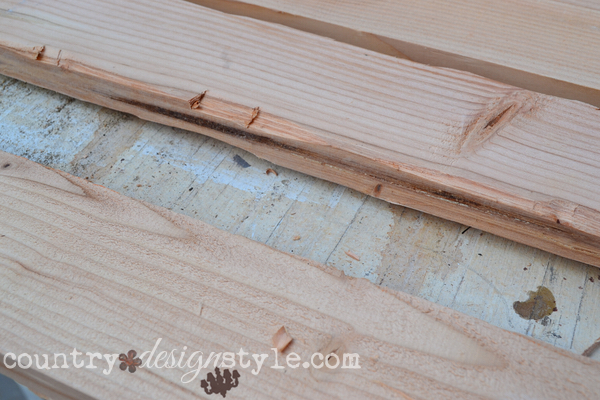
 Step 3: Layout the ladder making sure the two long side boards are even at the bottom. Otherwise, the ladder will have a lean! Then place the short boards across the side boards. I didn’t measure the distance at all. In fact, some are a little crooked. When they are laid out the way you want, add a dollop of wood glue between the overlaps. I place another board on top of the “rungs” and added paint cans for weight while the glue dried. Then I nailed in 1 1/4 inch finishing nails in each overlap.
Paint ideas
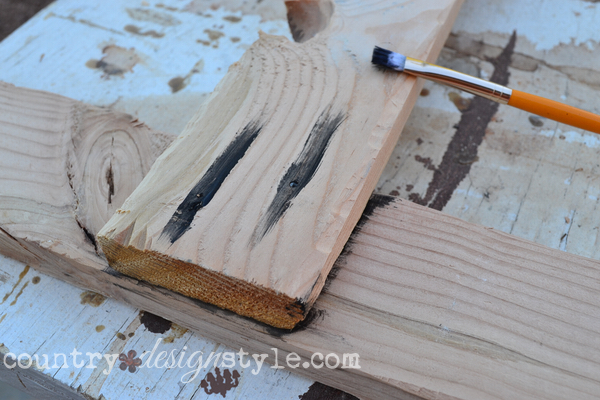
Step 4: Paint. I wanted the wood to look old. This ladder would be awesome painted white or any accent color. Red would be cool! Here are the steps I took to get the rustic aged wood look.
Old wood gets dark where nails and in grooves. So I smeared on black paint with a small paintbrush. Ruff lines over the nails and stuffing paint in the grooves.
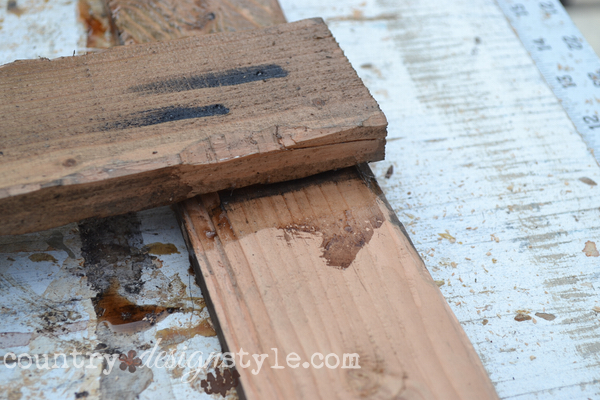 Now it’s tea time. I made a cup of black tea and painting it on the ladder. Make sure to cover the wood completely with tea. Any areas left “un~tea’d” will not turn as dark. Let dry.
 Then I grabbed my “ironed vinegar” and painted it on. To see how to make ironed vinegar check out this post.
After the vinegar dried I used a palm sander to reveal the wood. Revealed wood will be lighter than the other areas but darker than raw wood.
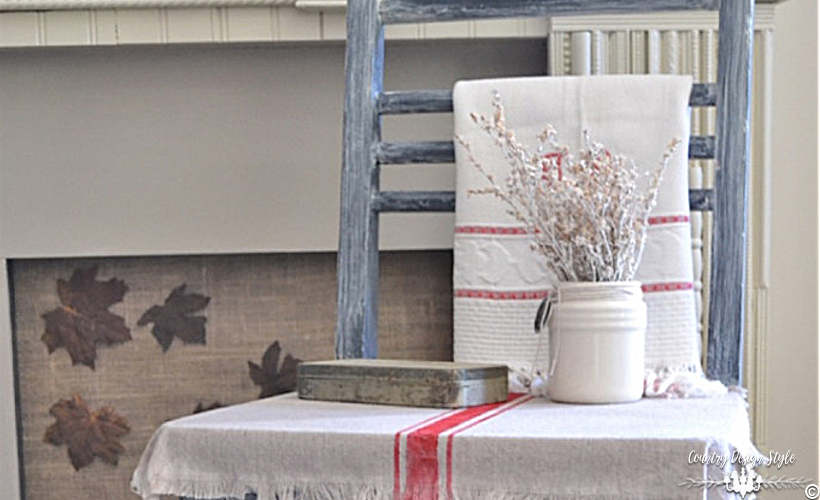
Then I used dark soft wax and covered the edges of the wood with a paintbrush. Then rubbed the wax with a soft cloth {that got caught on the nicked up wood.} So I picked out the threads of cloth and I’m done!
That little jar of wax pictured above has been in my workshop for over 15 years. It’s a mix of soft furniture wax with a large dollop of paint tint. I’ll be doing a separate post on the homemade wax I make in November.
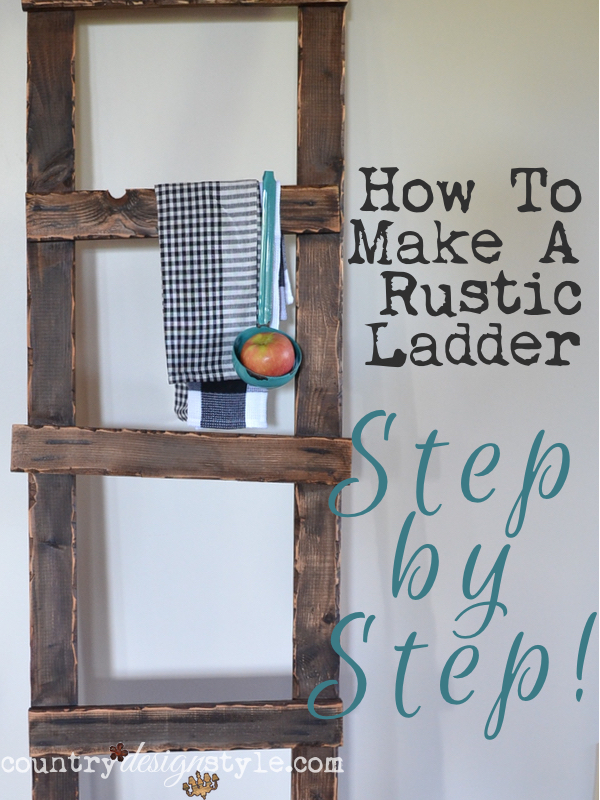
That’s it. A rustic ladder to hold kitchen towels or quilts….or an apple!
Please do not use the ladder to hold yourself!!!!
You can download a printable project sheet here.
If you download the printable sheet, please let me know in comments below your thoughts on the project sheet. I’d love to hear your comments and suggestions to make it clear and easy to use for future projects.


this is so cool love the look….i am pinning for later thanks jeanette xx
Thank you Chris! Your the best! Jeanette