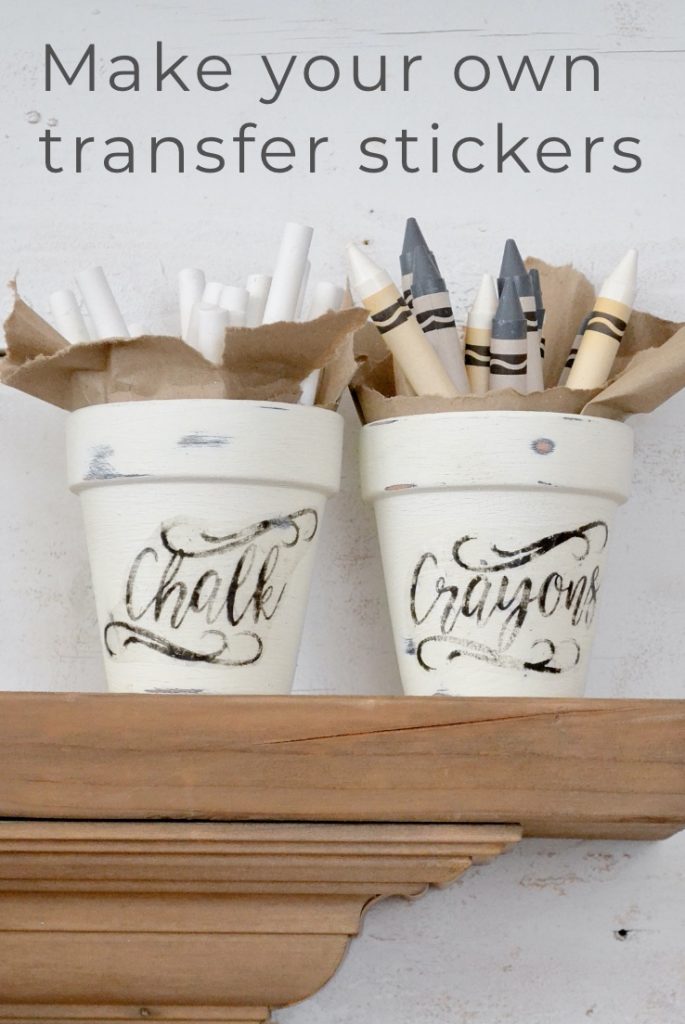
DIY Transfer Stickers
How to make DIY transfer stickers and get your stuff labeled in your style beautifully and inexpensively.
It’s more popular than ever to label everything. How many boxes are in your home, and you have no idea what’s inside? Labels are beautiful and in so many styles and cost so much! Instead of spending money on labels, let’s make some beautiful ones.
What are transfer stickers?
Transfer stickers are images and/or text cut into shape with a sticky back. You can have custom stickers made with a professional look. But if you’re labeling bins in the craft room or jars in your pantry, these DIY transfers work and are inexpensive.
If you can print it, you can make it into labels in about an hour, with a sticky back.
Elmer and Elsie – Sweet label story
My grandparent’s names were Elmer and Elsie. What’s funny about their names is on the label for Borden’s milk is Elsie the cow. Elmer’s glue was own by Borden’s until the 1990s. On your Elmer’s glue bottle on your craft table is a label with Elmer the bull. Way back when TV was black and white, Elsie and Elmer had a marketing campaign. They married, had children, and I assume drink milk and glued stuff.
This post contains affiliate links. As an Amazon Associate I earn from qualifying purchases. Click here to read my full disclosure policy.
Don’t have a Prime membership? What are you waiting for?
Click to Start your Amazon Prime 30-Day Free Trial now!
To demonstrate this easy technique, I’m making labels for a couple of clay pots. I tend to organize or corral things in unusual containers. I can then use them to create vignettes and keep often-used items handy.
If decluttering is your goal, these decluttering cards will turn that task into a done task, quick.
Materials
- Clay flower pots
- Black chalk-based paint
- White chalk-based paint
- Two Paintbrushes
- Sandpaper
- Metal wood file
- Text printed with an inkjet printer
- Metal spoon
- Clear wide packing tape
- Bowl of water
Paint the pots

- Based paint the pots. To dress up the clay pots, paint them with matte black chalk-based paint, letting it dry thoroughly.

- Paint pots with the final color. Then, paint them using two coats of matte white chalk-based paint, letting it dry thoroughly between coats.
- Distress the pots. Since we used chalk-based paint, a wet paper towel rub in areas adds distressed revealing the black underneath.
Create the font
A website that I love for finding fonts and designs is Creative Market

- Make the text on the computer document program. The labels say, crayons and chalk. Draw a couple of scrolls for additional detail.
- Print the text. After I’m happy with the look, I print them on regular copy paper. Over many years of working online, I went through many printers. This Brother printer has hung around with me for several years now. It’s a real workhorse. The technique works best using an inkjet printer. Do make sure to check the width of your packing tape. You will need the print to be at least 1/4 inch less than the width of the tape.
Make the label

- Using the packing tape. Tear enough packing tape to cover your label. Place over the top. Next, use a metal spoon and burnish over the tape well. Then cut around your labels, leaving about 1/8 inch around all sides.

- Soak the tape. Now toss your labels in a dish of water. Leave in the water for an hour. While they soak, the paper is getting soft, and the ink is sticking to the tape.
- Rub to reveal the text. After an hour, remove from the water and pat dry. Gentle rub softly on the paper side to remove the paper. The paper tends to roll off.
- Let dry. Apply to your clay pots or your container.
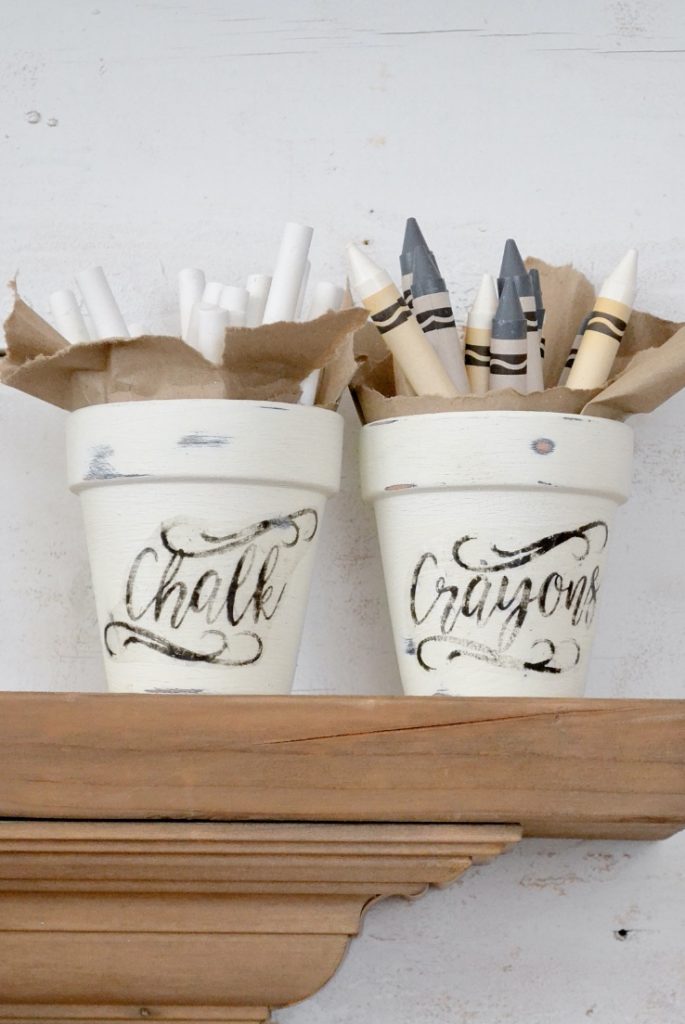
I filled the pots with craft paper and added white & gray crayons to one and chalk to the other.
See the pumpkin art project to understand why I keep big crayons in one color around the craft room.
Now, place your label on your French Country clay pots.