Peat Pots
You’ll enjoy this idea for peat pots if you’re a gardener or not. I’m not a gardener, but I adore the rustic look of these little pots. So I did this…
Let’s start with; I’m not a gardener. I can not grow anything other than herbs. But I like the look of peat pots. The rustic texture and uneven edges are right up my alley. I buy them each spring to start my herbs. Leftovers are for DIY projects. This project adds to the rustic old look of the pot, plus it’s inexpensive. You’ll have plenty of change left over for a soda!
This post contains affiliate links. As an Amazon Associate I earn from qualifying purchases. Click here to read my full disclosure policy.
Don’t have a Prime membership? What are you waiting for?
Click to Start your Amazon Prime 30-Day Free Trial now!
What are peat pots?
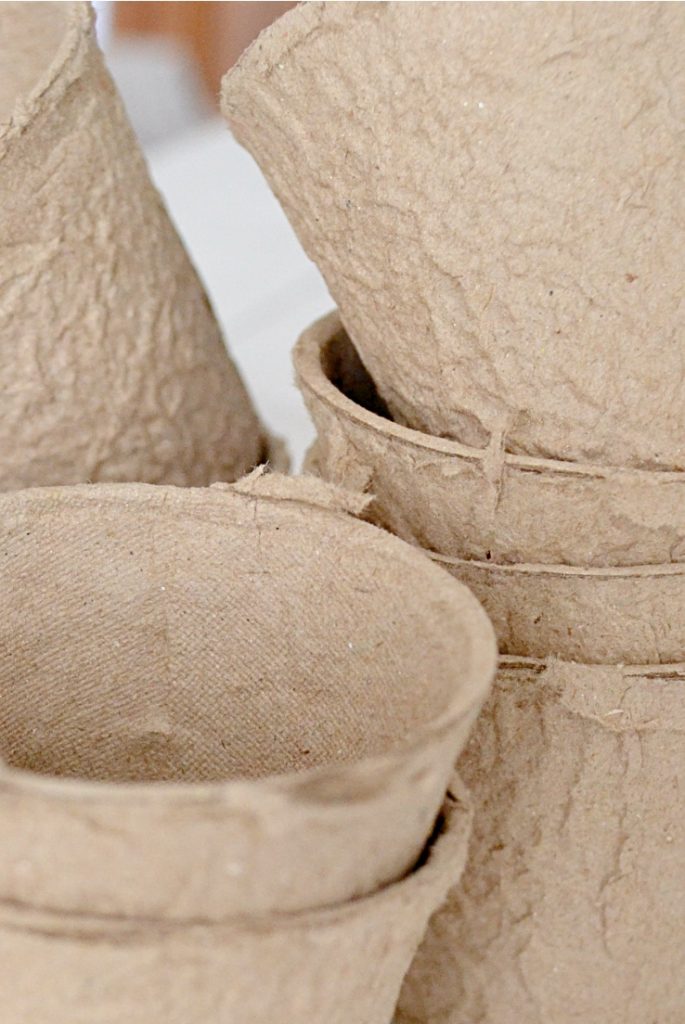
Peat pots are a green way to start seeds or cuttings for your garden. Compressed peat moss and shredded wood fibers make up the containers. The tops of mine have a ragged edge. Some may have a rolled or lipped top. You can plant the pots into the ground when seedlings are ready. The fibers of the containers decompose into the soil: the best part, no plastic in the landfills.
Craft side tip
Buy inexpensive utensils, bowls, and measure spoons and cups at the thrift store for your crafts. A fork mixes paint well. Spoons are handy to add paint or mixtures to a bowl. Knives help open things and use to apply paste etc. Mix paint in bowls when added additives.
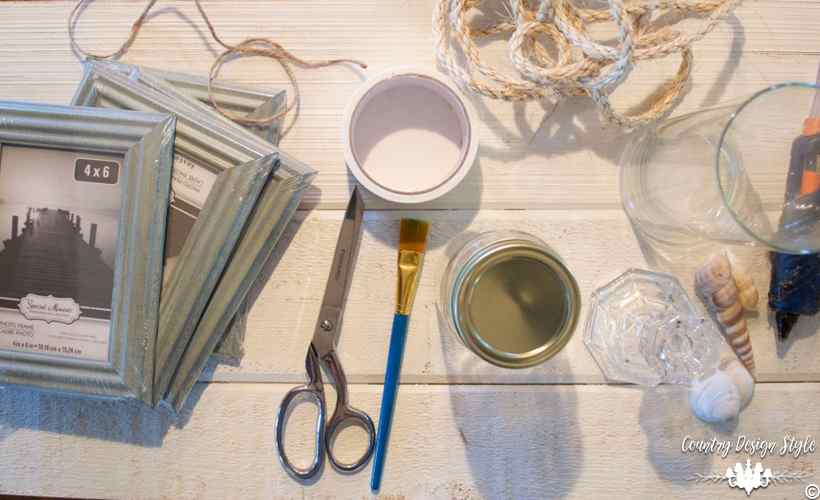
Supplies
- Peat Pots
- Plaster of Paris
- Water
- Mod Podge
- Spoons
- Bowl
- Knife
- Ink pads and stamps

The messy steps
- Mix Mod Podge. Stir together 1/2 cup of water with one tablespoon of Mod Podge or craft glue in the bowl.

- Add Plaster. Sprinkle 1/2 cup of Plaster of Paris on the mixture and stir well. Add more plaster until the mixture is thick enough to stay on the spoon. If it stays on the spoon, it will stay of the peat pots.

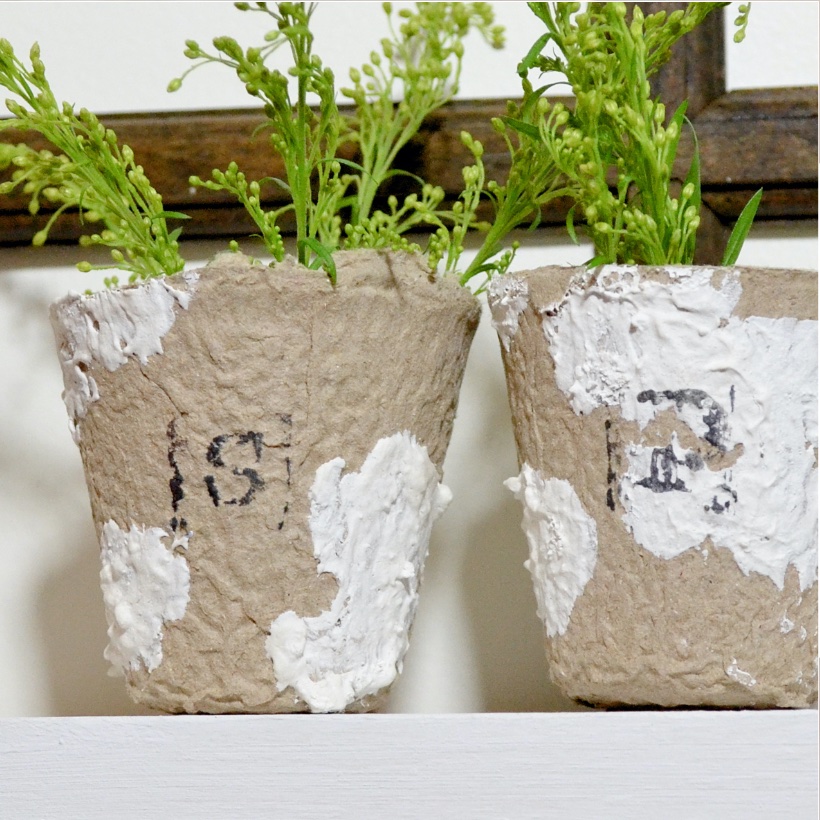
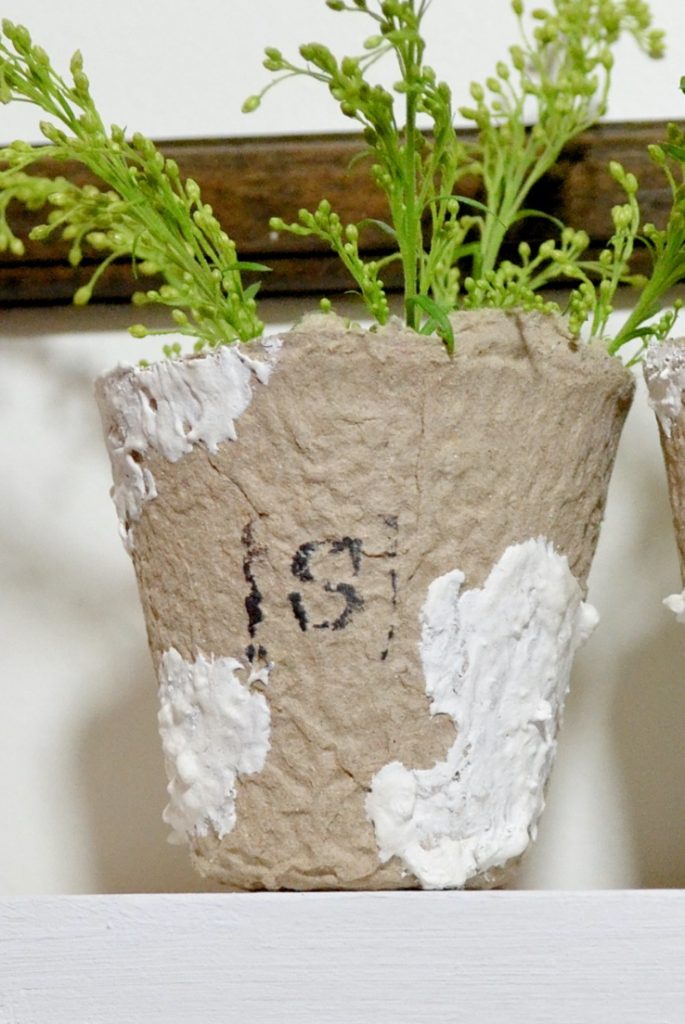
- Apply mixture. Use the knife to apply patched areas of plaster over the pots. Smooth in some areas. In other areas, use the knife and lay in the plaster, lift up for a bumpy layer. Then lightly smooth over the bumps. This adds a rugged look.
- Plaster thickens fast. Work quickly because the plaster dries fast. If the mixture gets too thick, add more water and stir well.
- Let the aged pots dry entirely.
Grab your stamps & ink pad

- Add detail. Use the rubber stamps to add text, numbers, or images over the pots and plaster.

- Roll the stamps. Roll the stamp on the ink pad past the raised letter. Then apply with a rolling action. This gives a box area for each letter.
After all this, I fill mine with ??
These little pots are adorable to hold craft supplies. Or add a faux sprig.
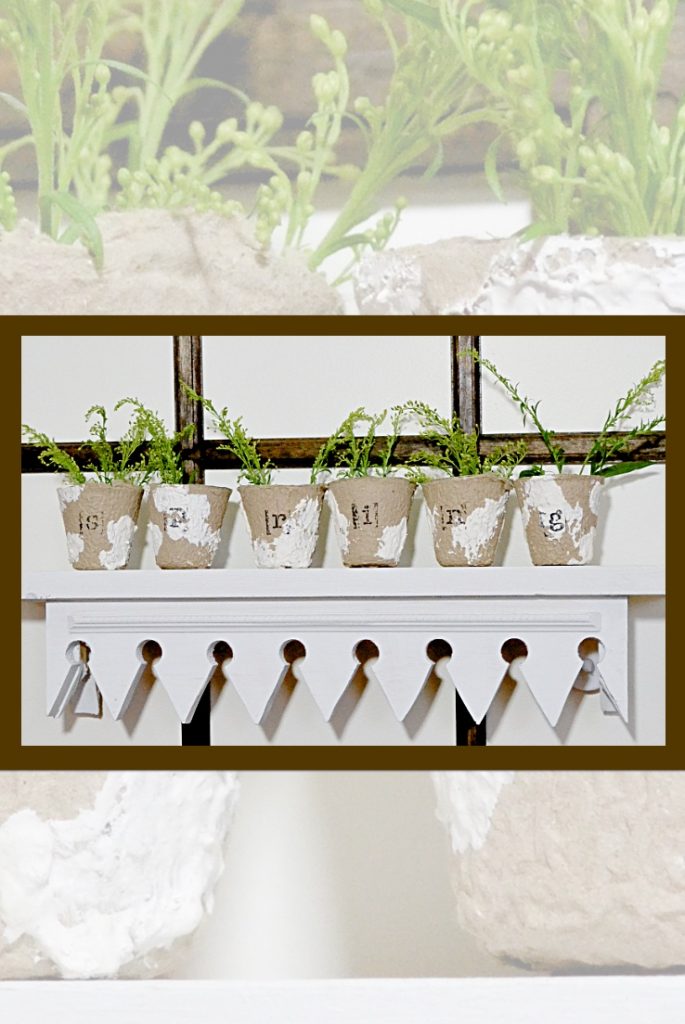
While I’m not a gardener, I don’t think the plaster is suitable for real plants. But the pots are adorable, even empty.
Here are a few other ideas to use plaster in your home decor.
Add plaster to winter branches for a snowy look.
Cover blocks of wood for wall art.
When my son was young we had several five dollars weekends. And a few no dollar weekends. Money was tight. We had fun on whatever the amount we had to spend. Jason picked the plans for the weekend. This project would have fit our five-dollar weekend with enough for a soda.