
DIY Farmhouse Industrial Backsplash

DIY Farmhouse Industrial Backsplash
Did you get a peek at our bare bones just plain painted kitchen backsplash?
It’s been that way since we moved in…ugh!
Until now!
I shared our plain bare bones backsplash here. Someday I will make a permanent decision o

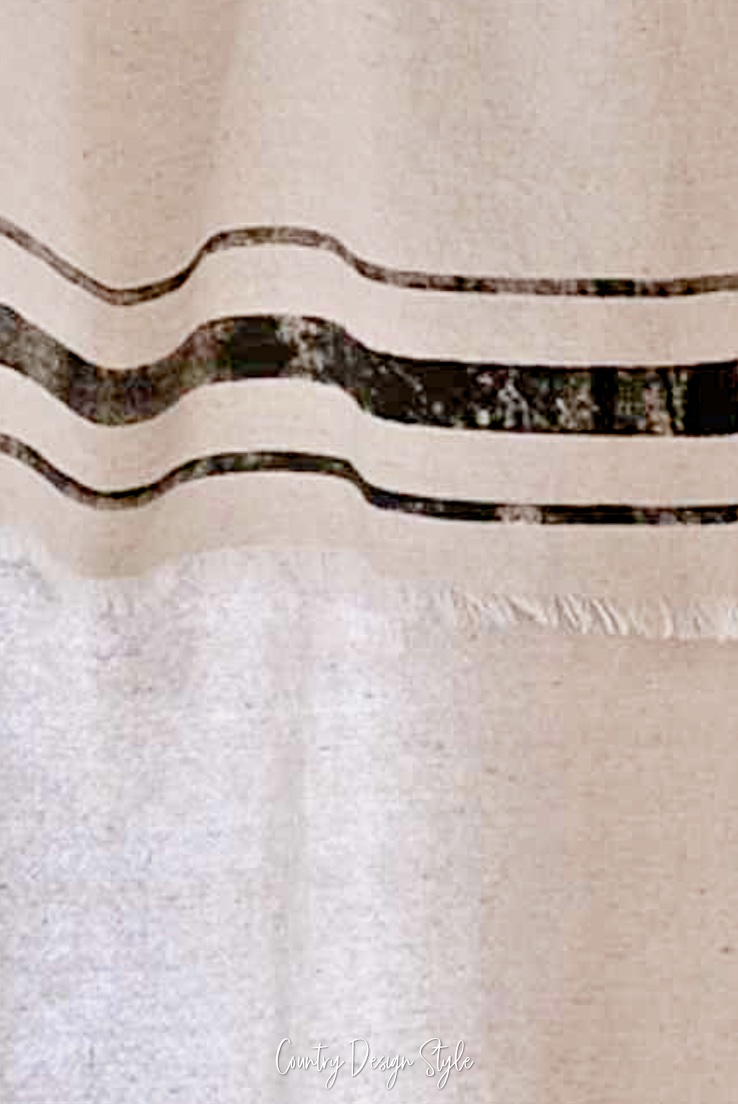
I used the chalkboard table runner and temporary double stick tape. It only took a couple of hours. The runner was cut to size for our backsplash area on each side of the kitchen window. Then I stuck it up and added the electrical covers. In most households, the white electrical covers would be an issue. Not in ours. {or at least I didn’t think so….continue reading!} I’m so great at hiding electrical covers by strategically placing items, that once while on a trip, Mike called to ask, “Where’s the hallway light switch?”

Now that the chalkboard is up its time for the industrial part. I found this metal piece at Home Depot for $8! I have another project idea using it too. For the backsplash, I needed just over two squares. It would have been fast to cut using my Dremel, but the wind was blowing hard. The Dremel sparks when cutting metal. No forest fires today!! Instead, I used wire cutters. I’m not strong enough to cut completely through the wire. So, I wiggled the cutter back and forth to make a break point. Then just bending over the wire broke.

I use small construction staples to hold the wire in place.

Then I rehung everything. I thought I was grooving hiding all the electrical plates and then…..

I noticed the mixer will not hide this one!
Idea!

This is another temporary idea to see if it works. I grabbed a dollar store frame and removed the glass and backing. Then I hot glued burlap in the middle. You can read hot glue tips here. Then just using a black marker I wrote the labels.
It works!

The wire outline of my son and two penguins was added to the wire with wires.

So far I really love the look. It’s a DIY farmhouse industrial backsplash that’s adding a bit of elegance.
I may need to buy more chalkboard paint and make it permanent! I will be making the electrical light cover permanent.

Please let me know your thoughts below in comments. What do you have as a kitchen backsplash? What other ideas have you seen you like?


Wish I had a big enough backsplash to do something with. A pass through at the sink, and about 4″ between counters and cabinets. Teeny tiny kitchen. 2 drawers, only a few cabinets that were particle board covered with woodgrained contact paper. Can’t complain we were looking for a new 4 bedroom house with a roof and could afford this one – can you guess why. Lol A few years later the kitchen cabinets had swelled from humidity in the kitchen. I was sick of the woodgrain contact paper that was by now peeling off. I took one of the worse doors to a paint store to find out that if once i sanded them down they had a paint that would stick to the paper on some of the other doors that weren’t so bad. They laughed at me. Said I needed all new kitchen cabinets, well duh. If that was in the budget do you really think I’d be here??? I decided I was going to paint them white come he.. or high water! I scraped and sanded the swollen ones down. Decoupaged large pieces of fabric, I had in my stash, over all the doors, drawers and frames. Then gave them multiple coats of white paint. I wanted a sealer, they were in the kitchen after all. Like I mentioned, money was an issue so I used what I had. Yep, several layers of Mod Podge. Couldn’t have been happier with it. I can scrub the heck out of them and they are fine. Its been at least 10 yrs. and all is well. Where theres a will theres a way 🙂
Oh, Deb, I love your spirit! That’s what DIY is all about. When you’re told it can’t be done, without spending a lot of money, you found a way to get just what you want! Thank you for sharing your inspiring story. I thrill to have you on our Design Workshop FB group too. I know life can be tough but you have friends here. Pop in when you can. Hugs Jeanette
Lisa, *Palm hitting forehead* why didn’t I think of that! Going to get my little clothespins right now! Thank you so much for reading and giving this fabulous idea! 😀
Love this look! You can even use the tiny clothes pins to add some old recipes or a summery garland? Fun idea! Thanks for sharing Lisa@ Sweet Tea N’ Salty Air
I am in the process of doing my kitchen. We are doing the countertops in cement, my cabinets in a very light grey. I love this idea, is it easy to clean between the mesh? Love it.
Gail, I’ve been wondering about cleaning when I was doing the backsplash. I went ahead because in our kitchen I use the island more than these counters for messy stuff. Plus the chalkboard runner is temporary, just to see if I liked it. So far, I love the look. I was afraid the black would be too dark. But it’s fine. In the future, the chalkboard will be paint and I’ll use clips to hold the wire up. There’re only 6 staples holding the wire. I would love to trade countertops with you!!!