Crate Side Table
Crate Side Table
I found this handmade box at a local antique shop. Outta all the beautiful furniture pieces, lovely chippy shabby shelves, and stunning ornament mirrors…I wanted this box.
It had a story. Sitting there among the iron plant holders and rusty garden tools, it needed a new story.
So for $42 dollars and some scrap wood I giving it a new story.

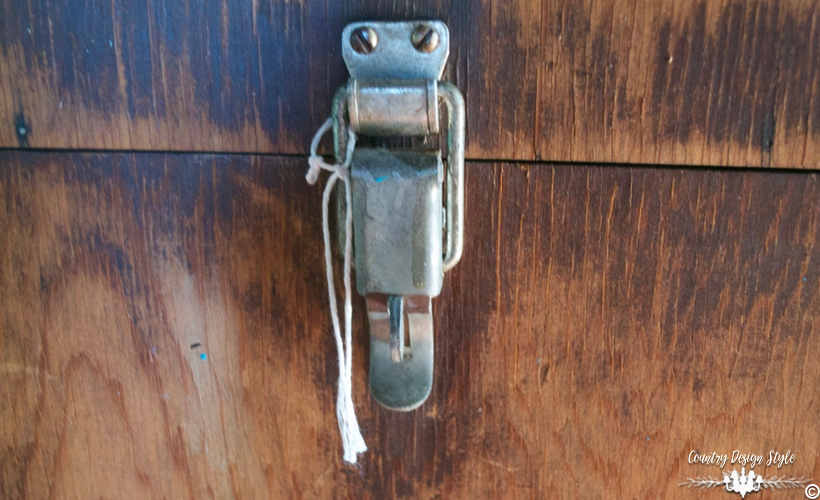
The box is 16 inches wide, 16 inches tall and 13 1/2 inches deep. It’s full of cubbies, has a quirky handle and when opened the whole front comes down.
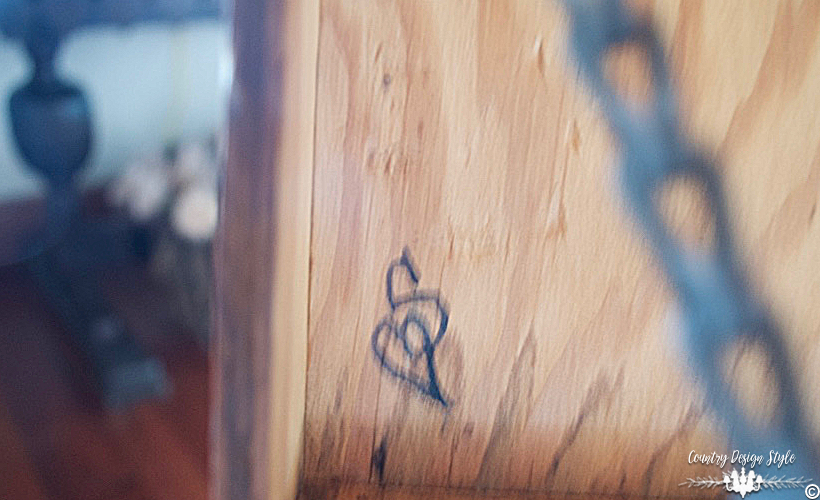
On the inside of the lid is an “S” with a heart. The first story of this box is that an elderly man made this for his wife to keep her crafting supplies. Possibly knitting or crochet. He called his wife “sweetheart.” The “S” with a heart. That’s my made up story! <3
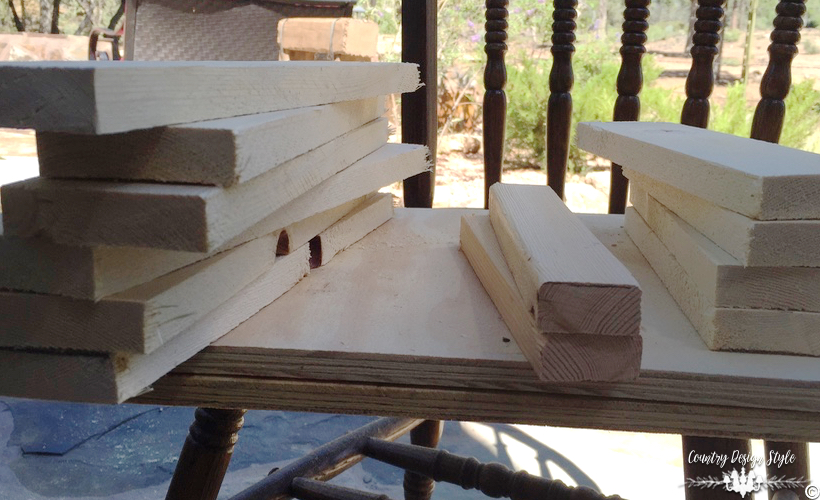
Now for the next story of the box. It will still be used for crafting supplies but will be turned into a crate side table. At 16 inches high, it’s too short for a side table. So, I made a crate to lift and add storage. Above is the wood cut to size.
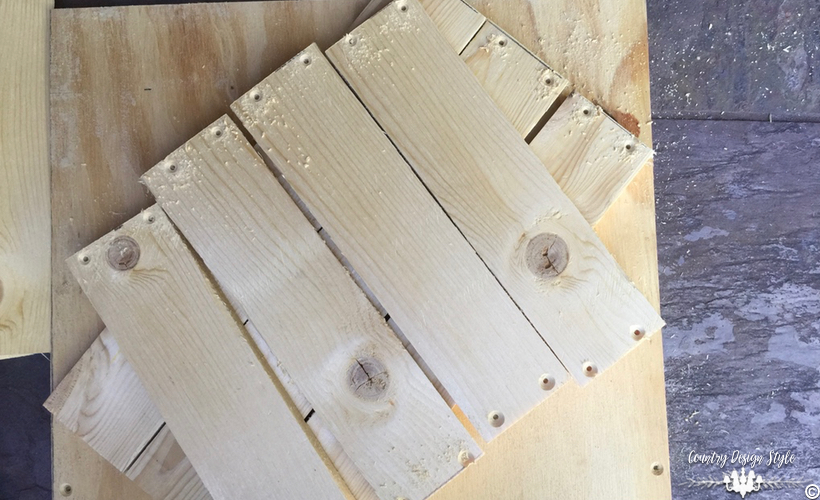
Next, I predrilled the ends of the boards…

and halfway through the battery died. While it recharged, I used the electric drill. I’m glad I still have my old electric drill.

After the crate was assembled, I checked to make sure things fit. Perfect!

Then I made two drawers. One is narrow and can be used as a surface to create small projects. The bottom drawer will hold the current project supplies.
Filling the crate side table
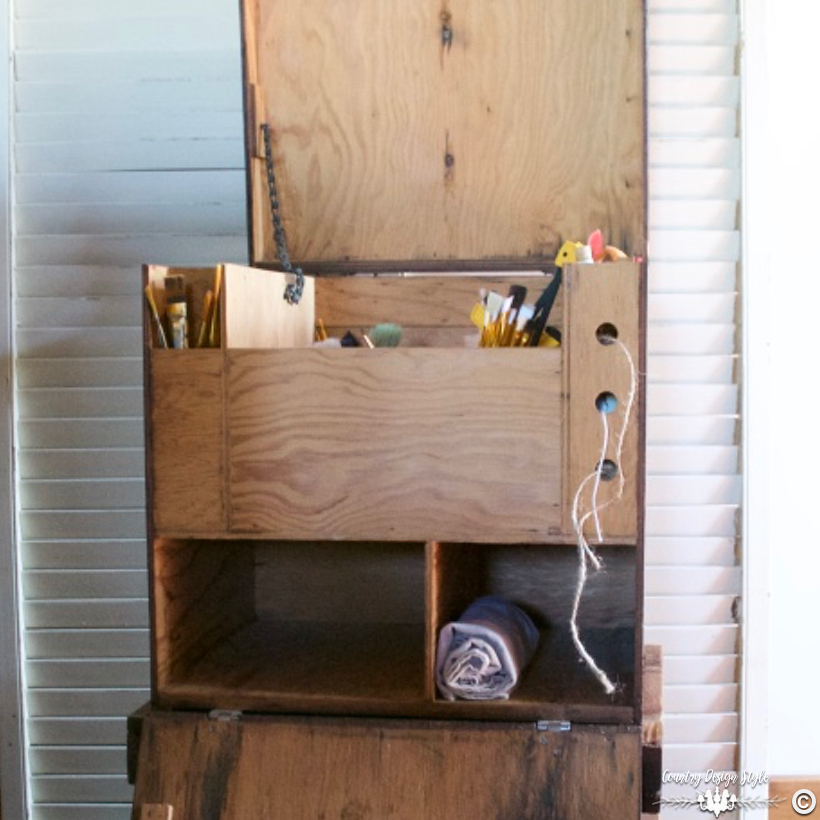
Here the front with the lid open. There are cubbies and an area perfect for twine!! If you follow me, you know I use twine for everything!
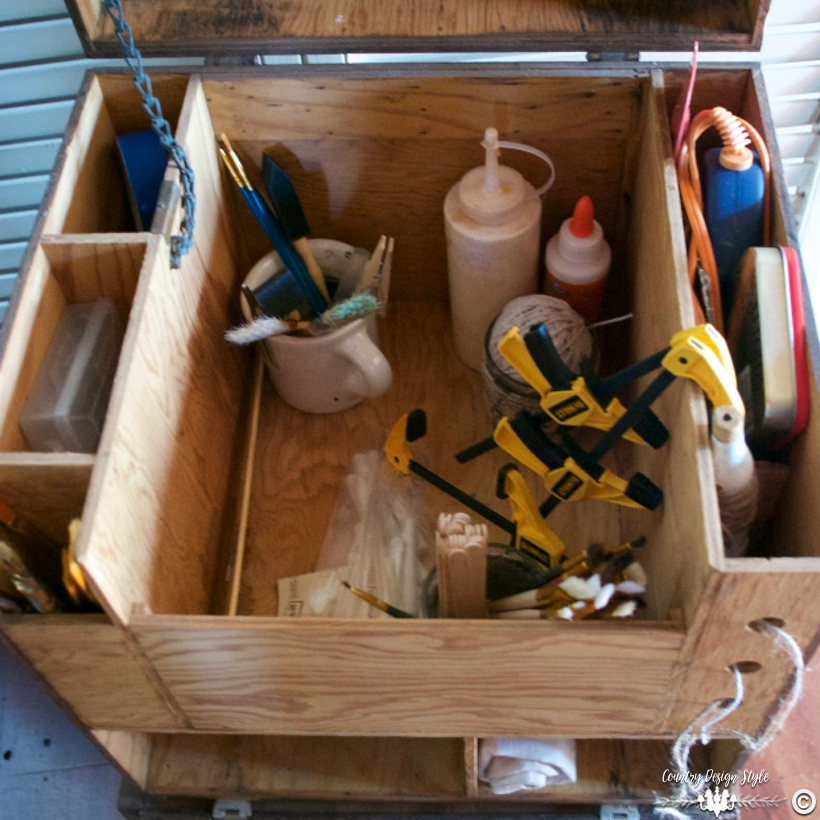
Here’s the inside of the box. I’m starting to fill it with common crafting supplies.
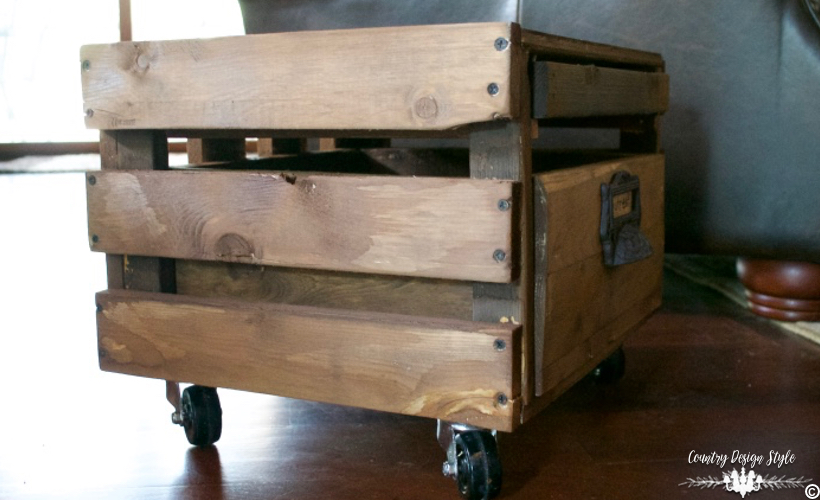
I did add wheels. It will be easy to move to the kitchen counter or dining room table.

The rustic drawers are simply boxes. I lined the drawers with some pieces of drop cloth.

A vintage inspired pull was added to the larger drawer front. I looked around for the perfect rustic color of paper for the label…and then I hit me! Burlap! I cut a small piece of “stiffened” burlap and wrote “current” with a marker. Fun details.

My new old crate side table!

Now, I wonder how long until it’s overfilled!!!!!



I was reading the story and looking at the etched heart and out loud said, “awe, how sweet is that”…and then I read on. You got me, Jeanette! Now this is a very clever idea for craft supplies. I NEED one of these!
Hi, Marie! Let me tell you, putting wheels on this table was the best thing I’ve done lately!
Wonderful Job!! Love what you did and if you are like me, it will take only a few minutes to fill it, lol. Have a great day!!
Lol, Cheryl! It’s getting filled up fast.
I love it!!!!
Thank you, Lisa!