Dremel tool accessories and tips
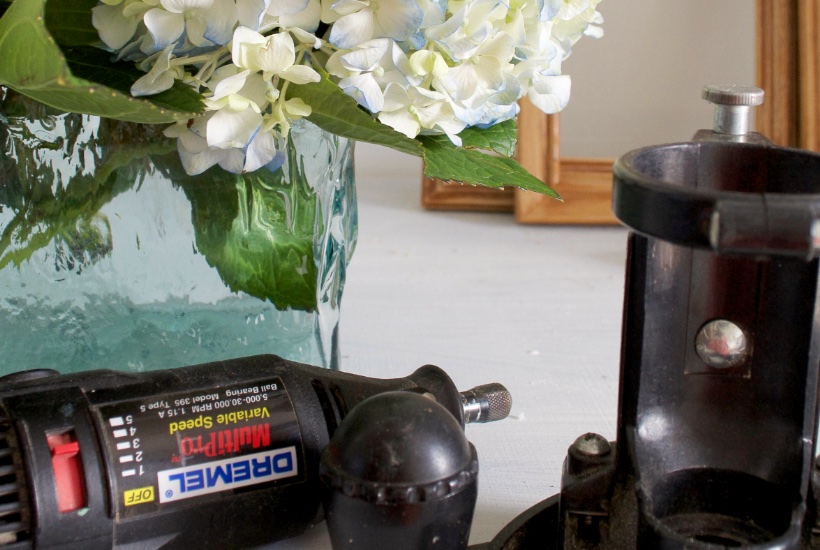
My favorite tool is around 18 years old. If it was a child it would be off to college! Instead, it hangs around the workshop waiting patiently to go to work. It can cut through metal, remove rust, and create decorative designs on wood. It’s not a slow tool, in fact, it’s high speed.
I’ve included the recording of the live video below. So sit back and watch or just read along.
Dremel tool accessories and tips
For your convenience, this post contains affiliate links so you can easily find the products or similar items at no extra cost to you. Click here to read my full disclosure policy.
Dremel tips live video
You can watch the video first
or scroll back up and watch.
What is a Dremel tool?
Dremel is a brand name. I have a Dremel rotary tools and a Dremel saw. This post covers the rotary tool. The Dremel tool is a small hand-held power tool with variable speeds. There are several techniques to use a Dremel. Many of them, I’ve never tried…even though it’s a favorite tool of mine. It’s all the accessories that change how one would use the tool.
What do you use a rotary tool for?
- Carving and etching
- Sharpen tools
- Removing rust and grime
- Cleaning, sanding, and polishing
- Cutting and shaping
- Router
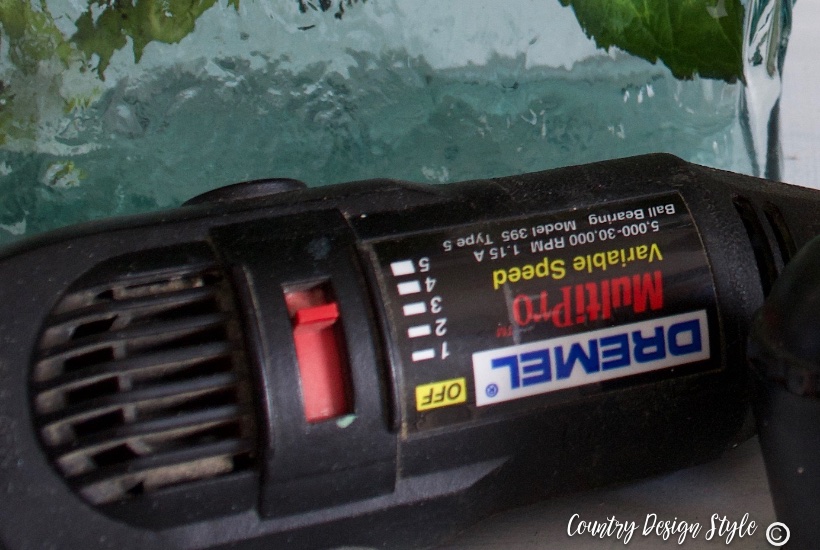
Above is my Dremel. It’s around 18 years old and still works like a charm. If I were to replace it, this is the model I would get.
Dremel tool accessories
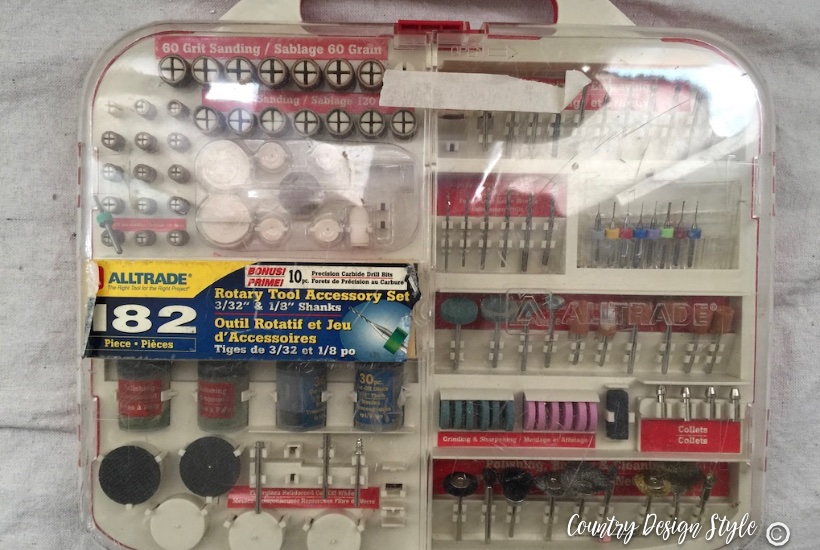
These accessory kits are great to start learning all that the Dremel can do. You will find you’re grabbing the kit and Dremel tool to fix and repair things around the house.
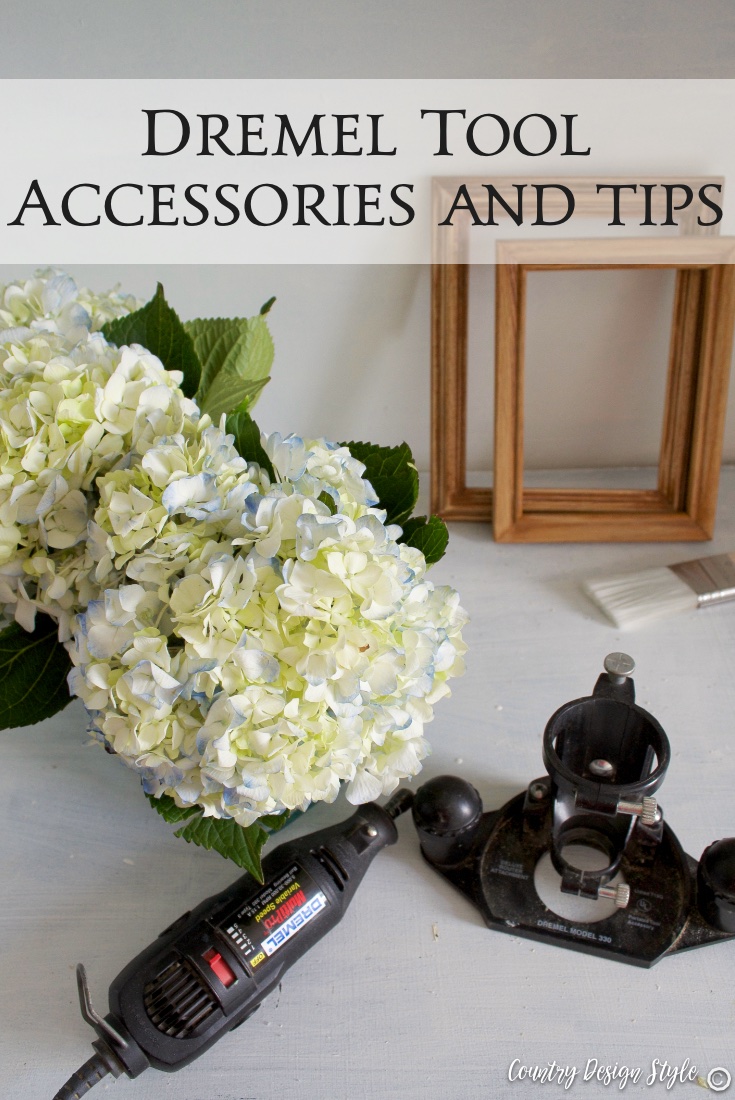
My router attachment is shown above and in the video, isn’t a plunge router. After doing some research on Amazon this plunge router attachment is in my shopping cart! Yes, it fits my 18-year-old Dremel! The difference between the router attachments is mine is fixed. That means I set the depth and use the router at that depth starting along the edge of the wood. With the plunge router attachment, I can plunge the bit into the center of the wood.
Plus this router table!
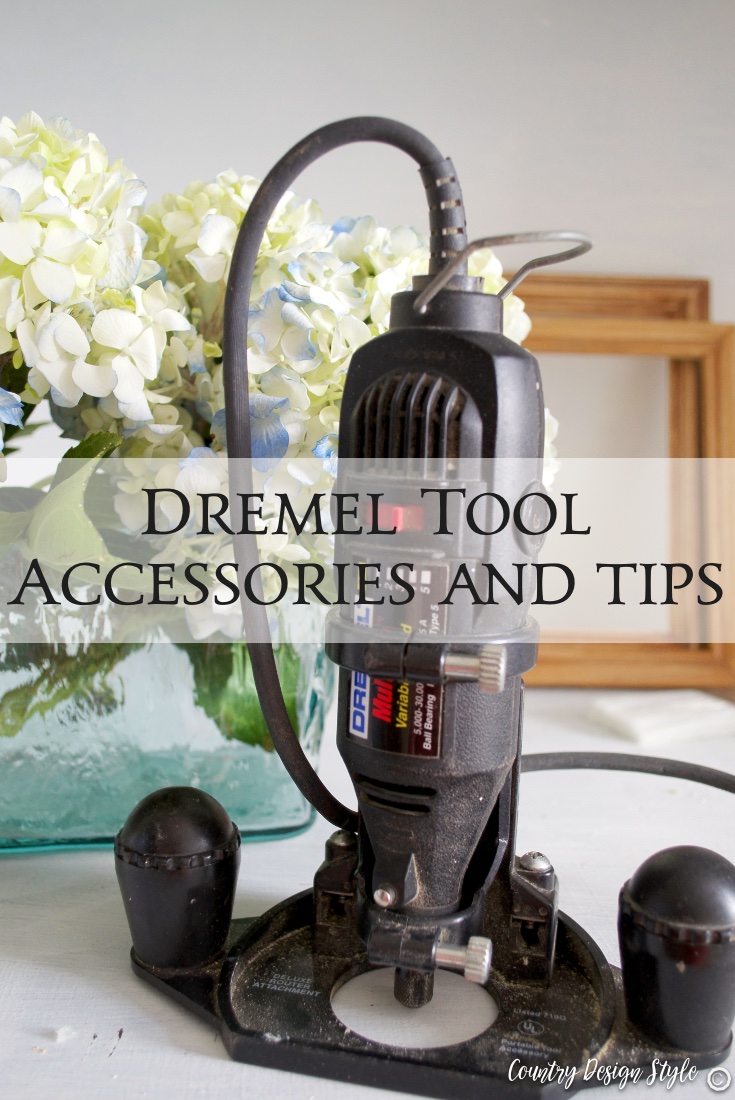
This is my current setup for making decorative edges in wood.
These are router bits like the ones I shared in the video. Plus there’s the keyhole bit. It makes the keyhole in wood for hanging. Very cool!
Simple idea for organizing router bits
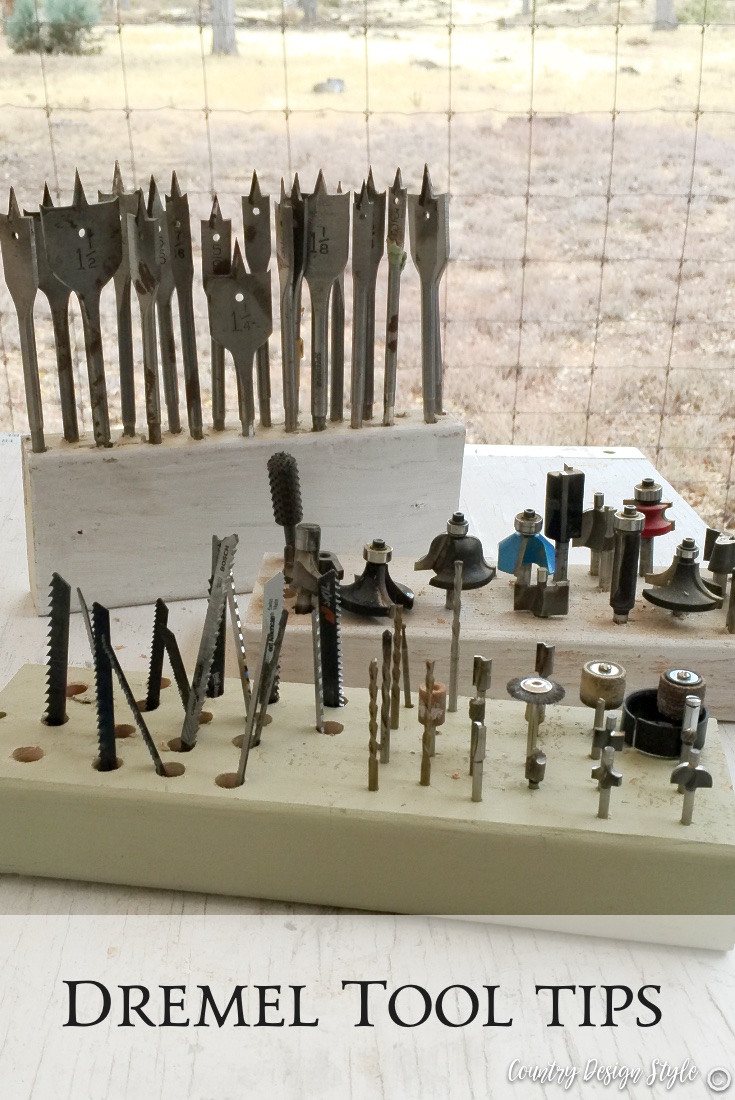
Grab a couple of 2 by 4 blocks, drill holes to fit router bits, jigsaw blades, and drill bits. This keeps them secure and in sight. The green block upfront I did after the live video. The other two I did years ago. I’m a slow organizer. :/
Join the newsletter

Subscribe to get our DIY HelpLetter each Thursday. Plus grab your Interior Decorating Ideas e-book.


