Furniture Makeover Red

It’s that fabulous time when a creative group of DIY bloggers transforms a piece of furniture in the current month’s theme.
This month is RED! Years ago there were several red pieces around our cabin. Red, green and yellow with EVERY wall in our home YELLOW including the ceilings! I had hit color overload!
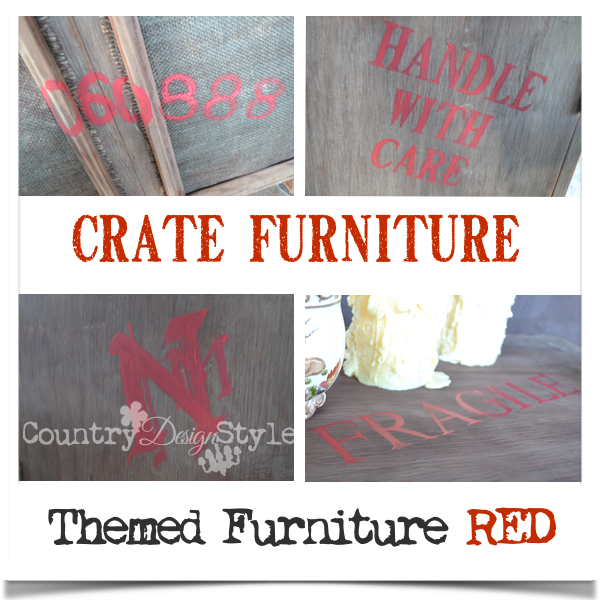
Now our home is calmer with 15 shades of white on the walls. Furniture is creams, whites, browns, and black. I found the perfect little chest for the RED challenge. It’s crate furniture inspired.
Furniture Makeovers Red
At the bottom of this post are photos of all the RED furniture makeovers. Simply click on each one to visit the other creative blogger’s projects and remember to follow them!
Removing the cane
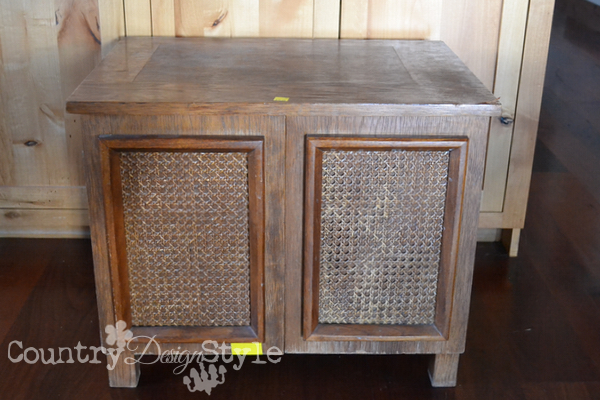
This is the chest I found at our local Restore. It was $10 and we needed something to place on the front porch between our rocking chairs. The table I had there became the middle of my nesting tables.
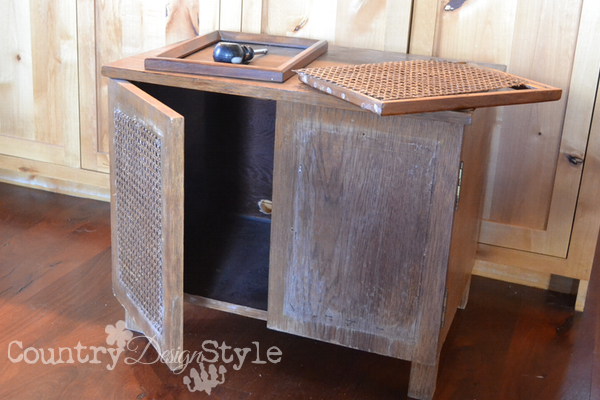
This chest was handmade using plywood and wood veneer. The doors had framed caning. I personally am not a fan of caning. So I removed it. Will replace it with something more in my style.
Sanding…ugh!
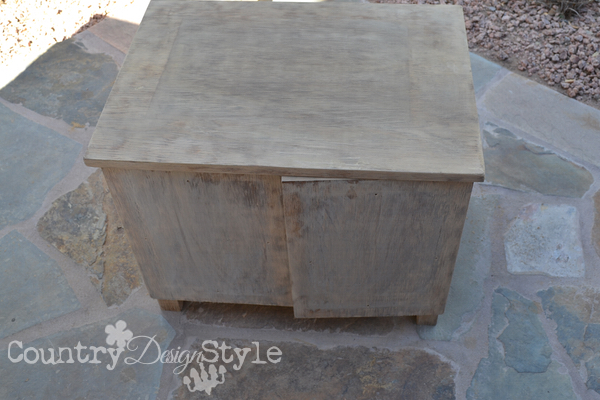
I don’t like sanding! But I did sand the veneer to sand the 1970’s look off.
It worked!
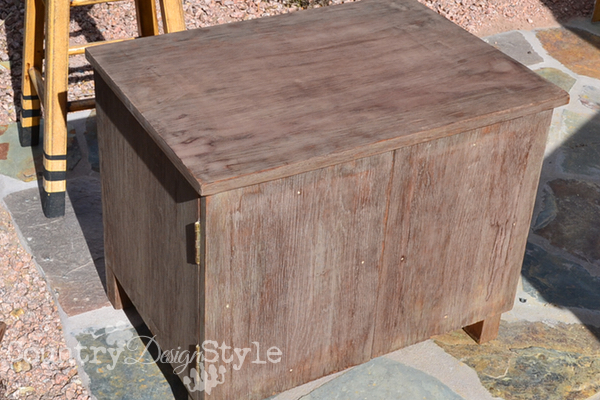
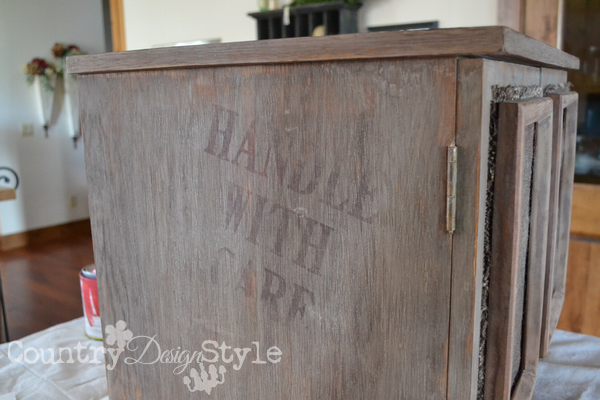
Next, I use my favorite aging technique for the very first time on veneer! It worked perfectly! The technique uses tea and “ironed vinegar.” I whispered to the vinegar to go a bit on the red side…
and it did!
The chest came out grayed with a reddish rusty in the grooves of the veneer.
In reality, I was nervous about this project. Having never tried it on veneer and if it didn’t work…I would have to think of something else!!!
Aged Burlap
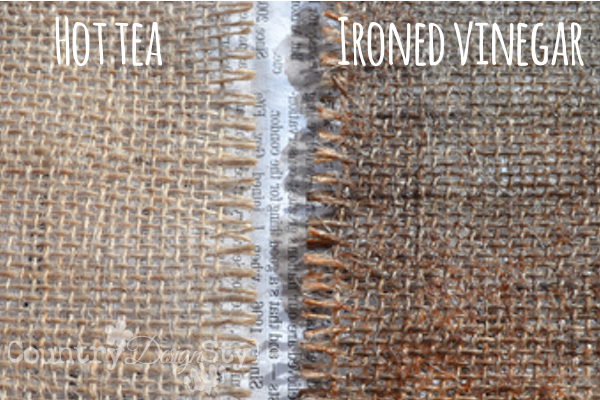
I do know the aging technique works on burlap! Burlap is what I plan to replace the caning.
Adding the red
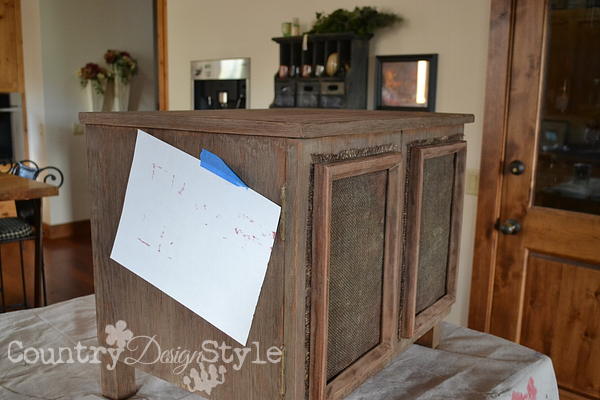
Notice in the photo above, I let the burlap stick out from the frames.
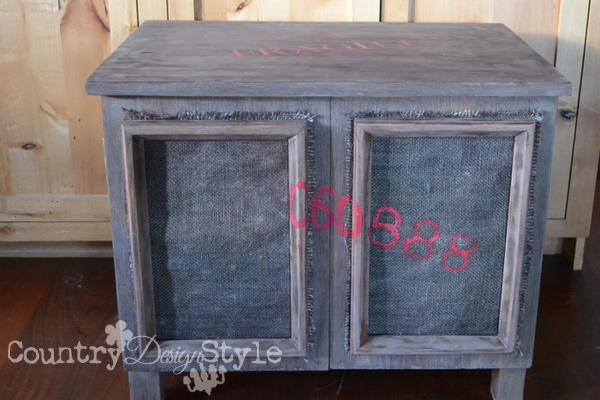
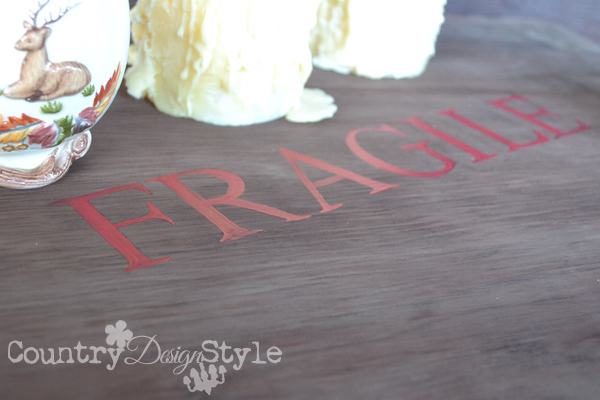
Using a small brush, I painted in the lettering using red.
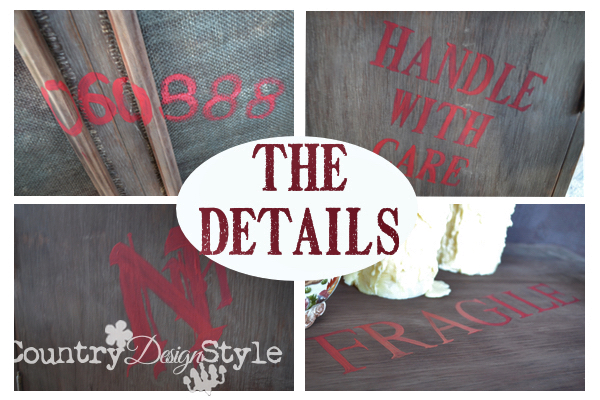
Above are the lettering details.
The ones on the left are special to Mike and me. 🙂
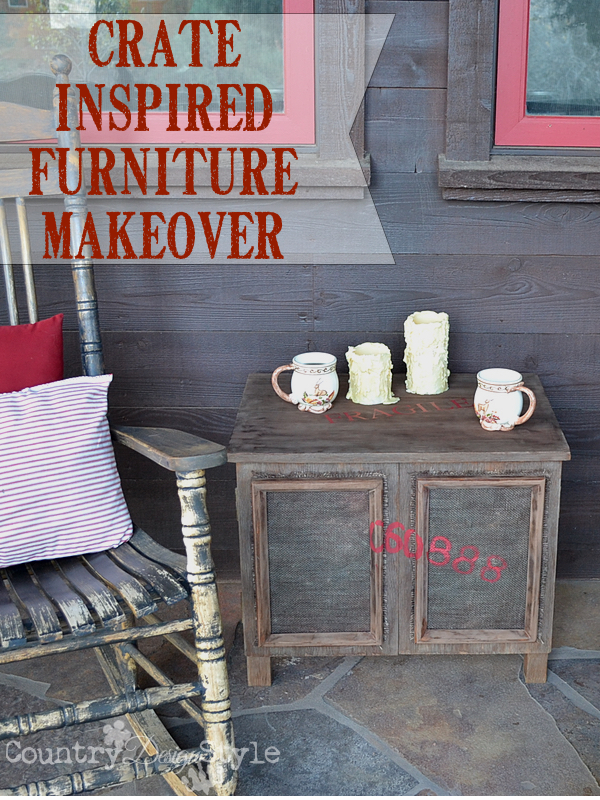
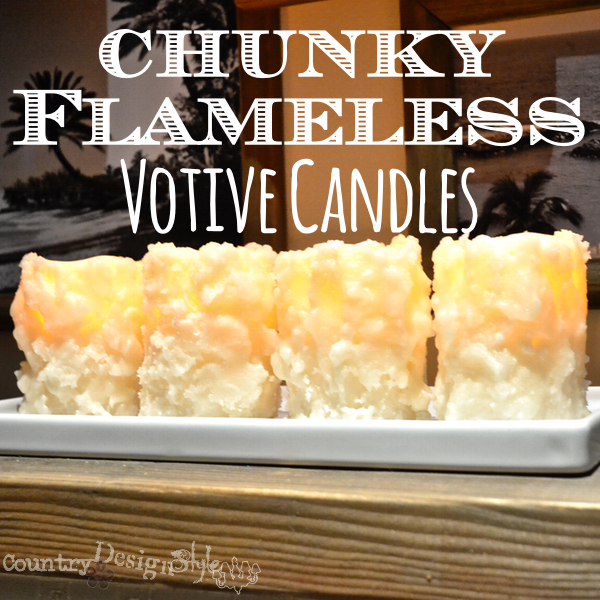
The chest in its place ready to get to work holding our coffee, tea or wine…and my chunky battery candles! The red is Dunn Edwards exterior paint in Scarlet Red. The same paint as on our exterior windows in the photo above.
You can see my previous months themed furniture makeovers by clicking each one.
Decoupage furniture. Two-tone furniture. Numbered table.
Now that I’ve gone red…go check out these amazing red pieces!
My disclaimer: I was not compensated with product or money for this post. Products mentioned were purchased for our home and to use to share projects with you.
Join the newsletter

Subscribe to get our DIY HelpLetter each Thursday. Plus grab your Interior Decorating Ideas e-book.

That is SO cool Jeanette!!! And so unique….looks fab on your porch!!! Love!!
Nancy
You are so amazingly creative!!! I absolutely love your cabinet makeover!!! What fun!
Nice job on the transformation! It looks very different from the 70’s style it started out as! You rocked my creative world with your aging technique! Pinned and saved! I can’t wait to try it out!!
Wendi,
Fair warning the aging technique is addicting! I’ve even had a reader use the technique on their gatehouse! The whole outside of the gatehouse. It’s perfect for outside too because it seems to have a preserving ability. Jeanette
Great job Jeanette! Love how it turned out!
Thank you very much Angela. It’s unique but perfect for the porch. Jeanette
Great find, Jeanette! Now it fits in perfectly on your porch! 🙂
Thanks Christy! It is perfect for the porch.
Love the use of the burlap and I certainly can vouch that veneer can be a pain! Great job, Jeanette!
Larissa,
Thank you so much for visiting. It seems I always thinking, how can I do this with burlap?? Excited to be on the tour with you. I love your website! Jeanette
I love how you made this look like an old crate. Clever idea and it will be a great conversation piece when people see it on your porch.
Thank you Paula. It was a fun project. Jeanette