
How to create an easy craft cabinet wall
How to create an easy wall of craft cabinets and finally get organized. Plus ideas to help organize…finally!
This comes from someone who didn’t organize my dolls clothes as a child! Organizing isn’t a natural thing with me.
Wall of Craft Cabinets
For your convenience, this post contains affiliate links so you can easily find the products or similar items at no extra cost to you. Click here to read my full disclosure policy.

Craft room
My craft room is the area between our two guest bedrooms upstairs. It’s 6 feet by 16 feet long. To make the most of the space I decided to create a will of craft cabinets.
I bought two cabinets from Amazon that were black and painted them white.
Why didn’t I buy white cabinets? You ask! Well, I would have to wait 3 weeks for the white and the black arrived in 2 days.
I spent the next 4 weeks painting the black cabinet white! I sanded all the doors, shelves and side panels on both sides. Then used water-based Kilz to prime the cabinets. I use a great paint on the cabinets and love the soft white color.

I wanted 2 tall narrow cabinets to set on either side of a cabinet I made almost 20 years ago.
It’s painted black too!
At this point, your wondering why I didn’t leave the cabinets black? I wanted the lightness of white. It’s easier for my old eyes to see items in a white area than in a dark area.
So now that I’m a month into my craft cabinet wall. I started planning my storage needs and containers.
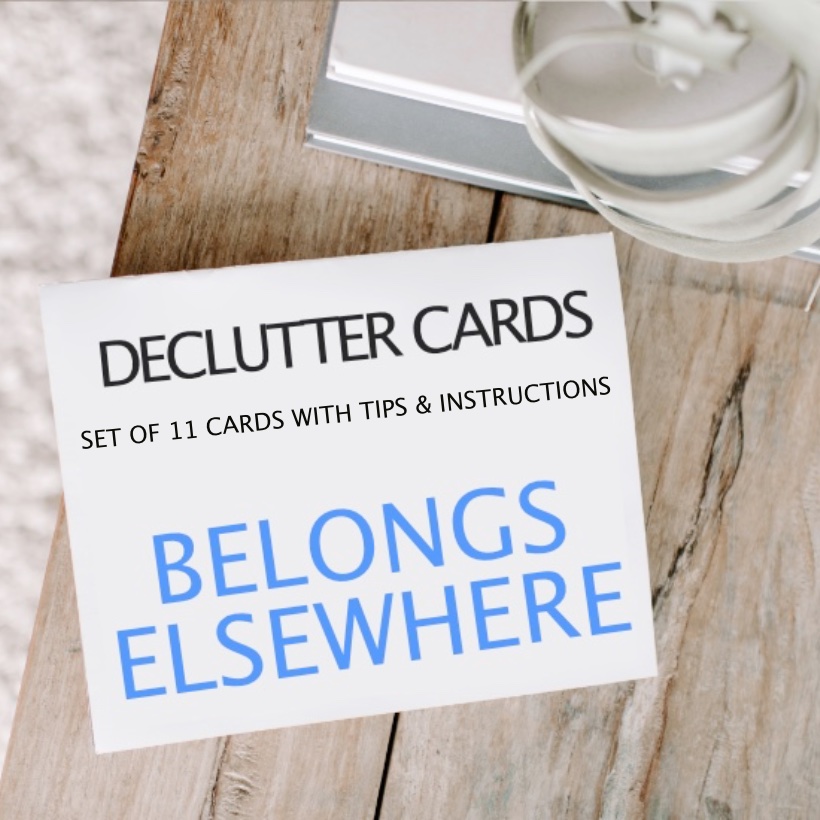
I used my decluttering cards to group items together. Plus it helped to understand what my storage needs.
Have you ever bought a bunch of organizing containers only to return them? They were the wrong size, you brought too many, or you find you need about 200 more containers. UGH! This time I didn’t have that problem when using my cards.
Organizing craft cabinets tips
- Pick unpainted cabinets, unless you find the color you want.
- Collect storage containers in different sizes, but know the sizes you’ll need. Sort your craft supplies first.

- Use revolving unpainted cabinets

- Label everything!


- Pick one or two colors to use on the cabinet and containers. Fewer colors will keep the look calmer and look cleaner.

- Cut boards to make extra shelves.

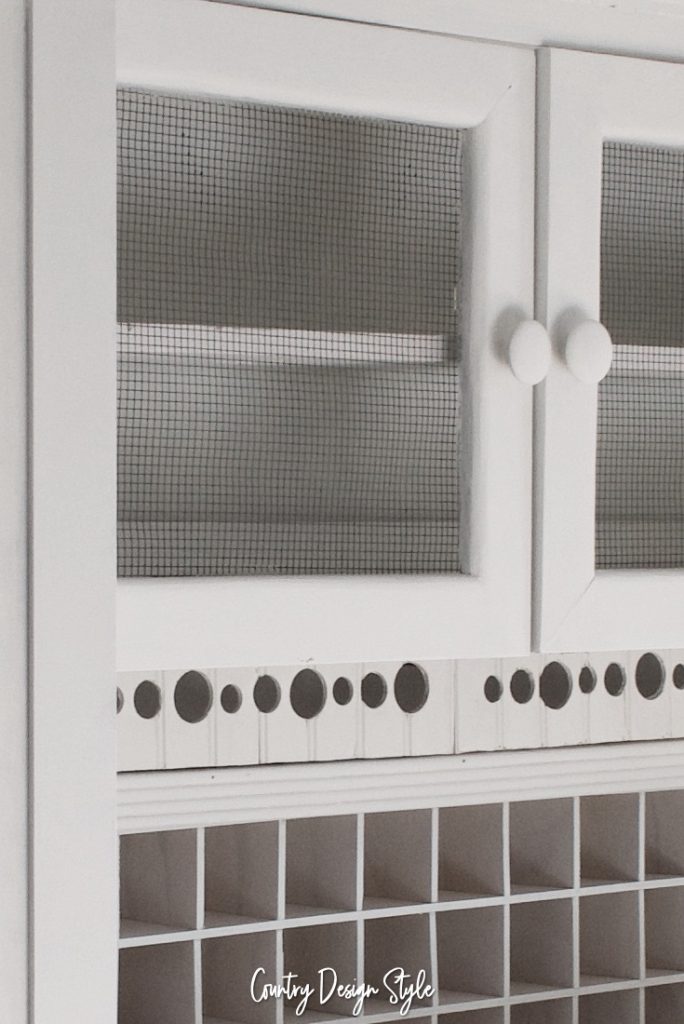
- Add small doors to hide the ugly craft supplies. Behind this chippy painted door are plastic paint supplies, tin foil, plastic bags, and paper plates.
- If you store items in the back of deeper cabinets, make a label to display along the cabinet edge. Then you’ll remember what you put back there!

For all the years, I’ve been DIYing this is the most organized I’ve ever been.
Think outside of the box
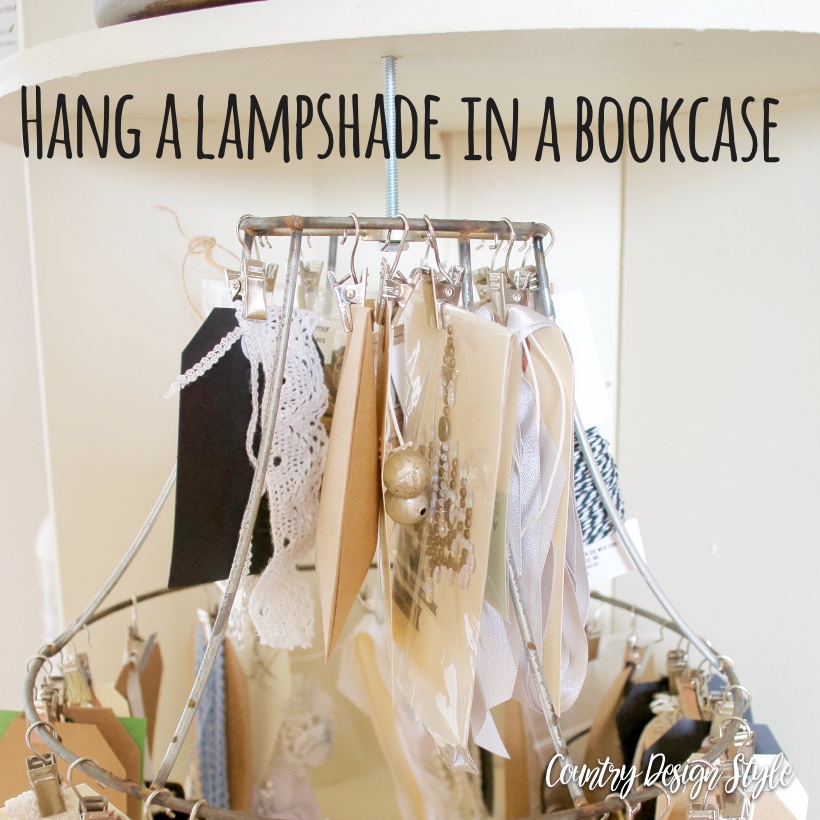
I love the look of my lampshade organizing idea. Plus the ability to see what I have to create with. All the small pieces are in plain sight.

But my craft room doesn’t have many flat surfaces for the lampshade to sit. So this is my idea to hang the lampshade “inside” my revolving bookcase. You can see the finished lampshade full of crafting supplies here.
Click the images to shop the post
Let our readers know what type of crafting supplies you store in the comments below or tag me @countrydesignstyle on Instagram.


I might be moving in a smaller home this summer and need to downsize.ths would be a good way to reorganize my crafts.👏🏻
Rejeanne, this may sound funny, but I envy you moving into a smaller home. I ready to start downsizing. Glad I could give you some help and tips.
What a beautiful storage system you have. We all should be as organized. Kudos to you.
Thank you! It feels a bit weird to have things in their “home.” 😀