Organizing Craft Supplies
After reading this you’ll be hanging a lampshade in your bookcase too. Especially if you’re organizing craft supplies with little space.
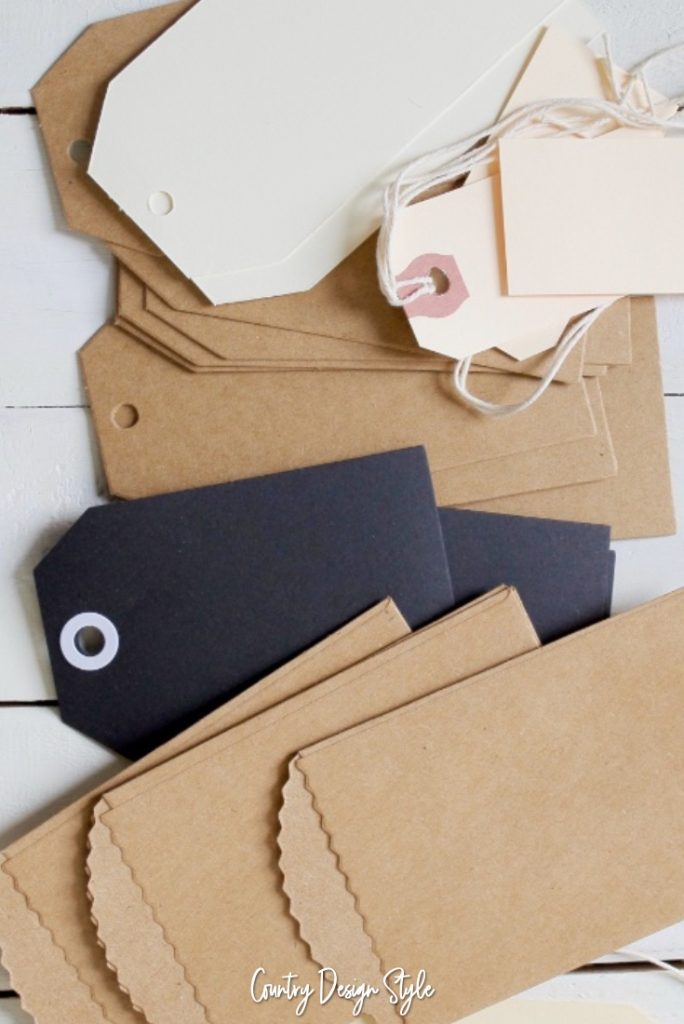
If this sounds familiar to you please read on and see which idea works best for you.
This works great if you have lamp space.
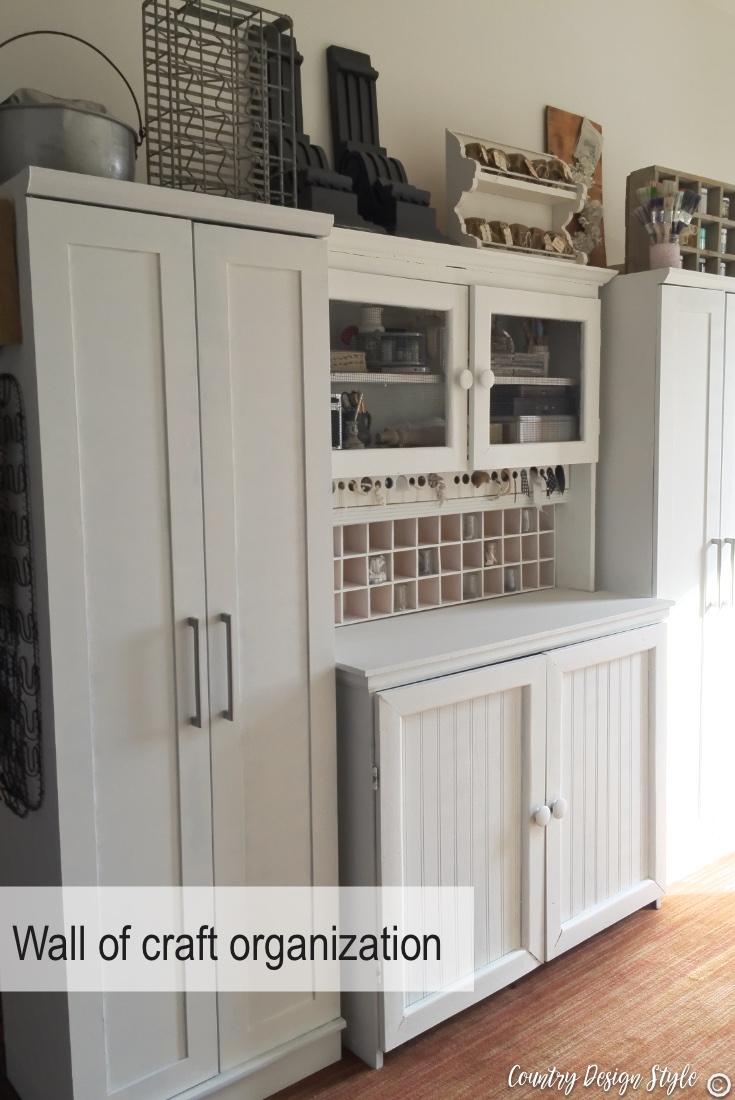
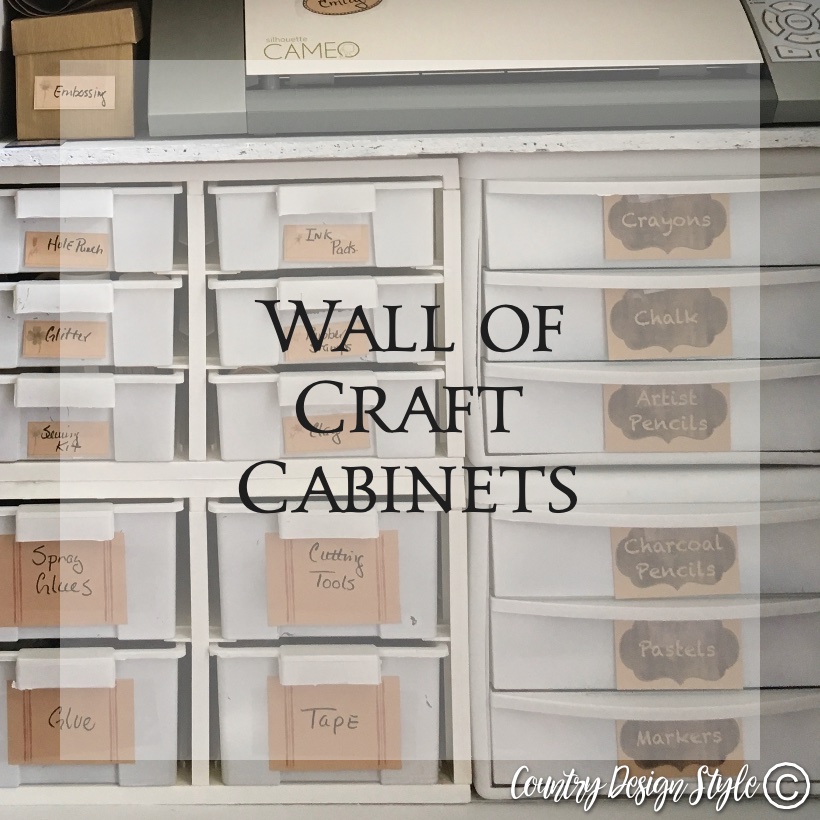
When I first created this idea. it sat on a table like a lamp. But as you can see I don’t have a place to sit a lamp. Unless I set it on the top of the wall of cabinets. But then I would be able to reach my junk.
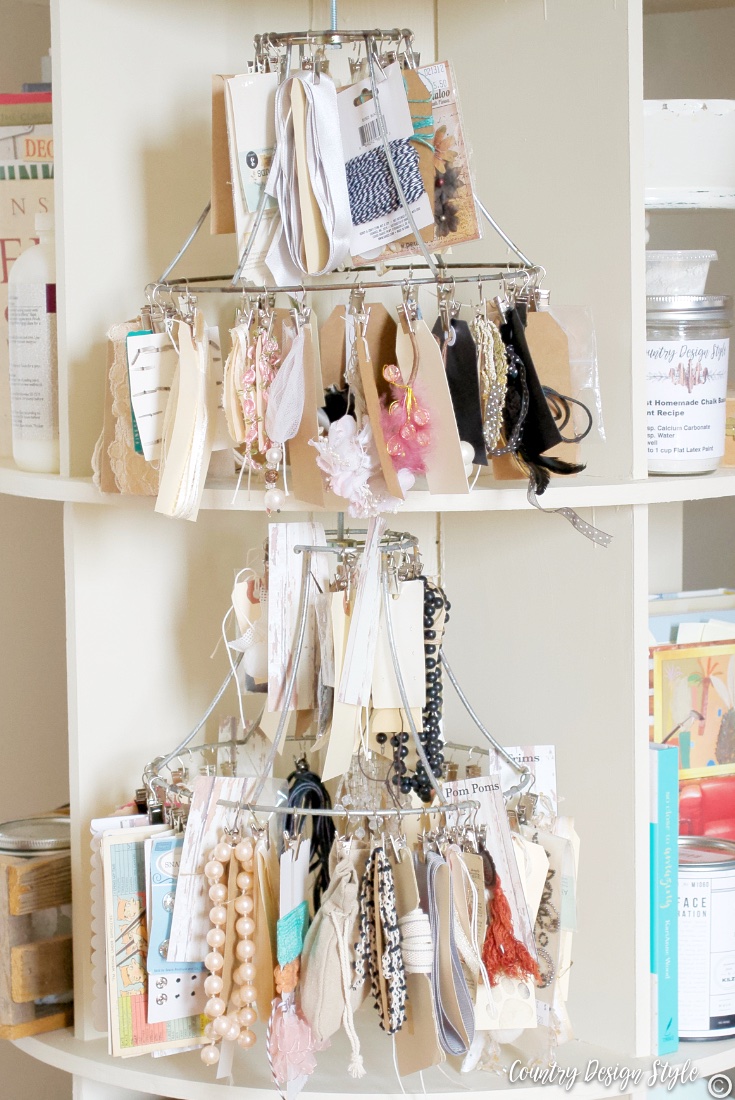
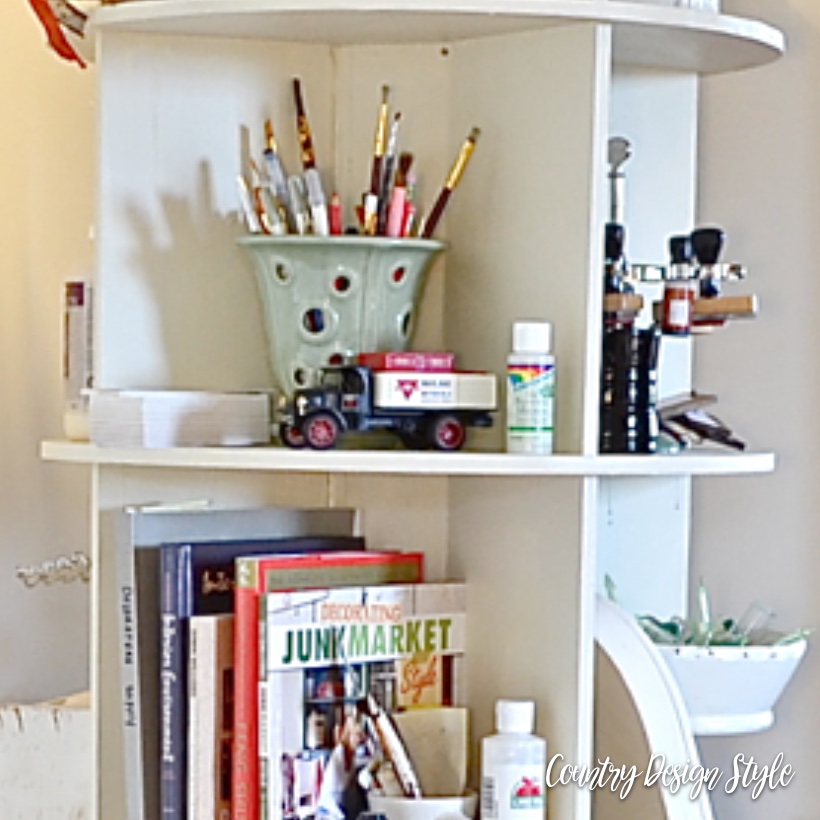
As I filled the wall of cabinets, I noticed the revolving bookcase had some open spots. Hum! I can hang a lampshade there and there!
This post contains affiliate links for your convenience. For more information, Click here to read my full disclosure policy.
Things you will need
Thrift store lampshade
3 inch bolt with locking nut
Drill with 1/4 [check] bit
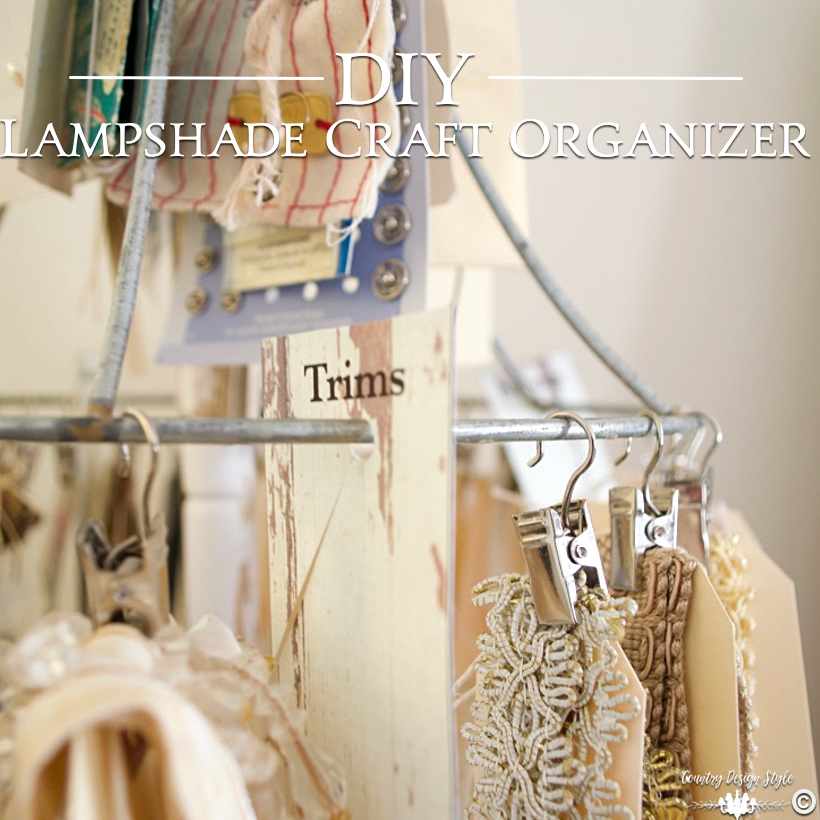
Hanging clips – these are the ones I bought I just found these clips on Amazon too that are a bit cheaper.
Manilla tags or my downloadable farmhouse style labels
Small envelopes
Tape and stapler
Twine
Lots of small craft supplies!
Basic bookcase
Hang the lampshade
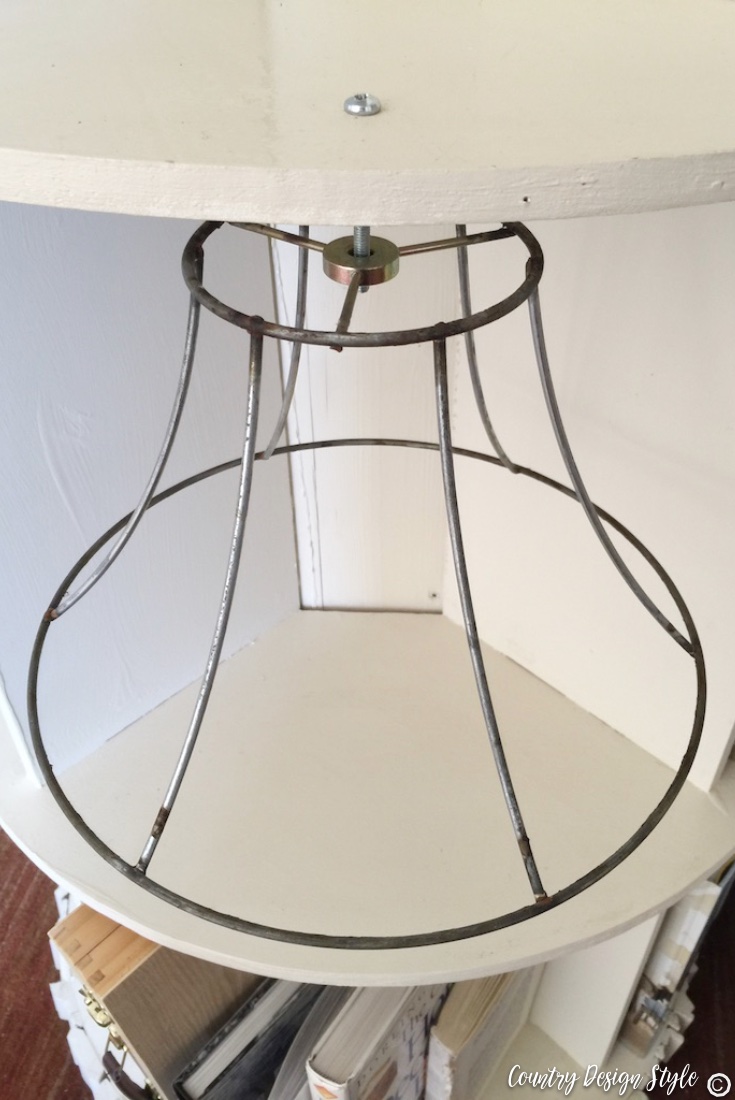
Decide the best location to hang the shade. Make sure to allow room for the lampshade to turn when loaded with craft supplies.
Mark the location and then drill a hole through the shelf
Add the bolt down through the hole
Place the bolt through the top hole in the lampshade.
Screw on the locking nut
Now your lampshade spins.
The clips

These small clips are key to making this work. I would love to use clothespins but they are too bulky. I did try those adorable small clothespins but things tend to fall off when turning.
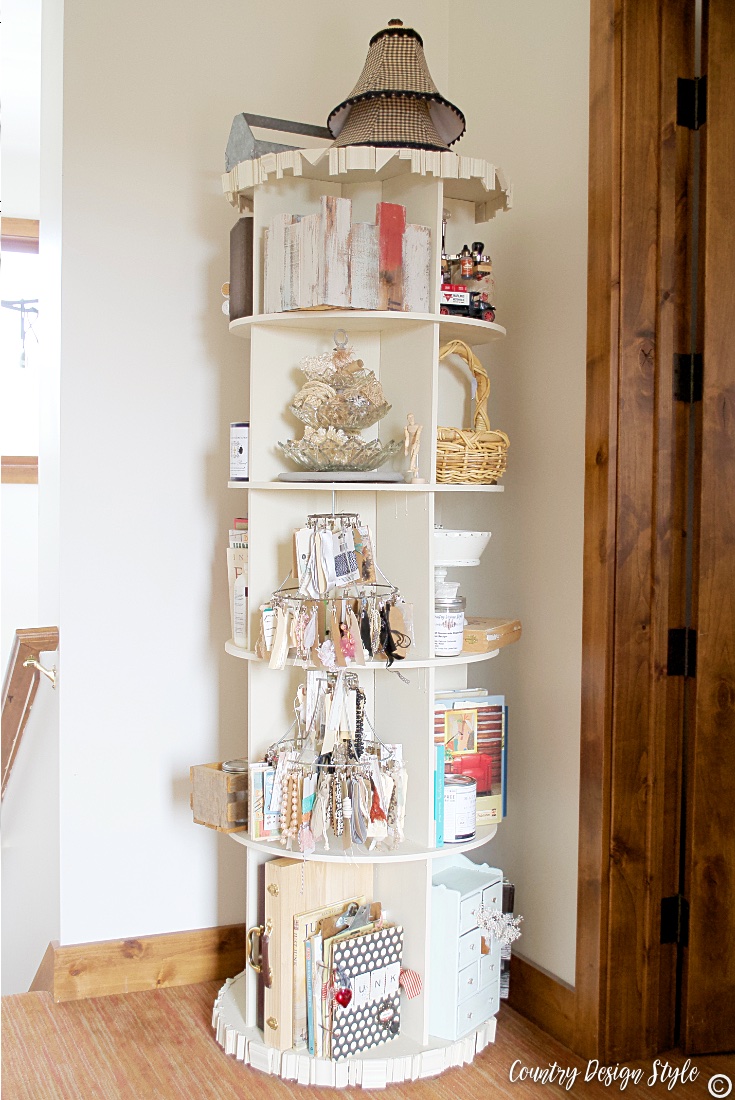
My number one goal for designing this space was to have things in plain sight. This answers the goal.
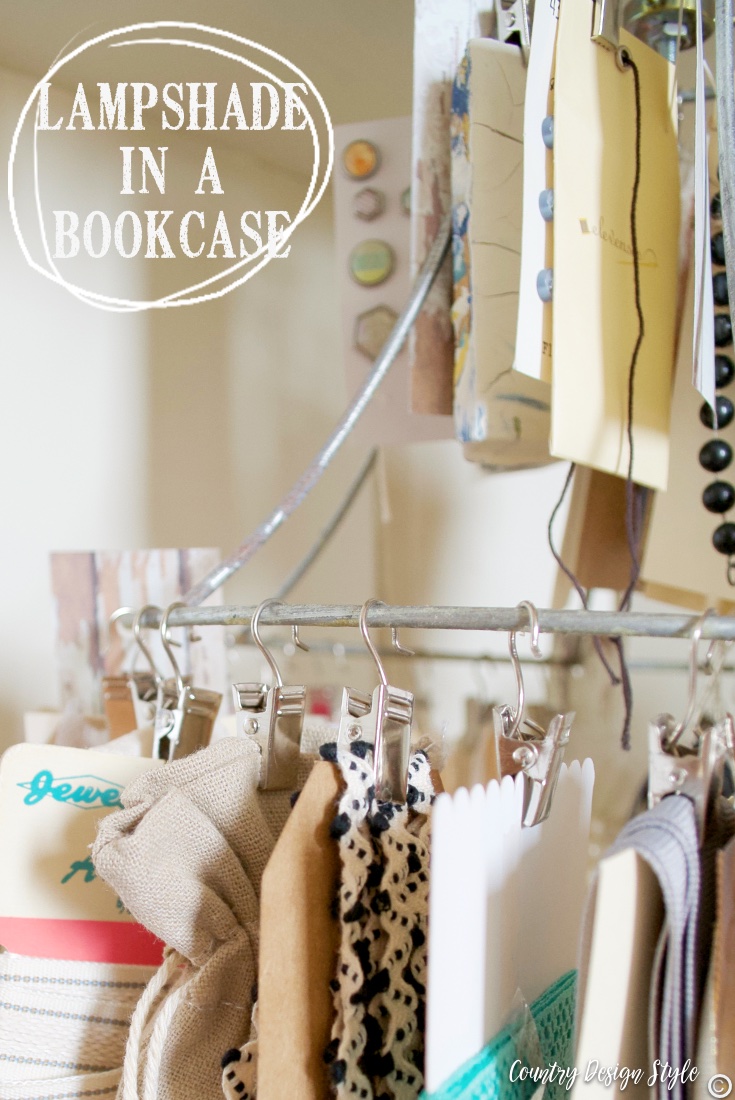
Now that I can see my junk, even the smaller pieces, more DIY projects are in my future.
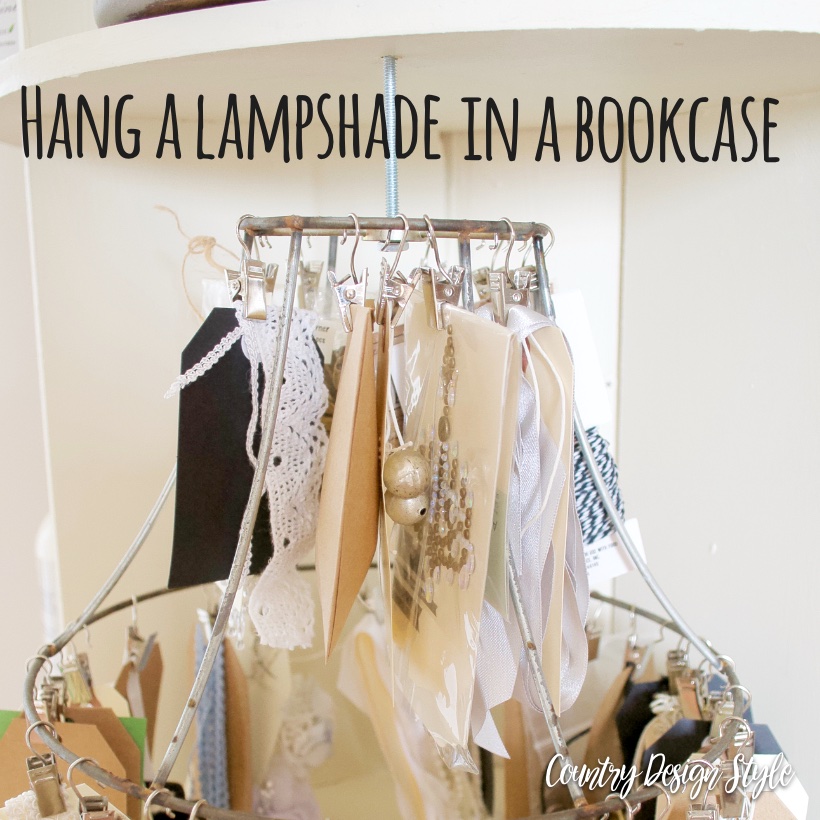
Leaving room for more junk!
I love hanging in my craft area.

Join the newsletter

Subscribe to get our DIY HelpLetter each Thursday. Plus grab your Interior Decorating Ideas e-book.

