
We can do hard things fast with adhesive stencils
We can do hard things fast with adhesive stencils. Are you ready to make a DIY sign that looks hard but is so easy? Let’s DIY this.

The genius idea of adhesive stencils is huge and growing fast. This is one of those, “why didn’t I think of this?” project. Chalk Couture is also in the top 100 search items on Pinterest this year. Glad I started now!
There are affiliate links in this email for your convenience. If you click through and make a purchase, I may receive a commission at no additional cost to you. Read more here.
How I used to make DIY signs
First, I would add my text to the wrong file. After I worked on it for 30 mins, I would start all over. After an hour, my silhouette file would be ready to cut. I’d add the vinyl to the cutting mat and feed it into the machine…3 times. The first two times the mat feed crooked. The whirl of the cutting machine started and would cut completely through the vinyl. Of course, I didn’t realize this until the whirl changed to a faster sound as the machine spit out the mat. It’s at this point when I realize it didn’t cut all the way. Now I have to decide, do I hand cut the areas or start over.
Finally, I have a stencil! A coating of temporary spray mount creates a cloud in the room. Right, it’s supposed to be used outside only. So, I respray outside. My fingers have a coating of stickiness that I didn’t realize until I grabbed a paper towel. Now, I’m lining up my stencil with bits of paper towel on my fingers.
The stencil is ready, and I load up my stencil brush with the correct amount of paint. Then dap, dap, dap I remove the excess on a paper towel, that’s still stuck to my finger. For a split second, I look at the pool of paint on the paper towel. Waste of paint. Next, the dap, dap, dapping start again moving along the edges of the stencil. Even with the spray of glue, I move my fingers along the edges keeping the stencil down and in place.
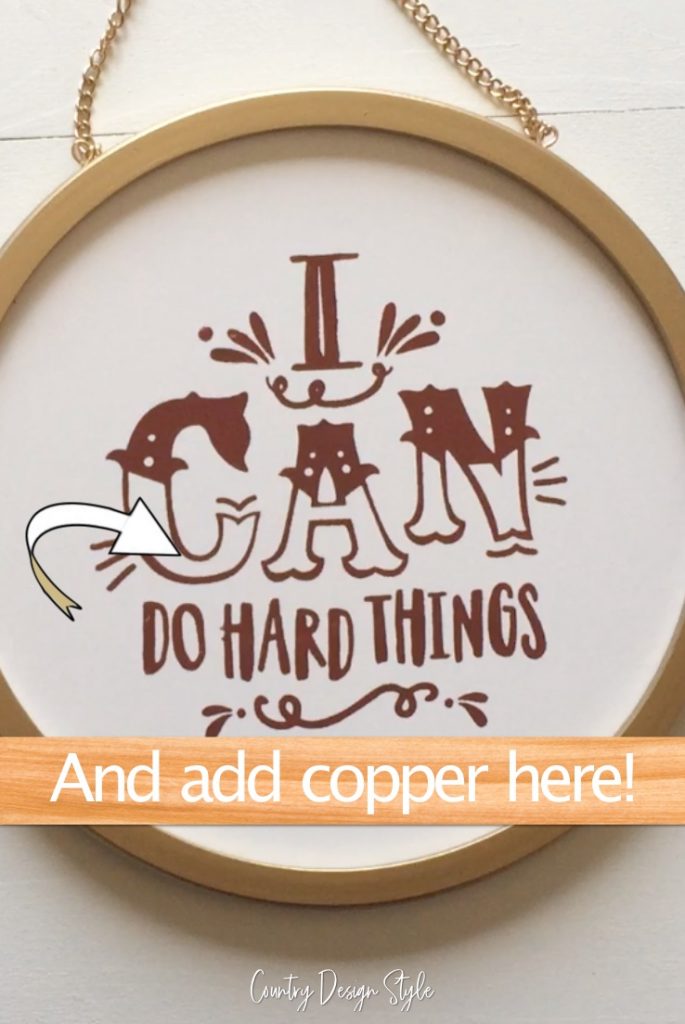
Once the stencil is complete, I carefully lift the stencil and admire my handiwork. Then fix a couple of mistakes, and finally wash the glue and paper towel off my hands.
How I made DIY signs now
Watch the video or read the steps.
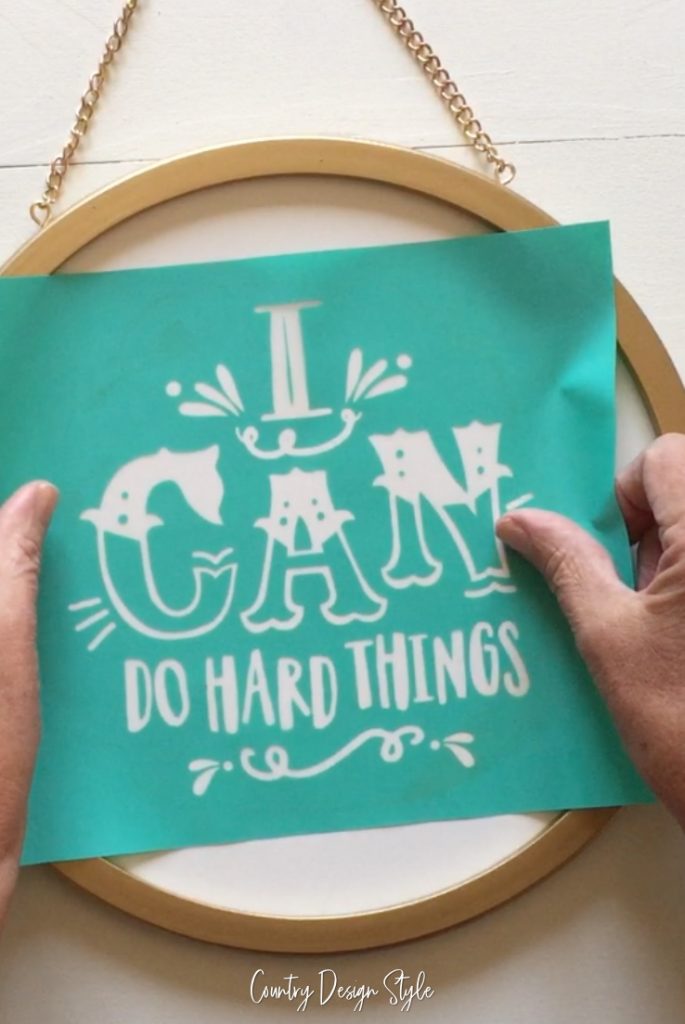
I remove the backing from the silkscreen transfer. Fuzz the stencil with a towel. This makes picking up the transfer easier since it’s reusable! I place the transfer. Open up a jar of paste, and dip a small amount on my squeegee. Then cover the transfer. Next, I use the squeegee to pick up any extra paste and add back into the jar. Then lift the transfer. Done. And done with super duper crisp lines.
This works on reclaimed wood too. Click here to see tips for using reclaimed wood on any type of project.

Washing the transfer
After lifting the transfer, I place it in water. When completely finished, I wash the transfer which takes about 30 seconds. Then lay on the non-sticky side to dry.
If you love making easy home decor and fast DIY signs using adhesive stencils, click here to join my VIP Facebook Group. I’m doing lots of videos and tips and trick using the adhesive stencils there.
Interested in learning how to make money with this fast-growing company? Join my team and I’ll help you create a beautiful side-job!


It is easier to buy stencil spray adhesive.