
How to make Paper Pinwheels Ornaments
Are you loving the buffalo check for Christmas this year? Me too! I’ve got an unusual way to add the popular check to your Christmas tree. And it’s easy.

These DIY pinwheel ornaments are fun and easy to make. I did the hard part for you.
This post contains affiliate links. Click here to read my full disclosure policy.

This is an image of the instruction page to make pinwheels.
A quick video showing the steps.
Below I wrote the step by step instructions and the photos.
Shop for supplies

Supplies
Scissors
Twine – cut to 16 inches
Button
Hole punch
Large needle – I ordered this pack of needles on Amazon.
Oh, and your download at the bottom of this post.
Printing Instructions
These instructions are on your download too.
Print on cardstock. Cardstock is thicker than regular paper and holds the shape of the pinwheel best.
Print the correct page for the first side of your pinwheel. For the buffalo check pinwheel, the first print is page 3. I’ve included both pinwheels in your download. Actually, you can pick and choose which front and back of the pinwheel you wish. Although the lines are on the black buffalo check and the burlap print.
Reload your printer so the paper feeds the same direction and prints on the back side. The prints are centered on the paper. Slight variables may cause the prints to be off. That’s fine. If you do have problems, take your download to your local copy store. They can help and the cost is minimal.
Making pinwheel instructions

Cut out the square along the lines. I have lines on the black buffalo check and the burlap print.
Cut to the center square. The lines are light. If you have problems seeing the lines, simply cut from each corner to two inches towards the center of the square.

Punch hole in each corner location. Make sure the holes don’t get too close to the cut edges.

Thread twine on your button. Then rethread the needle on both pieces of twine. You can use paper fasteners or a nail with a large head. I made this pinwheel that works!

Thread the button into one hole from the back side. The back side is the side you what to show in the center of your pinwheel.

Continue threading the other three holes from the back side. This is the point where you wish you had another hand…or more fingers.

After you have all four holes gathered, push your needle through the center hole. Then pull until the button is about an inch from the center hole. Those extra fingers…will now be in the way!

To make the pinwheel hang on the tree correctly, tie a knot at the ends of the twine. Then, add a piece of tape on the back. You can hook an ornament hanger through a small hole if you wish to hang that way.

Remember you can make the pinwheels either way.
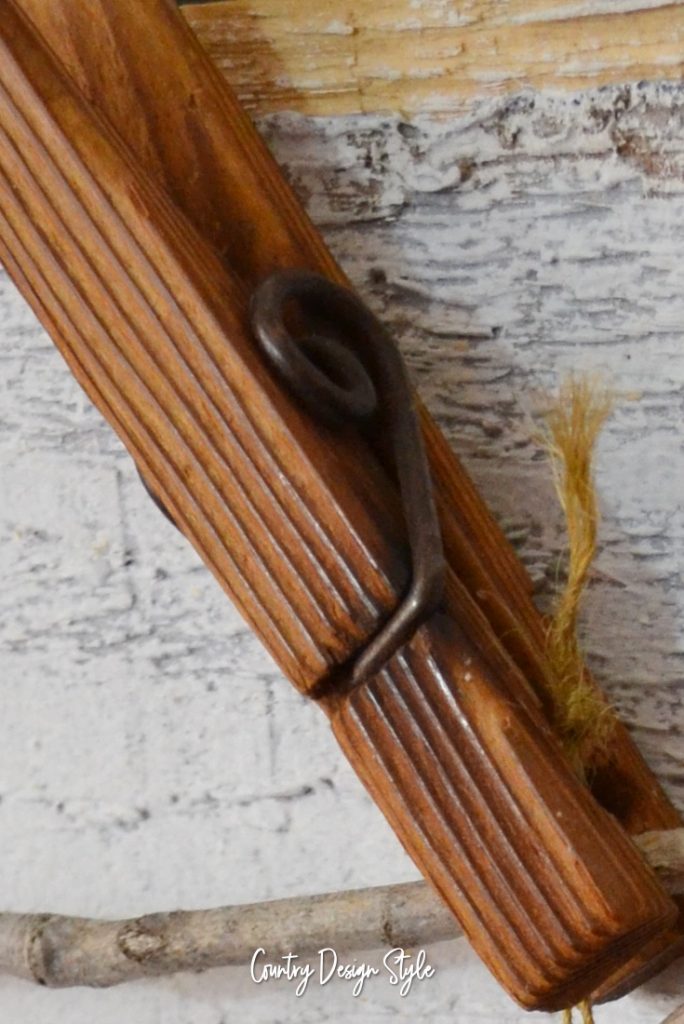
Now can we take a moment and check out that large vintage clothespin!
Click here to grab your pinwheel download…no email required.
I hope you enjoy your pinwheel and come back for another visit soon.
We’ll make something else!
Click the images to shop the post


It’s easy to make and it’s cheap too! So if you’ve always wanted to pinwheels but never had the time, then this article should motivate you to take a look at the craft. So, what are pinwheels? They are circular wheels made from a mixture of paper and wax or cotton, and the edges are usually rounded. They’re usually used as decoration items in gift baskets, however there are several other uses for them, so have fun experimenting.
In case you’ve never heard of how to make paper pinwheels then you’re in for a treat. It’s easy to make and it’s cheap too! So if you’ve always wanted to pinwheels but never had the time, then this article should motivate you to take a look at the craft. So, what are pinwheels? They are circular wheels made from a mixture of paper and wax or cotton, and the edges are usually rounded. They’re usually used as decoration items in gift baskets, however there are several other uses for them, so have fun experimenting.
I was window shopping at Pottery Barn and I saw some adorable gold glitter monogram ornaments, that I just knew I could easily replicate. I thought these ornaments would be the perfect way to label our stockings this year. Since it will be Miss P’s first Christmas, I’m in the process of making new stockings for each of us.