
How to make a frame using popular shiplap
 Shiplap is huge! And as I was writing this post our exterior walls knocked me out!
The walls didn’t fall on my head. A board didn’t knock me out. A realization has my head spinning and little birds are flying around like in the cartoons! Or it’s a huge lightbulb going off.
We live in a cabin. I want shiplap. We live in a cabin. I want shiplap.
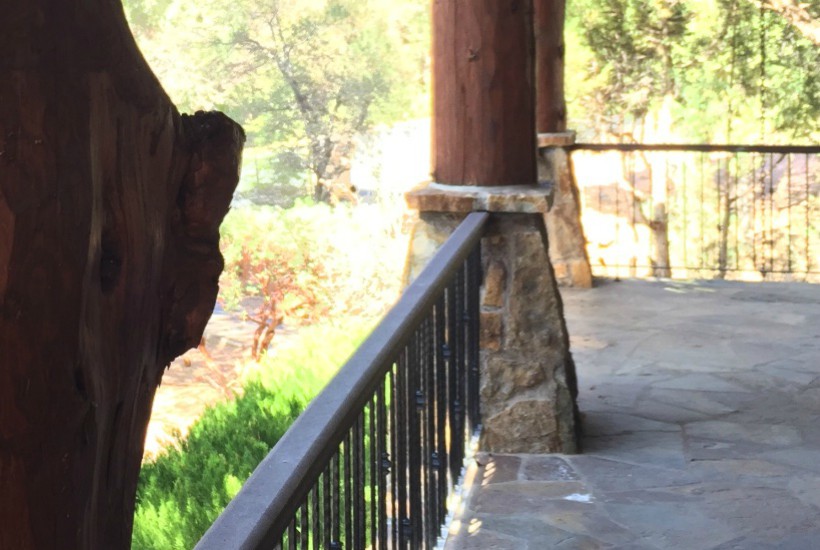
Wait a minute….our exterior walls of our cabin are shiplap!!!!!
Shiplap Frame
This post contains affiliate links. I will make a commission for your purchase at no extra cost to you. This helps me maintain the website. Thank you for your support. Think of it as a friend letting you know where I found a product I use, love or want. Click here to read my full disclosure policy.

If it works for the outside, I’m going to make it work for the inside.
This post is taking a completely different direction than planned. Stay with me you will find a way to add shiplap to your home too! Even if you can only do a small bit. 🙂
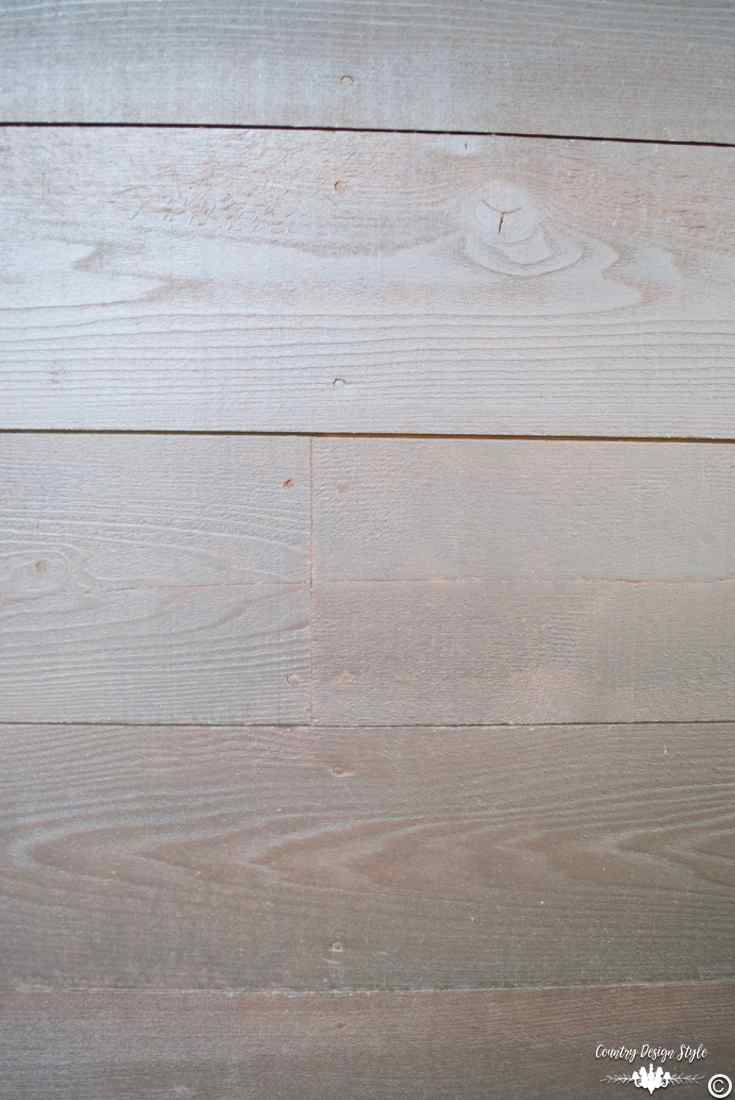
What is shiplap?

Pardon my computer drawing. Above shows exactly what shiplap is. The top tongue and groove board is used in flooring. The tongue and groove broad with sloped edges create a “V” groove between the boards. It’s used for siding. The third is just a board. The forth is true shiplap. All that said, any can be used for shiplap.
What is the cost of shiplap?
Shiplap can cost from $3.85 to $5.50 per square foot. There are cheaper ways. One idea is free! See below.
{Costs may vary greatly by area and time}
- 6″ by 8′ shiplap pine board costs around $13.00
- 3 1/2′ by 8′ sheet of paneling with the look of shiplap costs as low as $11.00 a sheet
- 6″ by 8′ Basic pine board costs around $10.00 – use as is or router a rabbet joint on each edge. This is a similar bit I use for rabbet joints.
- 1/4″ plywood 4′ by 8 foot is around $22.00 – cut into 8′ planks.
- 1/4″ by 1 1/2″ lattice strips around $1 each – fun rustic look. Use primer before painting.
- Dig down in the bottom of your desk for a pencil. Draw lines across your walls.
Ideas to add shiplap
When we think of shiplap we think farmhouse. What if you live in a cabin, a stucco home or, brick? Like any other wall surface, you don’t have to add shiplap to every wall. Instead…Add shiplap to an entry wall.
- Add shiplap to an entry or accent wall.
- Extend a fireplace by adding shiplap above.
- Install shiplap in the back of a bookcase.
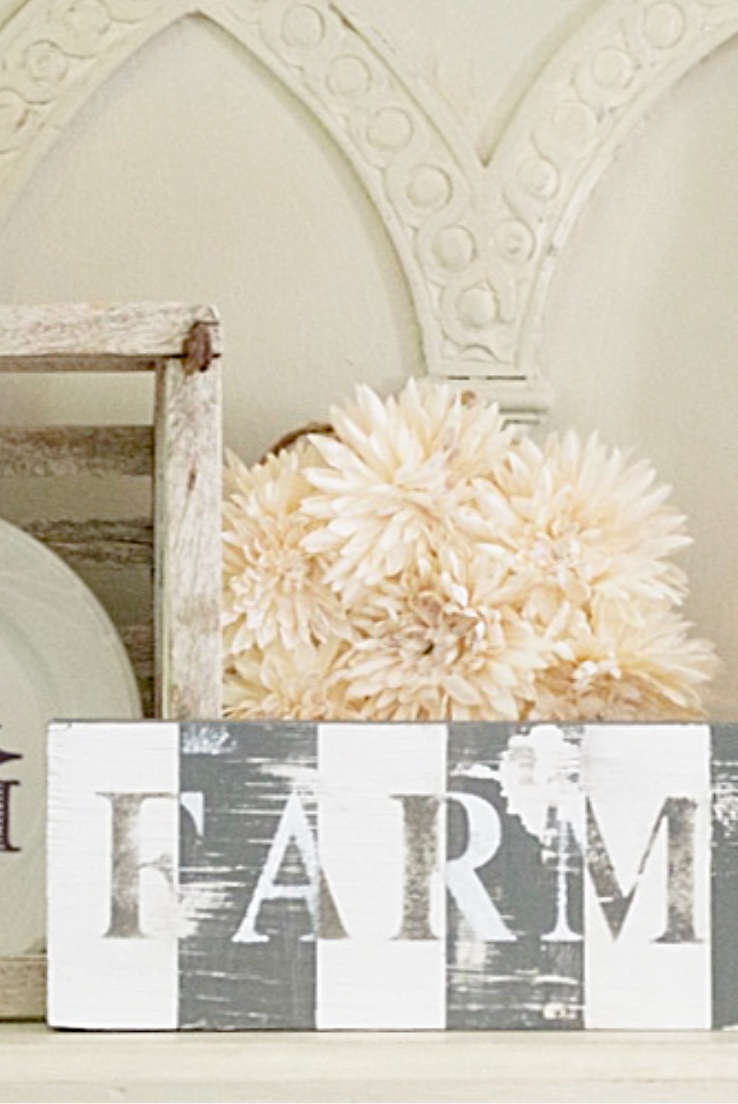
- Simply make a shiplap frame.
Shiplap Frame


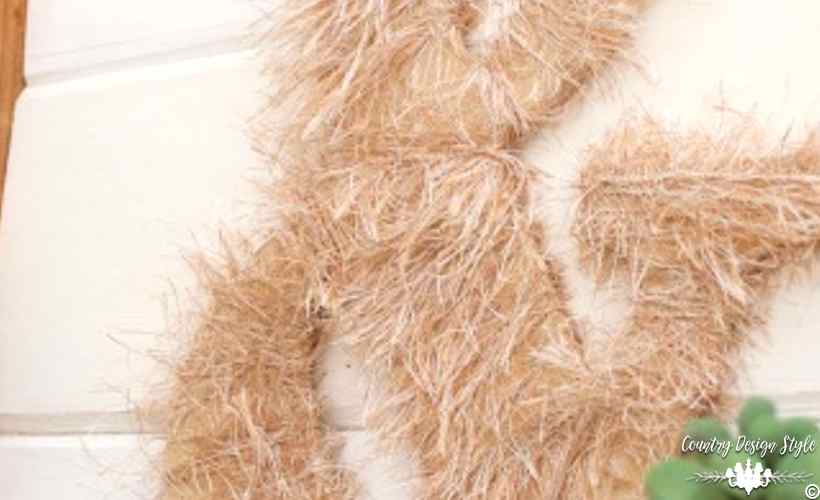
I love your ideas for adding shiplap to the inside of the house. Right now, for me, the pencil idea is probably the best one for now! Lol!! Love the framed and beautifully textured Ampersand. At first glance, I too thought it was some sort of animal because I was squinting at it on my tiny phone screen!! Thanks for the inspiration along with the good laugh I got reading this! Now where is that pencil sharpener??
Andi
Thanks for the tutorial! Love the frame. 🙂
I found an old frame missing one piece. Just decided, with your inspiration, to attach it to a shelf at the bottom.
It can be a frame and a key catcher!! I simply cannot bear to throw it out.
Have a great week!
TK
Hi, TK. Great idea to repurpose a broken piece! Love the idea. It’s one more piece saved from filling up a landfill. 🙂