
Rustic Box
Sometimes you just needed to build a box!
It’s therapeutic. Like digging a hole. Activity with little thought.

This box, I made with leftover wood and no nails! It’s also an example of “broken pieces mend stronger.”
This post contains affiliate links…and so much more. Click here to read my full disclosure policy.

This box is held together with my favorite quality wood glue. The strength also comes with a good clamp and leaving the pieces to dry completely.
The best clamps to use are bar type with a long screw. I use the quick grip clamps as extra hands.
Leftover wood
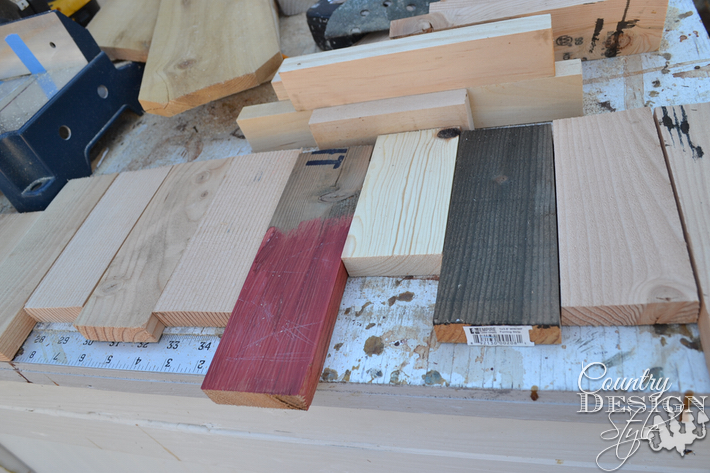
In the last post, I made chunky wood tags using leftover wood that was about to tumble down on my head. Some of the rest of the wood was turned into a rustic box. I lined up 1 by 3 short pieces. {some were painted or stained with “ironed” vinegar}
I picked out enough for 4 sides of a box.
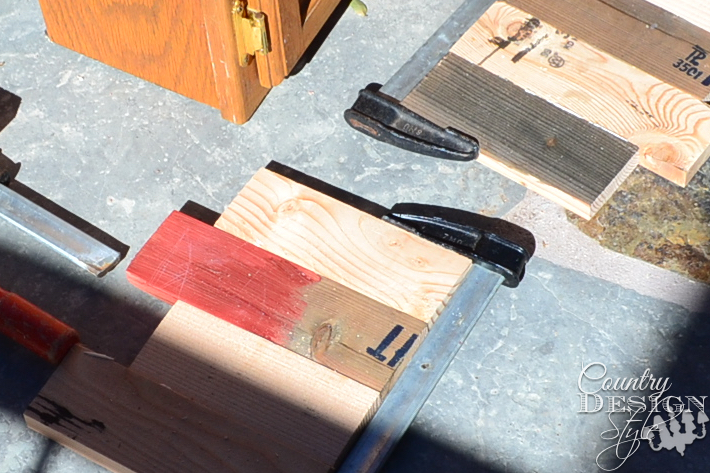
Then, I applied a good quality wood glue along the sides and clamped them together. Two sides used 3 pieces of wood, the other side has 4 pieces. Let the wood glue completely dry. When you unclamp the boards the glue will hold strong. Wood glue applied well, clamped strong and allowed to dry completely is stronger than the wood.
Forming the box

Next, I formed a box and glue the sides again with wood glue and clamped. When it dried completely, I cut pieces to fit into the bottom. The {first time I turned on the saw for this project} I went with a “slatted” bottom. I applied glue to the edges of the slats…and let dry!
Painting
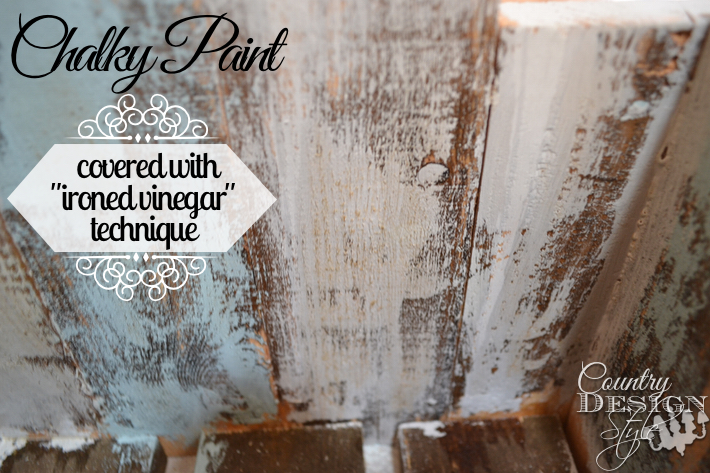
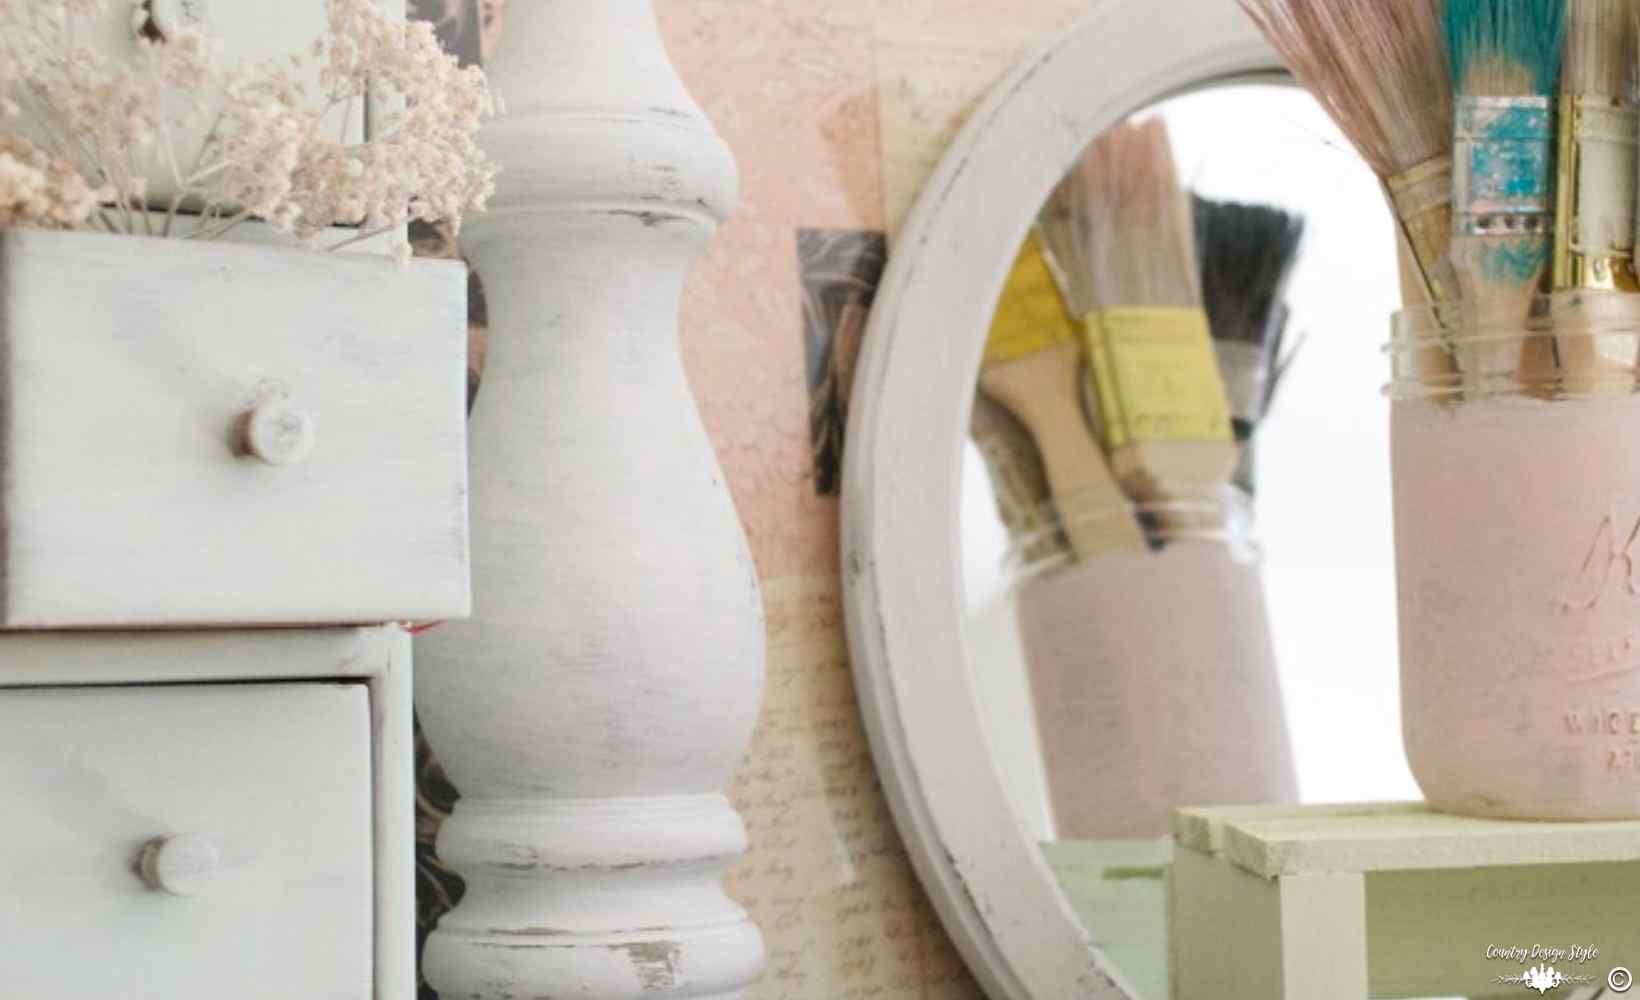
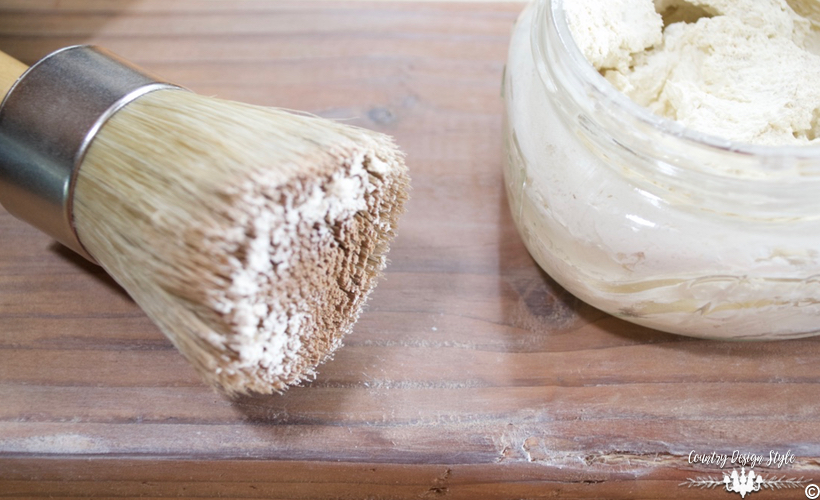
Next, the rustic box took an unexpected turn! I dry brushed chalky paint in a couple of colors, soft gray and light turquoise green. Then for fun and to see what would happen I added the “ironed vinegar” technique. Please click here to read more about the ironed vinegar.
Wow! I loved the effect!
I have more ideas for this one!!!!
But for now…

back to the box. I set it on the revolving bookcase and filled it with crafty stuff.
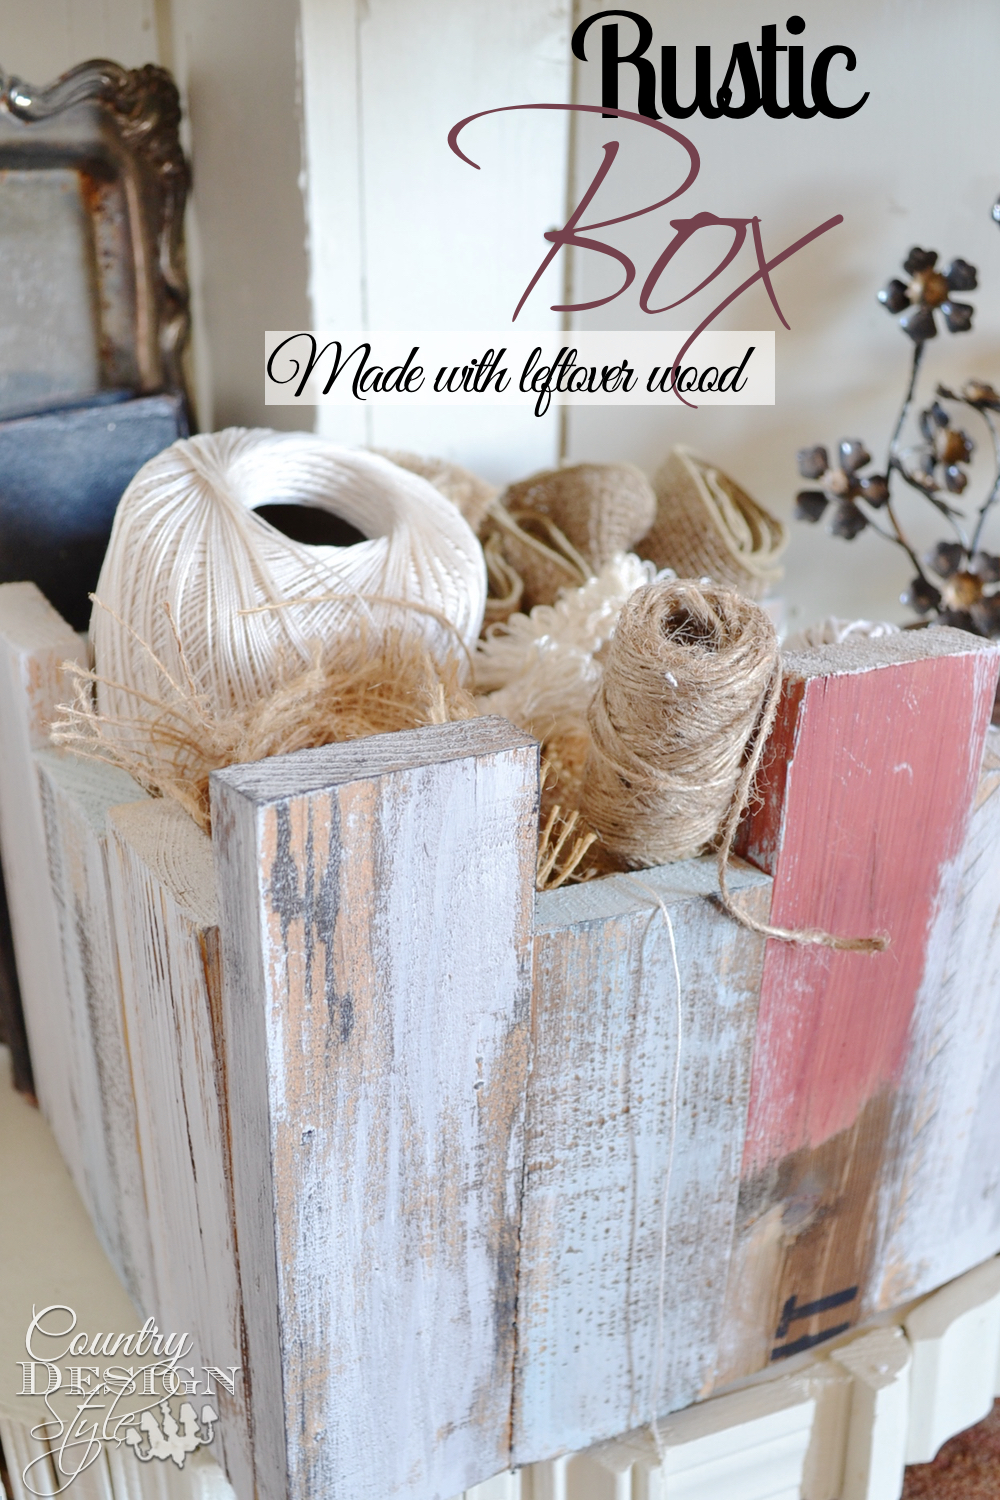
Although it’s actually strong enough to hold metal crafty stuff.

It’s nice to have more storage bins…that are not plastic…and
clear out my scrap wood bin.
Now I think Mike wants help planting a tree and I have a suspicion it gonna involve digging a hole.


How clever is this? What a great way to use up scraps of wood. Love it!
Thank you Betsy. I need to make a few more. Thanks for visiting. Jeanette
Kathi, the box is soooo easy! The iron vinegar is easy too but the steps do need to be followed. I’m reposting more on the technique next week. I’ll make sure to do it in steps so you’ll be ready when the garage warms up. 🙂 We are having SPRING and allergies here!!! Achooo! Jeanette
Cute box! I could do that!
As for the iron vinegar technique. I didn’t do well, but it may have been the wood, or my mixture was off. I’ll try again in the spring when my garage warms up!
great idea in aging wood and super how it turn out – a very cool box..
Hugs
Thanks Kristeen! I’m working this weekend on more details to the aging wood. XOXO Jeanette
Yes, I want to see more on the technique! Love your box. 🙂
Cecilia, I’m going to do some testing and photos this weekend and get a post up next week! 🙂 Thanks for visiting. Jeanette
what is ironed vinegar effect???? it looks like from the previous questions on this you do not answer in the column?? thanks
Lynda, I gonna copy you the answer above in case you don’t get a chance to check back. I update the website and my links are just gray text. I will make sure to update the post with a “click here.”
The post has a link to the details of “ironed” vinegar but I realize I didn’t add “click here to read about ironed vinegar.” My bad, I will go back in fix it in the post. But in the meantime, I just tell you. Add 1/2 pad torn pieces of #0000 steel wool {that’s the softest} to a mason jar. Pour in 2 cups of white vinegar. Add the lid and let set for 24 hours. During the 24 hours the steel wool starts to breakdown. After 24 hours the jar and vinegar will look the same. But the steel wool has rusted pieces in the vinegar. Next make a cup of hot black tea using a tea bag. Paint the tea on the wood. Let the tea dry. The wood will look pretty much the same. Next paint the wood with the vinegar. You will start seeing the wood “age” right away. It will get darker as it dries. That’s basically it. You can read more by clicking here https://countrydesignstyle.com/this-old-wood/
Thank you Lynda for reading and asking. Let me know if you have any more questions. I’m always happy to help! Jeanette
Love the scrap wood projects. I have to fight to keep Hubby form burning our scraps!! I have use the iron vinegar technique before but never with the tea wash first. So you did that over the paint? Love the results!
Laura, Black tea has a substance called tannin. Tannin is natural in tea and is bitter and causes the darkness of the tea. The steel wool rusts in the vinegar and rust is a type on iron. The iron in the vinegar causes the tannin in the tea to turn dark. I’ve never tried with just the iron vinegar!! I could see some changes if the vinegar sits for a long time. I have a vinegar made last week and one that was made 3 months ago. The one old vinegar is every dark while the week ago vinegar is still almost clear. I’m going to try just the two vinegar and see what happens. I’ll get back to you with the results. I feel like a scientist! Now, where’s my lab coat?? Jeanette
I use your ironed vinegar technique ALL the time and LOVE it!! I also use chalk paint and love it but never have used them together. Sounds FUN and bet it looks awesome! Would LOVE to hear how to use the two together!
Melinda, I soooo glad you’ve using the technique! I really do need to do an update to the post. I have a reader use the technique on an old gatehouse that lost all the paint over the years. It seems to have a preservative quality. I will be added a post with using the chalk paint and ironed vinegar together! Look for it next week. Jeanette
WHAT IS IRONED VINEGAR?…..THANKS
Betty, oh so sorry. The post has a link to the details of “ironed” vinegar but I realize I didn’t add “click here to read about ironed vinegar.” My bad, I will go back in fix it in the post. But in the meantime, I just tell you. Add 1/2 pad torn pieces of #0000 steel wool {that’s the softest} to a mason jar. Pour in 2 cups of white vinegar. Add the lid and let set for 24 hours. During the 24 hours the steel wool starts to breakdown. After 24 hours the jar and vinegar will look the same. But the steel wool has rusted pieces in the vinegar. Next make a cup of hot black tea using a tea bag. Paint the tea on the wood. Let the tea dry. The wood will look pretty much the same. Next paint the wood with the vinegar. You will start seeing the wood “age” right away. It will get darker as it dries. That’s basically it. You can read more by clicking here https://countrydesignstyle.com/this-old-wood/
Thank you Betty for asking and letting me know. This technique is so awesome, I hope all my reader give it a try. Let me know if you have any more questions. Jeanette