
Sanding Furniture Tips
Sanding furniture tips to help you add a bit of destruction to your makeovers. If you need help on just where to sand your furniture to look naturally distressed, I can help.
Plus a video with tips on using the waxes that are so popular to make your furniture makeovers pop! Or at least look old.
You’ll be able to transform yard sale finds into treasure with these
Sanding Furniture Tips
You’re getting a sneak peek at the old $50 pump organ I’m turning into a desk, organizer, storage, display area, workstation piece.
Disclosure: This post contains affiliate links, which means that if you click on one of the product links, I’ll receive a small portion of any sales at no additional cost to you. I only share products I like, used and have ordered, OR products I want.
Here’s my quick rundown on sandpaper
- Sandpaper comes in many different sizes, shapes and grits.
- The sizes and shapes are to fit different power sanders.
- When I’m distressing furniture I don’t use a power sander. I use my hand or a sanding block. My sanding block is just a piece of wood with sandpaper wrapped around it.
- I buy 9 by 11 sheets of sandpaper because my palm sander uses 4 1/2 by 5 1/2 sheets. Cutting the sheets into quarters fits my sander and around my sanding block. Plus it’s a good size when sanding by hand. About 90% of the sanding I do when distressing a piece of furniture is by hand.
- The most common grits are 220 to 80. The lower the number the rougher the sandpaper. I use most all the different grits starting with 80 and ending with 220. Do be careful using 80 because you can scrape through the paint and into the wood. Plus it can leave deep marks on the paint.
Now that that’s out of the way…I didn’t use one bit of sandpaper on the organ!!
I used chalked based paint on the organ and ALL the sanding was done with a wet rag. Yep, just a wet rag is all you need to sand chalked based paint. I painted the organ with two coats of Rustoleum Country Gray Chalked paint.
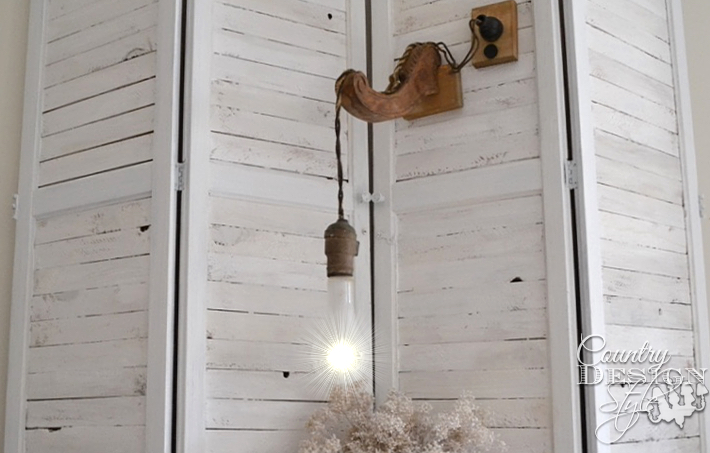
Now for the areas, I like to sand.

The knotholes in wood and any raised wood grain area.

Any breaks in the wood. The organ had a lot of breaks.
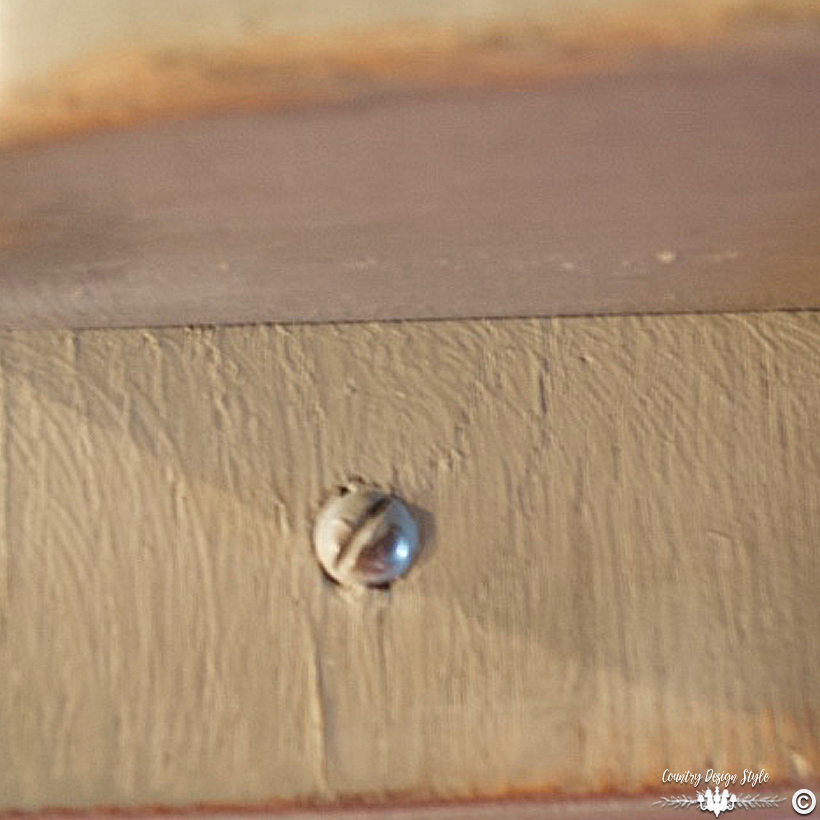
Paint over the hardware and screws and sand back lightly.

Sand over the dents in the wood. I love the paint that remains inside the dents. <3
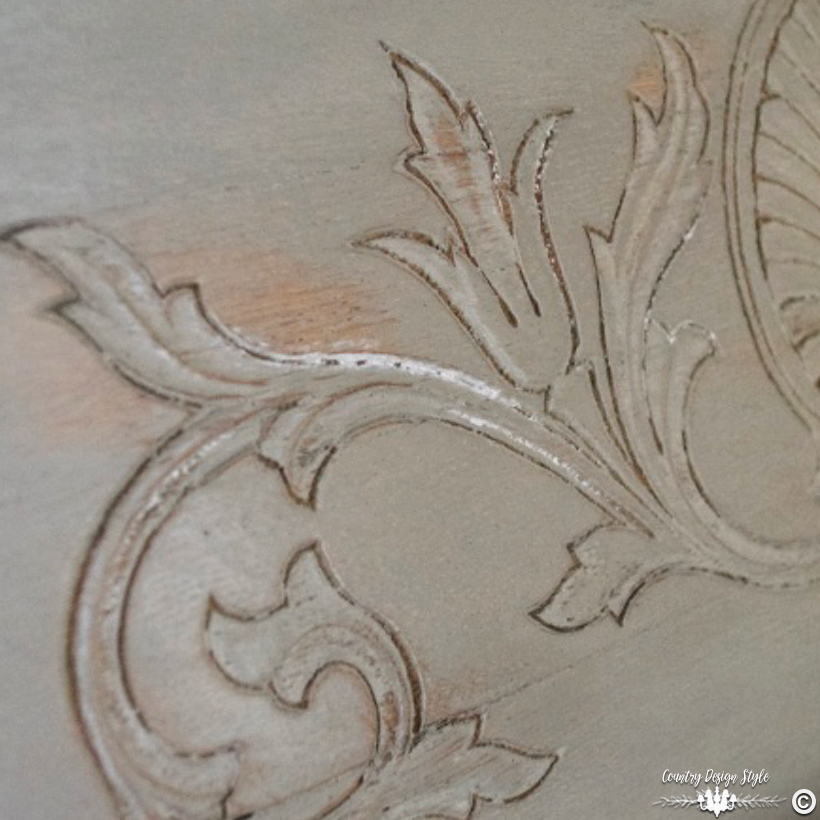
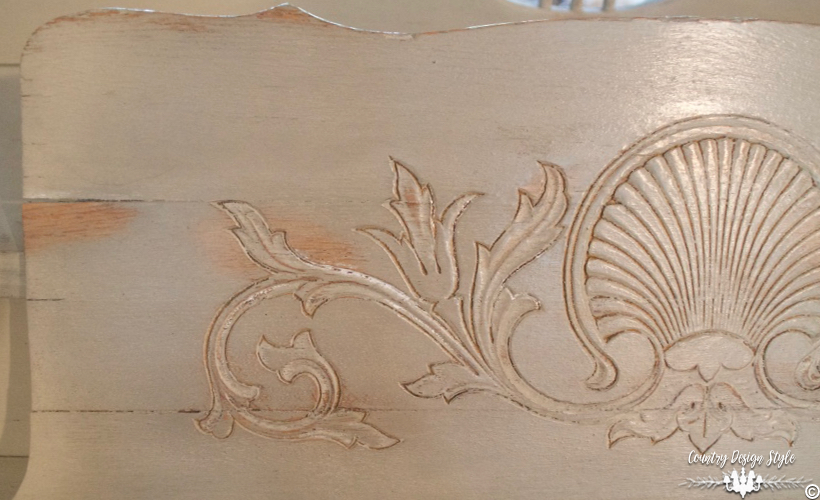
If the piece has onlays {designs that are raised} or inlays {designs that are below the surface} make sure to sand over those areas.

Along the edges and nicked places.

The corners.
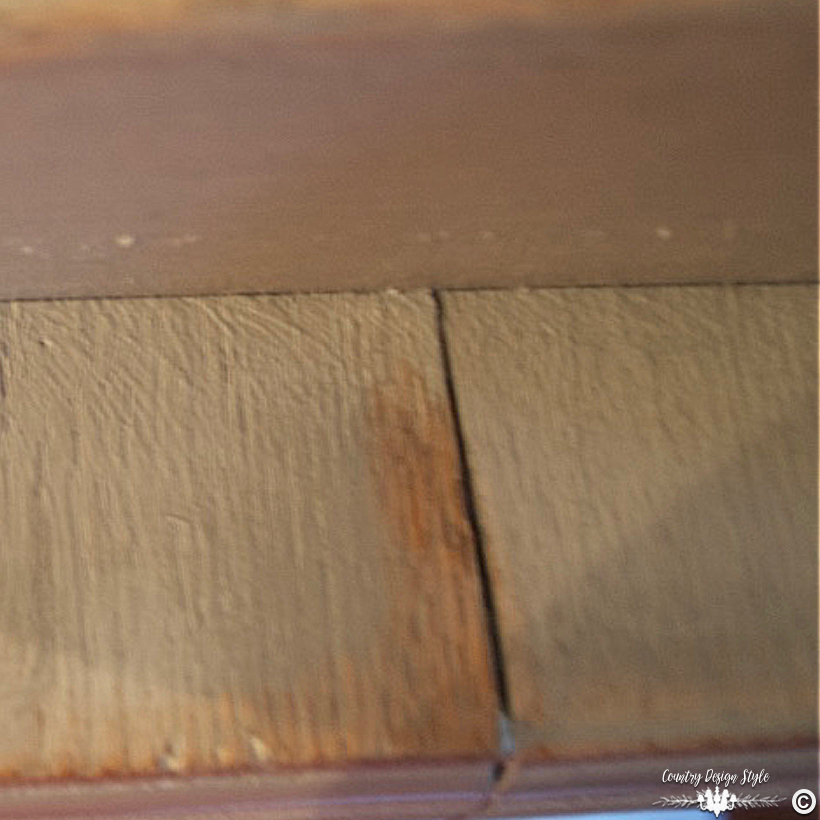
When there are boards laying like slats, it’s a great look to sand one board more than the next one.
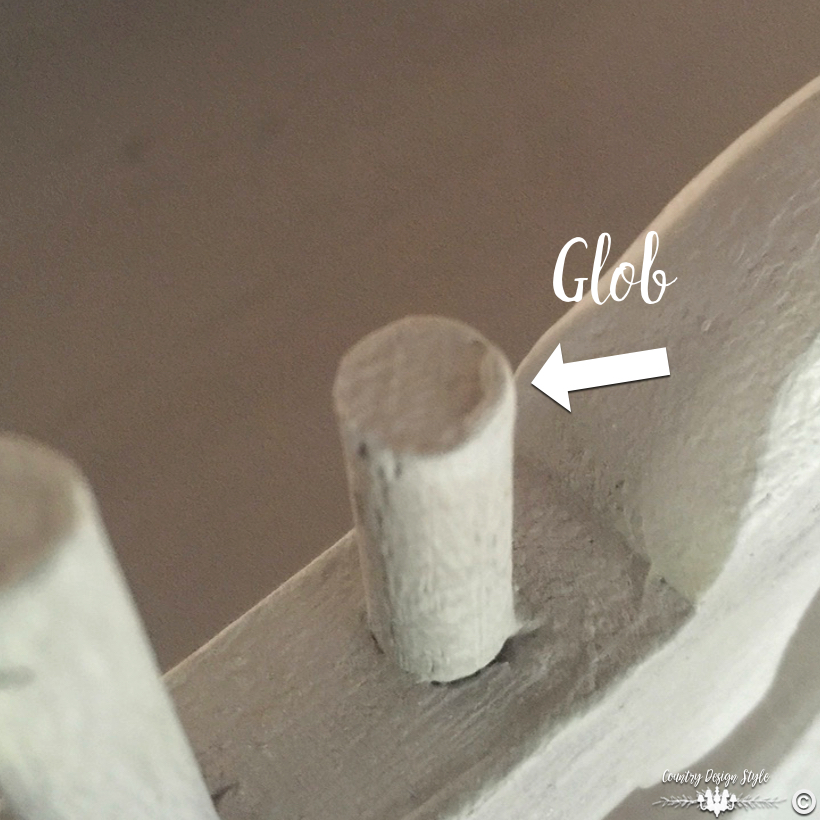
I left a glob of paint on top of the dowel. I’ll sand it off and no one will be the wiser.

Did you notice the darker and lighter areas in and around the sanded places?
Join me LIVE on Country Design Style FB chalked paint and wax #DIYTips
This video will share how I use the dark and light waxes for chalked paint…actually I do the waxes the same with other paints too.
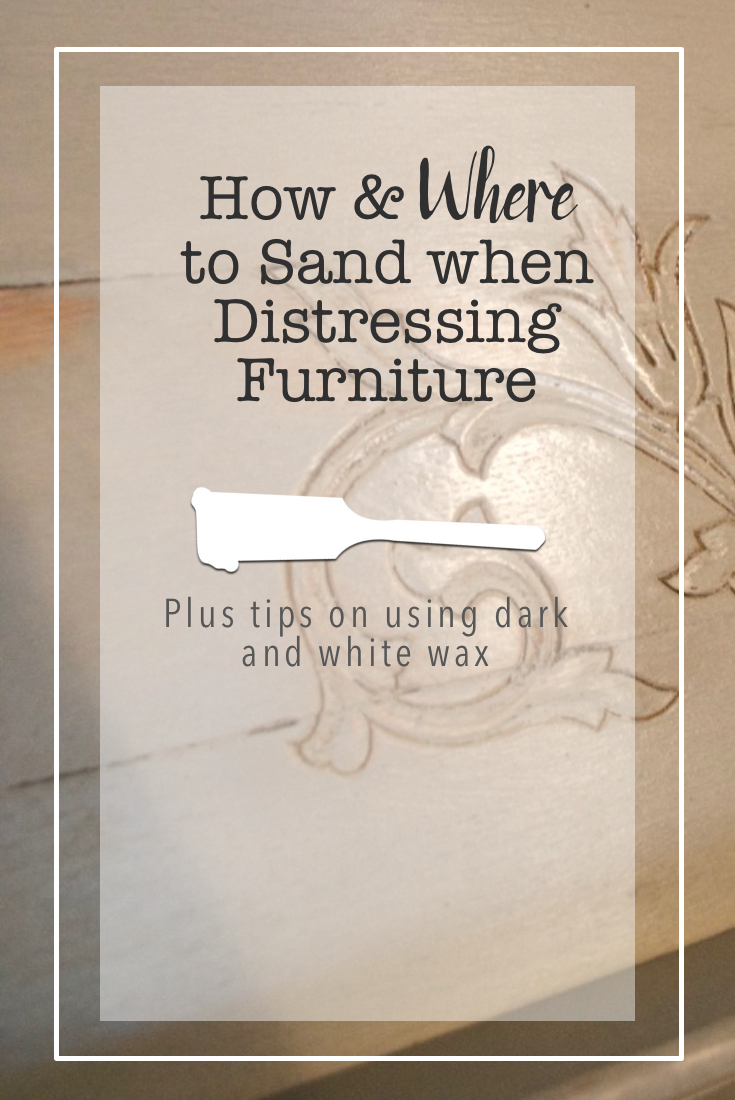

Here’s a pin if you wish to save these sanding furniture tips for later. 🙂 Thanks!
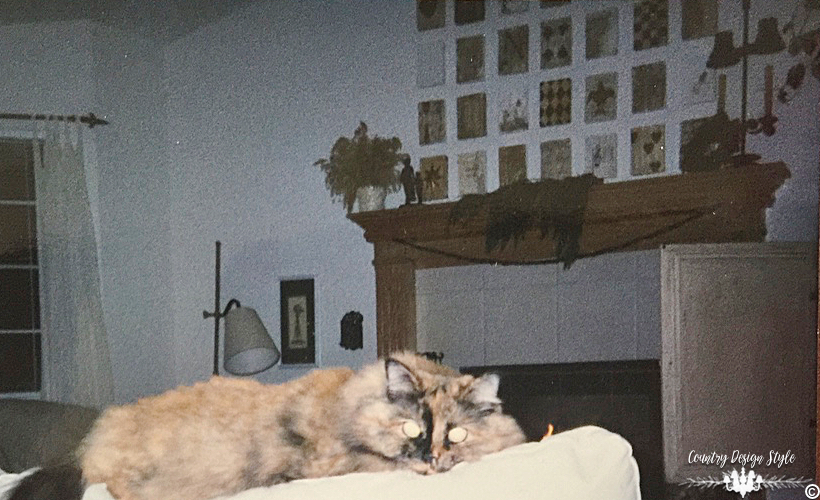
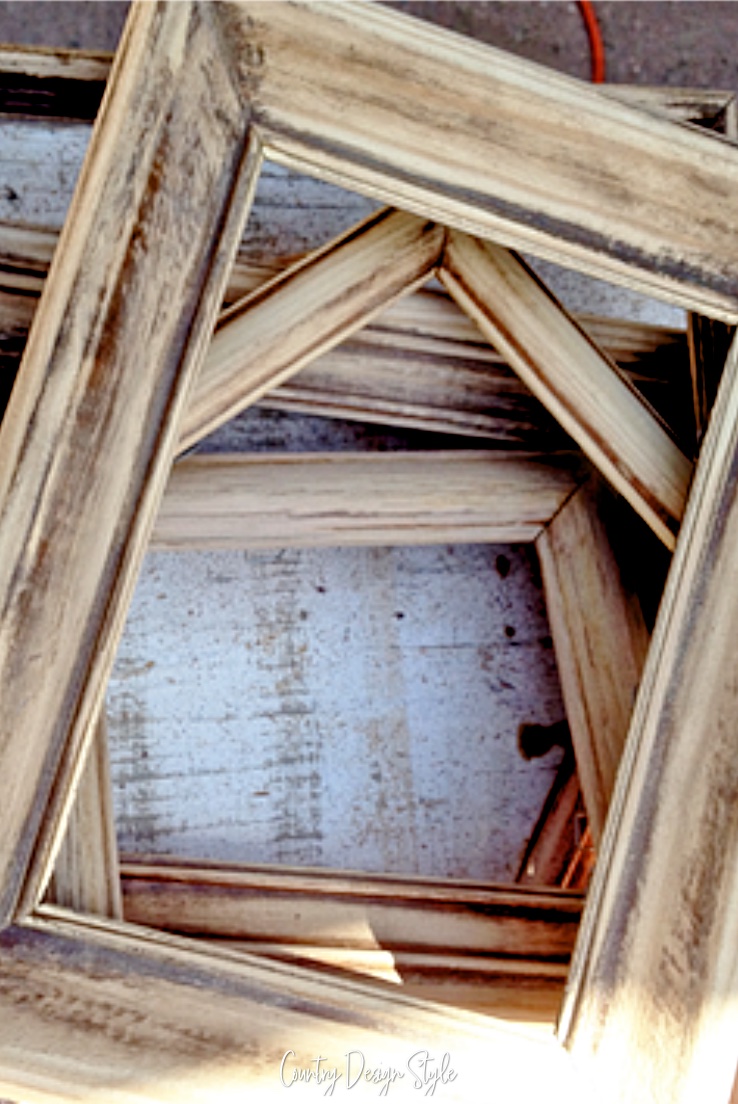
Update: Last night I was looking through old pictures to send to mom and I found this photo of the art blocks. It was taken just before Christmas in 1998. The beautiful cat in the foreground was Andora. Sorry for the grainy image. This was taken with a disposal camera. The only type of camera I owned until I started blogging. 😕
Check the cornerstone post on how to distress wood.


This is an awesome little guide filled with really great tips and advice on sanding furniture. I have been looking for something like this for a while. I have a huge wooden dresser that I would love to repaint, however I think it would take me a solid month just to get that bed shaved down! Thanks so much for sharing, wonderful article!
These are great tips for sanding furniture! It can be a tedious process, but the outcome always looks so good! Nice work! Thanks for sharing your advice!
Morgan, thank you for stopping by and reading along. I’m not a fan of heavy duty sanding but I do enjoy the “creative” sanding. The way it brings life into the piece uncovering the worn places and wood grains is magical.