Rustic Crate Makeover turns into Rustic Furniture
Do you have an old crate sitting around? Well, let’s put that crate to work so you can put your feet up on a rustic crate makeover.
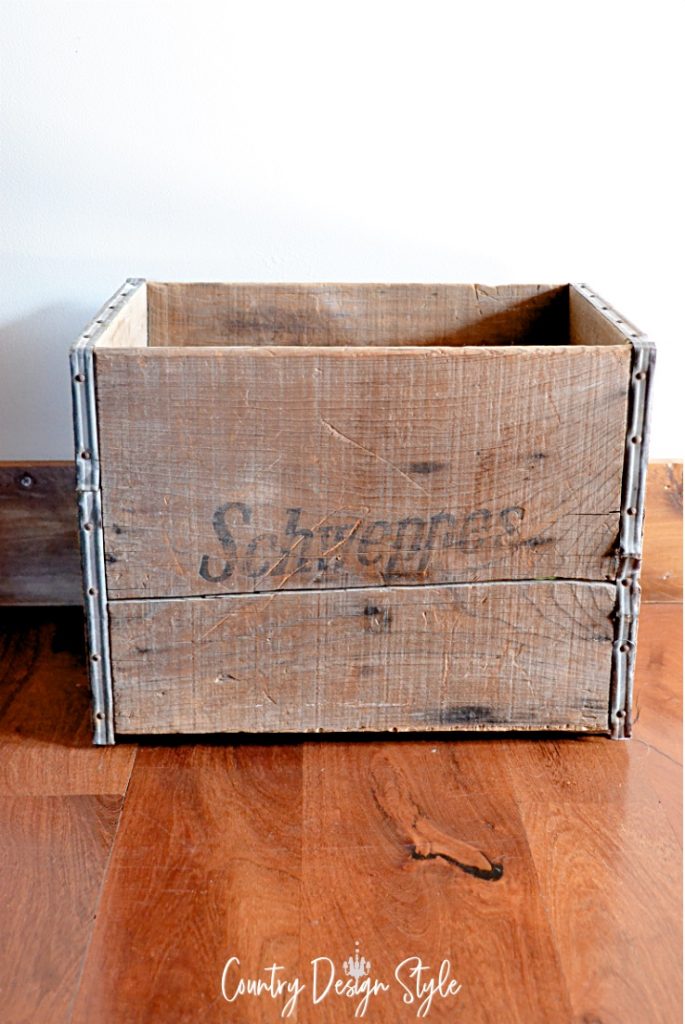
I bought the most awesomeness crate…
and then couldn’t think of anything to do with it!
It sits empty in my craft area. Sometimes, if I’m gathering stuff for an event I use it to transport supplies.
Then it hit me…
the perfect idea for my awesomeness crate!
It hit me 6 months ago. I just now got around to getting the crate project done.
The rustic crate
This post contains affiliate links.
Don’t have a Prime membership? What are you waiting for?
Click to Start your Amazon Prime 30-Day Free Trial now!
The seat or top
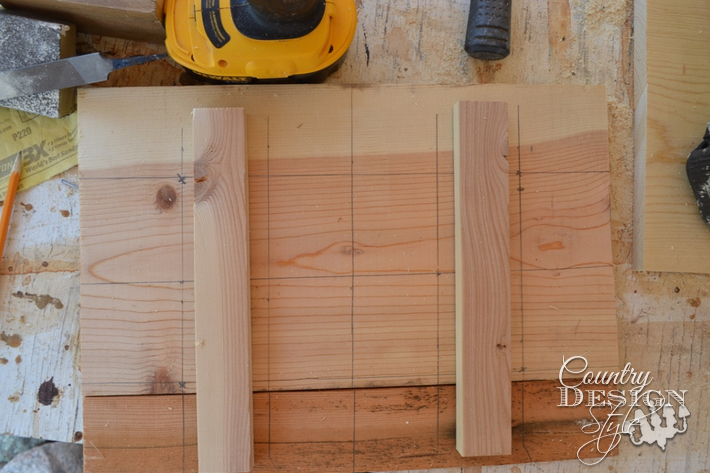
Step one of this awesomeness crate’s transformation was to make a top. Two boards cut to length of the crate and held together with two scrap pieces. These fit down inside the crate and will also keep the top from sliding off.
Lines were marked off in the center lengthwise and widthwise. Then additional lines 2 1/2 inches each way. Where the lines crossed I drilled two small holes using my favorite drill.
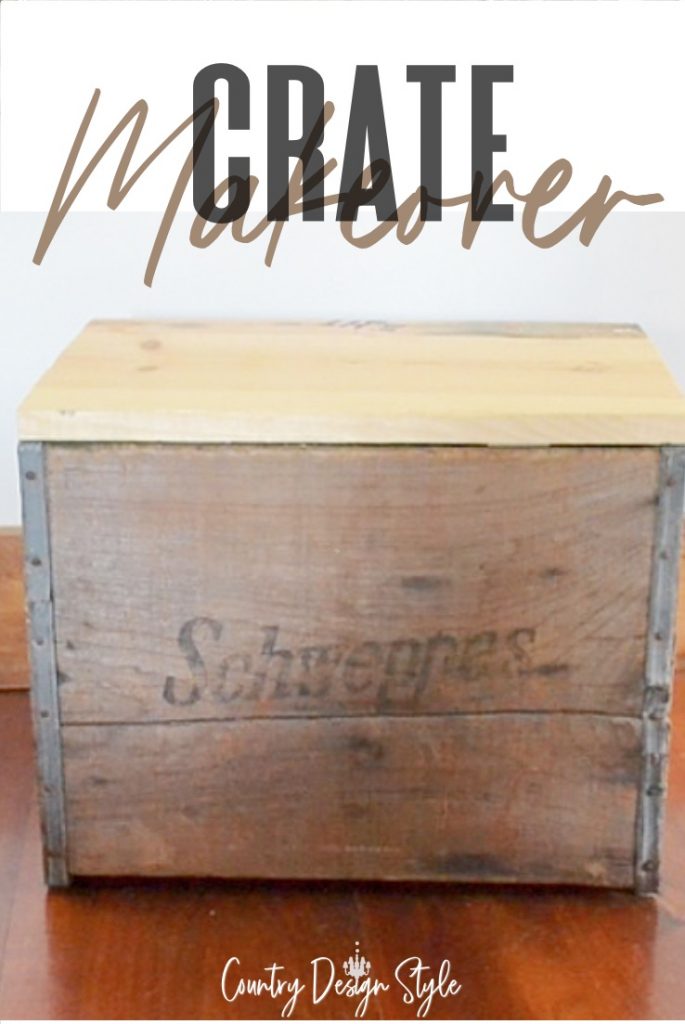
Whew! It fits.
The Padding
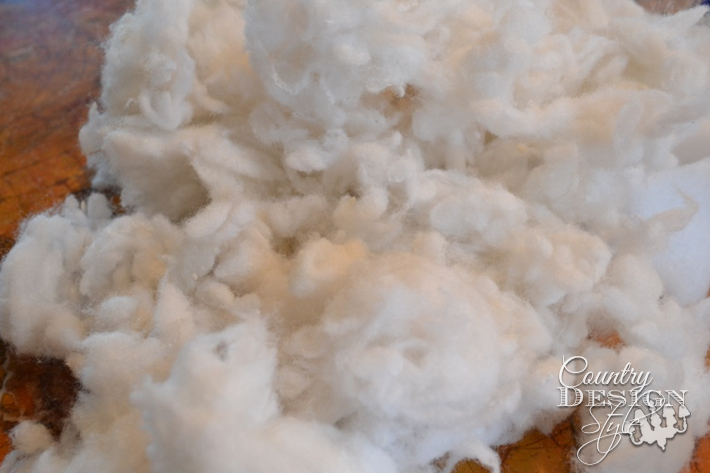
Pillow fight! Actually, I did grab an old pillow and had plans to use the stuffing until….
I saw all the lumps.
What a mess!
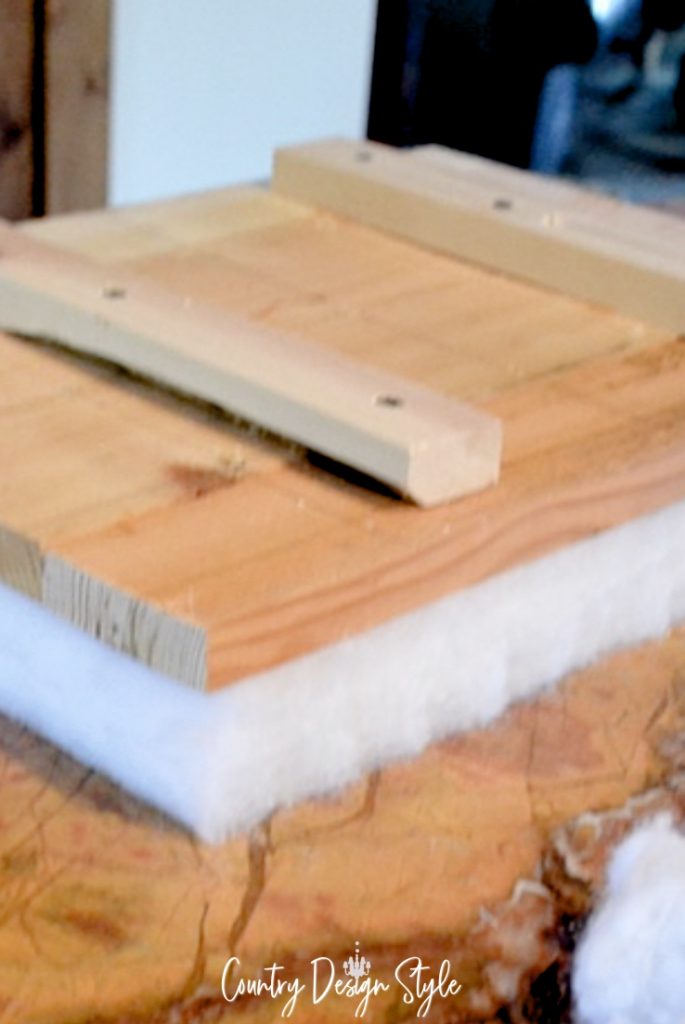
So, I tossed the lumpy stuffing and just used layers of batting.
Lots of layers of batting…
Twelve…I think.
The cover
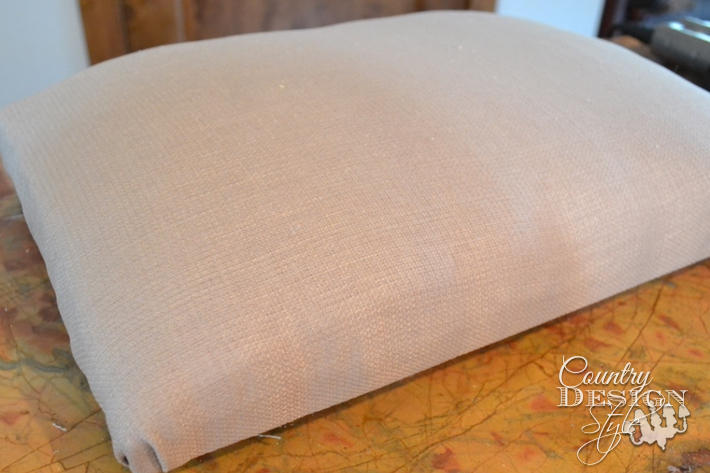
An electric stapler and scrap fabric quickly covered the top….
and frightened little Bella!

I covered the scrap fabric with burlap…
and frightened Bella again.
Button collection
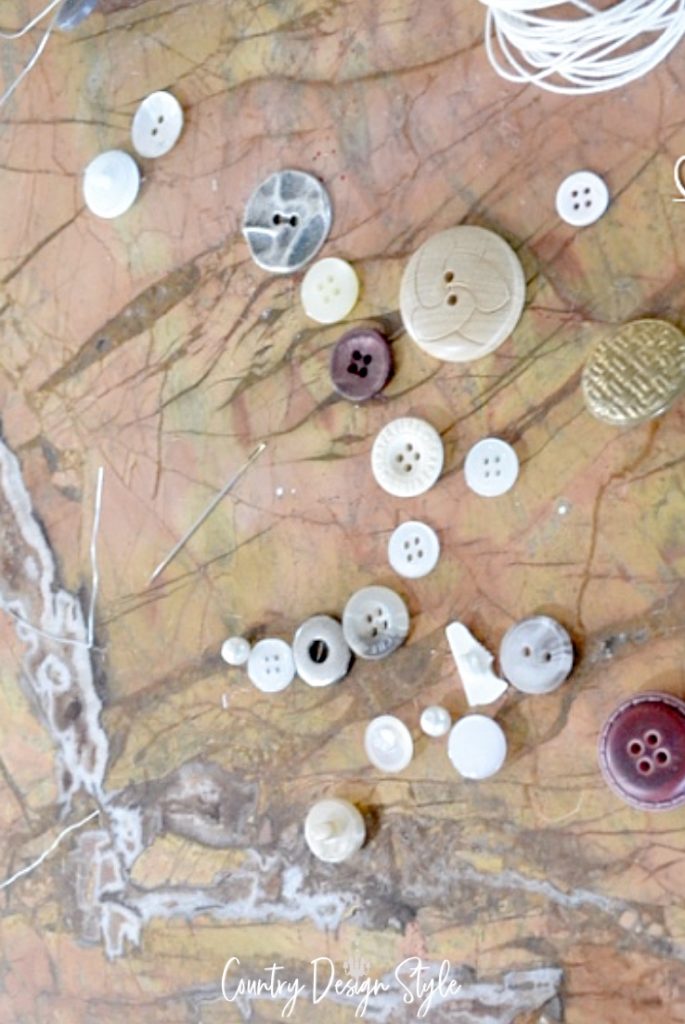
Now to play with buttons. I have several mason jars and wood boxes full of buttons. Some were from my mom and grandmother. There is a tennis shoe shaped button that I remember buying for a shirt I made for my now 40 year old son.
Now, most people would search online, ask someone, or read a book on how to tuft a seat.
I didn’t.
So this is what I did. Might be right. Might be wrong. But it worked.
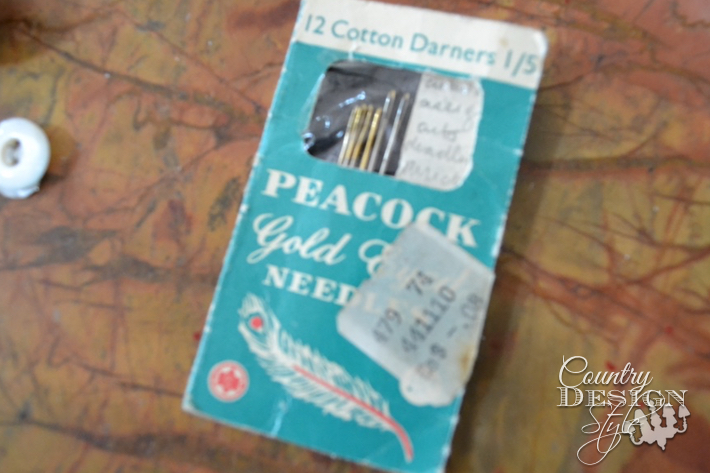
I found the longest needles I have. Who knew darner needles were so long!
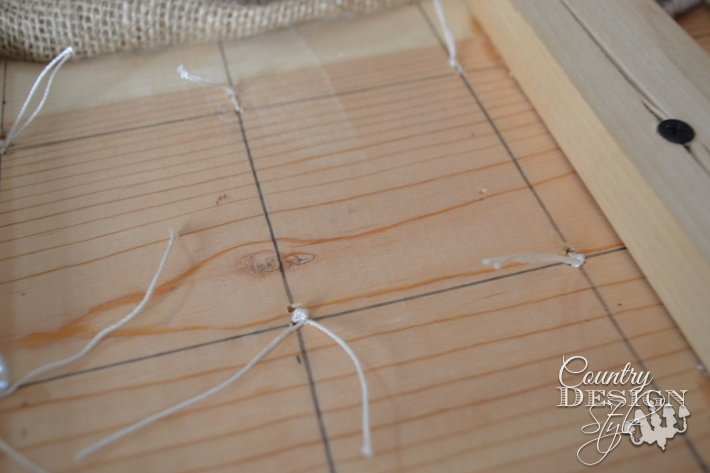
I threaded two darner needles with strong upholstery thread. Each needle was sewn through the wood base into the top. Remember I drilled two holes. The ends of the thread were knotted. Each button was double threaded through each needle and pulled tight. Then knotted and ends cut.
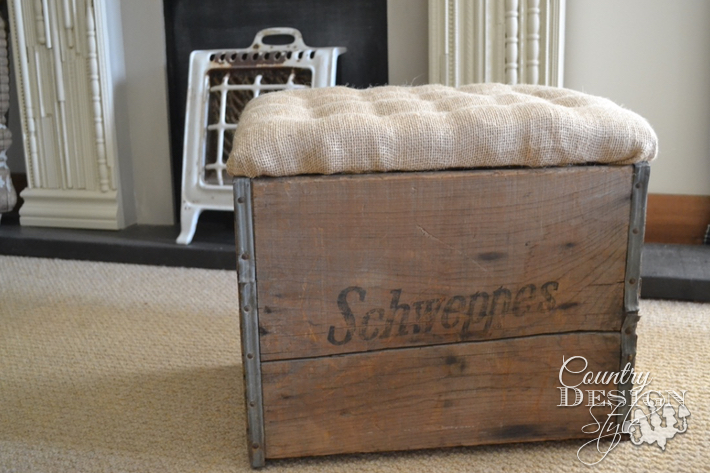
The tufted top sits perfectly.
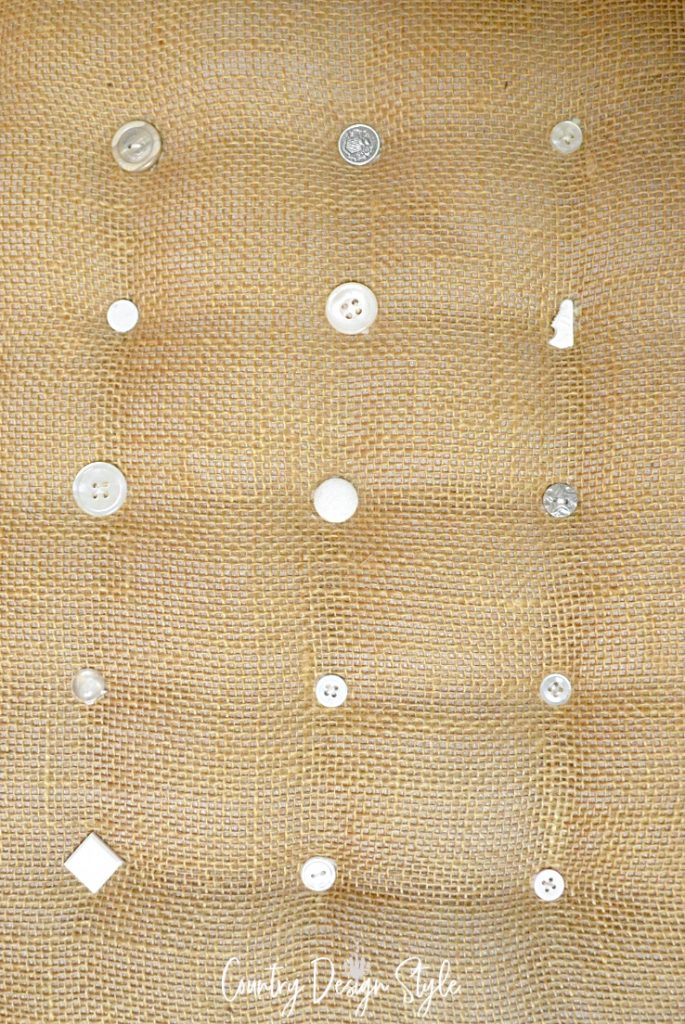
My favorite is the mixed collection of buttons.

The crate now has a purpose every day!
While I’m resting my feet on my awesomeness rustic crate makeover, check out the footstool makeover [DIY] with chalk-based paint.
Join the newsletter

Subscribe to get our DIY HelpLetter each Thursday. Plus grab your Interior Decorating Ideas e-book.

So cute! I love the rustic quality of the crate and the fun buttons. 🙂
What a charming idea! I’m new to blogging and I stumbled onto your wonderful site. Love all these rustic c o untry ideas. Looking forward to visiting again!
Mary, Welcome to the blogging world!! I’ll have to go check out your website too. Thanks for following along. ~Jeanette
What a great idea!! This makes a perfect footstool and I love that you tufted the top. I will definitely be sharing this great project!
Thank you Paula! It was a fun…and quick project! ~Jeanett
Cute! …and useful too! This would be so cool in a beach house too 😉 Great for storage and I’m in love with the cute little buttons you used for the tufting! Can’t wait to share this, my FB readers will love this project!
Wendi, thank you so much. I appreciate all the shares!! ~Jeanette
I love, love, love your creative ideas, Jeanette. AND< then you even went the extra mile to add button tufts. Amazing! I LOVE tufts!
Thanks for once again inspiring me to make something useful out of what I already own.
You rocked this month.
xoxo
Meegan, thank you! I’ve always wanted to try tufting. Now I’m looking around for another project to tuft! ~Jeanette
I really like it! Especially the buttons! I have a collection of my Mom & Grandma’s buttons too, and haven’t found a suitable purpose for them until now! Thanks for the great tutorial!
Andi
Andi, Thanks for stopping by. What is it about those jars of buttons?? I don’t toss old clothes without cutting off the buttons first. ~Jeanette
Looking through your items, I saw a bench with a pillow that had OHIO, I am from Ohio and moved to NV a couple years ago and miss it so much. I enjoy your mail and website so much and have done a couple of things.
Carol
Carol, thank you so very much! You made my day. If there is anything special you would like to see on the website let me know. I love to hear that readers have made things. If you ever wish to share your creativity here, you can. Just click the share your project along the right side. My wish is to have Country Design Style a place for all DIYers of any level to share and be inspired.
~Jeanette 🙂